Commenti / Domande (429)
![]() Lillian ha scritto:
Lillian ha scritto:
Mønster og maskeantall stemmer ikke overens på str medium! Det burde dere fikse.
21.01.2015 - 00:24DROPS Design ha risposto:
Hej Lilian. Der er ikke nogen fejl. Du skal strikke: Str M: * M.2, 2 vr *, gjenta fra *-* 3 ganger, M.2, * M.3, M.2 *, gjenta fra *-* 3 ganger, M.1 (= midt opp på ryggen), * M.2, M.3 *, gjenta fra *-* 3 ganger. Dvs, 6x3 (18)+ 4 + 18x3 (54) + 24 + 18x3 (54) = 154 m.
21.01.2015 - 15:39Shari Schadler ha scritto:
After debating the difficulty of trying to follow your style of pattern, it took me two days but I converted it to a line by line North American style pattern. I began to knit last evening and it's turning out gorgeous. Not bad for a new cabler!! Thanks for a beautiful pattern folks at Drops!! My sweet Zoey will love this coat while she is riding with me in my wheelchair.
20.01.2015 - 22:36
![]() Shari Schadler ha scritto:
Shari Schadler ha scritto:
Is there anywhere I could download this pattern with less complicated, row by row instructions? I would dearly love to make this for my little dog Zoey (Shih-poo) as she gets cold very easy in our harsh winters. I got as far as the (k) knit increase to 76 sts., but when it begins M's (instead of 'cbl') etc., I get frustrated and lost. Please help me. God Bless, Shari Lynn
18.01.2015 - 10:09DROPS Design ha risposto:
Dear Mrs Schadler, M.1, M.2 and M.3 are the name of diagrams you can find at the bottom of the page - please click here to read more about diagrams. Happy knitting!
19.01.2015 - 14:30
![]() Josephine ha scritto:
Josephine ha scritto:
Hallo, ich stricke XS auf einem Nadelspiel und habe 12 cm gestrickt. Nun liegen die ersten 10 M (M2, 2li, M2) auf einem Hilfsfaden. Laut Beschreibung muss ich nun eine li M abnehmen und das restliche Muster (2 li, M3, M2, M1, M2, M3, 2 li) und dann eine li M abnehmen stricken. Dieses Muster dann hin und her für 6 cm. Danach wird das Muster vom Hilfsfaden für auch 6 cm gestrickt und beide Teile wieder auf das Nadelspiel genommen. Mir ist nicht klar wo sich dabei 2 Löcher für die Beine ergeben?
14.01.2015 - 22:43DROPS Design ha risposto:
Die stillgelegten M befinden sich an der Bauchunterseite. Sie stricken zunächst die Rücken-M 6 cm lang weiter und dann die M der Bauchunterseite ebenso lang. Wenn Sie dann wieder alle M auf das Nadelspiel legen, haben Sie 2 Schlitze, die jeweils 6 cm lang sind - nämlich die seitlichen Ränder der je 6 cm lang gestrickten Stücke. Diese Schlitze sind die Beinausschnitte und die am Anfang abgenommenen Linksmaschen dienen der leichten Formung der Beinausschnitte.
15.01.2015 - 00:30Michael Curtner ha scritto:
I was going to ask a question but after reviewing the questions of other even more experienced (I've been knitting for 40+ years and I taught myself cables from a book) knitters, I've decided this pattern is too vague & very annoyingly complicated to be enjoyable. I think I'll just work from the collar which I already have done and make up my own pattern from there, possibly using some of the measurements as they seem to be close to what the dog I'm making this for will require.
12.01.2015 - 20:33Marja Wakeford ha scritto:
Thank you for the explanation about the leg openings. I 'see' it now!
21.12.2014 - 20:28
![]() Siv Gulliksen ha scritto:
Siv Gulliksen ha scritto:
Strikker til en hanhund dachs, har denne oppskriften åpning under så han kan tisse? Hvis ikke hvordan kan jeg gjøre d?
19.12.2014 - 09:48DROPS Design ha risposto:
Hei Siv. Ja, den er aaben nederst, men pröv eventuelt jakken paa undervejs saa den passer praecis.
19.12.2014 - 19:03
![]() Felicia ha scritto:
Felicia ha scritto:
Holy cow. Now I am more confused. So when there are 4 m.2 in the xs do I just keep repeating the first m.2 row until the end and then move up to the 2nd m.2 for the next round?. Ugh. I am feeling really cIueless. I was moving up the ladder each time there was an m.2. So at the end of the first row I had done 4 rungs on the diagram. I was doing the same thing for the others that repeated in the row as well. That may be why it wasn't looking right.:(
19.12.2014 - 01:40DROPS Design ha risposto:
Dear Felicia, M.2 is worked over 4 sts in width and 8 rows in height, ie when you work M2,P2,M2, on first row, you will work K4,P2,K4 (from RS = in the round), then on 2nd round, you will *cross the sts for cable, K3 rounds and cable, K2 rounds (then repeat diagram from beg, ie K1 round and repeat from *. read more about diagrams here. Happy knitting!
19.12.2014 - 08:58Marja Wakeford ha scritto:
I am confused about the leg opening. There seems to be only one 'hole'. Is this correct? There appears to be two sleeves in the the picture of the completed sweater. Could you please explain? Thank you.
18.12.2014 - 16:46DROPS Design ha risposto:
Dear Mrs Wakeford, there should be 2 holes, ie when dividing work at 4 ¾”-6 ¼”-8”, you slip the first 10-16-22 sts on a st holder, bind off next st, work remaining sts, turn and bind off 1 st at the beg of next round (= 1 st bound off each side of st holder). Happy knitting!
19.12.2014 - 08:41
![]() Felicia ha scritto:
Felicia ha scritto:
I know how to cable. That wasn't the question. The question was the first time you use the M.2 cable pattern in the xs size it just creates a long line of bumps. The pattern reads, M.2,P2,M.2..... It's the second one that is just creating a line of bumps. No particular design as the others are doing. I wish I could attach a picture but I can't. I was wondering if anyone has made this has had the same type of thing and if that is just how it is supposed to be.
16.12.2014 - 22:15DROPS Design ha risposto:
Dear Felicia, when you work M.2, you make the 1st cable on 2nd row, so that it may contract the work - then work 3 rows and cable on next row, repeat then all the way K3 rows over the 4 sts, cable on 4th row. Happy knitting!
17.12.2014 - 08:44
The Lookout |
|||||||||||||||||||
 |
 |
||||||||||||||||||
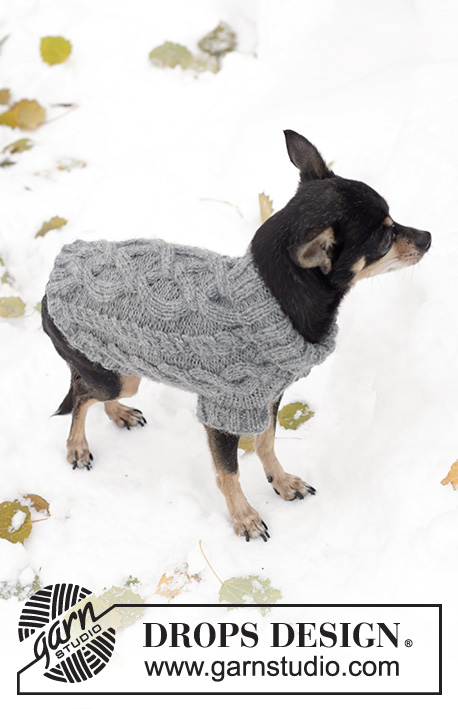
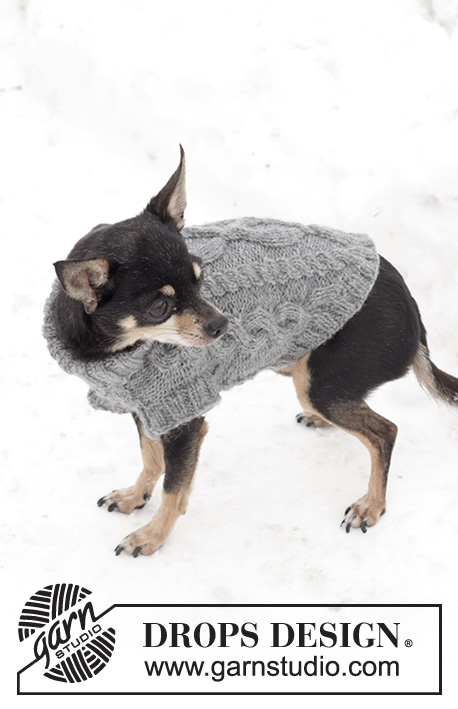
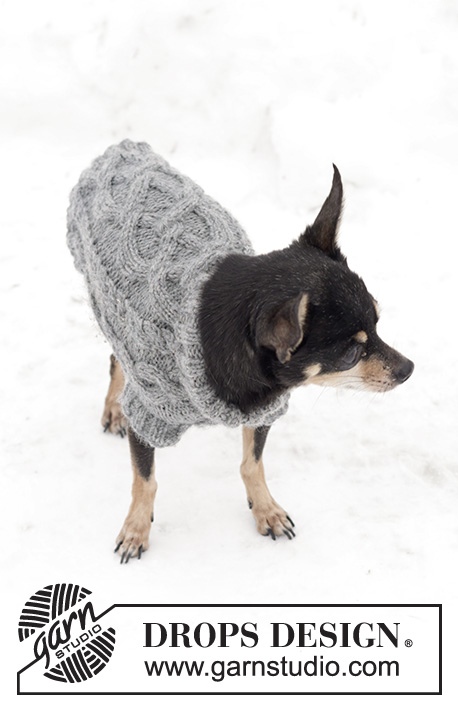
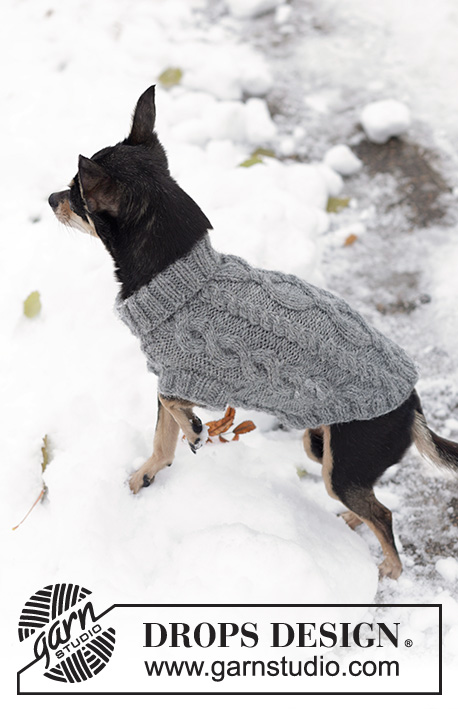
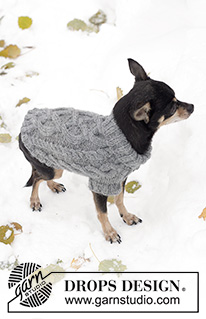
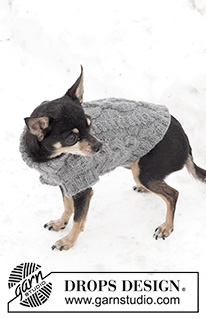
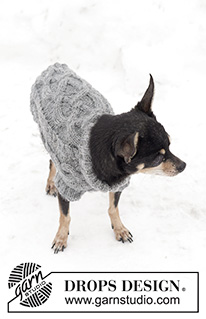
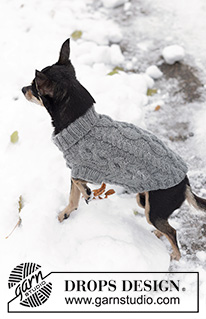
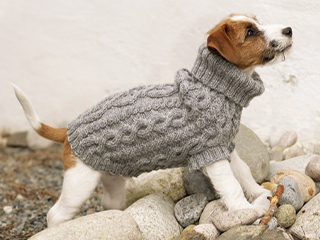
Cappottino DROPS per cani, ai ferri, in "Karisma" con motivo a trecce.
DROPS 102-43 |
|||||||||||||||||||
|
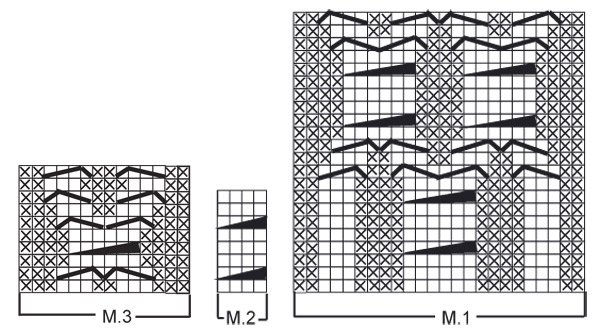
CAMPIONE: 21 m x 28 ferri = 10 x 10 cm a maglia rasata. MOTIVO: vedere i diagrammi da M.1 a M.3. I diagrammi mostrano il motivo sul diritto del lavoro. COSTE: * 2 m dir, 2 rov *, ripetere da *-* ----------------------------------------------------------- CAPPOTTINO: Si lavora in tondo dal collo verso il basso. Avviare 60-80-100 m con i ferri a doppia punta n° 3 e il filato grigio medio. Lavorare a coste per 8-10-12 cm (= é il colletto che verrà piegato in due). Proseguire con i ferri circolari piccoli n° 4 (ferri per calzini per la taglia più piccola). Lavorare 1 giro a dir e allo stesso tempo distribuire 16-32-54 aumenti in modo uniforme = 76-112-154 m. Proseguire con il motivo come segue: Taglia XS: M.2, 2 m rov , M.2, 3 m rov, M.3, M.2, M.1 (= centro sul dietro), M.2, M.3 e 3 m rov. Taglia S: * M.2, 2 m rov *, ripetere da *-* 2 volte, M.2, * M.3, M.2 *, ripetere da *-* 2 volte, M.1 (= centro sul dietro), * M.2, M.3 *, ripetere da *-* 2 volte. Taglia M: * M.2, 2 m rov *, ripetere da *-* 3 volte, M.2, * M.3, M.2 *, ripetere da *-* 3 volte, M.1 (= centro sul dietro), * M.2, M.3 *, ripetere da *-* 3 volte. ALLO STESSO TEMPO, quando il lavoro misura 12-16-20 cm, dividere il lavoro per le zampe anteriori, come segue: mettere in attesa, su un filo o su un ferma maglie, le prime 10-16-22 m (= pancia), intrecciare 1 m rov, lavorare avanti e indietro le restanti m e intrecciare la m dall’altro lato = 64-94-130 m (= schiena). Proseguire avanti e indietro su queste m per 6-8-10 cm (il lavoro misura 18-24-30 cm in tutto). Mettere queste m in attesa su un filo o su un ferma maglie e riprendere sui ferri di lavoro le m della pancia, messe precedentemente in attesa. Avviare 1 nuova m da ciascun lato = 12-18-24 m. Proseguire seguendo il motivo avanti e indietro con 1 m rov da ciascun lato. Dopo aver lavorato 6-8-10 cm, riprendere tutte le m sui ferri di lavoro = 76-112-154 m. Quando il lavoro misura 24-31-38 cm, intrecciare le 12-20-28 m centrali della pancia. Proseguire avanti e indietro sui ferri e allo stesso tempo intrecciare da ciascun lato, ogni 2 ferri, come segue: 3 m 1 volta, 2 m 2-3-4 volte, 1 m 2-3-4 volte, 2 m 2-3-4 volte e 3 m 1 volta = rimangono 32-50-74 m. Il lavoro misura ca. 30-39-48 cm. CONFEZIONE: Passare le m rimaste sul ferro circolare piccolo n° 3 e riprendere le m lungo il bordo di chiusura in modo che siano in tutto 84-108-140 m. Lavorare a coste per 2-3-4 cm; intrecciare le m senza stringere il filo. ZAMPE: Con i ferri a doppia punta n° 3, riprendere ca. 36-44-52 m attorno ad una delle aperture. Lavorare a coste per 2-3-4 cm; intrecciare senza stringere troppo il filo e lavorando a dir le m dir e a rov le m rov. Ripetere lungo l’altra apertura. |
|||||||||||||||||||
Spiegazioni del diagramma |
|||||||||||||||||||
|
|||||||||||||||||||
 |
|||||||||||||||||||
Avete terminato questo modello?Allora taggate le vostre foto con #dropspattern o inviatele alla #dropsfan gallery. Avete bisogno di aiuto con questo modello?Troverete 24 video tutorial, una sezione per i commenti/domande e molto altro guardando il modello su www.garnstudio.com © 1982-2026 DROPS Design A/S. Ci riserviamo tutti i diritti. Questo documento, compreso tutte le sue sotto-sezioni, è protetto dalle leggi sul copyright. Potete leggere quello che potete fare con i nostri modelli alla fine di ogni modello sul nostro sito. |
|||||||||||||||||||







Lasciare un commento sul modello DROPS 102-43
Noi saremmo felici di ricevere i tuoi commenti e opinioni su questo modello!
Se vuoi fare una domanda, fai per favore attenzione a selezionare la categoria corretta nella casella qui sotto per velocizzare il processo di risposta. I campi richiesti sono indicati da *.