Commenti / Domande (429)
![]() Nancy ha scritto:
Nancy ha scritto:
Moet ik van begin van de opzet kraag 16 cm meten voor het splitsen van het werk van de pootjes ?
05.02.2016 - 13:23DROPS Design ha risposto:
Hoi Nancy. Nee, je hebt eerst 10 cm kraag gebreid, en zoals er staat splits je voor de poten op 16 cm.
05.02.2016 - 14:33
![]() Stefanie ha scritto:
Stefanie ha scritto:
Great design! Thanks Drops Design for this pattern. The only problem I had was keeping my new puppy from chewing my yarn! Molly sure looks cute in it and I plan on making another larger one when she's fully grown.
20.01.2016 - 05:45
![]() Liesbeth Meester - Lammers ha scritto:
Liesbeth Meester - Lammers ha scritto:
Welke maat heeft de hond op de foto aan? S of M?
31.12.2015 - 17:33DROPS Design ha risposto:
Hoi Liesbeth. Ik weet het niet, maar ik denk de M uitgaand van de afmetingen in het patroon en de ras van het hondje.
05.01.2016 - 15:55
![]() Andresha ha scritto:
Andresha ha scritto:
I'm making the medium size. when is says "after 8 inches, split for legs" is that measured starting from the cast on edge?
31.12.2015 - 07:09DROPS Design ha risposto:
Dear Andresha, the 8 inches are measured from cast-on edge. Happy knitting!
02.01.2016 - 15:57
![]() Anita ha scritto:
Anita ha scritto:
Hallo! Entweder bin ich total blöd oder das Muster zur Größe S ist falsch... Bitte um Hilfe, bin Strickanfängerin und kurz vorm verzweifeln...
04.12.2015 - 16:38DROPS Design ha risposto:
Liebe Anita, wo genau haben Sie ein Problem? Das Muster geht in der Maschenzahl auf: * M.2 (= 4 M), 2 M li *, von *-* 2x, also sind das insgesamt 12 M. Dann M.2 = 4 M. Dann * M.3 (= 14 M), M.2 (= 4 M) *, von *-* 2x, also 36 M. Dann M.1 = 24 M. Dann nochmals 36 M, damit kommen Sie auf insgesamt 112 M.
09.12.2015 - 21:41
![]() Sanni ha scritto:
Sanni ha scritto:
Hei! Teen XS-kokoisena tätä työtä. En ymmärrä, miten etujalkojen paikat kuuluu tehdä ja miten neuletta jatketaan sen jälkeen?
25.11.2015 - 22:03DROPS Design ha risposto:
Hei! Kun jaat työn etujalkoja varten, siirrä keskeltä mahan alta krs:n alusta 10 s apulangalle, päätä seuraava nurja s, neulo loput s:t ja päätä viimeinen nurja s. Työssä on nyt 64 s ja neulominen jatketaan tasoneuleena.
26.11.2015 - 16:23Sandra ha scritto:
I am having trouble as well making the holes for the legs. I see most people have had this problem. Is there an easier explanation available. I see someone said when it says to go back and forth, it means on neddles, not in the round. Help please.
12.11.2015 - 21:11DROPS Design ha risposto:
Dear Sandra, to shape the opening for legs, you have to work back and forth (= flat) on the sts for back piece then for stomach: when piece measure 12-20 cm (see size), put the first 10-22 sts on a st holder (= stomach sts), bind off 1 st (=P st), work the next sts to the end of row, ie to the sts on st holder (back piece), turn, bind off 1 st and work back piece flat for 6-10 cm. Then put these sts on a st holder, knit the sts from stomach back on needle and work them for 6-10 cm. Work then all sts in the round. Happy knitting!
13.11.2015 - 09:19
![]() FROMENT ha scritto:
FROMENT ha scritto:
Merci li me reste 50 mailles, compte fait:31 diminutions à faire de chaque coté, mais comment répartir ces diminutions.Je suis nulle mais je ne comprends pas la lignes d'explications.
03.11.2015 - 11:34Karl ha risposto:
112-20-2(3+6+3+6+3)=50
03.11.2015 - 11:40
![]() FROMENT ha scritto:
FROMENT ha scritto:
Je suis désolée mais calcul fait;j'ai 112 m moins les 50 m qui doivent me rester=62 diminutions, soit 31 diminutions a faire de chaque coté Comment je les réparti pour la taille S ,je suis nulle je ne comprends pas la ligne des explications.Merci.Froment.
03.11.2015 - 10:53DROPS Design ha risposto:
Bonjour Mme Froment, vous aviez 112 m - 20 m rabattues = 92 m. Vous rabattez ensuite tous les 2 rangs de chaque côté (= au début de chaque rang sur l'endroit et sur l'envers): 1x3 m x 2 (=6), 3x2 m x 2 (= 12), 3x1 m x 2 (=6), 3x2m x 2 (=12) et 1x3 m x 2 (=6) soit 6+12+6+12+6= 42 m. 92-42= Il reste 50 m quand les mailles ont été rabattues de chaque côté. Bon tricot!
03.11.2015 - 11:57
![]() FROMENT ha scritto:
FROMENT ha scritto:
Bonsoir encore moi,pouvez vous me préciser après avoir rabattu les 20 mailles pour l'abdomen ,en taille S les diminutions à faire de chaque coté et si possible me dire combien il doit me rester de mailles que je dois glisser sur l'aiguille circulaire n° 3 qui servent pour la bordure ajoutées aux mailles à relever.MERCI.Froment.
02.11.2015 - 21:59DROPS Design ha risposto:
Bonjour Mme Froment, quand toutes les mailles pour l'arrondi de l'ouverture sont faites, il reste 50 m en taille S. Bon tricot!
03.11.2015 - 09:40
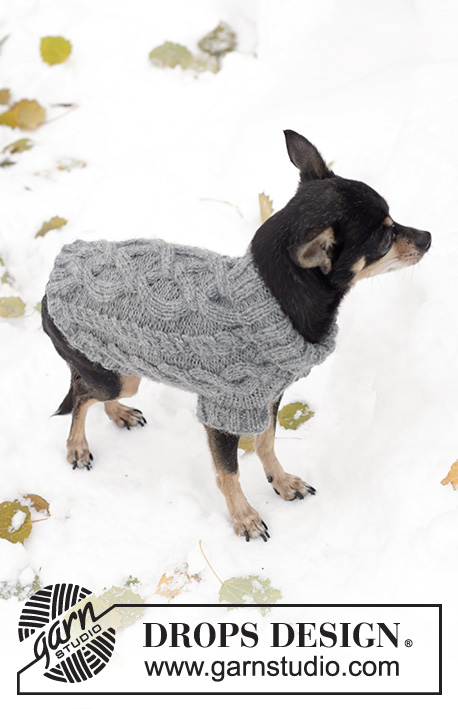
The Lookout |
|||||||||||||||||||
 |
 |
||||||||||||||||||
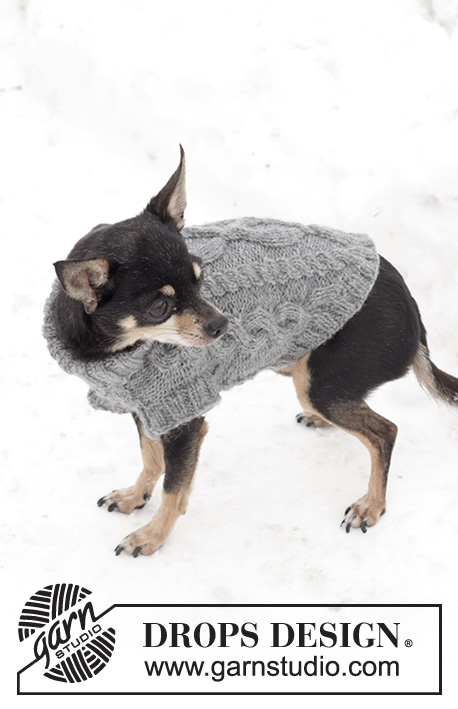
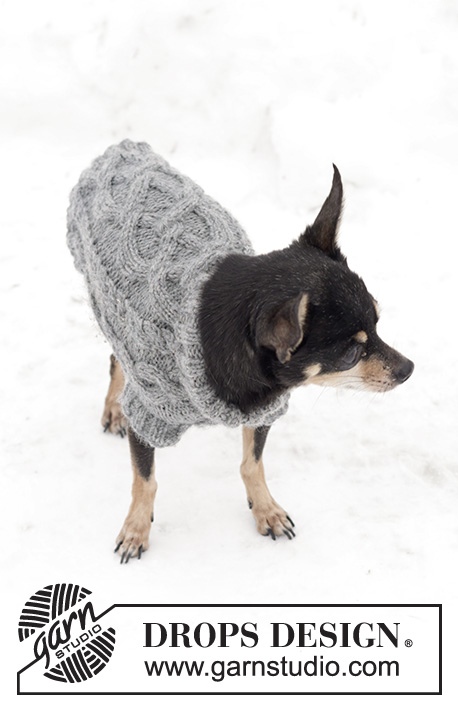
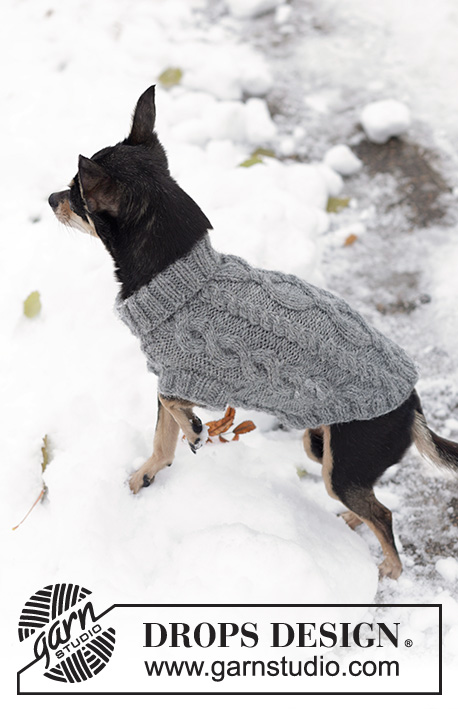
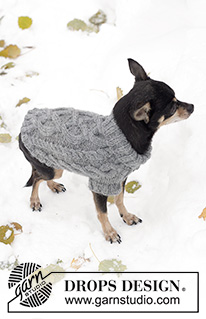
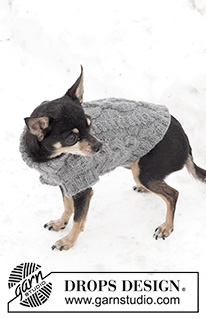
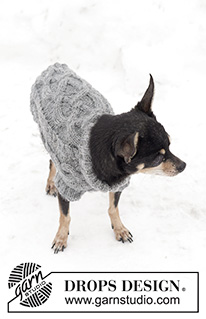
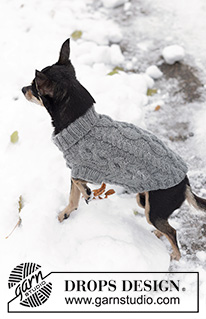
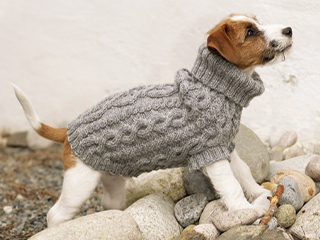
Cappottino DROPS per cani, ai ferri, in "Karisma" con motivo a trecce.
DROPS 102-43 |
|||||||||||||||||||
|
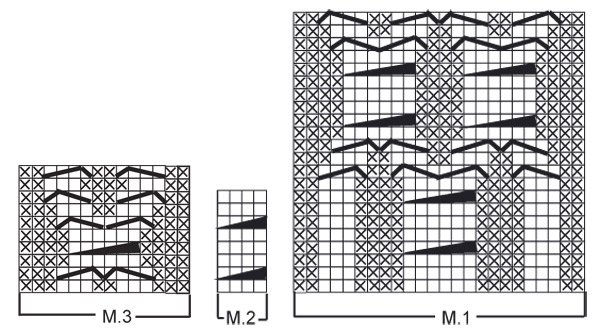
CAMPIONE: 21 m x 28 ferri = 10 x 10 cm a maglia rasata. MOTIVO: vedere i diagrammi da M.1 a M.3. I diagrammi mostrano il motivo sul diritto del lavoro. COSTE: * 2 m dir, 2 rov *, ripetere da *-* ----------------------------------------------------------- CAPPOTTINO: Si lavora in tondo dal collo verso il basso. Avviare 60-80-100 m con i ferri a doppia punta n° 3 e il filato grigio medio. Lavorare a coste per 8-10-12 cm (= é il colletto che verrà piegato in due). Proseguire con i ferri circolari piccoli n° 4 (ferri per calzini per la taglia più piccola). Lavorare 1 giro a dir e allo stesso tempo distribuire 16-32-54 aumenti in modo uniforme = 76-112-154 m. Proseguire con il motivo come segue: Taglia XS: M.2, 2 m rov , M.2, 3 m rov, M.3, M.2, M.1 (= centro sul dietro), M.2, M.3 e 3 m rov. Taglia S: * M.2, 2 m rov *, ripetere da *-* 2 volte, M.2, * M.3, M.2 *, ripetere da *-* 2 volte, M.1 (= centro sul dietro), * M.2, M.3 *, ripetere da *-* 2 volte. Taglia M: * M.2, 2 m rov *, ripetere da *-* 3 volte, M.2, * M.3, M.2 *, ripetere da *-* 3 volte, M.1 (= centro sul dietro), * M.2, M.3 *, ripetere da *-* 3 volte. ALLO STESSO TEMPO, quando il lavoro misura 12-16-20 cm, dividere il lavoro per le zampe anteriori, come segue: mettere in attesa, su un filo o su un ferma maglie, le prime 10-16-22 m (= pancia), intrecciare 1 m rov, lavorare avanti e indietro le restanti m e intrecciare la m dall’altro lato = 64-94-130 m (= schiena). Proseguire avanti e indietro su queste m per 6-8-10 cm (il lavoro misura 18-24-30 cm in tutto). Mettere queste m in attesa su un filo o su un ferma maglie e riprendere sui ferri di lavoro le m della pancia, messe precedentemente in attesa. Avviare 1 nuova m da ciascun lato = 12-18-24 m. Proseguire seguendo il motivo avanti e indietro con 1 m rov da ciascun lato. Dopo aver lavorato 6-8-10 cm, riprendere tutte le m sui ferri di lavoro = 76-112-154 m. Quando il lavoro misura 24-31-38 cm, intrecciare le 12-20-28 m centrali della pancia. Proseguire avanti e indietro sui ferri e allo stesso tempo intrecciare da ciascun lato, ogni 2 ferri, come segue: 3 m 1 volta, 2 m 2-3-4 volte, 1 m 2-3-4 volte, 2 m 2-3-4 volte e 3 m 1 volta = rimangono 32-50-74 m. Il lavoro misura ca. 30-39-48 cm. CONFEZIONE: Passare le m rimaste sul ferro circolare piccolo n° 3 e riprendere le m lungo il bordo di chiusura in modo che siano in tutto 84-108-140 m. Lavorare a coste per 2-3-4 cm; intrecciare le m senza stringere il filo. ZAMPE: Con i ferri a doppia punta n° 3, riprendere ca. 36-44-52 m attorno ad una delle aperture. Lavorare a coste per 2-3-4 cm; intrecciare senza stringere troppo il filo e lavorando a dir le m dir e a rov le m rov. Ripetere lungo l’altra apertura. |
|||||||||||||||||||
Spiegazioni del diagramma |
|||||||||||||||||||
|
|||||||||||||||||||
 |
|||||||||||||||||||
Avete terminato questo modello?Allora taggate le vostre foto con #dropspattern o inviatele alla #dropsfan gallery. Avete bisogno di aiuto con questo modello?Troverete 24 video tutorial, una sezione per i commenti/domande e molto altro guardando il modello su www.garnstudio.com © 1982-2026 DROPS Design A/S. Ci riserviamo tutti i diritti. Questo documento, compreso tutte le sue sotto-sezioni, è protetto dalle leggi sul copyright. Potete leggere quello che potete fare con i nostri modelli alla fine di ogni modello sul nostro sito. |
|||||||||||||||||||







Lasciare un commento sul modello DROPS 102-43
Noi saremmo felici di ricevere i tuoi commenti e opinioni su questo modello!
Se vuoi fare una domanda, fai per favore attenzione a selezionare la categoria corretta nella casella qui sotto per velocizzare il processo di risposta. I campi richiesti sono indicati da *.