
Categorie popolari
State cercando un filato?


Commenti / Domande (145)
![]() Ángela ha scritto:
Ángela ha scritto:
Hola,tengo una duda ,el patron dice que para una talla mediana o grande necesito 300 gramos de lana,a mí me parece muy poco,normalmente uso 450 gramos con otras lanas.¿Es seguro que solo necesite 300 gramos?
08.01.2026 - 00:02DROPS Design ha risposto:
Hola Angela, Es correcto, este hilo es muy ligero. Saludos!
12.01.2026 - 11:34
![]() Maylis ha scritto:
Maylis ha scritto:
Bonjour, je viens de terminer l'empiècement et l'on me demande de monter 8 mailles sous la manche. Comment fait-on ? Merci
06.01.2026 - 11:57DROPS Design ha risposto:
Bonjour Maylis, procédez comme indiqué dans cette vidéo ou bien cette leçon; retrouvez cette étape à partir de la photo 10 dans cette leçon. Bon tricot!
07.01.2026 - 07:24
![]() Lydia ha scritto:
Lydia ha scritto:
Ich habe eine Frage zur Anleitung. Und zwar bei den Raglanzunahmen steht ja man solle diese machen bis man 228 Maschen hat. Danach glatt rechts weiterstricken, bis die Arbeit eine länge von 20cm hat. Heisst das, wenn man die 228 Maschen erreicht hat soll man ohne weitere Raglanzunahmen stricken bis man 20cm erreicht hat? Liebe Grüsse :)
05.01.2026 - 17:27DROPS Design ha risposto:
Liebe Lydia, ja genau, wenn Sie diese 228 Maschen erhalten, dann sind die Raglanzunahmen fertig, weiter (genauso wie zuvor) stricken, bis die Arbeit 20 cm misst, aber ohne weitere Zunahmen. Viel Spaß beim Stricken!
06.01.2026 - 09:02
![]() Daniele Jubelin ha scritto:
Daniele Jubelin ha scritto:
Jusqu'à quand vont les modèles a 2 ou 4 aiguilles
23.12.2025 - 11:39DROPS Design ha risposto:
Bonjour Mme Jubelin, je ne suis pas bien sûre de comprendre votre question, vous pourrez trouver ici comment adapter un modèle sur aiguilles droites ou bien découvrez nos modèles tricotés de bas en haut ici, la plupart facilement adaptables sur aiguilles droites. Bon tricot!
23.12.2025 - 17:41
![]() Mita ha scritto:
Mita ha scritto:
Ik zou graag weten of ik dit ook gewoon van onder naar boven kan breien. Ik vraag me eigenlijk af waarom jullie deze pull op deze manier breien, zijn daar voordelen aan verbonden ????
21.12.2025 - 19:59DROPS Design ha risposto:
Dag Mita,
Er is helaas alleen een beschrijving van het patroon van boven naar beneden. Als je van boven naar beneden breit kun je gaandeweg het werkstuk beter passen en de lengtes van de mouwen en het lijf precies naar wens aanpassen.
22.12.2025 - 20:18
![]() Claudia ha scritto:
Claudia ha scritto:
Guten Tag, könnt ihr mir sagen, mit welcher Farbe Gitte aus Dänemark gestrickt hat? Weiß oder Natur für Baby Merino? Kit Silk vermutlich Kalkweiß? finde die Farbe sehr schön
24.11.2025 - 15:41DROPS Design ha risposto:
Liebe Claudia, hier lesen Sie mehr über ihren Pullover, gerne können Sie Ihr auch mal Ihre Frage stellen. Viel Spaß beim Stricken!
25.11.2025 - 08:51
![]() Christiane ha scritto:
Christiane ha scritto:
Hallo, ich habe noch nie einen Pulli gestrickt, immer nur Socken, Mützen und Schals und würde nun gerne diesen Stricken. Ich verstehe aber die hälfte überhaupt nicht, wie kann ich gut an so eine Anleitung herangehen? Ist der Pullover für mich überhaupt geeignet?
20.11.2025 - 13:38DROPS Design ha risposto:
Liebe Christiane, dieser Pullover wird hier von oben nach unten gestrickt und es wird für Raglan zugenommen; hier finden Sie im Video und hier mit Fotos, als Beispiel, wie man so einen Pullover strickt; sollten Sie weitere Frage haben, stellen Sie sie gerne hier. Viel Spaß beim Stricken!
20.11.2025 - 16:47
![]() Mary-Ann Edsbäcker ha scritto:
Mary-Ann Edsbäcker ha scritto:
Ska sätta i markörerna på oket men får det inte att stämma. Om man lägger ihop antalet maskor, i mitt fall M, 16+14+32+14+16 blir det 92 m. Men varvet har 96 m. Vad är det jag inte förstår?
15.11.2025 - 23:19DROPS Design ha risposto:
Hej Mary-Ann. Du har missat maskorna du sätter markörerna i: 16+1+14+1+32+1+14+1+16=96. Mvh DROPS Design
19.11.2025 - 10:48
![]() Silvia ha scritto:
Silvia ha scritto:
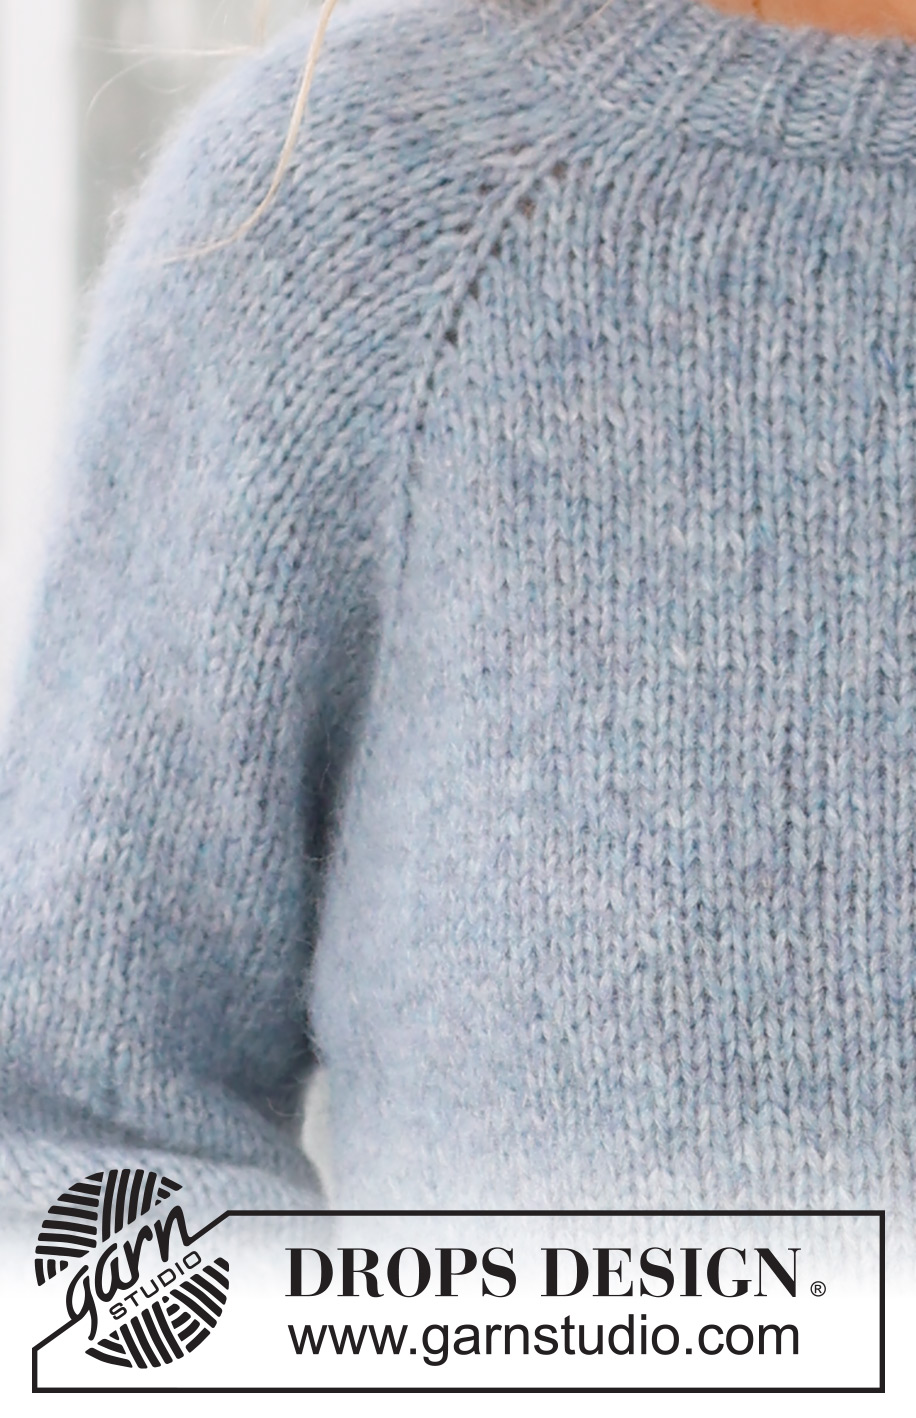
Oops. Doch. Am Raglan sieht man, dass er von oben nach unten gestrickt wurde. - Entschuldigung
04.11.2025 - 15:53
![]() Silvia ha scritto:
Silvia ha scritto:
Ist das das richtige Foto zur Anleitung? Wenn ich mir das Maschenbild anschaue, denke ich nicht, dass der Pullover von oben nach unten gestrickt wurde.
04.11.2025 - 15:47DROPS Design ha risposto:
Liebe Silvia, ja, das Foto ist korrekt - und an den Raglanlinien können Sie sehr gut erkennen, dass der Pullover von oben nach unten gestrickt ist. Viel Spaß beim Stricken!
04.11.2025 - 19:15
|
|
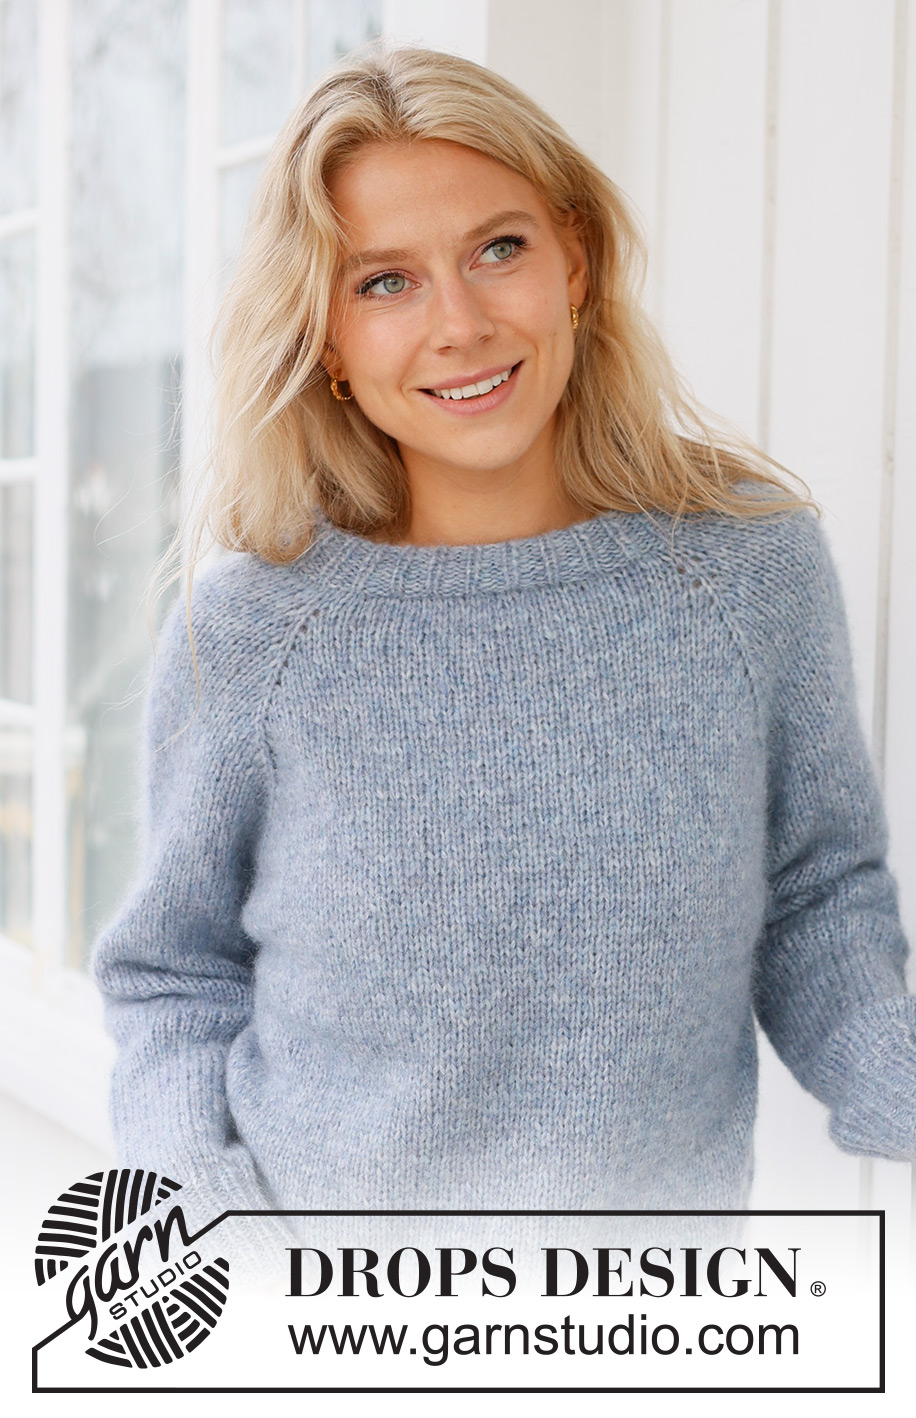
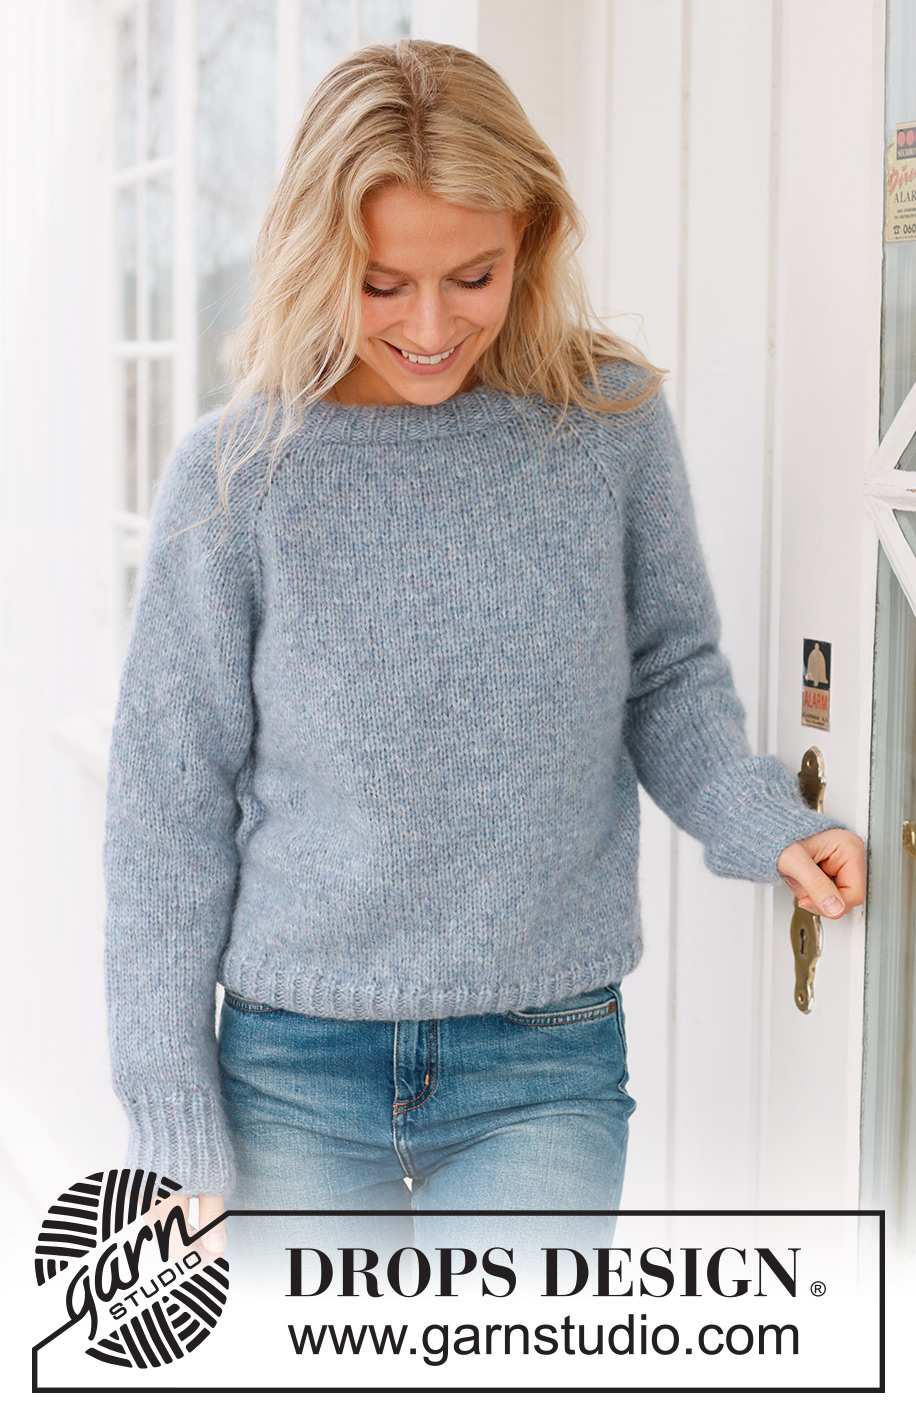
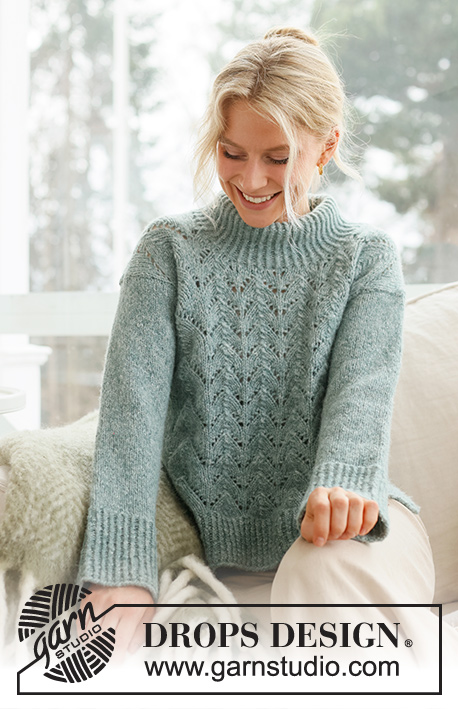
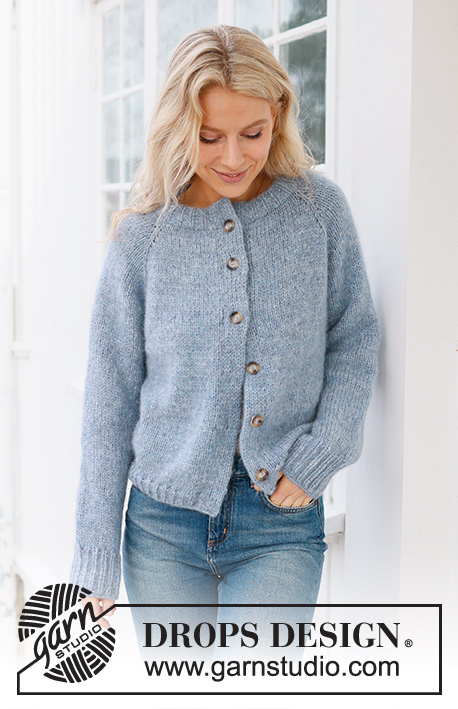
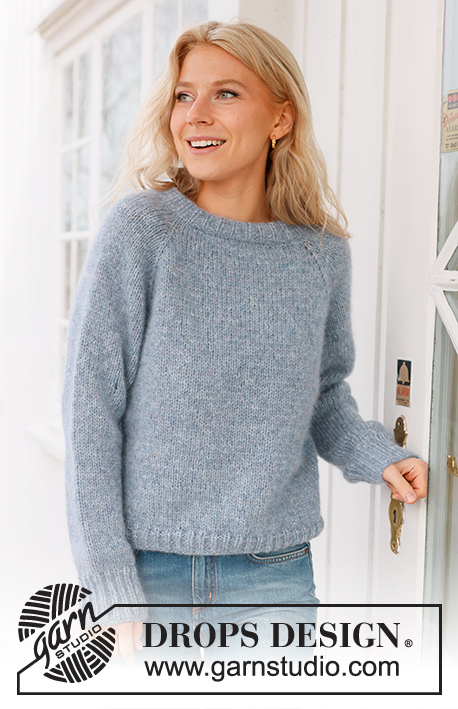
Foggy Autumn#foggyautumnsweater |
|
 |
 |
Maglione lavorato ai ferri in DROPS Air. Lavorato dall’alto in basso, con raglan. Taglie: S - XXXL.
DROPS 236-34 |
|
|
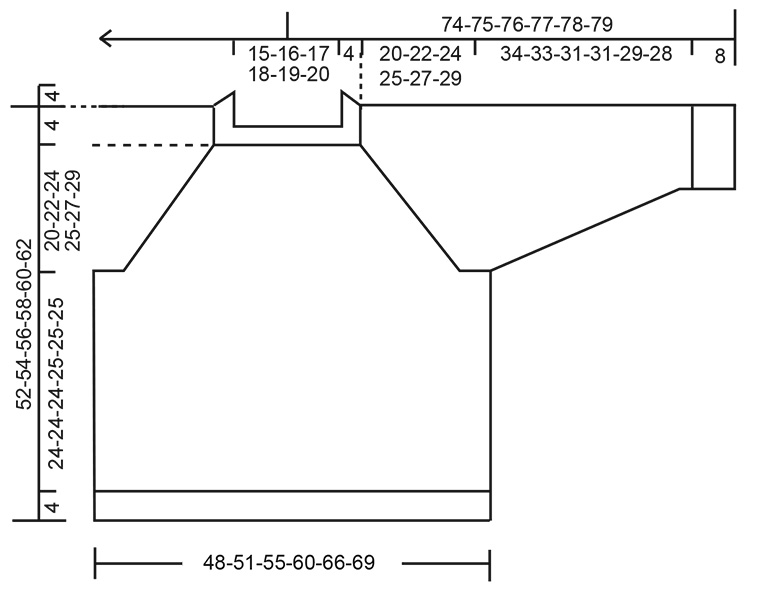
------------------------------------------------------- TECNICHE IMPIEGATE: ------------------------------------------------------- RAGLAN: Aumentare per il raglan a ogni lato della maglia con il segnapunti come segue: lavorare fino alla maglia con il segnapunti, 1 gettato, lavorare a diritto la maglia con il segnapunti, 1 gettato (= 8 aumenti). Sul giro successivo lavorare i gettati come segue: PRIMA della maglia con il segnapunti: passare il gettato sul ferro destro come per lavorarlo a diritto, riportarlo sul ferro sinistro nell’altro senso (a ritorto), lavorare il gettato a diritto (a ritorto rispetto alla maglia con il segnapunti). DOPO la maglia con il segnapunti: Lavorare il gettato a diritto ritorto (a ritorto rispetto alla maglia con il segnapunti). SUGGERIMENTO PER LE DIMINUZIONI (applicato alle maniche): Diminuire 1 maglia a ogni lato del segnapunti come segue: Lavorare fino a quando rimangono 3 maglie prima del segnapunti, 2 maglie insieme a diritto, 2 maglie diritto (il segnapunti è al centro di queste 2 maglie), passare 1 maglia a diritto senza lavorarla, 1 maglia diritto, accavallare la maglia passata sopra quella appena lavorata (2 maglie diminuite). ------------------------------------------------------- INIZIO DEL LAVORO: ------------------------------------------------------- MAGLIONE – BREVE RIASSUNTO DEL LAVORO: Lavorare il collo e lo sprone in tondo con i ferri circolari, dal centro dietro e dall’alto in basso. Dividere lo sprone per il corpo e le maniche e continuare il corpo in tondo con i ferri circolari. Lavorare le maniche in tondo con i ferri a doppia punta. COLLO DOPPIO: Avviare 78-81-87-90-93-96 maglie con DROPS Air usando 2 ferri circolari, n° 4 e 5,5 mm, tenuti insieme. Eliminare un ferro n° 5,5 mm e lavorare con i ferri circolari n° 4 mm (in questo modo si otterrà un bordo di avvio elastico). Lavorare a coste in tondo (1 maglia diritto, 2 maglie rovescio) per 9 cm. Ora piegare il collo a metà verso l’interno e sul giro successivo, lavorando a maglia rasata, lavorare ogni 2° maglia insieme a diritto a ogni 2° maglia del bordo di avvio. Passare ai ferri circolari n° 5,5 mm. Inserire 1 segnapunti all’inizio del giro (centro dietro); misurare lo sprone da questo segnapunti! SPRONE: Lavorare 1 giro diritto e aumentare 14-15-17-10-11-14 maglie in modo uniforme = 92-96-104-100-104-110 maglie. Inserire 4 segnapunti (senza lavorare le maglie) come segue: Contare 15-16-18-17-18-19 maglie (metà dietro), inserire 1 segnapunti nella maglia successiva, contare 14 maglie (manica), inserire 1 segnapunti nella maglia successiva, contare 30-32-36-34-36-39 maglie (davanti), inserire 1 segnapunti nella maglia successiva, contare 14 maglie (manica), inserire 1 segnapunti nella maglia successiva. Ci sono 15-16-18-17-18-20 maglie dopo l’ultima maglia con il segnapunti (metà dietro). Lavorare a maglia rasata e aumentare per il RAGLAN – leggere la descrizione sopra, ogni 2 giri per 17-19-20-24-26-27 volte = 228-248-264-292-312-326 maglie. FARE ATTENZIONE ALLA TENSIONE DEL LAVORO! Lavorare fino a quando lo sprone misura 20-22-24-25-27-29 cm. Ora dividere il lavoro per il corpo e le maniche come segue: Lavorare 34-37-39-43-47-49 maglie, mettere in sospeso le 46-50-54-60-62-64 maglie successive per la manica, avviare 8-8-10-10-12-12 maglie sotto la manica, lavorare 68-74-78-86-94-99 maglie, mettere in sospeso le 46-50-54-60-62-64 maglie successive per la manica, avviare 8-8-10-10-12-12 maglie sotto la manica, lavorare le ultime 34-37-39-43-47-50 maglie. CORPO: = 152-164-176-192-212-222 maglie. Continuare a maglia rasata in tondo per altri 24-24-24-25-25-25 cm. Ora aumentare 13-13-16-18-19-21 maglie in modo uniforme sul giro successivo = 165-177-192-210-231-243 maglie. Passare ai ferri circolari n° 4 mm e lavorare a coste (1 maglia diritto, 2 maglie rovescio) per 4 cm. Intrecciare. Il maglione misura circa 52-54-56-58-60-62 cm, dalla spalla in giù. MANICHE: Riportare le 46-50-54-60-62-64 maglie in sospeso a un lato del lavoro sui ferri circolari corti/ferri a doppia punta n° 5,5 mm e riprendere 1 maglia in ognuna delle 8-8-10-10-12-12 maglie avviate sotto la manica = 54-58-64-70-74-76 maglie. Inserire un segnapunti al centro delle nuove maglie sotto la manica. Lavorare a maglia rasata in tondo per 2 cm. Ora diminuire 2 maglie sotto la manica – leggere il SUGGERIMENTO PER LE DIMINUZIONI. Diminuire in questo modo ogni 4½-4-3-2-2-1½ cm per un totale di 7-8-10-13-14-14 volte = 40-42-44-44-46-48 maglie. Quando la manica misura 34-33-31-31-29-28 cm dalla divisione, aumentare 5-6-7-7-5-6 maglie in modo uniforme = 45-48-51-51-51-54 maglie. Passare ai ferri a doppia punta n° 4 mm e lavorare a coste (2 maglie rovescio, 1 maglia diritto) per 8 cm. Intrecciare. La manica misura circa 42-41-39-39-37-36 cm dalla divisione. Lavorare l’altra manica nello stesso modo. |
|
 |
|
Avete terminato questo modello?Allora taggate le vostre foto con #dropspattern #foggyautumnsweater o inviatele alla #dropsfan gallery. Avete bisogno di aiuto con questo modello?Troverete 29 video tutorial, una sezione per i commenti/domande e molto altro guardando il modello su www.garnstudio.com © 1982-2026 DROPS Design A/S. Ci riserviamo tutti i diritti. Questo documento, compreso tutte le sue sotto-sezioni, è protetto dalle leggi sul copyright. Potete leggere quello che potete fare con i nostri modelli alla fine di ogni modello sul nostro sito. |
|


Con oltre 40 anni di esperienza nel design di modelli di maglia e uncinetto, DROPS Design offre la più estesa collezione di modelli gratuiti su internet - tradotti in 17 lingue. Ad oggi vi possiamo fornire 324 cataloghi e 12239 modelli - 9507 dei quali sono tradotti in Italiano.
Ci stiamo impegnando molto per darvi il meglio che vi possiamo offrire in termini di maglia e uncinetto, ispirazioni e consigli così come filati di grande qualità ad un prezzo incredibile! Volete utilizzare i nostri modelli per qualcosa d'altro oltre al vostro uso personale? Potete leggere tutto ciò che è consentito nel testo sul Copyright in basso su tutte le pagine dei nostri modelli. Buon lavoro!
Lasciare un commento sul modello DROPS 236-34
Noi saremmo felici di ricevere i tuoi commenti e opinioni su questo modello!
Se vuoi fare una domanda, fai per favore attenzione a selezionare la categoria corretta nella casella qui sotto per velocizzare il processo di risposta. I campi richiesti sono indicati da *.