
Popular categories
Looking for a yarn?


Comments / Questions (11)
![]() Guusje wrote:
Guusje wrote:
Met welk type garen is drops salsa te vervangen? Deze is namelijk niet meer beschikbaar. En kan het ook vervangen worden met een 'warmer' garen, zodat het als een soort spencer voor de koudere maanden gebruikt kan worden?
09.10.2025 - 11:09DROPS Design answered:
Dag Guusje,
Een garen met alpaca erin is vaak warmer. Met de garenvervanger, waarvan een link staat onder de materialenlijst bij ieder patroon, kun je vervangend garen vinden voor je project. De benodigde hoeveelheid wordt dan ook gelijk aangegeven.
09.10.2025 - 21:12
![]() Drops Design France wrote:
Drops Design France wrote:
Bonjour Lydie et merci pour les augmentations qui sont effectivement à faire sur le côté. Ces augmentations se font à des hauteurs différentes pour qu'elles soient plus harmonieuses.
08.03.2011 - 22:39
![]() Lydie wrote:
Lydie wrote:
Dernière chose : je ne comprends pas pourquoi pour le dos on augmente 1 m de chaque côté à 10 et 16 cm et pour les devants on augmente à 7 et 13 cm. Merci.
08.03.2011 - 00:19
![]() Lydie wrote:
Lydie wrote:
Désolée, j'ai encore un petit problème à signaler (je ne m'en suis aperçue qu'après) : pour les devants, il est noté de monter 17 mailles (pour la plus petite taille) et d'augmenter 1 m de chaque côté à 7 et 13 cm et il est écrit que cela doit faire 19 m. Or 17 plus 4 cela fait 21 mailles. Alors à mon avis, il ne faut augmenter que du côté des emmanchures, soit 2 mailles en tout, ce qui fait bien 19 m. Merci. Cordialement. Lydie
08.03.2011 - 00:16
![]() Drops Design France wrote:
Drops Design France wrote:
Bonjour Lydie, effectivement, il faut rabattre d'abord les mailles pour les emmanchures, le modèle a été corrigé, merci.
07.03.2011 - 09:31
![]() Lydie wrote:
Lydie wrote:
Bonjour, c'est vraiment génial de pouvoir trouver de si beaux modèles de tricot. Je suis en train de réaliser ce modèle et j'ai un problème : pour les diminutions des emmanchures, il est dit de diminuer 1 m de chaque côté tous les 2 rangs 3 fois, ce qui pour moi fait 6 mailles. Or avec au début 37 mailles, on me dit qu'après ces diminutions je dois avoir 25 mailles, ce qui fait 12 mailles de moins. Alors je ne sais pas quoi faire. Merci de vérifier. Cordialement
06.03.2011 - 11:15ulrica wrote:
i en längre modell hade jag gärna gjort den. antar att det är att bara göra den lite längre på egen hand.
21.12.2006 - 13:15Tina wrote:
Likte den grove strukturen mikset med feminin fasong! Fargen er flott.
13.12.2006 - 09:30
![]() linn-karla wrote:
linn-karla wrote:
Å så fin.Tøff farge.den bør bli med
10.12.2006 - 22:24lyvee wrote:
la couleur de cehaut est magnique et le modèle est divin. raffiné pour l'été de toute beauté
10.12.2006 - 10:36
|
|
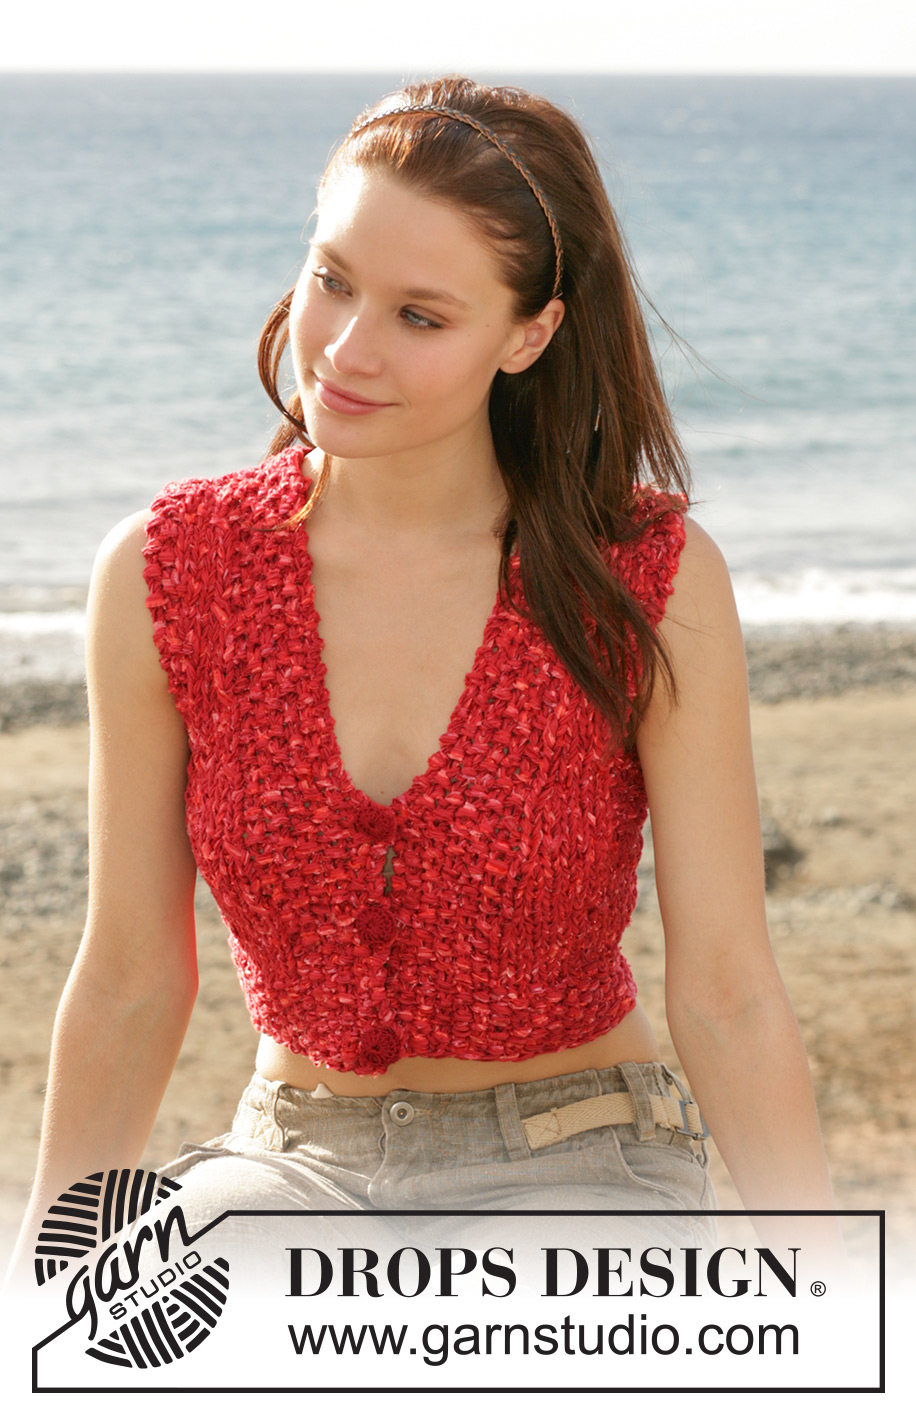
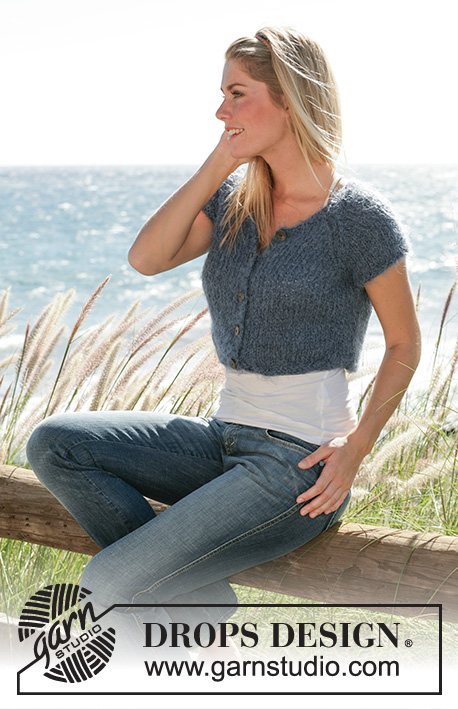
Strawberry Vest#strawberryvest |
|
|
|
|
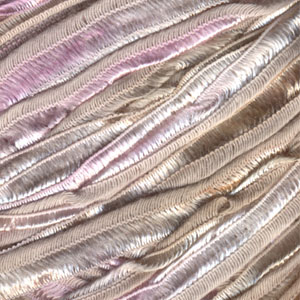
DROPS small sleeveless cardigan knitted with 3 threads of Salsa.
DROPS 100-11 |
|
|
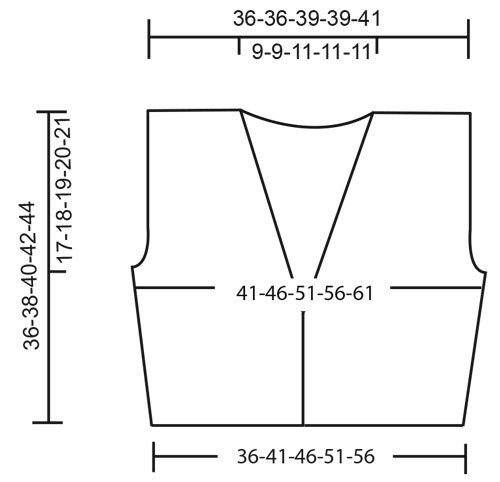
Knitting Tension: 8 sts x 14 rows with 3 threads of Salsa on needles size 10 mm in stocking sts = 10 x 10 cm. Moss sts: 1st row: *K1, P1*, repeat from *-*. 2nd row: P over K and K over P. Repeat the 2 rows. Decreasing tips (armhole and neck): Dec. inside the 2 sts of moss sts at the armhole side and inside the 6 sts of moss sts for the front band at the neck. Dec. as follows after 2/6 sts: Slip a st as if to knit, K1, psso. Dec. as follows before 2/6 sts: K2 tog. Increasing tips (apply for the shoulder): Inc. for the shoulder inside the 2 sts of moss sts – inc. as follows: K 2 sts in the first st of stocking sts - 1 in the front part of the st and 1 in the back part of the st. Back piece: Cast on 29-33-37-41-45 sts on needle size 10mm with 3 threads of Salsa. Knit 10 rows of moss sts – see explanation above. Continue in stocking sts – at the same time when the piece measures 10 and 16 cm inc. 1 st each side = 33-37-41-45-49 sts. When the piece measures 17-18-19-20-21 cm knit 2 rows of moss sts over the 5-5-6-6-7 sts each side (continue to knit the other sts in stocking sts as before). Cast off 3-3-4-4-5 sts each side. Continue with 2 sts of moss sts each side – at the same time dec. 1 st for the armhole each side on every other row – see decreasing tips: 1-3-3-5-5 times = 25-25-27-27-29 sts. When the piece measures 28-30-32-34-36 cm inc. 1 st each side – see increasing tips. Repeat the inc. after 4 cm = 29-29-31-31-33 sts. When the piece measures 32-34-36-38-40 cm knit 3 rows of moss sts over the mid 19-19-21-21-21 sts ( continue to knit other sts as before). Cast off the mid 7-7-9-9-9 sts of the moss sts = 11-11-11-11-12 sts left for each shoulder. Knit another 2 rows with 6 sts of moss sts at the neck side and 2 sts of moss sts at the armhole side. Cast off, the piece measures approx. 36-38-40-42-44 cm. Left front piece: Cast on 17-19-21-23-25 sts on needle size 10 mm with 3 threads of Salsa. Knit 10 rows of moss sts. Continue in stocking sts with 6 sts of moss sts for the front band until finish. When the piece measures 7 and 13 cm inc. 1 st at the side (the measure for the inc. are different for the front and the back piece. This makes the total number of inc. more evenly distributed along the edge)= 19-21-23-25-27 sts. When the piece measures 16-17-18-19-20 cm dec. 1 st for the neck shape – see decreasing tips: on every 4th row a total of 4-4-6-6-6 times and then on every 6th row a total of 2-2-1-1-1 times. At the same time when the piece measures 17-18-19-20-21 cm knit 2 rows with 5-5-6-6-7 sts of moss sts towards the armhole (knit other sts as before). Cast off for the armhole and inc. for the shoulder as done for the back piece. After all inc. and dec. are completed the number of sts left for the shoulder = 11-11-11-11-12 sts. Cast off the remaining sts when the front piece measures the same as the back piece. Right front piece: Knit as left front piece but reverse and in addition cast off for 3 button holes at the front band. 1 button hole = K the 2nd and 3rd st at the front band tog. make a yo. Cast off for button holes when the piece measures: Size S: 3, 9 and 15 cm Size M: 3,10 and 16 cm Size L: 3, 10 and 17 cm Size XL: 3, 11 and 18 cm Size XXL: 3, 11 and 19 cm Assembly: Sew the side seams in the outer part of the most outer st to avoid a chunky seam. Sew the shoulder seams. Crochet button covers: Crochet 3 button covers using hook size 3 mm with 1 thread of Cotton Viscose as follows: Crochet 2 ch, crochet 16 tr in the first of the 2 ch and finish with a sl st in the top of the first tr (=1st round). 2nd round: Crochet 1 dc in each tr and finish with a sl st in the first dc on round. 3rd round: Crochet 1 tr in every other dc and finish with a sl st in the first tr on round. Put the button into the cover and sew around the edge and pull tight tog. Sew the 3 buttons onto the cardigan in the 3rd front band st from the mid front. |
|
 |
|
Have you finished this pattern?Tag your pictures with #dropspattern #strawberryvest or submit them to the #dropsfan gallery. Do you need help with this pattern?You'll find 19 tutorial videos, a Comments/Questions area and more by visiting the pattern on garnstudio.com. © 1982-2026 DROPS Design A/S. We reserve all rights. This document, including all its sub-sections, has copyrights. Read more about what you can do with our patterns at the bottom of each pattern on our site. |


With over 40 years in knitting and crochet design, DROPS Design offers one of the most extensive collections of free patterns on the internet - translated to 17 languages. As of today we count 324 catalogues and 12290 patterns translated into English (UK/cm). 12290
We work hard to bring you the best knitting and crochet have to offer, inspiration and advice as well as great quality yarns at incredible prices! Would you like to use our patterns for other than personal use? You can read what you are allowed to do in the Copyright text at the bottom of all our patterns. Happy crafting!
Post a comment to pattern DROPS 100-11
We would love to hear what you have to say about this pattern!
If you want to leave a question, please make sure you select the correct category in the form below, to speed up the answering process. Required fields are marked *.