
Popular categories
Looking for a yarn?


Comments / Questions (6)
![]() Luci wrote:
Luci wrote:
Hi, My chest is 44 inches. What is positive ease of this jumper? What size should I make to get the loose structure as a model? Thank you.
13.02.2026 - 11:02
![]() Anna wrote:
Anna wrote:
Hallo :) Nachdem 14 Maschen im Vorderteil aufgenommen wurden, soll gestrickt werden, bis die Arbeit eine Länge von 20 cm hat. Wo wird der Beginn der 20cm gemessen? An der Schulter oder am Beginn des Halses oder an den 14 neu aufgefassten Maschen? Vielen Dank 😊
27.11.2025 - 21:59DROPS Design answered:
Liebe Anna, diese 20 cm messen Sie ab Anfang der Schulter - siehe unter beide Vorderteile Alle Längenmaße des Vorderteils werden ab diesem Auffassen der Maschen gemessen.. Viel Spaß beim Stricken!
28.11.2025 - 08:08
![]() PatouA wrote:
PatouA wrote:
Je tricote le modèle en taille L. J’arrive au moment de relier le dos et le devant. Toutefois, je trouve l’emmanchure très étroite, seulement 20cm. Est ce bien cela? Merci de votre reponse.
16.09.2025 - 22:50DROPS Design answered:
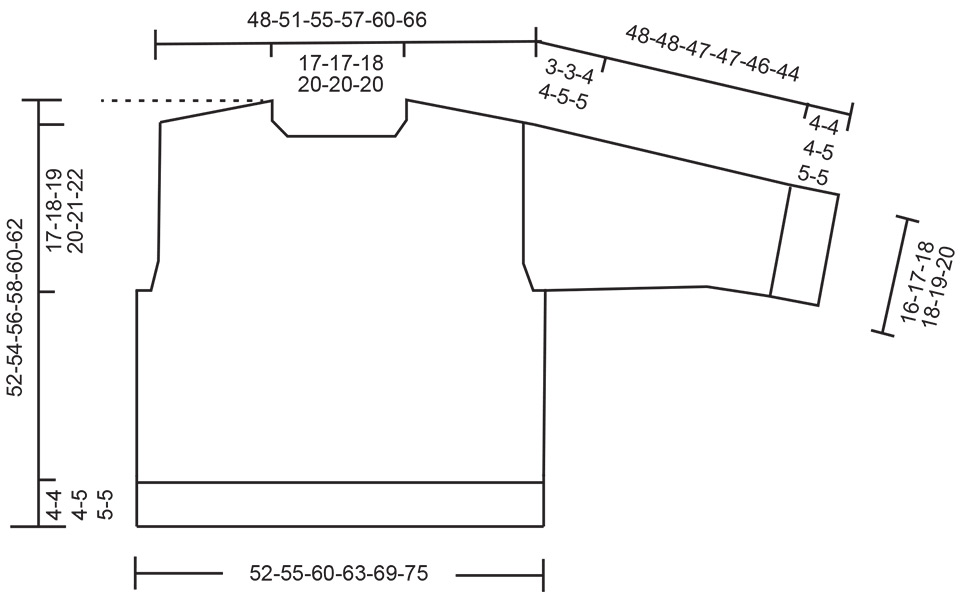
Bonjour PatouA, tout à fait, l'emmanchure fait bien 20 cm en taille L - cf schéma. Bon tricot!
17.09.2025 - 08:04
![]() Anna Lisa wrote:
Anna Lisa wrote:
Mi piacerebbe sapere a cosa corrispondo le vostre taglie XS, S, M ecc in centimetri circonferenza seno, lunghezza capo Grazie Cordiali saluti Annalisa
09.09.2025 - 17:49DROPS Design answered:
Buongiorno Anna Lisa, in fondo ad ogni pagina trova lo schema delle misure per confrontarlo con un capo simile già in suo possesso e poter scegliere la taglia più adatta. Buon lavoro!
10.09.2025 - 16:32
![]() Nathalie Monka wrote:
Nathalie Monka wrote:
Bonjour, je ne comprends pas les explications ,on aurait dit que le pull est fait le dos et devant en une pièce jusqu’aux sous bras .
02.09.2025 - 16:41
![]() Nina Bøgh Rasmussen wrote:
Nina Bøgh Rasmussen wrote:
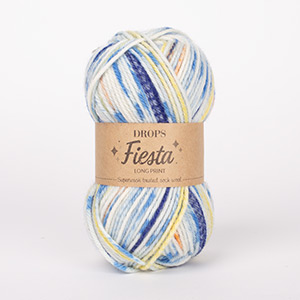
Der er noget galt med garnforbruget i denne opskrift. Jeg skal bruge en str. XL med 450 g. FIESTA med løbelængde på 110 m pr. 50 g. som giver 990 m. ialt. Hvis jeg så tager 225 g. KID-SILK som løber 210 m. pr. 25 g. får jeg 1.890 m. Er det så KID-SILK jeg skal halvere eller skal FIESTA fordobles??? Mvh Nina
29.08.2025 - 12:17DROPS Design answered:
Hej Nina. Garnforbruket ska vara riktigt, husk att den stickas med 1 tråd DROPS Fiesta och 2 trådar DROPS Kid-Silk. Mvh DROPS Design
29.08.2025 - 12:32
|
|
Unicorn Speckles#unicornspecklessweater |
|
 |
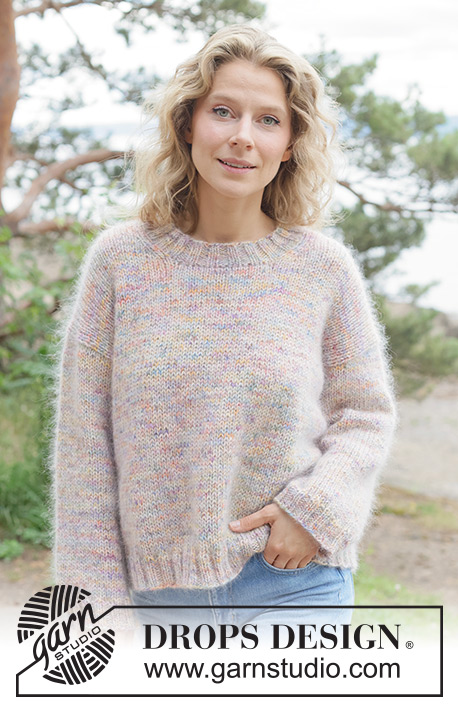 |
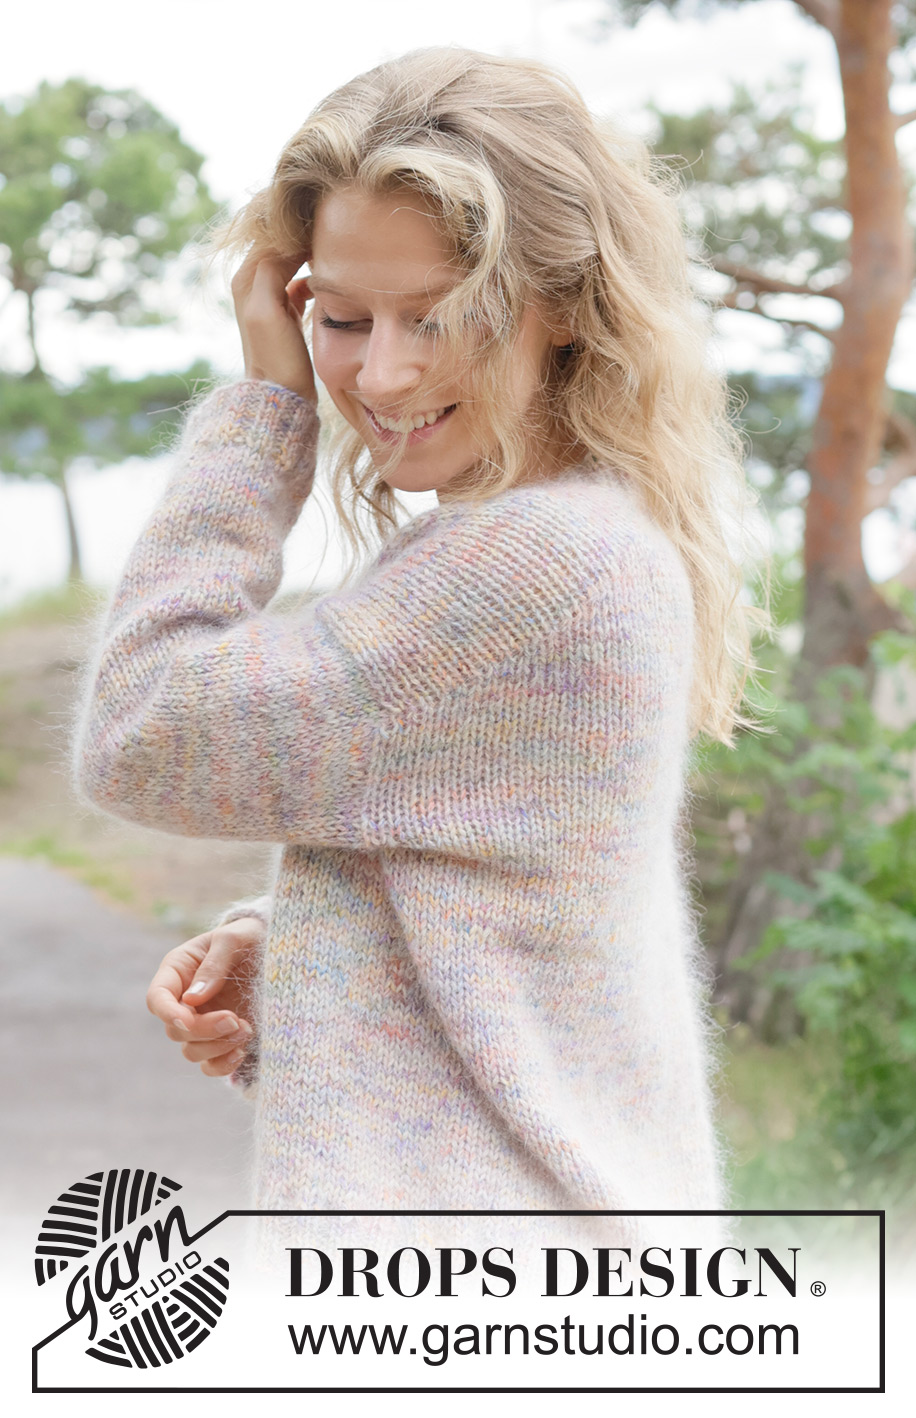
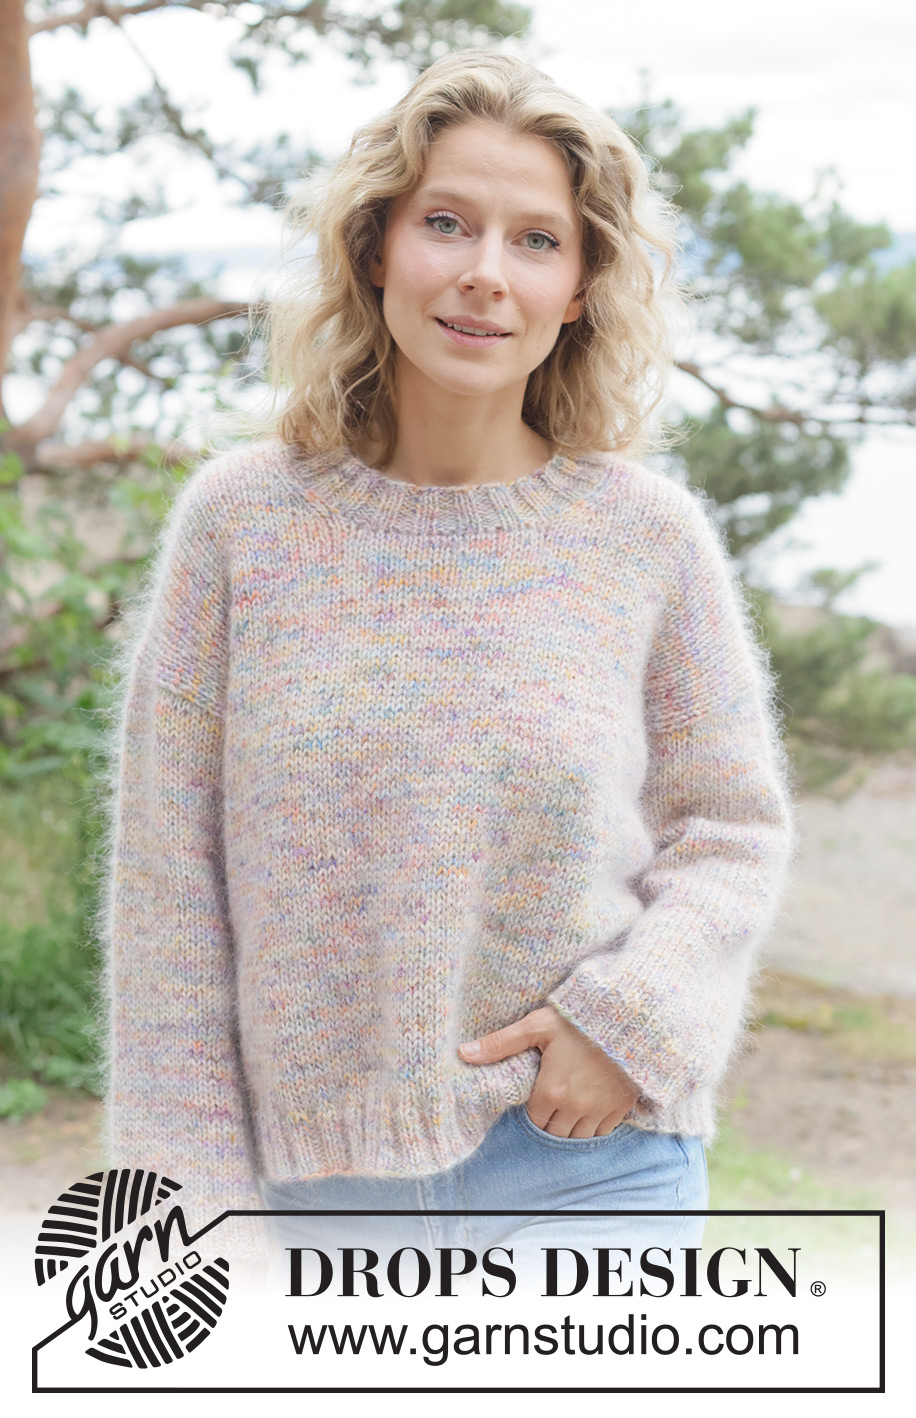
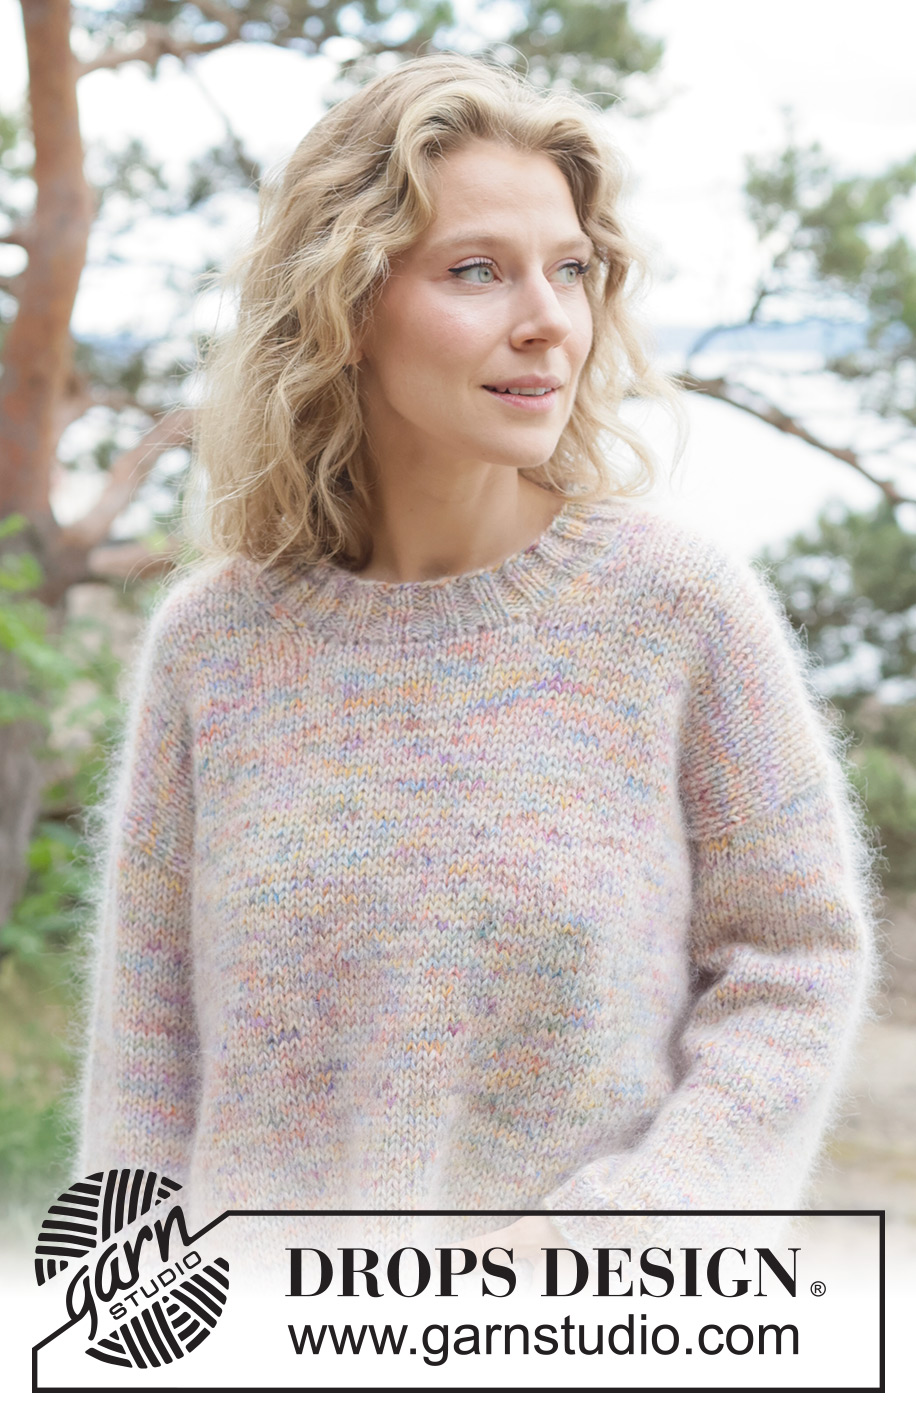
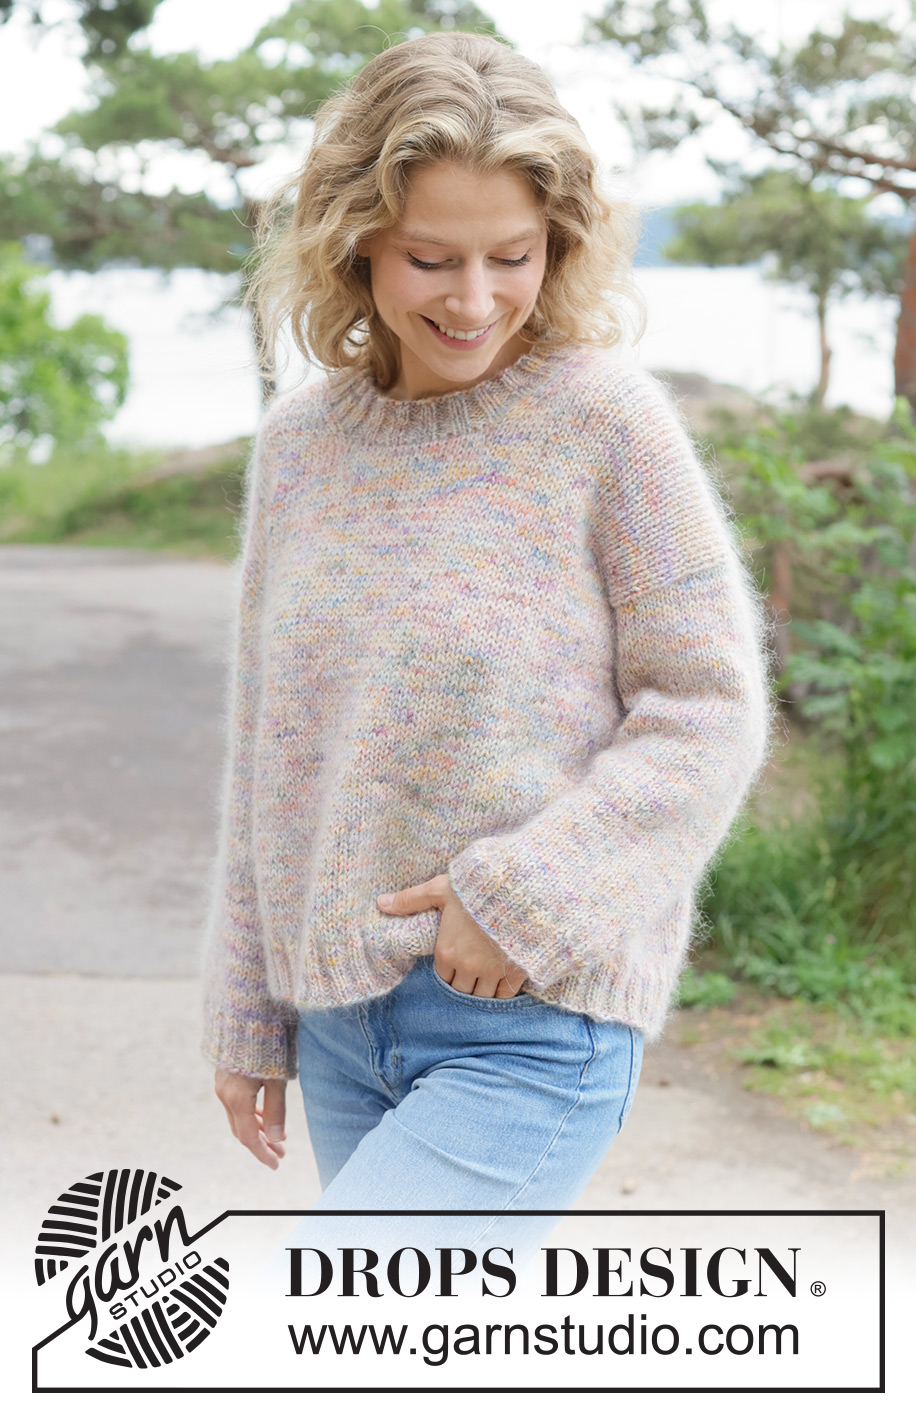
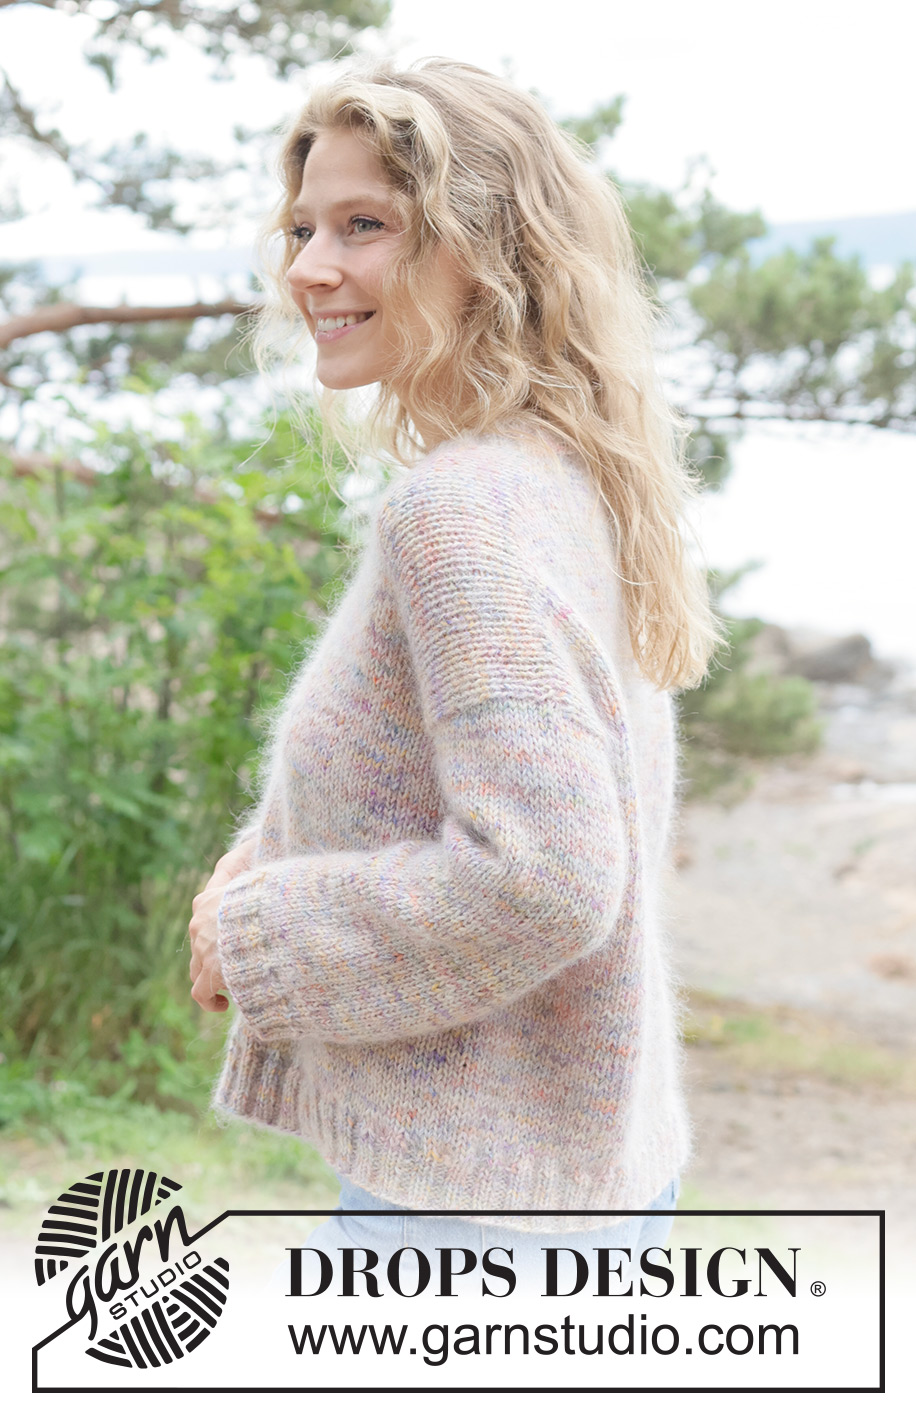
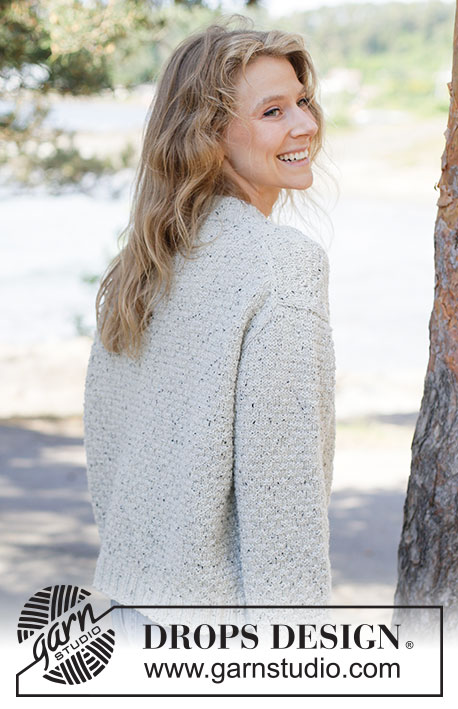
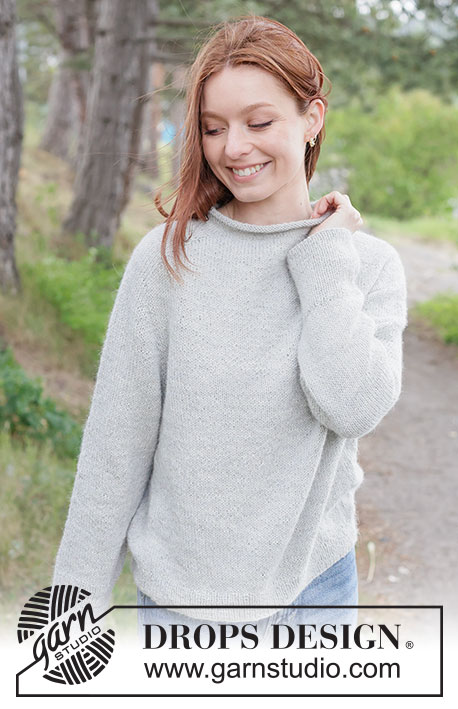
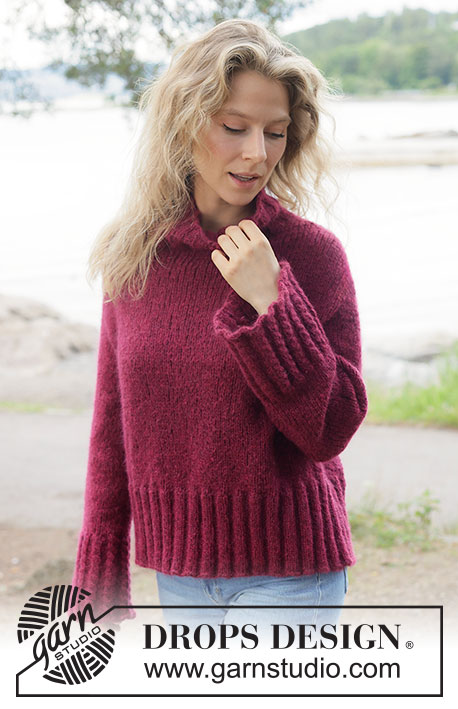
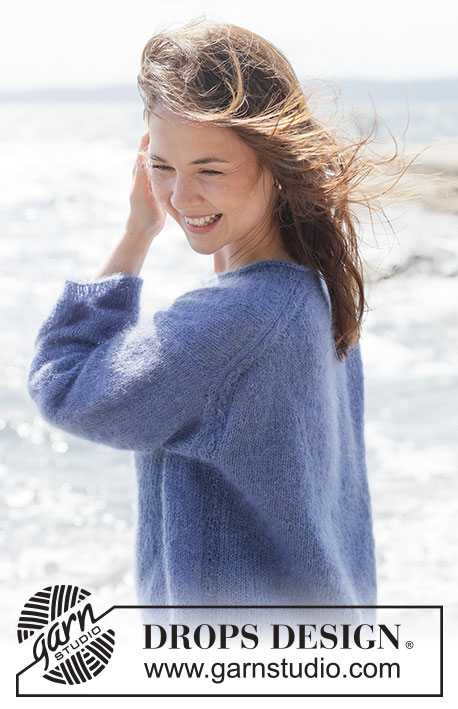
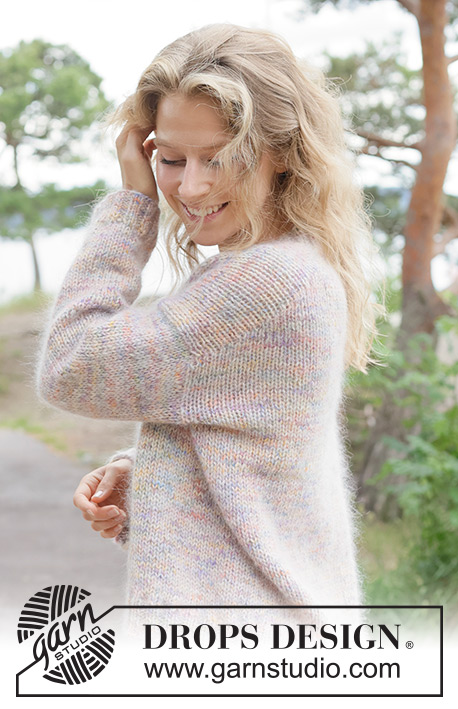
Knitted jumper in 1 strand DROPS Fiesta and 2 strands DROPS Kid-Silk. The piece is worked top down with diagonal/European shoulders. Sizes XS - XXL.
DROPS 264-2 |
|
|
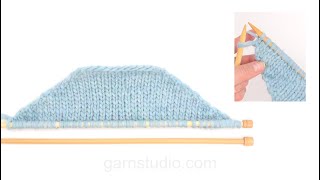
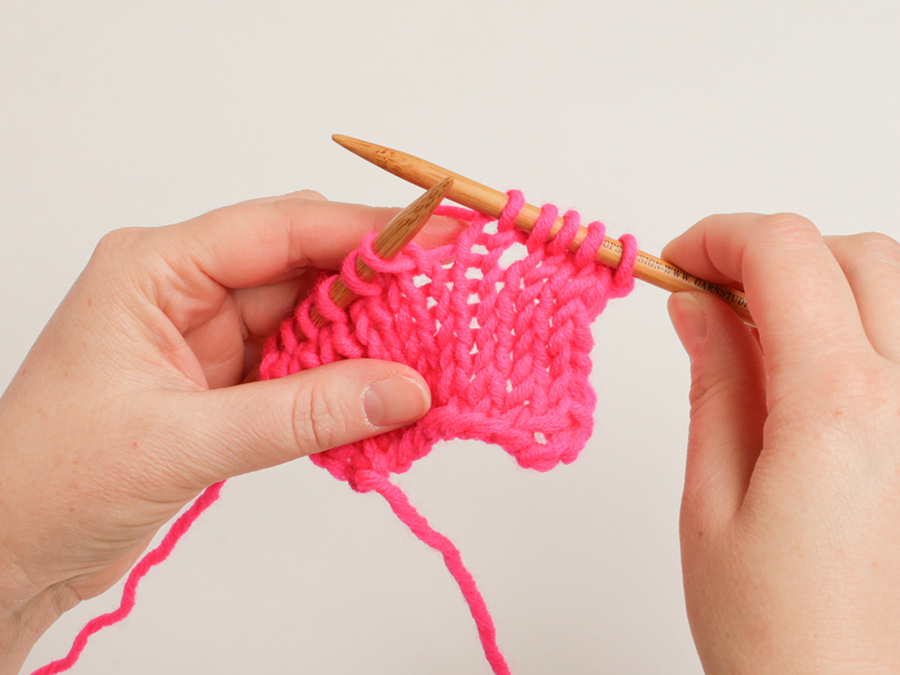
------------------------------------------------------- EXPLANATIONS FOR THE PATTERN: ------------------------------------------------------- INCREASE TIP: INCREASE 1 STITCH TOWARDS LEFT – from right side: Use the left needle to pick up the strand between 2 stitches from the previous row, pick up the strand from the front and knit through the back loop. INCREASE 1 STITCH TOWARDS RIGHT – from right side: Use the left needle to pick up the strand between 2 stitches from the previous row, pick up the strand from the back and knit through the front loop. KNITTING TIP: When working short rows, there will be a small hole after each turn. This hole can be closed by tightening the strand or using the technique German Short Rows as follows: Slip the first stitch purl-wise, take the strand over the right needle and tighten well from the back (2 loops on the needle). These loops are worked together on the next row. DECREASE TIP: Decrease 1 stitch on each side of the marker thread as follows: Work until there are 3 stitches left before the marker thread, knit 2 together, knit 2 (marker thread sits between these 2 stitches) slip 1 stitch knit-wise, knit 1 and pass the slipped stitch over the knitted stitch. ------------------------------------------------------- START THE PIECE HERE: ------------------------------------------------------- JUMPER – SHORT OVERVIEW OF THE PIECE: The pattern uses both long and short needles; start with the length which fits the number of stitches and change when necessary. The piece is started back and forth, casting on stitches at the back of the neck and working the back piece top down, while increasing stitches on each side for the shoulders, which become slightly diagonal. The back piece is worked as far as the armholes. The front piece is then worked in 2 sections, knitting up stitches along 1 back shoulder, working pattern and increasing for the neckline. This is repeated on the other shoulder. The 2 front sections are joined when the neckline is finished and worked as far as the armholes. The front and back pieces are then joined and the body worked in the round. Stitches are knitted up around the armholes for the sleeves, which are started back and forth with short rows for the sleeve cap, then finished in the round. Stitches are knitted up around the neckline and the neck is worked in the round. If there is a «0» in your chosen size, skip the information and go straight to the next instruction. BACK PIECE: The piece is worked back and forth. Cast on 22-22-24-26-26-26 stitches with circular needle size 7 mm, 1 strand DROPS Fiesta and 2 strands Kid-Silk (3 strands). ROW 1 (wrong side): Purl. ROW 2 (right side): Knit 2 stitches in the first stitch (through both the front and back loop), knit until there is 1 stitch left on the row, knit 2 stitches in the last stitch = 2 increased stitches. ROW 3 (wrong side): Purl 2 stitches in the first stitch, purl until there is 1 stitch left on the row, purl 2 stitches in the last stitch = 2 increased stitches. Work ROWS 2 and 3 a total of 10-11-12-12-13-15 times (20-22-24-24-26-30 rows worked) = 62-66-72-74-78-86 stitches. Insert 1 marker outermost on one side. The piece is now measured from here! Remember to maintain the knitting tension. Continue with stocking stitch until the piece measures 8-9-9-9-10-10 cm measured from the marker and down the armhole. Now increase for the armholes. INCREASE FOR ARMHOLES: ROW 1 (right side): Read INCREASE TIP in explanations above. Knit 3, increase 1 stitch towards the left, knit until there are 3 stitches left on the row, increase 1 stitch towards the right, knit 3. ROW 2 (wrong side): Purl. Work ROWS 1 and 2 a total of 2-2-2-3-3-3 times = 66-70-76-80-84-92 stitches. Continue working until the piece measures 11-12-12-13-14-14 cm, measured from the marker and down the armhole, finishing with a row from the wrong side. Cut the strand and place the stitches on a stitch holder. Work the left front piece. LEFT FRONT PIECE: Find the left back shoulder as follows: Lay the back piece flat, right side up, with the stitch holder towards you; left side of piece = left shoulder. Start from the right side on the left back shoulder and knit up 1 stitch in every row worked from the neckline to the shoulder. Knit up inside the outermost stitch so the increased stitches on each side are invisible = 20-22-24-24-26-30 stitches. All length measurements on the front piece are taken from this picked-up row. Work stocking stitch back and forth, starting from the wrong side. When the piece measures 9-9-9-10-10-10 cm, increase for the neckline as follows: ROW 1 (right side): Remember INCREASE TIP. Knit 3, increase 1 stitch towards the left, knit to end of row. ROW 2 (wrong side): Purl. Work ROWS 1 and 2 a total of 4 times (8 rows worked) = 24-26-28-28-30-34 stitches (with the next row from the right side). Cut the strand and place the stitches on a stitch holder. Work the right front piece. RIGHT FRONT PIECE: Start from the right side on the right back shoulder and knit up 1 stitch in every row worked from the shoulder to the neckline. Knit up inside the outermost stitch so the increased stitches on each side are invisible = 20-22-24-24-26-30 stitches. All length measurements on the front piece are taken from this picked-up row. Work stocking stitch back and forth, starting from the wrong side. When the piece measures 9-9-9-10-10-10 cm, increase for the neckline as follows: ROW 1 (right side): Knit until there are 3 stitches left on the row, increase 1 stitch towards the right, knit 3 – remember INCREASE TIP. ROW 2 (wrong side): Purl. Work ROWS 1 and 2 a total of 4 times (8 rows worked) = 24-26-28-28-30-34 stitches (with the next row from the right side). Now join the 2 front pieces. FRONT PIECE: Work as follows from the right side: Work the 24-26-28-28-30-34 stitches from the right front piece, cast on 14-14-16-18-18-18 stitches for the neckline at the end of the row, work the 24-26-28-28-30-34 stitches from the left front piece = 62-66-72-74-78-86 stitches. Continue with stocking stitch back and forth until the piece measures 20-21-23-23-24-26 cm. Now increase for the armholes. INCREASE FOR ARMHOLES: ROW 1 (right side): Remember INCREASE TIP. Knit 3, increase 1 stitch towards the left, knit until there are 3 stitches left on the row, increase 1 stitch towards the right, knit 3. ROW 2 (wrong side): Purl. Work ROWS 1 and 2 a total of 2-2-2-3-3-3 times (4-4-4-6-6-6 rows worked) = 66-70-76-80-84-92 stitches. Continue working until the piece measures 23-24-26-27-28-30 cm, finishing with a row from the wrong side. Now join the back and front pieces. The piece is now measured from here! BODY: Work the 66-70-76-80-84-92 stitches from the front piece, cast on 2-2-2-2-6-6 stitches at the end of the row (in the side, mid-under the sleeve), work the 66-70-76-80-84-92 stitches from the back piece, cast on 2-2-2-2-6-6 stitches (in the side, mid-under the sleeve) = 136-144-156-164-180-196 stitches. Work stocking stitch in the round until the piece measures 29-30-31-31-32-33 cm from the armhole. Change to circular needle size 5 mm. Work rib (knit 2, purl 2), AT THE SAME TIME on the first round increase 32-32-32-36-40-44 stitches evenly spaced = 168-176-188-200-220-240 stitches. Work rib for 4-4-4-5-5-5 cm, cast off. The jumper measures approx. 52-54-56-58-60-62 cm, measured closest into the neck. SLEEVES: The sleeves are worked top down. Lay the piece flat and insert 1 marker at the top of the armhole (NOTE! This is not the same place as the picked-up row for the front piece but approx. 3 to 5 cm down the front piece). Use circular needle size 5 mm. Start in the middle of the cast-on stitches under the sleeve and knit up 42-44-48-50-58-60 stitches – with an equal number of stitches on each side of the marker. Change to circular needle size 7 mm. Work stocking stitch with short rows for the sleeve cap, to give the sleeve a better fit. Start mid-under the sleeve and work as follows: ROW 1 (right side): Knit to 5-5-6-6-7-7 stitches past the marker on top of the shoulder, turn – read KNITTING TIP. ROW 2 (wrong side): Purl to 5-5-6-6-7-7 stitches past the marker, turn. ROW 3 (right side): Knit to 8-8-6-6-5-5 stitches past the previous turn, turn. ROW 4 (wrong side): Purl to 8-8-6-6-5-5 stitches past the previous turn, turn. In sizes XS and S the short rows are finished. Repeat ROWS 3 and 4, 0-0-2-2-4-4 more times. You have turned 4-4-6-6-8-8 times (2-2-3-3-4-4 times each side, with the last row from the wrong side). AFTER THE FINAL TURN: When you have worked row 4 for the final time, then turned, knit back to the beginning of the row (mid-under the sleeve). Insert 1 marker-thread here; this is used when decreasing under the sleeve. Allow the thread to follow your work onwards. Continue with stocking stitch in the round. When the sleeve measures 1-1-1-1-1-1 cm, measured under the sleeve, decrease 2 stitches – read DECREASE TIP, 0-0-0-0-2-2 times every 2nd round, then decrease 2 stitches every 0-0-4-4-5-5 cm a total of 0-0-1-1-2-2 times = 42-44-46-48-50-52 stitches. Work until the sleeve measures 42-42-41-40-39-37 cm from the top of the shoulder. Change to double pointed needles. Work rib (knit 2, purl 2), AT THE SAME TIME increase 10-8-10-8-10-12 stitches evenly on the first round = 52-52-56-56-60-64 stitches. When the rib measures 4-4-4-5-5-5 cm, cast off. The sleeve measures approx. 48-48-47-47-46-44 cm from the top of the shoulder. NECK: Use circular needle size 5 mm and 3 strands. Start from the right side by one shoulder-line and knit-up 84 to 100 stitches inside 1 stitch along the neckline – the stitch number should be divisible by 4. Work rib in the round (knit 2, purl 2) for 4-4-4-5-5-5 cm. Cast off with knit. |
|
 |
|
Have you finished this pattern?Tag your pictures with #dropspattern #unicornspecklessweater or submit them to the #dropsfan gallery. Do you need help with this pattern?You'll find 34 tutorial videos, a Comments/Questions area and more by visiting the pattern on garnstudio.com. © 1982-2026 DROPS Design A/S. We reserve all rights. This document, including all its sub-sections, has copyrights. Read more about what you can do with our patterns at the bottom of each pattern on our site. |
|


With over 40 years in knitting and crochet design, DROPS Design offers one of the most extensive collections of free patterns on the internet - translated to 17 languages. As of today we count 325 catalogues and 12298 patterns translated into English (UK/cm). 12298
We work hard to bring you the best knitting and crochet have to offer, inspiration and advice as well as great quality yarns at incredible prices! Would you like to use our patterns for other than personal use? You can read what you are allowed to do in the Copyright text at the bottom of all our patterns. Happy crafting!
Post a comment to pattern DROPS 264-2
We would love to hear what you have to say about this pattern!
If you want to leave a question, please make sure you select the correct category in the form below, to speed up the answering process. Required fields are marked *.