
Popular categories
Looking for a yarn?

































Comments / Questions (36)
 Claudia wrote:
La explicación de los bordes derecho e izquierdo por delante y por detras no queda nada claro… Parece , una vez tejidos que los delanteros son lo que uds llaman detrás ….
12.10.2026 - 20:34
 Alicja wrote:
Cześć, robię rozmiar XL - ile oczek powinnam mieć między poszczególnymi markerami tzn z tyłu, na reglanie/rękawie i z przodu - po połączeniu przodu? Bo się pogubiłam w tym opisie.
24.08.2026 - 21:10DROPS Design answered:
Witaj Alicjo, w tym miejscu, o którym piszesz powinnaś mieć łącznie 212 oczek. A podział wygląda tak: przód 31 oczek, reglan 1 oczko, rękaw 42 oczka, reglan 1 oczko, tył 62 oczka, reglan 1 oczko, rękaw 42 oczka, reglan 1 oczko, przód 31 oczek. Pozdrawiamy!
27.08.2026 - 10:30
Alicja wrote:
Ten opis, bazujący na ilości rządów, jest tak skomplikowany, że trudno się zorientować o co chodzi. Może to jest kwestia tłumaczenia na polski. . Szkoda jednak, ze nie podajesz ilości oczek pomiędzy markerami - to by ułatwiło sprawdzanie, czy wszytko jest OK. A tak - robię to "na oko".
24.08.2026 - 21:03
 Marion wrote:
Hallo, ich weiß nicht an welcher Stelle die Zunahme für den V Ausschnitt erfolgen soll. …“ beidseitig innerhalb der Blendenmaschen“. Was heißt das? Danke
28.06.2026 - 10:23DROPS Design answered:
Liebe Marion - siehe Antwort unten, hoffentlich kann das Ihnen helfen, sonnst sagen Sie uns gern mehr hier. Viel Spaß beim Stricken!
29.06.2026 - 11:18
Marion wrote:
Hallo, ich weiß nicht an welcher Stelle die Zunahme für den V Ausschnitt erfolgen soll. …“ beidseitig innerhalb der Blendenmaschen“. Was heißt das? Danke
27.06.2026 - 20:52DROPS Design answered:
Liebe Marion, innerhabl der Blendenmaschen bedeutet nach den Blenden-Maschen am Anfang der Reihe (linke Schulter) und vor den Blenden-Maschen am Ende der Reihe (rechte Schulter). Viel Spaß beim Stricken!
29.06.2026 - 11:06
 Katja wrote:
Essentially, is the raglan increase done simultaneously with the increase for the V from the start and until the end of the raglan increase? In size M, by row 7, one has 96 stitches: 68 cast on + 4 V neck increases (in rows 1 and 7) + 24 raglan increases (in rows 1,3 and 5). Over the next 31 rows there are a further 8 V neck increases (2 stitches in rows 13, 19, 25 and 31) to give you 104. Are further raglan increases commenced only after the V has been joined, ie, after row 32? yours Katja
11.04.2026 - 09:25DROPS Design answered:
Dear Katja, for V-neck you increase a total of 6 times 1 stitch on each side (= on each front piece), and for Raglan you will increase first 8 sts a total of 3 times on every other row (2 sts for front/back pieces + for sleeves), then you will increase alternately 4 sts (front/back pieces only) and 8 sts (front, back pieces and sleeves), so that in M you will have: 68+(2x6 sts for neck)+(8x3 for raglan) + (4 sts x20 raglan front/back pîeces + 4 sts x 10 for sleeves = 68+12+24+120= 224 sts. Happy knitting!
13.04.2026 - 08:40
Anja wrote:
Ich sehe den Zusammenhang zu der Anleitung nicht. In dieser Anleitung wird nichts zusammengenäht oder angenäht, sondern offenbar die Passe an die beiden Blendenteile direkt angestrickt.
25.02.2026 - 20:09DROPS Design answered:
Liebe Anja, schauen Sie mal ganz am Ende bei Fertigstellen - die Blendenteile werden an der hinteren Mitte zusammengenäht und dann an den hinteren Halsausschnitt genäht. Sie stricken also erst zwei separate Blenden, dann schlagen Sie dazwischen Maschen für die Passe an (d.h. überwiegend für den rückwärtigen Halsausschnitt) und stricken den Pulli. Die beiden losen Blendenteile baumeln ja dann noch lose, also müssen Sie die Blenden festnähen, was im allerletzten Schritt wie in der Anleitung beschrieben erfolgt. Viel Spaß beim Stricken!
25.02.2026 - 21:37
Anja wrote:
Hallo, gibt es ein Video tutorial für diese Art der V-Ausschnitt-Blenden Konstruktion? Ich kann es mir nicht so richtig vorstellen.
24.02.2026 - 11:06DROPS Design answered:
Liebe Anja, vom Prinzip her können Sie es sich wie im Video "Wie man zwei Blendenteile zusammennäht..." gezeigt vorstellen, dass Video finden Sie bei den Videos zur Anleitung (ggf. wenn Sie auf "Show more related videos" klicken). Die Blende ist zwar bei diesem Pulli eine I-Cord, aber zur Veranschaulichung können Sie das Video hinzuziehen. Viel Spaß beim Stricken!
24.02.2026 - 11:24
 Anna wrote:
Buonasera.. il bordo sinistro e il bordo destro a cosa servono? Sulla descrizione dello sprone, “lavorare il bordo sinistro come prima…poi avviare… lavorare il bordo destro come prima… poi avviare…”, non capisco…
08.02.2026 - 23:04DROPS Design answered:
Buonasera Anna, i bordi sono necessari per il collo a V. Buon lavoro!
26.04.2026 - 22:31
 JEANNE wrote:
Bonsoir, merci pour votre réponse mais à quel moment remettez vous les mailles sur les aiguilles circulaires ?
04.02.2026 - 00:42DROPS Design answered:
Bonjour Jeanne, on tricote dès le début avec les aiguilles circulaires, d'abord en allers et retours, puis, lorsque les diminutions de l'encolure sont faites, on continue en rond, cf. paragraphe ENCOLURE V:. Bon tricot!
04.02.2026 - 17:28
|
|
Delicate Dance#delicatedancesweater |
|
 |
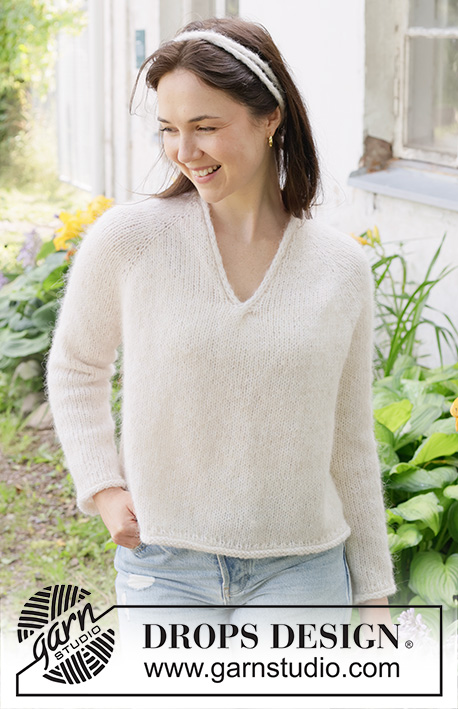 |
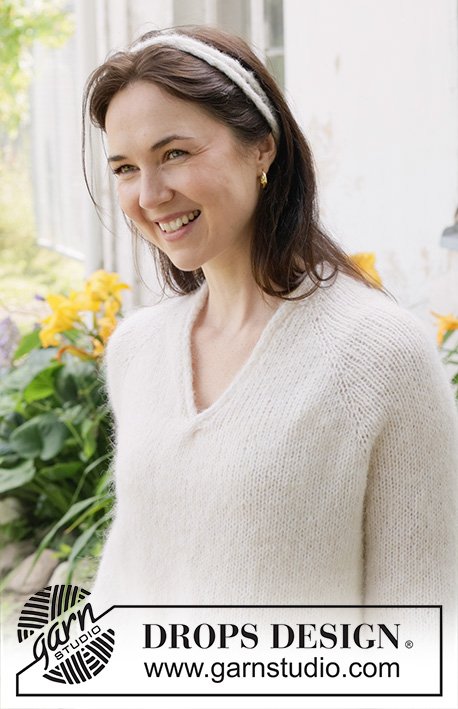
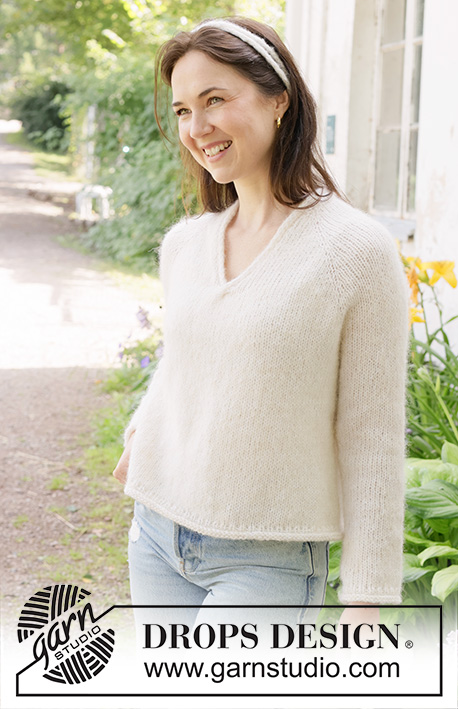
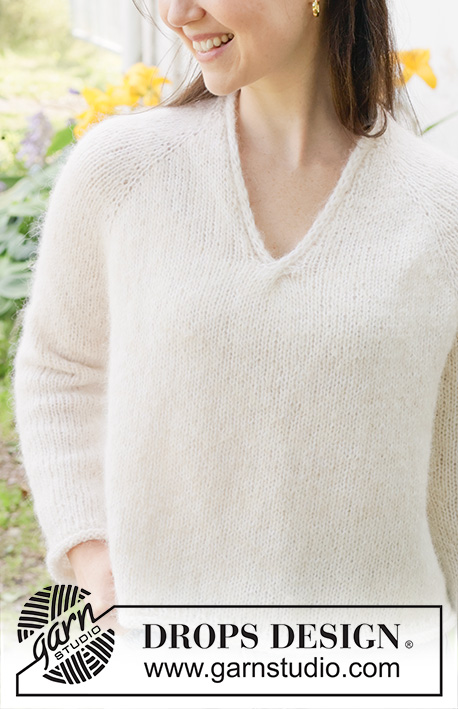
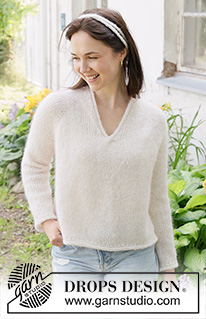
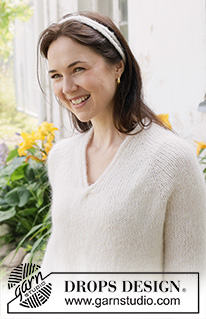
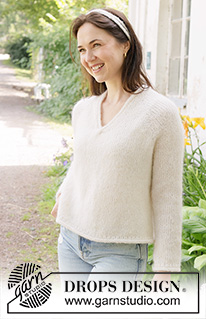
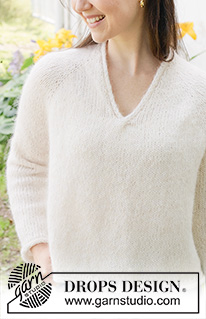
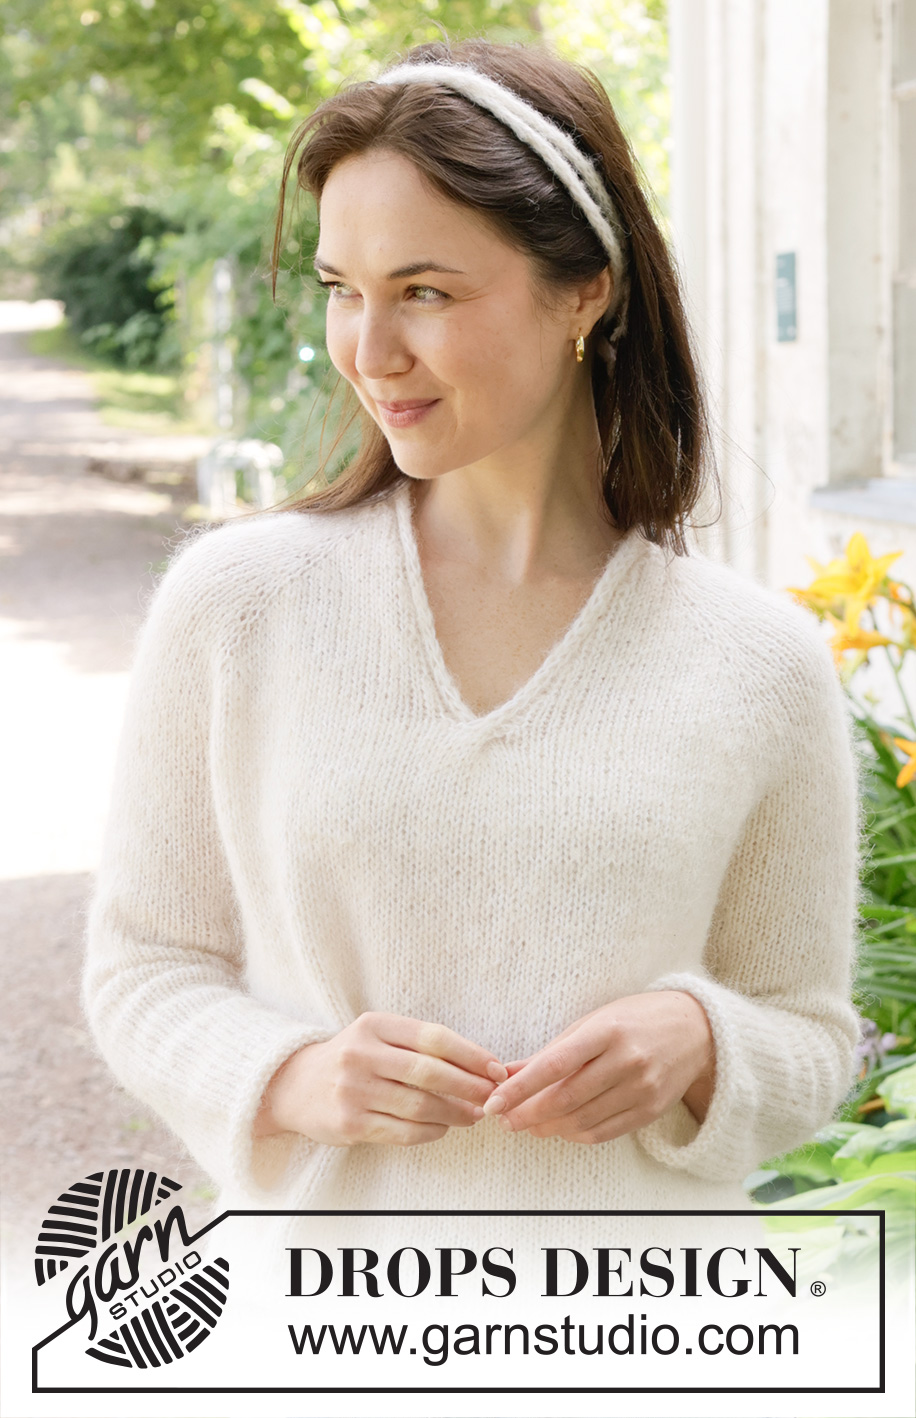
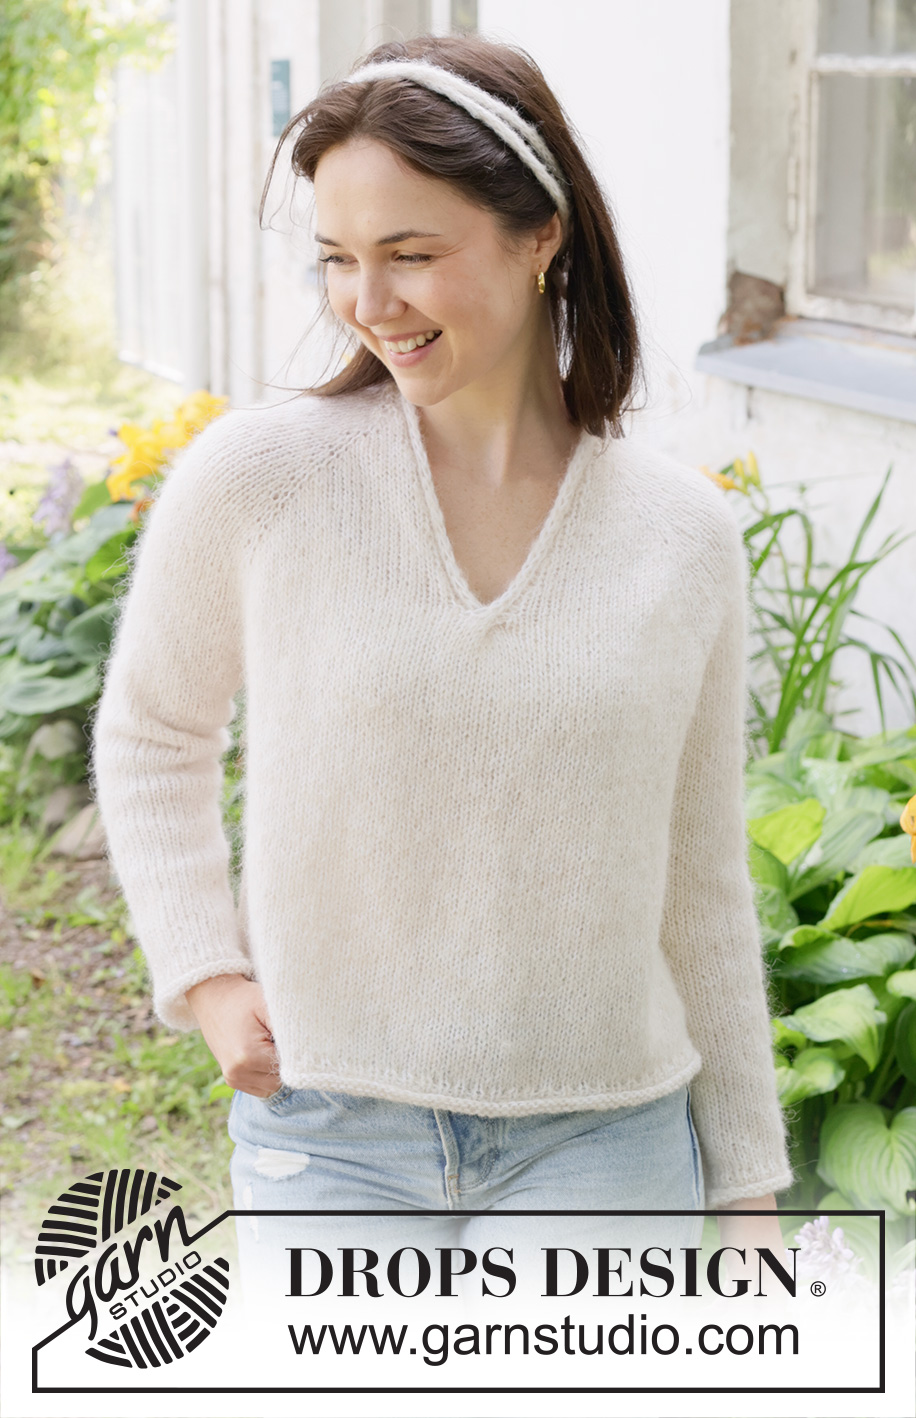
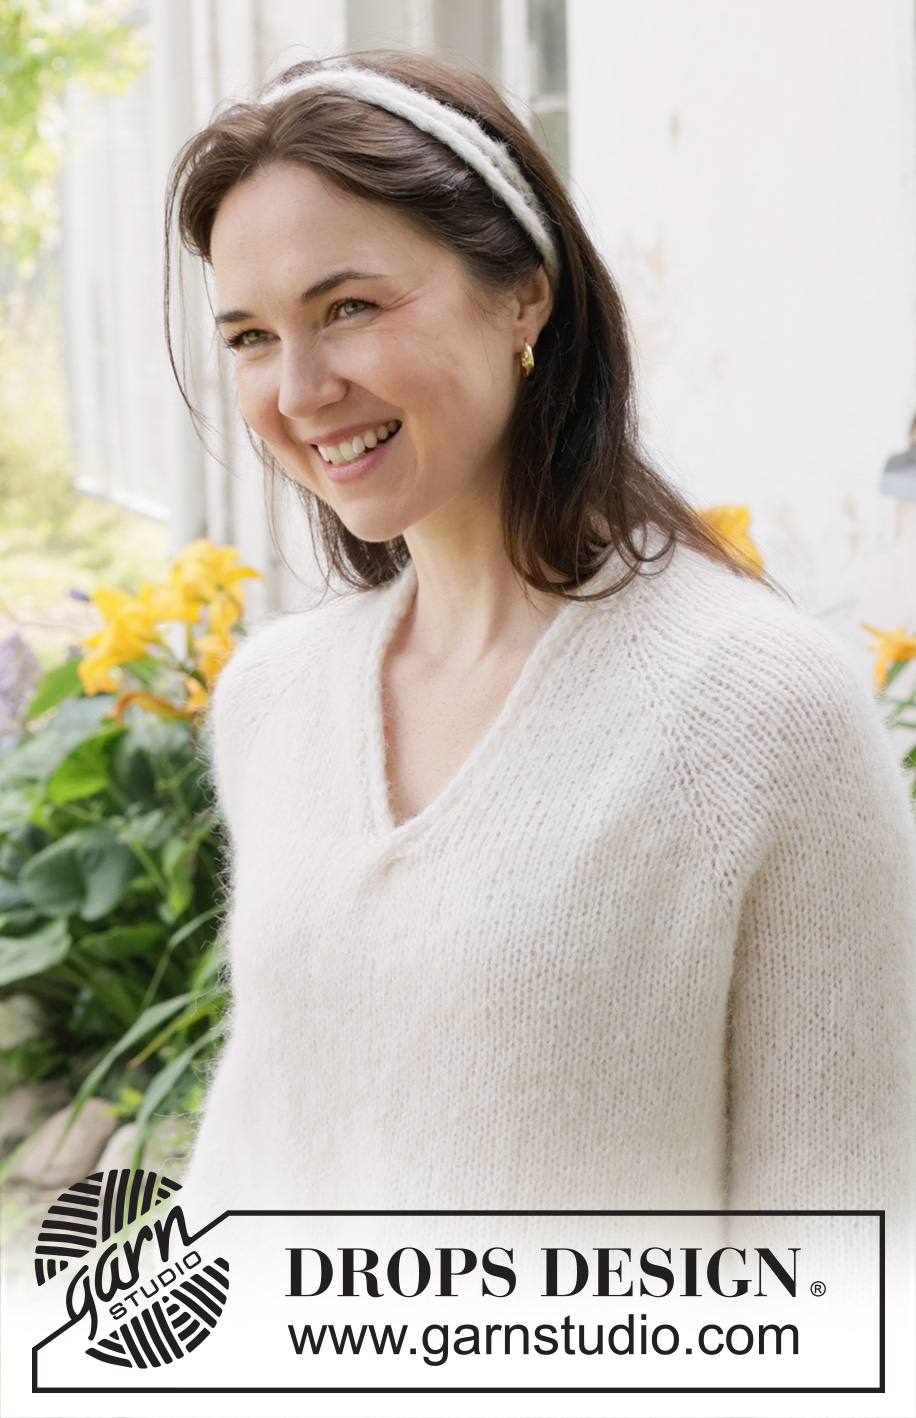
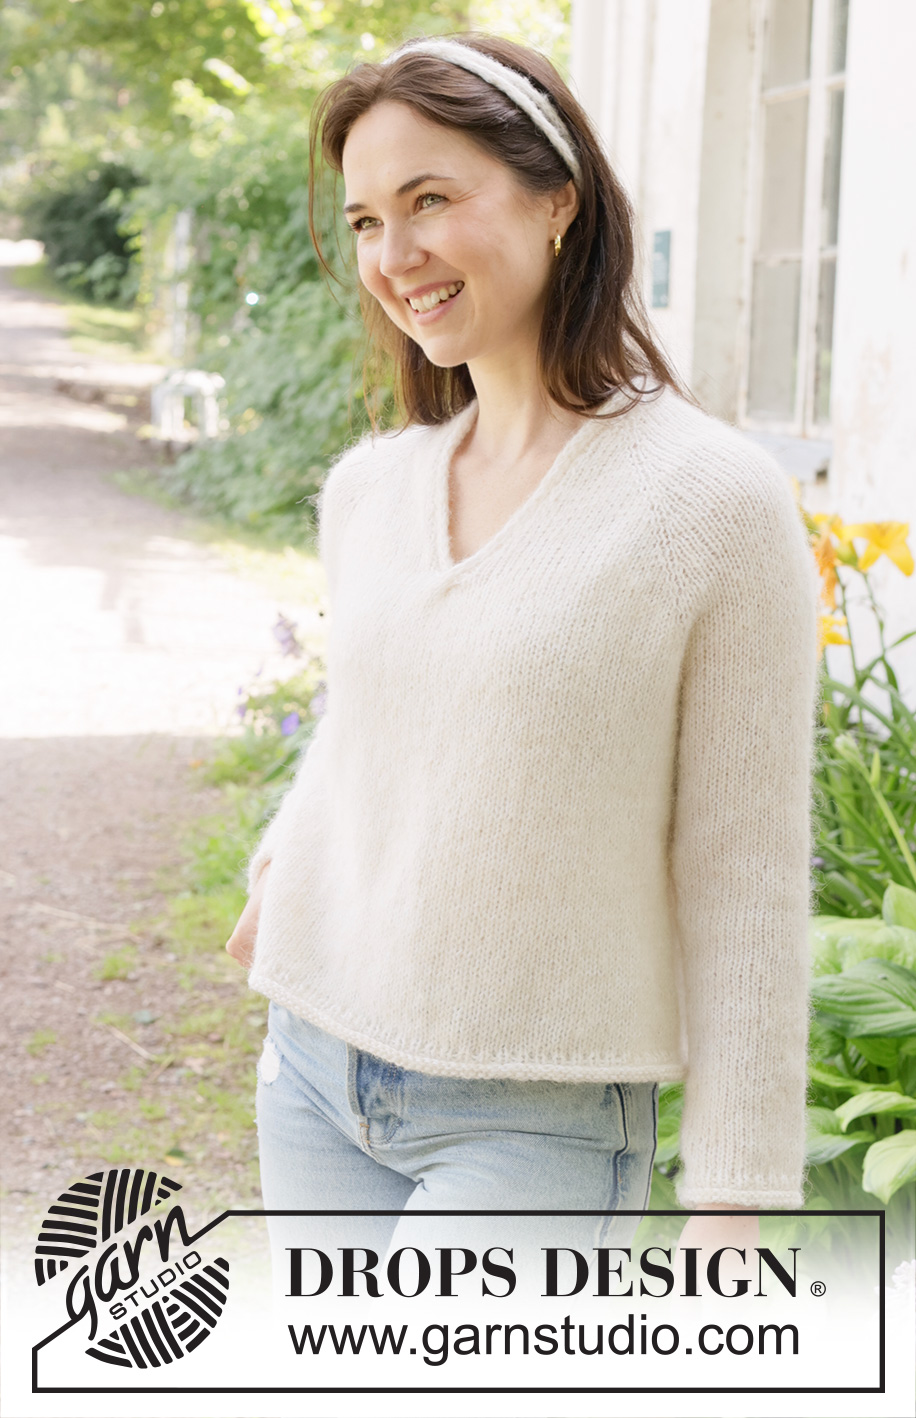
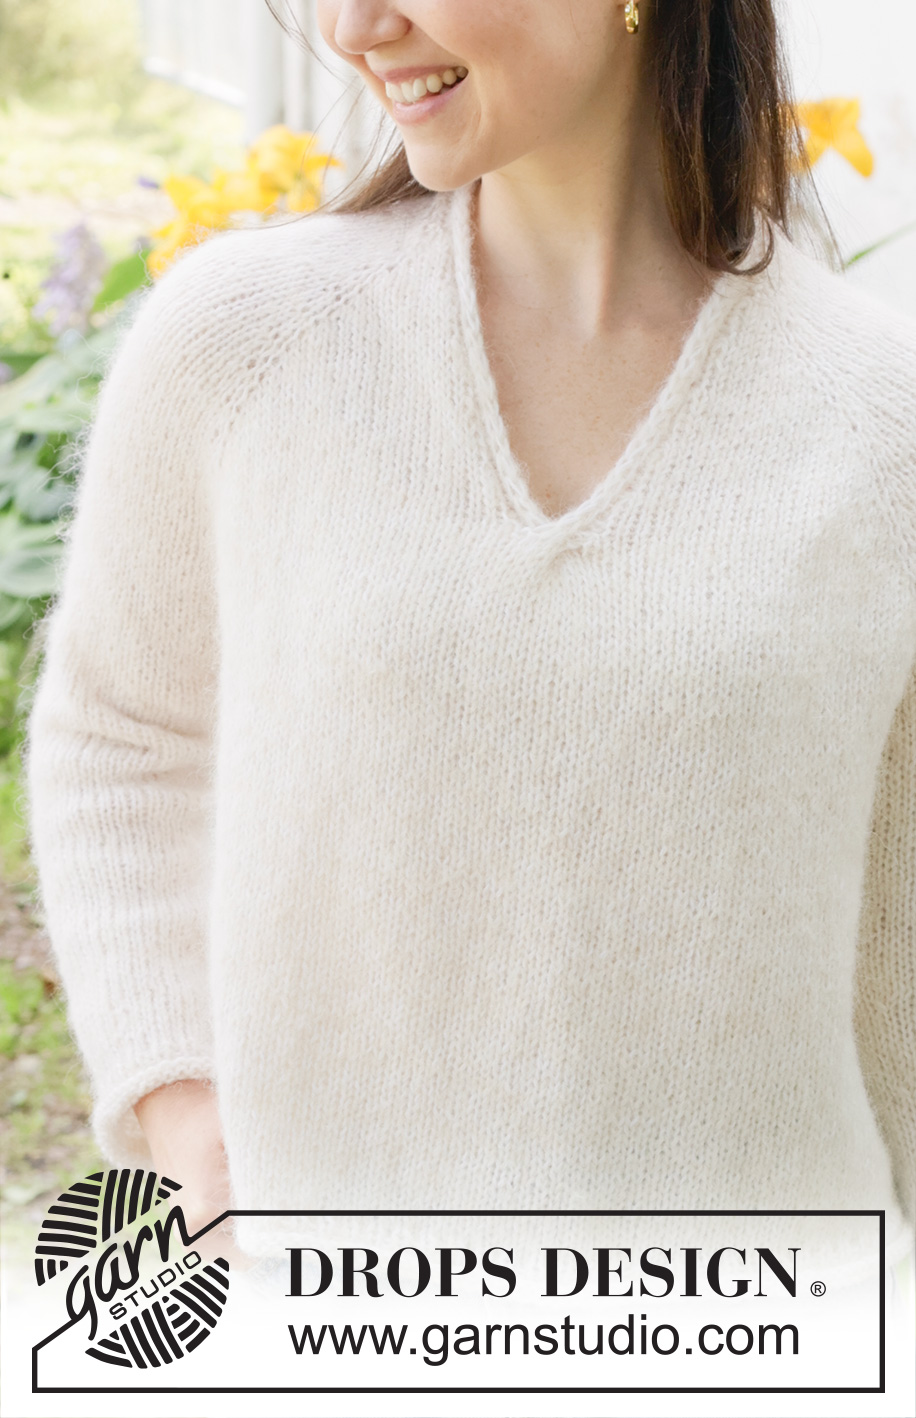
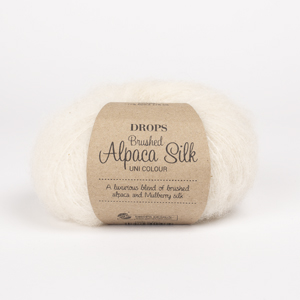
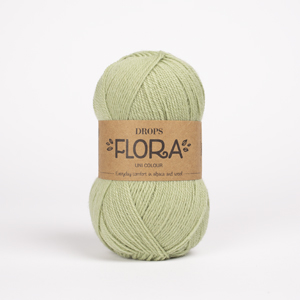
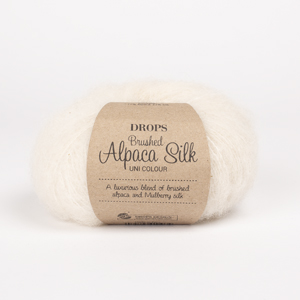
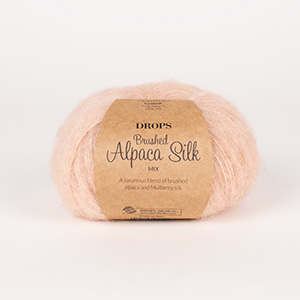
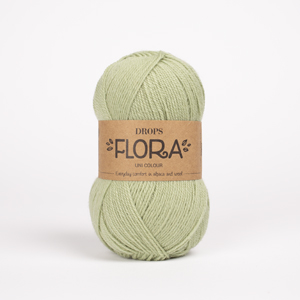
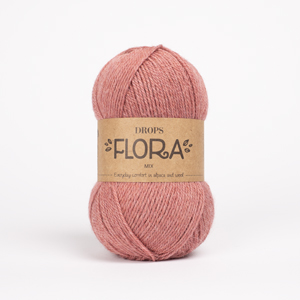
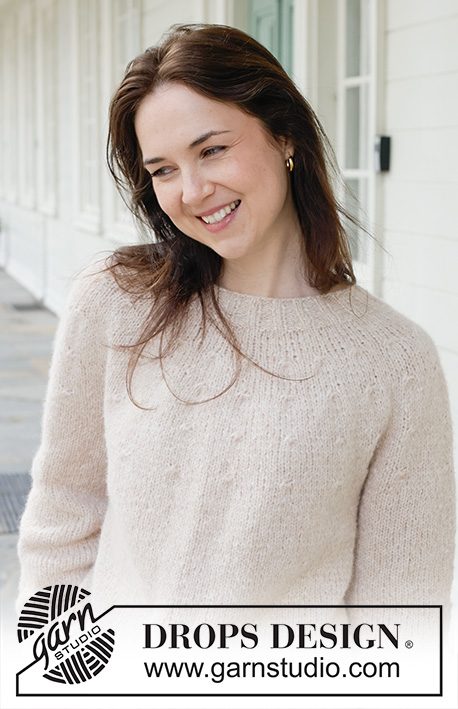
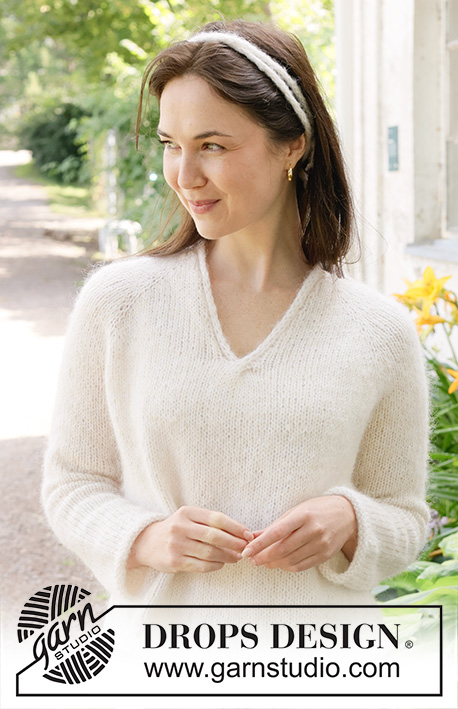
Knitted jumper in DROPS Brushed Alpaca Silk and DROPS Flora. The piece is worked top down with raglan, V-neck, rolled edges and I-cord. Sizes S - XXXL.
DROPS 258-13 |
|
|
------------------------------------------------------- EXPLANATIONS FOR THE PATTERN: ------------------------------------------------------ RAGLAN: Increase 1 stitch by working 1 yarn over, which is worked twisted on the next row/round to avoid a hole. V-NECK: Increase 1 stitch by working 1 yarn over, which is worked twisted on the next row to avoid a hole. DECREASE TIP (mid-under sleeves): Decrease 1 stitch on each side of the marker-thread as follows: Work until there are 3 stitches left before the marker-thread, knit 2 together, knit 2 (marker-thread sits between these 2 stitches), slip 1 stitch knit-wise, knit 1 and pass the slipped stitch over the knitted stitch. ------------------------------------------------------- START THE PIECE HERE: ------------------------------------------------------- JUMPER – SHORT OVERVIEW OF THE PIECE. The pattern uses both long and short needles; start with the length which fits the number of stitches and change when necessary. The bands are worked first, then stitches are cast on between them for the yoke, which is worked back and forth, top down from mid front until the V-neck is finished. Then the yoke is continued in the round. When the yoke is finished, it is divided for body and the sleeves. The body is continued in the round, while the sleeves wait. The sleeves are worked in the round, top down. RIGHT BAND: Cast on 4 stitches with circular needle size 5.5 mm, 1 strand DROPS Brushed Alpaca Silk and 1 strand DROPS Flora (2 strands). RIGHT SIDE: Purl 2, slip 1 stitch purl-wise with strand in front, knit 1. WRONG SIDE: Slip 1 stitch purl-wise with strand in front, knit 3. Repeat these 2 rows until the band measures 19-19-20-20-20-21 cm, finishing after a row from the wrong side. Cut the strand and lay the piece to one side. LEFT BAND: Cast on 4 stitches with circular needle size 5.5 mm, 1 strand DROPS Brushed Alpaca Silk and 1 strand DROPS Flora (2 strands). RIGHT SIDE: Slip 1 stitch purl-wise with strand in front, knit 1, purl 2. WRONG SIDE: Knit 2, slip 1 stitch purl-wise with strand in front, knit 1. Repeat these 2 rows until the band measures 19-19-20-20-20-21 cm, finishing after a row from the wrong side. Now cast on stitches for the yoke between the bands as described below. YOKE: Work the left band as before, then cast on 60-60-62-62-64-66 stitches, work the right band as before (from the right side) = 68-68-70-70-72-74 stitches. Purl 1 row from the wrong side with 4 band stitches on each side. Insert 4 markers without working the stitches as follows: Count 5 stitches (= front piece), insert 1 marker in the next stitch, count 16 stitches (= sleeve), insert 1 marker in the next stitch, count 22-22-24-24-26-28 stitches (= back piece), insert 1 marker in the next stitch, count 16 stitches (= sleeve), insert 1 marker in the next stitch, there are 5 stitches left after the last marker (= front piece). Work stocking stitch back and forth with 4 band-stitches as before on each side. AT THE SAME TIME increase for both RAGLAN and the V-NECK – read descriptions above. Read both sections below before continuing. Remember to maintain the knitting tension. V-NECK: Start to increase for the V-neck on the first row from the right side, then every 6th row 6-6-7-7-8-9 times, increasing 1 stitch inside the bands on each side. When the V-neck is finished, work 1 row from the wrong side, then join the jumper mid-front from the right side as follows: Knit until there are 4 stitches left on the row, place these 4 stitches on a cable needle held behind the piece, knit the first 4 stitches on the second front piece, insert 1 marker on the needle (beginning of round), knit the stitches from the cable needle. Continue with stocking stitch in the round and finish the increases for raglan. RAGLAN: ROW 1 (right side): Work stocking stitch and the bands as before. Increase on each side of each marker-stitch (8 increased stitches). ROW 2 (wrong side): Work stocking stitch and bands as before. Work ROWS 1 and 2 a total of 3-3-6-7-4-4 times (6-6-12-14-8-8 worked rows). Then increase as follows: NOTE! When the jumper has been joined mid-front and is continued in the round, finish the increases for raglan as described below): ROW/ROUND 1 (right side): Increase on each side of each marker-stitch (8 increased stitches). ROW/ROUND 2 (wrong side): Work stocking stitch and bands as before. ROW/ROUND 3 (right side): Increase only on the front and back pieces, i.e., before marker-stitches 1 and 3 and after marker-stitches 2 and 4 – do not increase on the sleeves (= 4 increased stitches). ROW/ROUND 4 (wrong side): Work stocking stitch and bands as before. Work ROWS/ROUNDS 1 to 4 a total of 9-10-9-10-13-14 times (= 36-40-36-40-52-56 rows worked; you have increased 9-10-9-10-13-14 times on the sleeves and 18-20-18-20-26-28 times on the front and back pieces). All increases for raglan and the V-neck are finished. You have increased a total of 12-13-15-17-17-18 times on the sleeves and 21-23-24-27-30-32 times on the front and back pieces. There are 212-224-240-260-276-292 stitches. The yoke measures approx. 21-23-24-27-30-32 cm from the cast-on edge mid-back. Now divide for the body and sleeves. DIVIDE FOR BODY AND SLEEVES: Start from mid-front, knit 33-35-37-40-44-47 (= front piece), place the next 40-42-46-50-50-52 stitches on 1 thread for the sleeve, cast on 8-10-12-14-16-18 stitches (under sleeve), knit 66-70-74-80-88-94 (= back piece), place the next 40-42-46-50-50-52 stitches on 1 thread for the sleeve, cast on 8-10-12-14-16-18 stitches (under sleeve), knit 33-35-37-40-44-47 (= front piece). The body and sleeves are finished separately. BODY: = 148-160-172-188-208-224 stitches. Continue with stocking stitch in the round until the piece measures 46-48-50-52-54-56 cm from the cast-on edge mid-back. Now work a rolled edge as follows: Work 2 rounds of rib (knit 1, purl 1), then knit 4 rounds. Cast off a little loosley. The jumper measures approx. 49-51-53-55-57-59 cm from the cast-on edge mid-back and 54-56-58-60-62-64 cm from top of shoulder. SLEEVES: Place the 40-42-46-50-50-52 sleeve-stitches from one thread on double pointed needles/circular needle size 5.5 mm and knit up 1 stitch in each of the 8-10-12-14-16-18 stitches cast on under the sleeve = 48-52-58-64-66-70 stitches. Insert a marker-thread in the middle of the stitches under the sleeve. Start at the marker-thread and work stocking stitch in the round. When the sleeve measures 3 cm, decrease 2 stitches under the sleeve – read DECREASE TIP. Decrease like this every 10-8-5½-3½-3½-2½ cm a total of 4-5-7-9-9-10 times = 40-42-44-46-48-50 stitches. Continue working until the sleeve measures 40-39-39-37-34-30 cm from the division. There is 3 cm left to finished length. Work 2 rounds of rib (knit 1, purl 1). Knit 4 rounds. Cast off a little loosely. The sleeve measures approx. 43-42-42-40-37-35 cm. ASSEMBLY: Sew the bands together mid-back and sew the bands to the neckline. |
|
 |
|
Have you finished this pattern?Tag your pictures with #dropspattern #delicatedancesweater or submit them to the #dropsfan gallery. Do you need help with this pattern?You'll find 20 tutorial videos, a Comments/Questions area and more by visiting the pattern on garnstudio.com. © 1982-2026 DROPS Design A/S. We reserve all rights. This document, including all its sub-sections, has copyrights. Read more about what you can do with our patterns at the bottom of each pattern on our site. |
|






With over 40 years in knitting and crochet design, DROPS Design offers one of the most extensive collections of free patterns on the internet - translated to 17 languages. As of today we count 333 catalogues and 12525 patterns translated into English (UK/cm). 12525
We work hard to bring you the best knitting and crochet have to offer, inspiration and advice as well as great quality yarns at incredible prices! Would you like to use our patterns for other than personal use? You can read what you are allowed to do in the Copyright text at the bottom of all our patterns. Happy crafting!
Post a comment to pattern DROPS 258-13
We would love to hear what you have to say about this pattern!
If you want to leave a question, please make sure you select the correct category in the form below, to speed up the answering process. Required fields are marked *.