
Popular categories
Looking for a yarn?


Comments / Questions (2)
![]() Mariëtte wrote:
Mariëtte wrote:
Is er ergens een filmpje over het breien van verkorte toeren voor de mouwkop?de onderste markeerdraad zit in het midden van de mouw recht tegenover de bovenste?
01.04.2025 - 20:35DROPS Design answered:
Dag Mariëtte,
Klopt, de markeerdraden zitten tegenover elkaar; eentje bovenop de kop van de mouw en eentje in de ondernaad/oksel. Er is helaas niet een filmpje van.
02.04.2025 - 19:43
![]() Natalia wrote:
Natalia wrote:
Linda demais! Apaixonei, vou fazer mais de uma cor!
14.03.2025 - 22:12
|
|
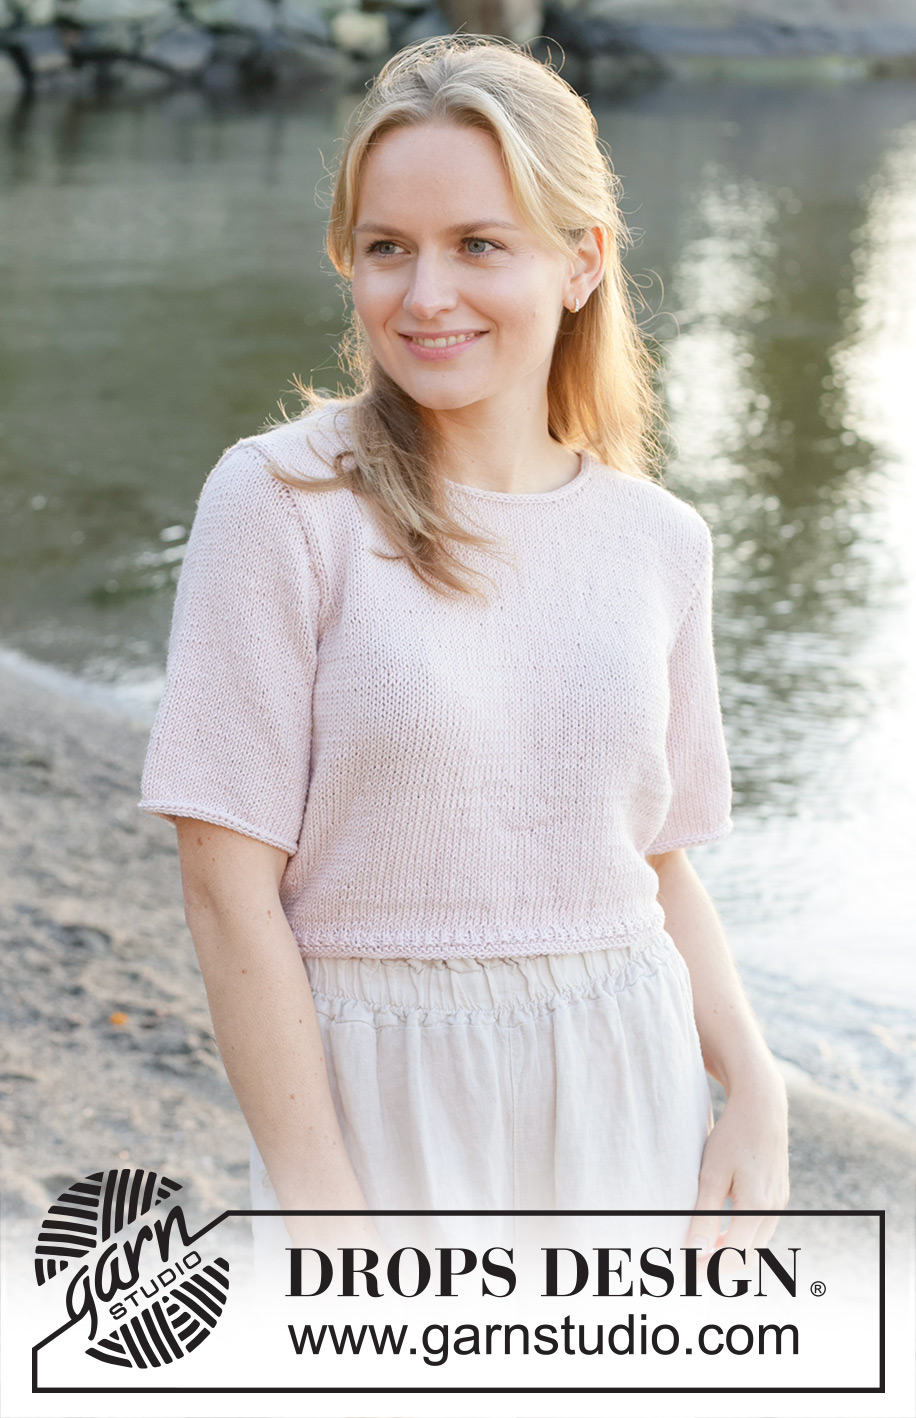
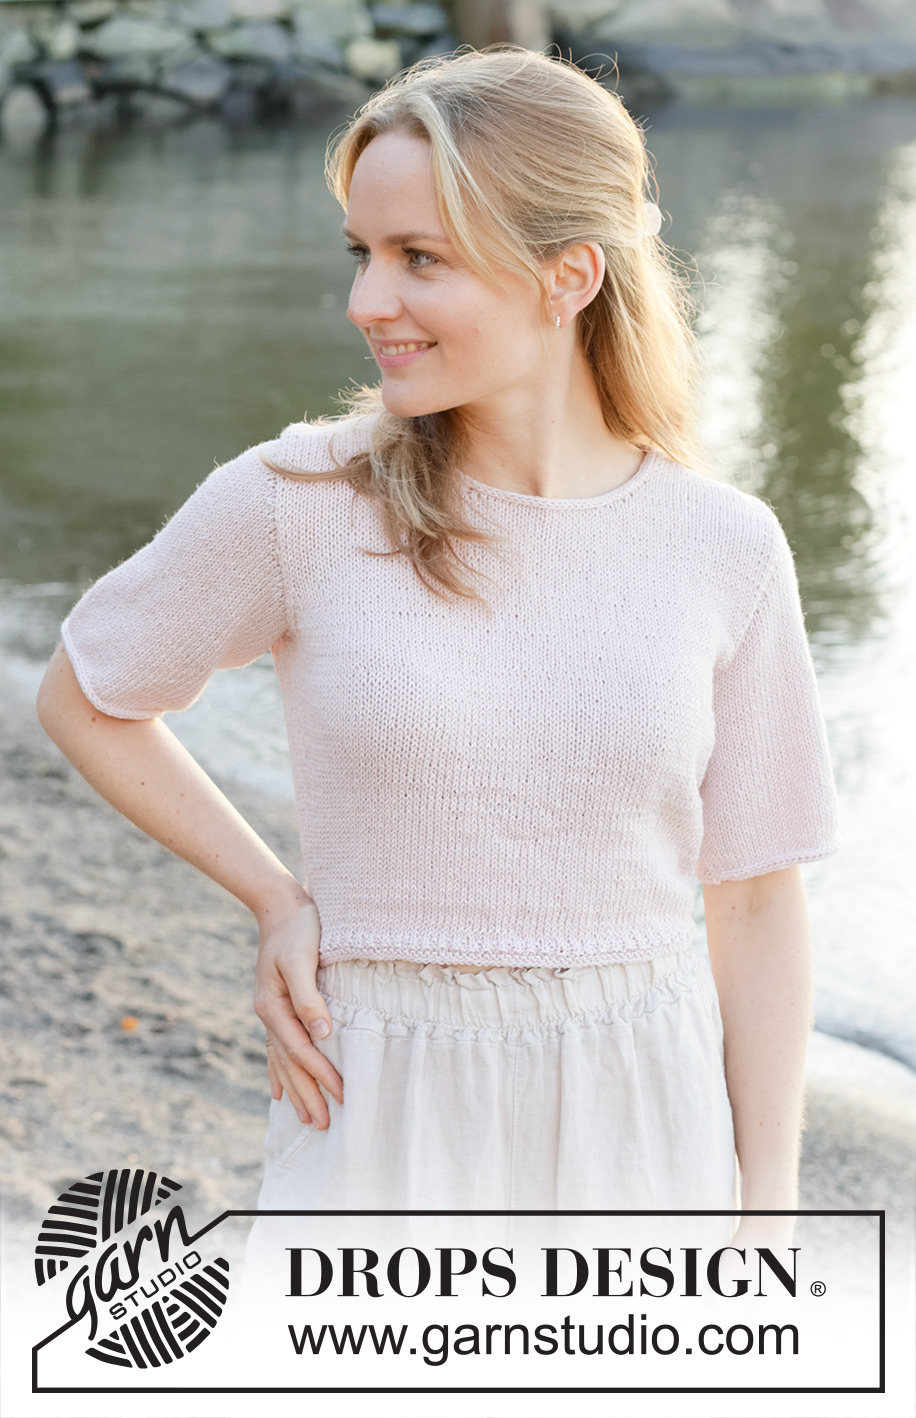
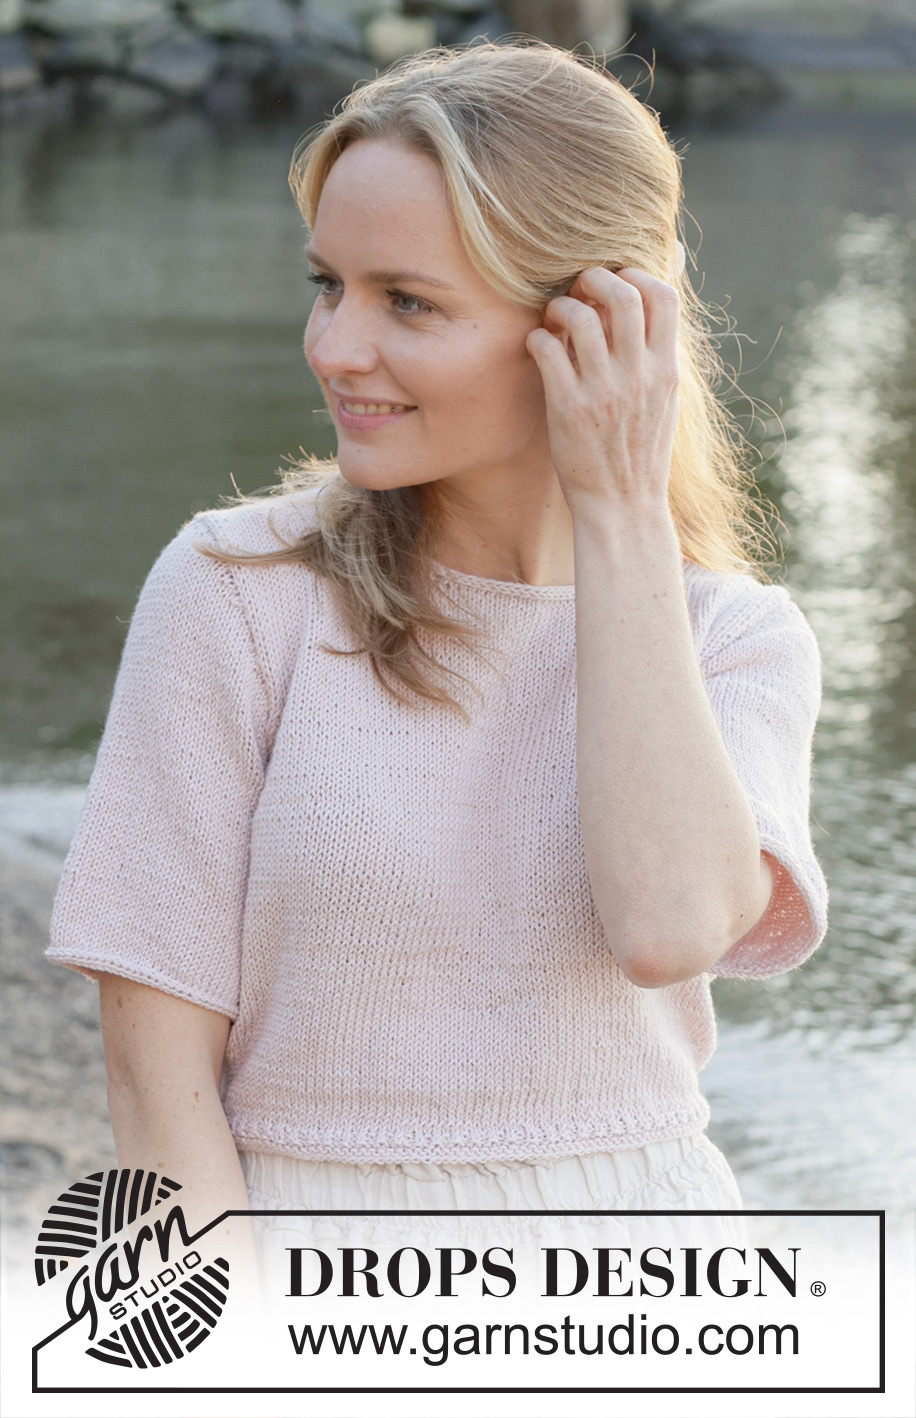
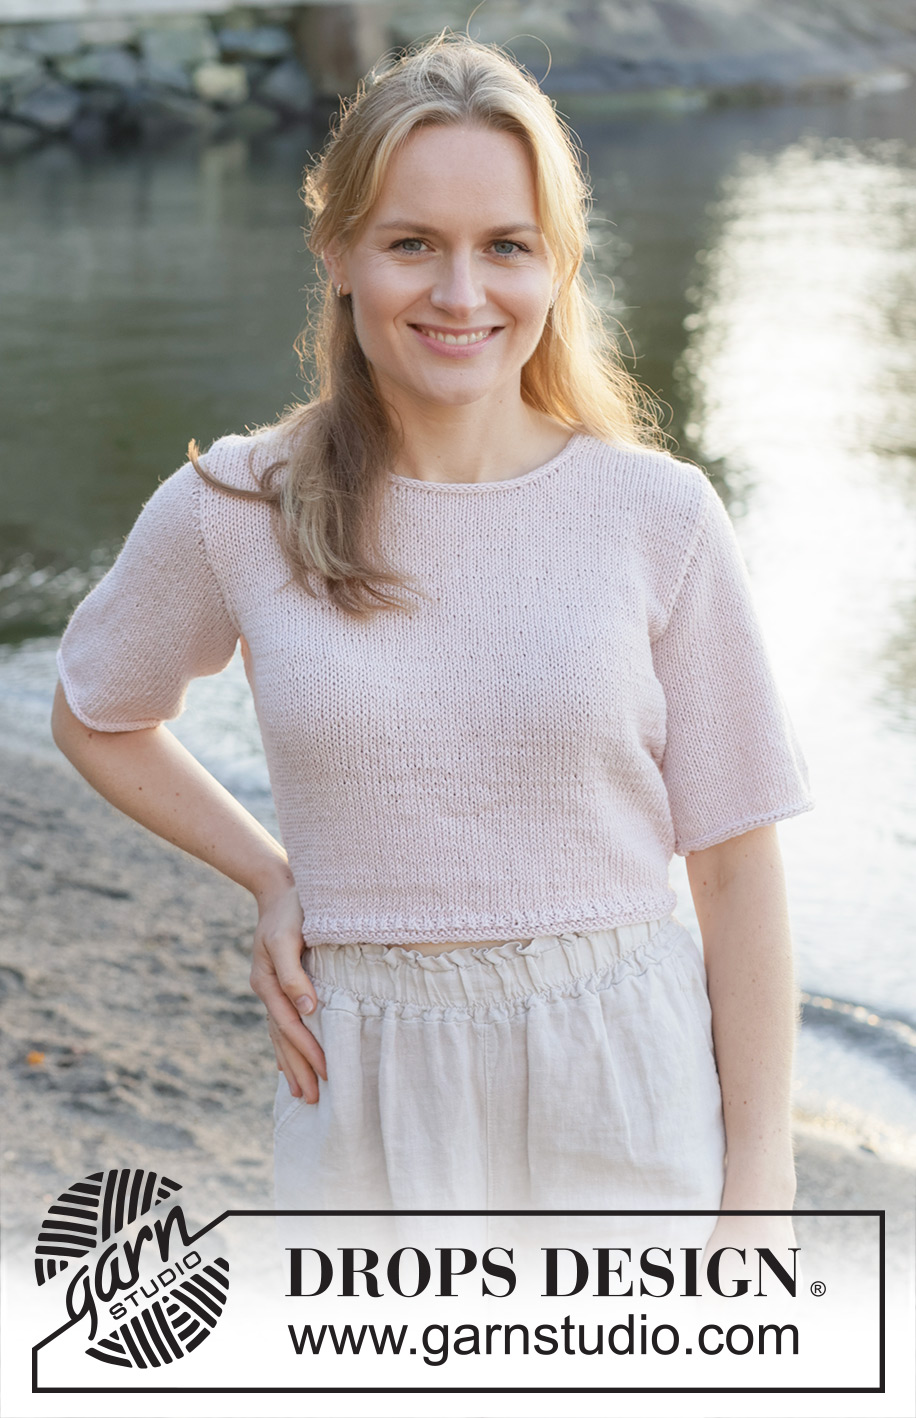
New Dawn#newdawn |
|
 |
 |
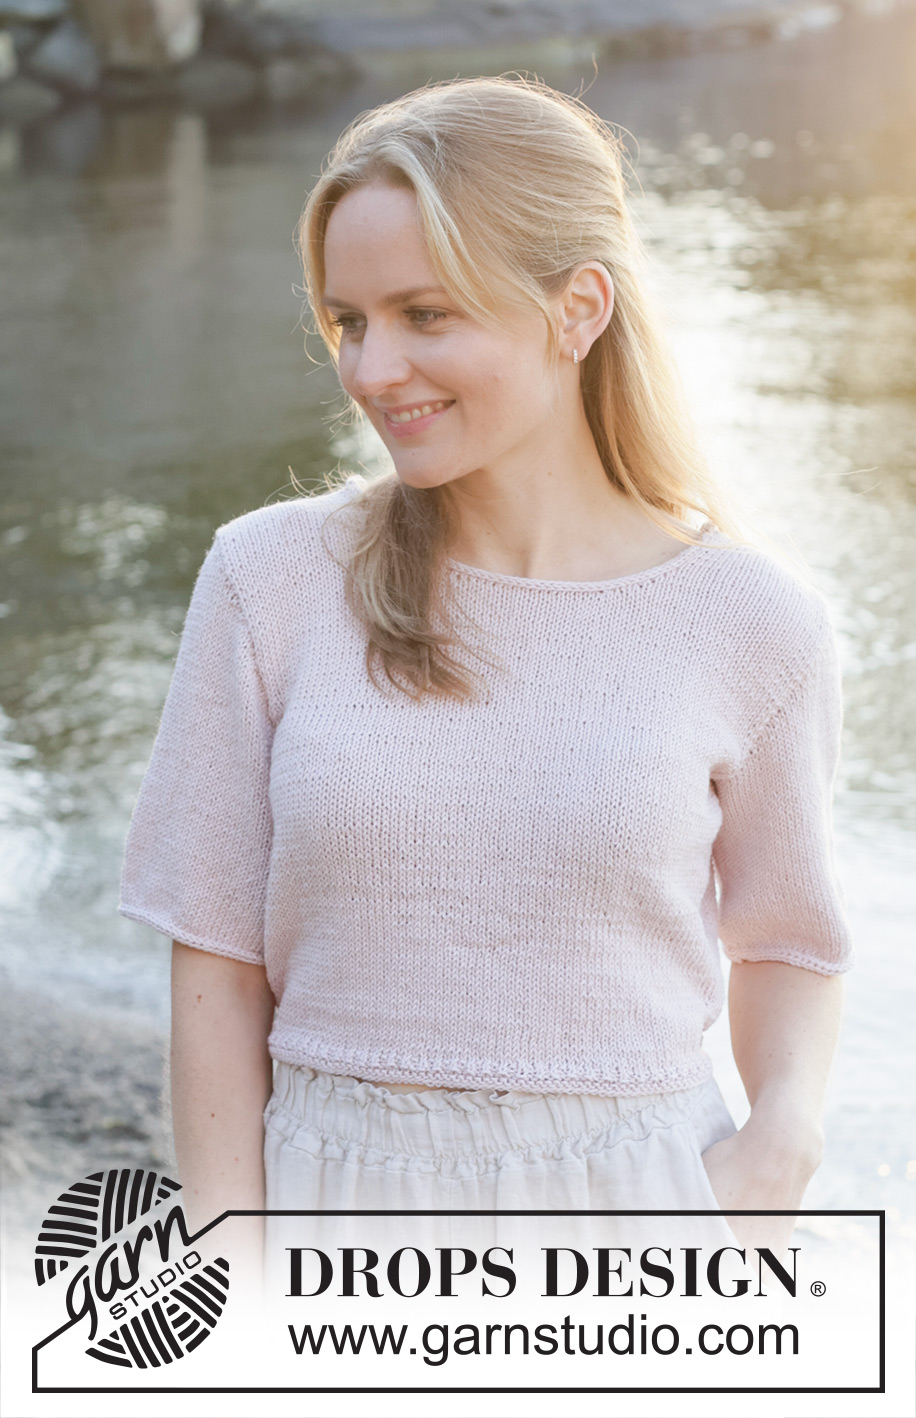
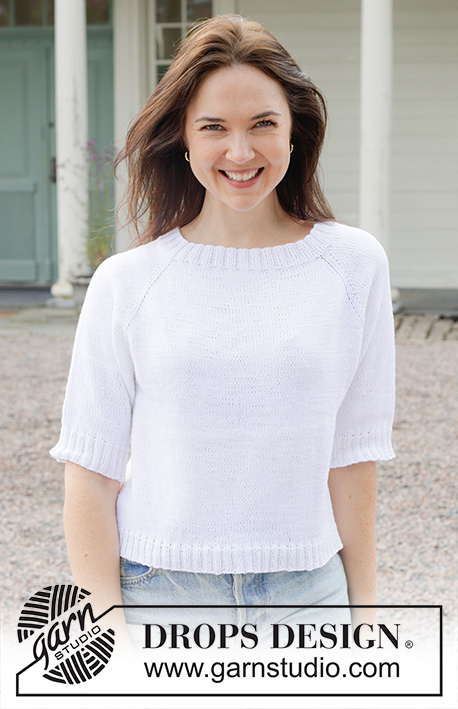
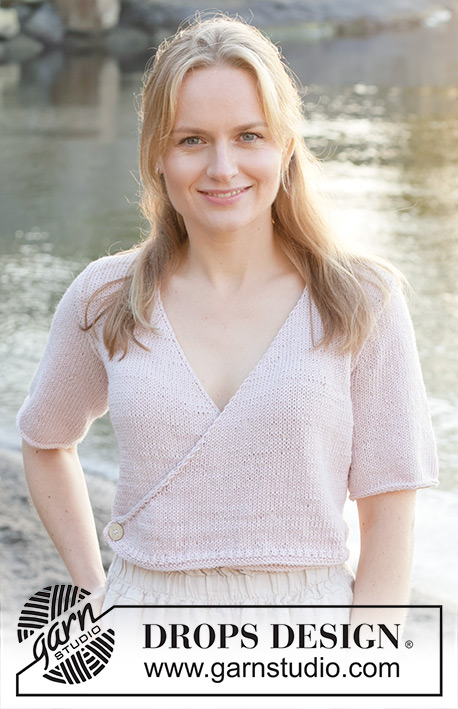
Knitted jumper with short sleeves in DROPS Cotton Merino. The piece is worked bottom up with stocking stitch and I-cord. Sizes S - XXXL.
DROPS 257-6 |
|
|
------------------------------------------------------- EXPLANATIONS FOR THE PATTERN: ------------------------------------------------------- GARTER STITCH (worked in the round): Alternately knit 1 round and purl 1 round. 1 ridge = 2 rounds. INCREASE TIP: Increase 1 stitch on each side of the marker-thread: Work until there are 3 stitches left before the marker-thread, make 1 yarn over, knit 6 (marker-thread sits in the middle of these 6 stitches), 1 yarn over. On the next round knit the yarn overs twisted to avoid holes. Then work the new stitches in stocking stitch. DECREASE TIP-1 (decrease 2 stitches in the side): All decreases are worked from the right side! AFTER MARKER: Slip 1 stitch knit-wise, knit 2 together, pass the slipped stitch over the knitted-together stitches (2 decreased stitches). BEFORE MARKER: Work until there are 3 stitches left before the marker, knit 3 together (= 2 decreased stitches). DECREASE TIP-2 (decrease 1 stitch in the side): All decreases are worked from the right side! AFTER MARKER: Slip 1 stitch knit-wise, knit 1, pass the slipped stitch over the knitted stitch (1 decreased stitch). BEFORE MARKER: Work until there are 2 stitches left before the marker, knit 2 together (= 1 decreased stitch). DECREASE TIP-3: All decreases are worked from the right side! Decrease 1 stitch on each side of the marker-thread as follows: Work until there are 3 stitches left before the marker-thread, knit 2 together, knit 2 (marker-thread sits between these 2 stitches), slip 1 stitch knit-wise, knit 1 and pass the slipped stitch over the knitted stitch (2 stitches decreased). KNITTING TIP: When working short rows, there will be a small hole after each turn. This hole can be closed by tightening the strand or using the technique German Short Rows as follows: Slip the first stitch purl-wise, take the strand over the right needle and tighten well from the back (2 loops on the needle). These loops are worked together on the next row. I-CORD CAST OFF: Slip the 3 new stitches onto the left needle, so the strand is 3 stitches in on the needle (the strand tightens when working to form a small tube). ROW 1 (right side): Knit 2, knit 2 twisted together. Slip the 3 stitches on the right needle onto the left needle. Do not turn. Repeat ROW 1 until there are 3 stitches left on the right needle. Slip these 3 stitches onto the left needle. Cast off. Sew a small stitch, joining the beginning and the end of the I-cord. ------------------------------------------------------- START THE PIECE HERE: ------------------------------------------------------- JUMPER – SHORT OVERVIEW OF THE PIECE: The pattern uses both long and short needles; start with the length which fits the number of stitches and change when necessary. The piece is worked in the round, bottom up as far as the armholes. It is then divided, and the front and back pieces are finished separately, back and forth. The shoulders seams are sewn. Stitches are knitted up around the armholes and the sleeves started back and forth for the sleeve cap, then finished in the round. Stitches are knitted up around the neckline, then cast off with I-cord. If there is a «0» in your chosen size, skip the information and go straight to the next instruction. BODY: Cast on 164-180-200-220-244-272 stitches with circular needle size 3 mm and DROPS Cotton Merino. Work 2 ridges in the round – see GARTER STITCH above. Then work 2 rounds of rib (knit 1, purl 1). Insert 1 marker-thread at the beginning of the round and 1 marker-thread after the first 82-90-100-110-122-136 stitches (sides). Allow the marker-threads to follow your work onwards; they are used when increasing each side. Change to circular needle size 4 mm. Work stocking stitch in the round. Remember to maintain the knitting tension. When the piece measures 4 cm, increase 1 stitch on each side of both marker-threads – read INCREASE TIP (= 4 increased stitches). Increase like this every 3½-3½-4-4-4-4 cm a total of 6 times = 188-204-224-244-268-296 stitches. Work until the piece measures 23-24-25-26-27-28 cm. Now divide for the armholes. DIVIDE FOR ARMHOLES: The front and back pieces are separated as follows: Start 4-5-6-8-10-12 stitches before the marker-thread at the beginning of the round, cast off 8-10-12-16-20-24 stitches, knit 86-92-100-106-114-124 (= front piece), cast off 8-10-12-16-20-24 stitches, knit 86-92-100-106-114-124 (= back piece). The front and back pieces are finished separately. BACK PIECE: = 86-92-100-106-114-124 stitches. Insert 1 marker inside the outermost 3 stitches on each side. Allow these markers to follow your work onwards. Work stocking stitch back and forth, decreasing for the armholes from the right side as follows – read DECREASE TIP-1: Decrease 2 stitches every 2nd row 0-0-0-2-3-6 times on both sides, then read DECREASE TIP-2 and decrease 1 stitch every 2nd row 6-8-11-9-10-8 times on both sides = 74-76-78-80-82-84 stitches. When the piece measures 39-41-43-45-47-49 cm, cast off the middle 30-30-32-32-34-34 stitches for the neckline and finish each shoulder separately. SHOULDERS: = 22-23-23-24-24-25 stitches. Work stocking stitch back and forth, casting off for the neckline every 2nd row as follows: 1 stitch 2 times = 20-21-21-22-22-23 shoulder-stitches. Cast off when the piece measures 42-44-46-48-50-52 cm. FRONT PIECE: = 86-92-100-106-114-124 stitches. Insert 1 marker inside the outermost 3 stitches on each side. Allow the markers to follow your work onwards. Work stocking stitch back and forth, decreasing for the armholes from the right side as follows: Read DECREASE TIP-1 and decrease 2 stitches every 2nd row 0-0-0-2-3-6 times on both sides, then read DECREASE TIP-2 and decrease 1 stitch every 2nd row 6-8-11-9-10-8 times on both sides = 74-76-78-80-82-84 stitches. When the piece measures 36-37-38-39-40-41 cm, place the middle 20-20-22-22-20-20 stitches on a thread for the neckline and finish each shoulder separately. SHOULDERS: = 27-28-28-29-31-32 stitches. Work stocking stitch back and forth, casting off for the neckline every 2nd row as follows: 2 stitches 2-2-2-2-3-3 times and 1 stitch 3-3-3-3-3-3 times = 20-21-21-22-22-23 shoulder-stitches. Cast off when the piece measures 42-44-46-48-50-52 cm. ASSEMBLY: Sew the shoulder seams inside the cast-off edge. SLEEVES: The sleeves are worked from the armhole downwards. Lay the piece flat and insert 1 marker at the top of the armhole and 1 marker-thread in the middle of the 8-10-12-16-20-24 cast-off stitches at the bottom of the armhole. Use circular needle size 3 mm. Start at the bottom of the armhole and knit up 72-76-82-86-92-96 stitches, with equal numbers of stitches on both sides of the marker/marker-thread. Change to circular needle size 4 mm. Starting at the bottom of the armhole, work stocking stitch and short rows back and forth for the sleeve cap as follows: ROW 1 (right side): Knit to 6-6-6-6-6-6 stitches past the marker at top of armhole – read KNITTING TIP, turn. ROW 2 (wrong side): Purl 6-6-6-6-6-6 stitches past the marker, turn. ROW 3 (right side): Knit to 2-2-2-2-2-2 stitches past the previous turn, turn. ROW 4 (wrong side): Purl to 2-2-2-2-2-2 stitches past the previous turn, turn. ROW 5 (right side): Knit to 2-2-2-1-1-1 stitches past the previous turn, turn. ROW 6 (wrong side): Purl to 2-2-2-1-1-1 stitches past the previous turn, turn. Repeat ROWS 3 to 6 until you have turned a total of 26-28-30-36-42-48 times (13-14-15-18-21-24 times on each side, with the last row from the wrong side). AFTER THE LAST TURN: The final time row 4 or 6 is worked, turn and knit back from the right side to the marker-thread at the bottom of the armhole (mid-under sleeve). Allow this marker-thread to now follow your work onwards; it is used when decreasing under the sleeve. Work stocking stitch in the round for 1 cm. Now decrease 2 stitches under the sleeve – read DECREASE TIP-3. Decrease like this every 2nd round 2-3-5-5-6-7 times = 68-70-72-76-80-82 stitches. Continue working until the sleeve measures 25-25-26-26-27-27 cm from the marker on the shoulder. At the end of the last round, cast on 3 stitches. Change to double pointed needles size 3 mm and work I-CORD CAST OFF – read description above. The sleeve measures approx. 26-26-27-27-28-28 cm from the marker. NECK-EDGE: Use circular needle size 3 mm. Start from the right side by 1 shoulder and knit up approx. 78-80-88-90-96-98 stitches around the neckline (including the stitches on the thread). At the end of the round, cast on 3 stitches. Do not turn. Work I-cord cast off. |
|
 |
|
Have you finished this pattern?Tag your pictures with #dropspattern #newdawn or submit them to the #dropsfan gallery. Do you need help with this pattern?You'll find 34 tutorial videos, a Comments/Questions area and more by visiting the pattern on garnstudio.com. © 1982-2026 DROPS Design A/S. We reserve all rights. This document, including all its sub-sections, has copyrights. Read more about what you can do with our patterns at the bottom of each pattern on our site. |
|


With over 40 years in knitting and crochet design, DROPS Design offers one of the most extensive collections of free patterns on the internet - translated to 17 languages. As of today we count 324 catalogues and 12290 patterns translated into English (UK/cm). 12290
We work hard to bring you the best knitting and crochet have to offer, inspiration and advice as well as great quality yarns at incredible prices! Would you like to use our patterns for other than personal use? You can read what you are allowed to do in the Copyright text at the bottom of all our patterns. Happy crafting!
Post a comment to pattern DROPS 257-6
We would love to hear what you have to say about this pattern!
If you want to leave a question, please make sure you select the correct category in the form below, to speed up the answering process. Required fields are marked *.