
Popular categories
Looking for a yarn?



























Comments / Questions (54)
 Helle wrote:
Jeg forstår ikke forklaringen på udtagning til raglan.......
10.08.2026 - 13:37DROPS Design answered:
Hej Helle, du tager ud på hver side af de 2 raglanmasker ved at lave 1 omslag på hver side af de 4 raglanovergange (ialt 8 omslag). Hvis du har yderligere spørgsmål, så skriv hvilken størrelse du strikker og nøjagtig hvor du er i opskriften og hvad du ikke forstår :)
13.08.2026 - 13:30
 Janet wrote:
How to join the 2 bands on top of each other
22.07.2026 - 09:17DROPS Design answered:
Dear Janet, after a row worked from the right side, slip as if to purl the last 6 stitches of the row (band on right front piece) on another needle (a dpn for ex), pur these 6 sts over the 6 sts at the beginning of the round (band on left front piece) and work the first stitch of the right band together with the first stitch of the left band and continue like that until all stitches are worked = you have joined in the round and front band is now over the left band. Happy knitting!
11.08.2026 - 11:43
 Tone wrote:
Etter at jeg har strikket ferdig høyere bak oppdaget jeg at det er feil oppdeling mellom raglanfellingene i mønsteret. Det blir 8 masker for mye på forpart og ikke 7 repeteringer av rett og vrang på bakpart.
15.01.2026 - 17:52
Hege wrote:
Hvor er diagrammet? 🙂
13.10.2025 - 08:52DROPS Design answered:
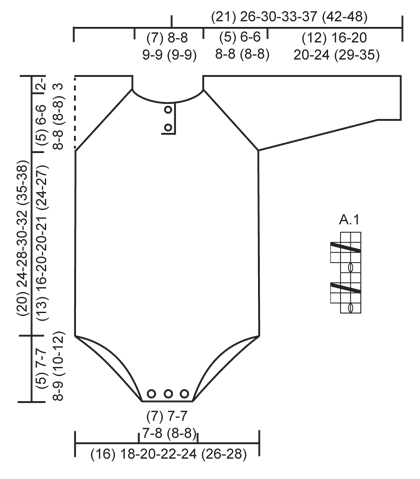
Hej Hege. Du hittar det längst ned på opskriften, til høyre av målskissen. Mvh DROPS Design
13.10.2025 - 14:17
Mari wrote:
Kan ikke finne diagrammet...
07.10.2025 - 14:36
 Elina wrote:
Moi! Kuinka työn yhdistäminen onnistuu käytännössä siten, että oikea reuna (jossa napinlävet) on vasemman päällä? Millaisella tekniikalla vasemman ja oikean puolen reunasilmukat (6s) siis neulotaan yhteen?
26.05.2025 - 14:26DROPS Design answered:
Hei, kun etureunat ovat päällekkäin (kahdella eri puikolla), voit neuloa silmukat yhteen kolmannella puikolla. Neulo aina 1 silmukka kummaltakin puikolta oikein yhteen. Tekniikasta löytyy video: Silmukoiden päättäminen 3 puikolla. Löydät seen klikkaamalla seuraavia linkkejä: Vinkkejä & apua - Videot - Neulominen - Silmukoiden päättäminen
27.05.2025 - 14:12
Frustrert wrote:
Hvorfor kan dere ikke bare si hvor mange mellom hver merke i stedet for å si ganger? Jeg har null anelse hvor jeg setter merkene. Mønstrene deres er alltid så utydelige
12.01.2024 - 19:02
Sol wrote:
Hei, Eg er ferdig med 12 økninger på kvar side av raglanøkningen, og har no 40m mellom kvart merke og 56m på for/bakstykke. Deretter står det: "Strikk 2 omg til som før". Eg forstår ikkje kva som er meint med dette? Om eg strikker 2 omg til med raglanøkning,får eg for mange masker. Og om det betyr at eg skal strikke uten å øke, skal eg fortsatt følge mønsteret? For då òg får eg for mange masker, før eg tar det over på ein tråd.
18.11.2023 - 10:29DROPS Design answered:
Hei Sol. Hvilken str. strikker du og hvor i diagrammet er du når du er ferdig med de 12 omgangene med raglan økninger? Når du er ferdig med raglanøkningne, strikkes det 2 omganger til uten raglansøkninger og om du da er på en omgang der A.1 består av 3 masker, strikk 1 omgang til der A.1 kun består av 2 masker (evnt. 2 masker+kast (kaster telles ikke som egen maske). Får du da riktig maskeantall? mvh DROPS Design
20.11.2023 - 09:44
Mary wrote:
Hei, can you please explain the raglan yarn over increases , what does it mean P the first 2 st( before and after K stitches) from wrong and K ( which stitches are these)the next 2 st from W side.each wrong side stitches are going to change P to K and K to P?
07.11.2023 - 16:05DROPS Design answered:
Dear Mary, the new stitches increased on raglan will be worked in pattern, this means the first 2 times (1st + 2nd increase) you increase stitches you will purl (seen from RS, this means knit from WS) the new stitches, then the next 2 times (3rd + 4th increase) you will knit (seen from RS this means purl from WS) the new stitches, then the next 2 increases (5th + 6th increase) will be purled, the next 2 increases (7th + 8th increase) will be knitted and so on. That way, the ribbing will continue. Happy knitting!
08.11.2023 - 07:57
 Jennifer wrote:
Hello, I am stuck in the back piece here: K 1 row from RS while AT THE SAME TIME dec (8) 8-8-8-10 (10-12) sts evenly = (16) 16-16-16-18 (18-20) sts remain on needle. K 10 rows (= 5 ridges) and loosely cast off with K from WS. How am I supposed to decrease evenly while maintaining the 2*2 ribbing
20.04.2023 - 00:50DROPS Design answered:
Hi Jennifer, The ribbing is finished when you get this far (so it doesn't matter where you decrease, but neatest if you either P2 together in a purled section or K2 together in a knitted section). After decreasing, you continue with 10 rows of knit before casting off. Happy crafting!
20.04.2023 - 06:46
|
||||||||||
Simply Sweet#simplysweetonesie |
||||||||||
|
|
||||||||||
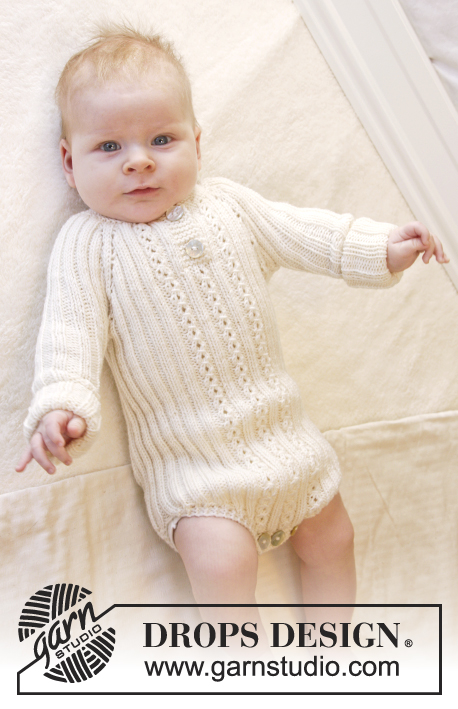
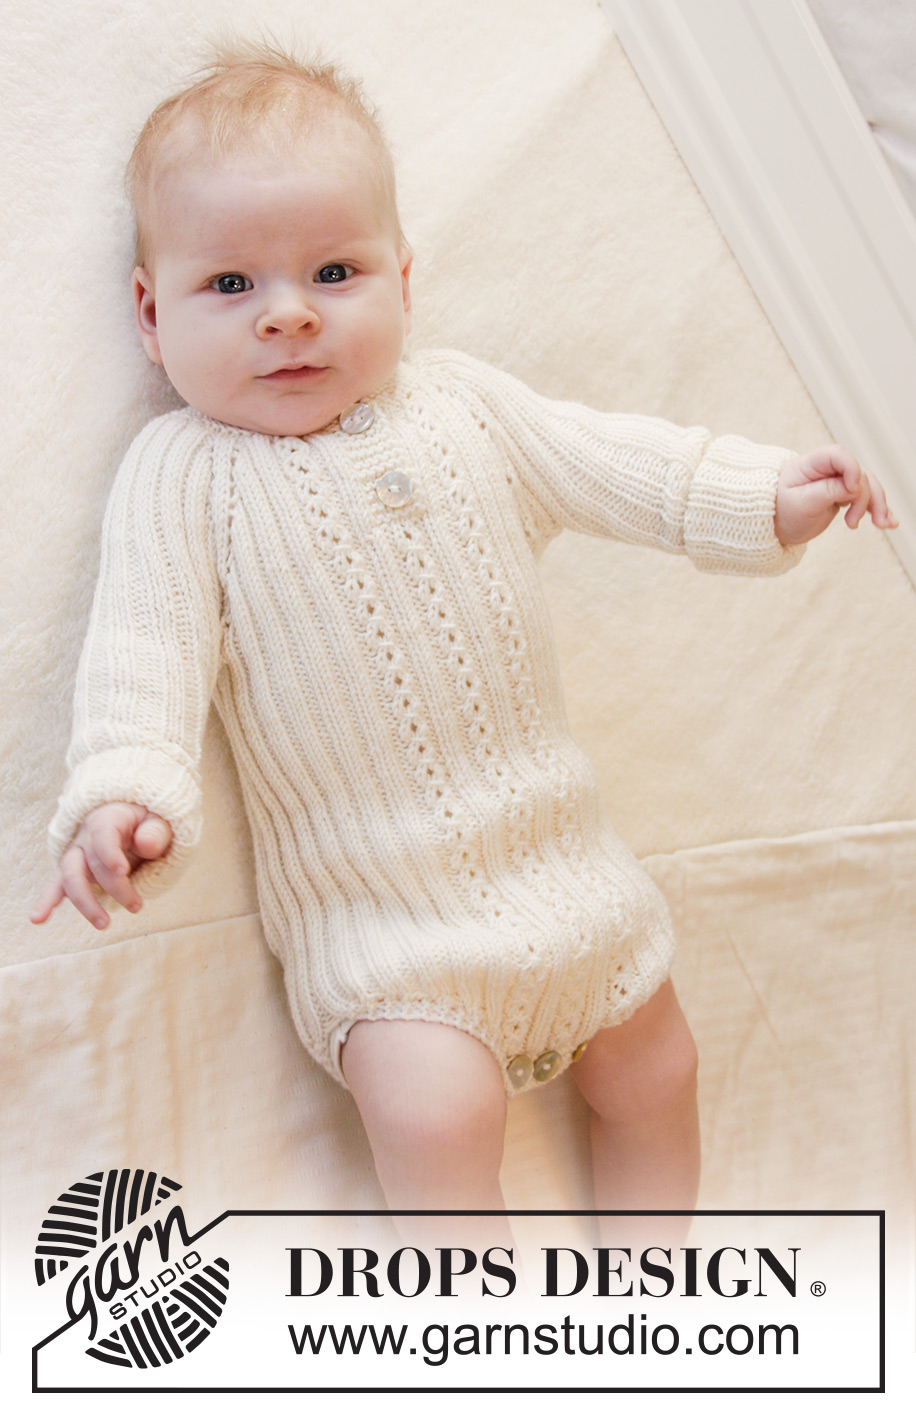
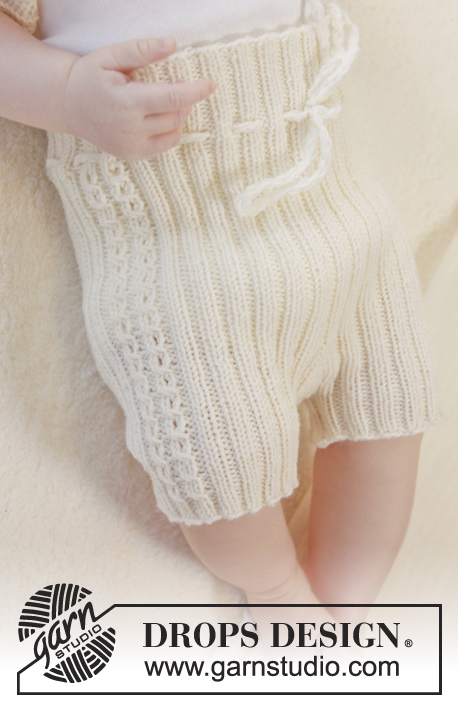
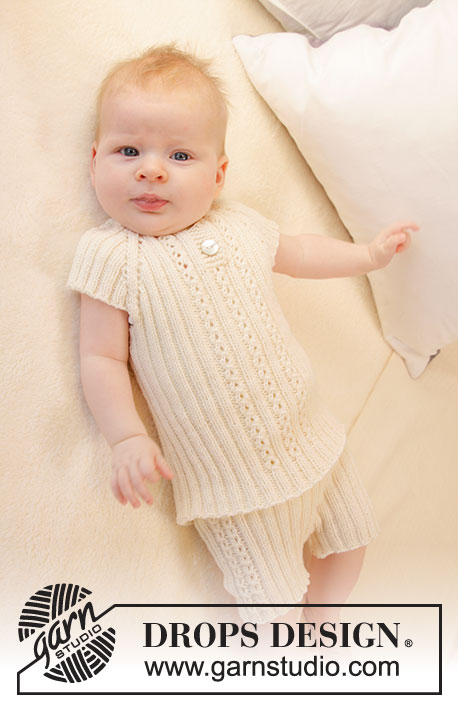
Knitted baby body in rib, worked top down in DROPS BabyMerino. Size premature – 4 years.
DROPS Baby 25-30 |
||||||||||
|
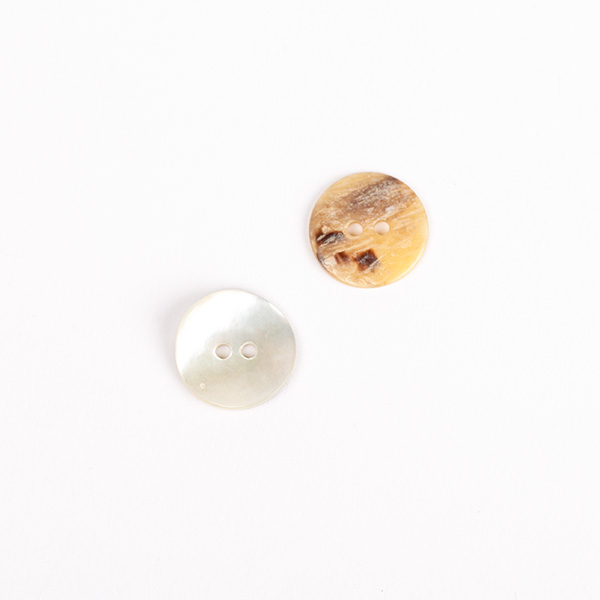
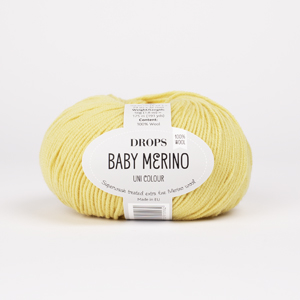
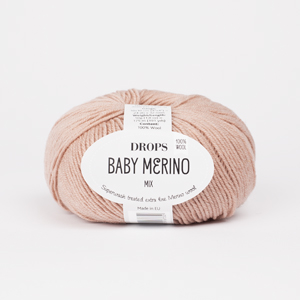
GARTER ST (back and forth on needle): K all rows. 1 ridge = 2 rows K. PATTERN: See diagram A.1. The diagram shows all rows in pattern seen from RS. RAGLAN: All inc are done from RS. Inc 1 st on each side of the 4 raglan lines by making 1 YO on each side of the 2 sts K in each raglan line (seen from RS). Work YOs into rib, i.e. P the first 2 sts from WS, K the next 2 sts from WS etc. – NOTE: Do not work YOs twisted (i.e. there should be holes on each side of the 2 K sts in raglan line). BUTTONHOLES: Dec for buttonholes on right band. 1 buttonhole = K tog third and fourth st from edge and make 1 YO (dec for buttonholes from WS). Dec for buttonholes when piece measures: SIZE (premature): 1 and 3 cm. SIZE 0/1 month + 1/3 months: 1 and 4 cm. SIZE 6/9 months + 1218 months: 1 and 4½ cm. SIZE (2 years + 3/4 years): 1 and 5 cm. DECREASE TIP 1 (applies to leg opening): Dec inside 3 edge sts in garter st. FROM RS: Dec after 3 sts in garter st as follows: P 2 twisted tog. Dec as follows before 3 sts in garter st (beg when 5 sts remain on row): P 2 tog. FROM WS: Dec after 3 sts in garter st as follows: K 2 twisted tog. Dec as follows before 3 sts in garter st (beg when 5 sts remain on row): K 2 tog. DECREASE TIP 2 (applies to sleeves): Work until 3 sts remain before marker, work 2 sts tog (in rib), work 2 sts (marker is between these 2 sts) and then work 2 sts twisted tog (in rib). ---------------------------------------------------------- BODY: The piece is worked top down. Work back and forth on circular needle to after neck vent, then work piece in the round on double pointed needles/circular needles before dividing for legs. Work sleeves in the round on double pointed needles. YOKE: Cast on (54) 60-60-64-74 (74-74) sts (incl 6 band sts in each side towards mid front) on circular needle size 3.5 mm with off white Baby Merino. Work 2 RIDGES in garter st - see explanation above (1st row = RS). Then work an elevation in the back of neck as follows (1st row = RS): K until (6) 8-8-8-10 (10-10) sts remain, turn, tighten yarn and work until (6) 8-8-8-10 (10-10) sts remain in the other side. Turn piece, tighten yarn and work until (12) 16-16-16-20 (20-20) sts remain, turn piece, tighten yarn and work back until (12) 16-16-16-20 (20-20) sts remain. Turn piece, tighten yarn and work until (18) 24-24-24-30 (30-30) sts remain, turn, tighten yarn and work until (18) 24-24-24-30 (30-30) sts remain in the other side. Turn piece, tighten yarn and work the rest of the row. Work next row as follows from WS: K 6 band sts, P the next (42) 48-48-52-62 (62-62) sts AT THE SAME TIME inc (32) 26-42-38-44 (60-60) sts evenly over these sts and finish with K 6 band sts (remember BUTTONHOLES on band – see explanation above) = (86) 86-102-102-118 (134-134) sts on needle. WORK NEXT ROW AS FOLLOWS FROM RS: SIZE (premature) + 0/1 month: 6 band sts in GARTER ST – see explanation above, K 2, P 2, A.1 (= 2 sts), P 2, K 2 (insert 1 marker in the middle of these 2 sts = raglan line), * P 2, K 2 *, repeat from *-* 3 times in total, P 2, K 2 (insert 1 marker in the middle of these 2 sts = raglan line), * P 2, K 2 *, repeat from *-* 5 times in total, P 2, K 2 (insert 1 marker in the middle of these 2 sts = raglan line), * P 2, K 2 *, repeat from *-* 3 times in total, P 2, K 2 (insert 1 marker in the middle of these 2 sts = raglan line), P 2, A.1 (= 2 sts), P 2, K 2 and 6 band sts in GARTER ST. SIZE 1/3 months + 6/9 months + 12/18 months: 6 band sts in GARTER ST – see explanation above, K 2, P 2, A.1 (= 2 sts), P 2, K 2, P 2, K 2 (insert 1 marker in the middle of these 2 sts = raglan line), * P 2, K 2 *, repeat from *-* 3-3-5 times in total, P 2, K 2 (insert 1 marker in the middle of these 2 sts = raglan line), * P 2, K 2 *, repeat from *-* 7 times in total, P 2, K 2 (insert 1 marker in the middle of these 2 sts = raglan line), * P 2, K 2 *, repeat from *-* 3-3-5 times in total, P 2, K 2 (insert 1 marker in the middle of these 2 sts = raglan line), P 2, K 2, P 2, A.1 (= 2 sts), P 2, K 2 and 6 band sts in GARTER ST. SIZE (2 years + 3/4 years): 6 band sts in GARTER ST – see explanation above, ** K 2, P 2, A.1 (= 2 sts), P 2 **, repeat from **-** 2 times in total, K 2 (insert 1 marker in the middle of these 2 sts = raglan line), * P 2, K 2 *, repeat from *-* 5 times in total, P 2, K 2 (insert 1 marker in the middle of these 2 sts = raglan line), * P 2, K 2 *, repeat from *-* 9 times in total, P 2, K 2 (insert 1 marker in the middle of these 2 sts = raglan line), * P 2, K 2 *, repeat from *-* 5 times in total, P 2, K 2 (insert 1 marker in the middle of these 2 sts = raglan line), ** P 2, A.1 (= 2 sts), P 2, K 2 **, repeat from **-** 2 times in total and finish with 6 band sts in GARTER ST. ALL SIZES: Continue pattern like this back and forth. AT THE SAME TIME on next row from RS inc for RAGLAN – see explanation above (= 8 sts inc). Repeat inc every other row/round (i.e. every row from RS) (7) 7-7-11-11 (11-11) more times (= (8) 8-8-12-12 (12-12) inc in total on each side of every raglan line). AT THE SAME TIME when piece measures (4) 5-5-6-6 (7-7) cm, band ends and piece is worked in the round on needle as follows (adjust so that next row is worked from RS): Place piece tog with sts from right band at the top (so that bands are on top of each other and buttonholes are at the edge). Work 1 round in the round AT THE SAME TIME K tog the 6 sts from right and left band 2 by 2, work the rest of round, cut the yarn and beg next round mid back. Continue rib and pattern in the round AT THE SAME TIME continue inc for raglan as before but work the 6 sts mid front as follows: P 2, A.1 (= 2 sts) and P 2. After last inc for raglan there are (144) 144-160-192-208 (224-224) sts on needle. Work (0) 2-2-2-2 (2-2) more rounds as before, piece measures approx. (7) 8-8-10-11 (11-11) cm from shoulder. On next round slip the (32) 32-32-40-48 (48-48) sts between each marker over sleeve on stitch holders (work sts before slipping them on stitch holder) = (40) 40-48-56-56 (64-64) sts remain on front and back piece. BODY: = (80) 80-96-112-112 (128-128) sts. On next round cast on (8) 16-12-12-16 (16-20) LOOSE sts under each sleeve = (96) 112-120-136-144 (160-168) sts on body – NOW MEASURES PIECE FROM HERE. Place a marker each side. Continue rib in the round as before (= K 2/P 2) with A.1 at the front as before. When piece measures (13) 16-20-20-21 (24-27) cm from armhole, divide at the markers in each side and finish front and back piece separately. BACK PIECE: = (48) 56-60-68-72 (80-84) sts. Work rib back and forth as before but work the outermost 3 sts in each side in garter st. AT THE SAME TIME dec 1 st inside the 3 edge sts in each side – READ DECREASE TIP 1 (= 2 sts dec). Repeat dec on every row (i.e. from both RS and WS) (6) 10-12-16-14 (18-14) more times (= (7) 11-13-17-15 (19-15) times in total) and then every other row (i.e. every row from RS) (5) 5-5-5-7 (7-11) times in total = (24) 24-24-24-28 (28-32) sts remain on needle. K 1 row from RS while AT THE SAME TIME dec (8) 8-8-8-10 (10-12) sts evenly = (16) 16-16-16-18 (18-20) sts remain on needle. K 10 rows (= 5 ridges) and loosely cast off with K from WS. FRONT PIECE: = (48) 56-60-68-72 (80-84) sts. Work rib back and forth as before but work the outermost 3 sts in each side in garter st. AT THE SAME TIME dec 1 st inside the 3 edge sts in each side – READ DECREASE TIP 1 (= 2 sts dec). Repeat dec on every row (i.e. from both RS and WS) (11) 13-17-21-19 (23-17) more times (= (12) 14-18-22-20 (24-18) times in total) and then every other row (i.e. every row from RS) (0) 2-0-0-2 (2-8) times in total = (24) 24-24-24-28 (28-32) sts remain on needle. K 1 row from RS while AT THE SAME TIME dec (8) 8-8-8-10 (10-12) sts evenly = (16) 16-16-16-18 (18-20) sts on needle. K 1 row from WS. On next row (= RS), dec for 3 buttonholes as follows: K (3) 3-3-3-3 (3-4), * 1 YO, K 2 tog, K (2) 2-2-2-3 (3-3) *, repeat from *-* 1 more time, K 2 tog, 1 YO and K (3) 3-3-3-3 (3-4). K 4 rows (= 2 ridges) and loosely cast off with K from WS. SLEEVE: = (32) 32-32-40-48 (48-48) sts. Cast on (8) 16-12-12-16 (16-20) LOOSE sts under sleeve = (40) 48-44-52-64 (64-68) sts on needle (work in the round on double pointed needles). Insert 1 marker at beg of round (= mid under sleeve) - NOW MEASURE PIECE FROM HERE. Continue rib in the round as before (= K 2/P 2). AT THE SAME TIME when sleeve measures 1 cm, dec 1 st on each side of marker - READ DECREASE TIP 2. Repeat dec every (4) 4-6-6-6 (8-8) rows (3) 7-3-7-7 (7-7) more times (= (4) 8-4-8-8 (8-8) times in total) = (32) 32-36-36-48 (48-52) sts remain on needle. When sleeve measures (12) 16-20-20-24 (29-35) cm, loosely cast off with K over K and P over P. Work the other sleeve the same way. ASSEMBLY: Sew the openings under the sleeves. Sew 2 buttons on to left button band in the neck and 3 buttons at the bottom of body. |
||||||||||
Diagram explanations |
||||||||||
|
||||||||||
 |
||||||||||
Have you finished this pattern?Tag your pictures with #dropspattern #simplysweetonesie or submit them to the #dropsfan gallery. Do you need help with this pattern?You'll find 17 tutorial videos, a Comments/Questions area and more by visiting the pattern on garnstudio.com. © 1982-2026 DROPS Design A/S. We reserve all rights. This document, including all its sub-sections, has copyrights. Read more about what you can do with our patterns at the bottom of each pattern on our site. |
||||||||||






With over 40 years in knitting and crochet design, DROPS Design offers one of the most extensive collections of free patterns on the internet - translated to 17 languages. As of today we count 333 catalogues and 12525 patterns translated into English (UK/cm). 12525
We work hard to bring you the best knitting and crochet have to offer, inspiration and advice as well as great quality yarns at incredible prices! Would you like to use our patterns for other than personal use? You can read what you are allowed to do in the Copyright text at the bottom of all our patterns. Happy crafting!
Post a comment to pattern DROPS Baby 25-30
We would love to hear what you have to say about this pattern!
If you want to leave a question, please make sure you select the correct category in the form below, to speed up the answering process. Required fields are marked *.