Comments / Questions (71)
![]() Theresa wrote:
Theresa wrote:
I need clarification on how to knit left side of scarf I am having trouble reversing the directions. Is there a video of the left side?
24.01.2026 - 22:49DROPS Design answered:
Dear Theresa, the instructions written are already reversed for the left side of the scarf, where you start working on the wrong side, as opposed to the right side in the right side of the scarf. The video only shows how to work the right side. Happy knitting!
25.01.2026 - 20:49
![]() Theresa wrote:
Theresa wrote:
Can you please have a video showing the left scraf I have attempted 3x and cannot get it to work Thank you
23.01.2026 - 22:30DROPS Design answered:
Dear Theresa, the video only shows how to work the right side. You can indicate which part of the left side of the scarf is giving you trouble and we may be able to help you more. Happy knitting!
25.01.2026 - 20:51
![]() Patricia wrote:
Patricia wrote:
I hope to clarify something for the creators of this pattern. In English, stockinette and garter stitches are patterns, not stitches. You never describe an individual stitch in this way. "K2, work garter stitch," —in English this means K3. Rather that use "garter" or "stockinette" to describe individual stitches, just use "Knit" or "Purl", this will be super helpful to English speakers. I think, thus, when you say "K2, work garter stitch" what is meant is K2, P1. I hope this helps.
18.01.2026 - 19:33
![]() Patricia wrote:
Patricia wrote:
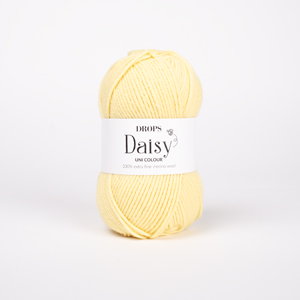
Can you confirm that this pattern calls for 4 skeins of DROPS DAISY from Garnstudio (belongs to yarn group B) 200-200 g colour 09, ice blue And 2 skeins of: DROPS KID-SILK from Garnstudio (belongs to yarn group A) 50-50 g colour 59, ice crystal ??? It would be very helpful if you could include the number of skeins in the direction for beginners.
18.01.2026 - 19:25DROPS Design answered:
Hi Patricia, Yes, Drops Daisy is sold in 50 g skeins and Drops Kid Silk is sold in 25 g skeins, so you need 4 skeins of Daisy and 2 skeins of Kid Silk. Regards, Drops Team.
21.01.2026 - 08:31
![]() Elke wrote:
Elke wrote:
Danke, ein ganz tolles Modell und "I-Cord" habe ich dabei auch gelernt. Nur das Anstricken der Schalseiten an die Mütze habe ich mir nicht zugetraut und den Schal separat gestrickt und angenäht. LG Elke
07.01.2026 - 17:54
![]() Luísa Sousa wrote:
Luísa Sousa wrote:
Bom dia, obrigada por ter respondido. Já tinha visto o vídeo, antes de colocar esta dúvida, o vídeo só demonstra, a aplicação do cachecol ao capuz e não o capuz propriamente dito, que é precisamente a minha dúvida. Continuo na mesma, então como se levantam essas malhas dos 3 lados dessa banda? Se pudessem realizar um pequeno vídeo desse pormenor, era excelente. Grata
06.01.2026 - 12:02DROPS Design answered:
Boa tarde, Depois de feito o rectângulo vai-se levantar malhas ao longo de 3 dos 4 lados do rectângulo. Para saber como se levantam as malhas, fica aqui este vídeo: https://www.garnstudio.com/video.php?id=59&lang=pt Bons tricôs!
06.01.2026 - 15:39
![]() Luísa Sousa wrote:
Luísa Sousa wrote:
Não consigo encontrar um vídeo para a explicação do início do capuz, inicia no meio, mas como? Obrigada
05.01.2026 - 08:55DROPS Design answered:
Bom dia, O princípio do capuz é um rectângulo. Montam-se malhas e tricota-se uma banda até se ter o comprimento necessário. Depois, levantam-se malhas à volta de 3 lados dessa banda. Pode ver como se faz o capuz na sua totalidade neste vídeo: https://www.garnstudio.com/video.php?id=1819&lang=pt Bons tricôs!
05.01.2026 - 10:49
![]() Cathy wrote:
Cathy wrote:
I love this pattern but I haven’t learned how to pick up stitches. I will definitely come back to this pattern with more experience.
04.01.2026 - 02:39
![]() Pieters wrote:
Pieters wrote:
Bonjour. Une fois la capuche terminée je ne comprends pas comment monter les mailles de l'écharpe. Merci
01.01.2026 - 01:48DROPS Design answered:
Bonjour Mme Pieters, peut-être que cette vidéo pourra vous aider? Bon tricot!
02.01.2026 - 13:51
![]() Glenys Gallagher wrote:
Glenys Gallagher wrote:
After joining onto the hood ( slip 1 knit 2 together from stitch holder ). Including the 3 from the stitch holder at the end I have 47 stitches …how do I get to the 32 stitches ? and are the following decreases on the inner or outer edge . Thanks
17.12.2025 - 10:03
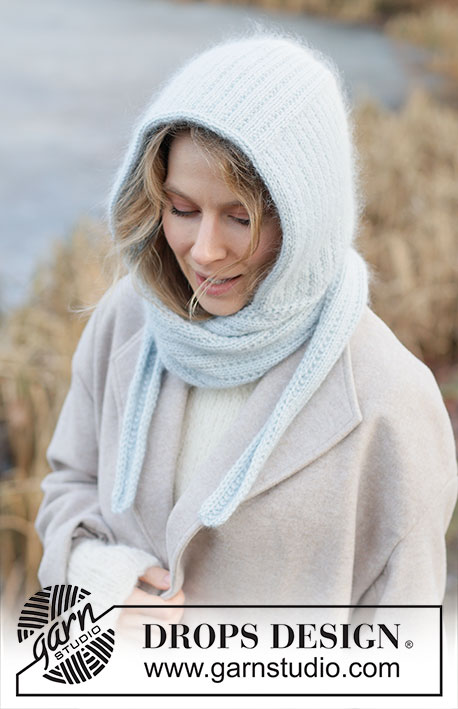
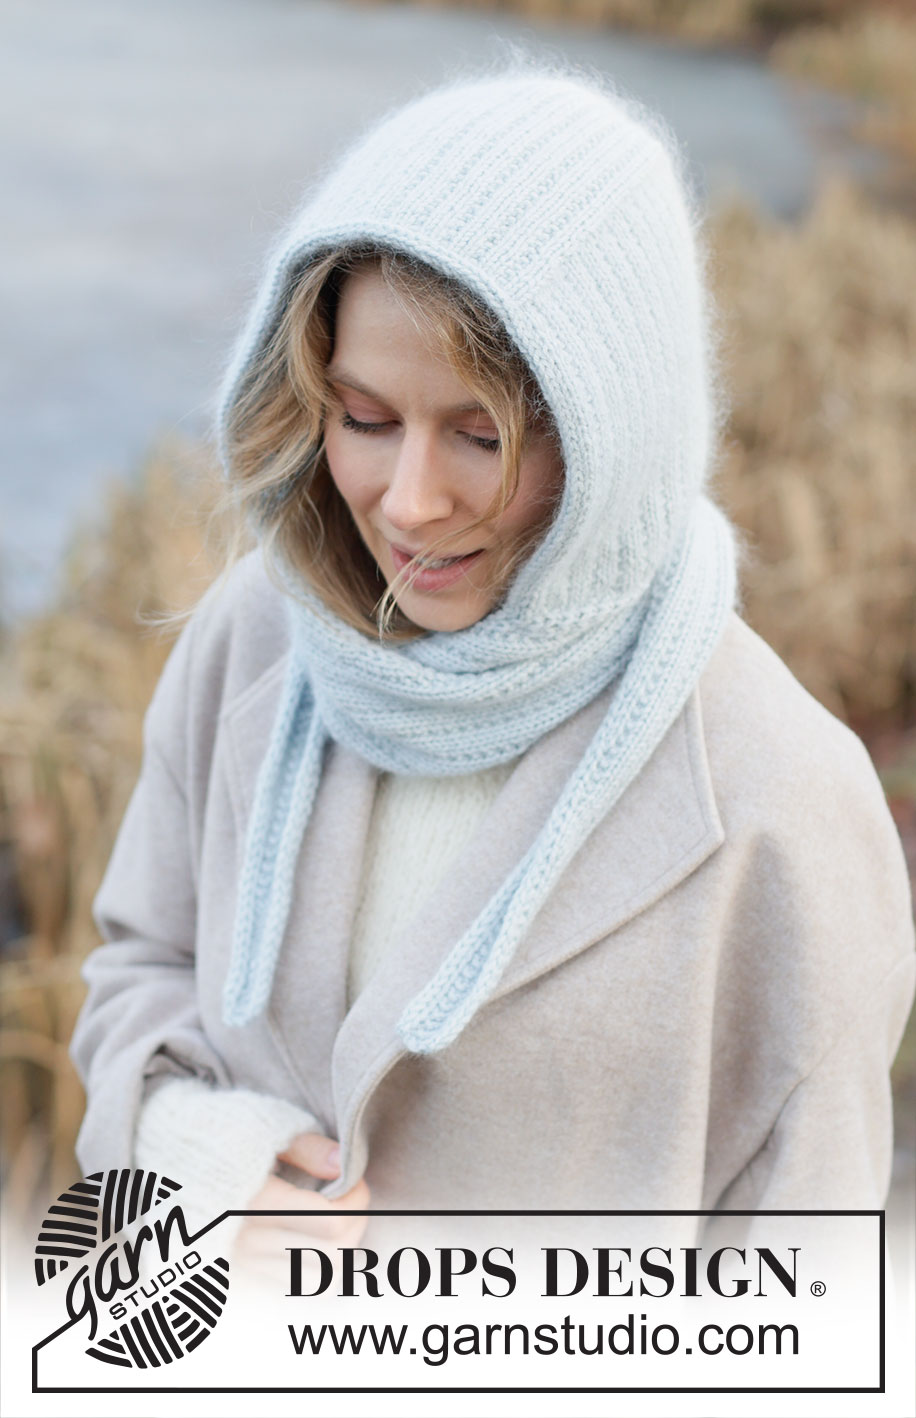
Winter Hug Hood#winterhughood |
||||||||||
 |
 |
|||||||||
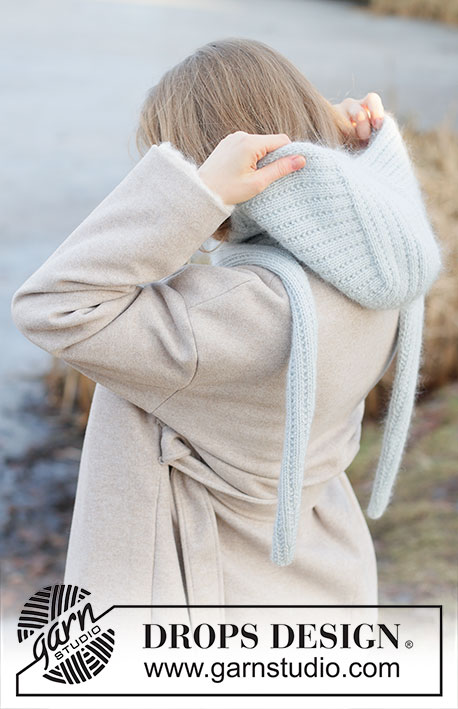
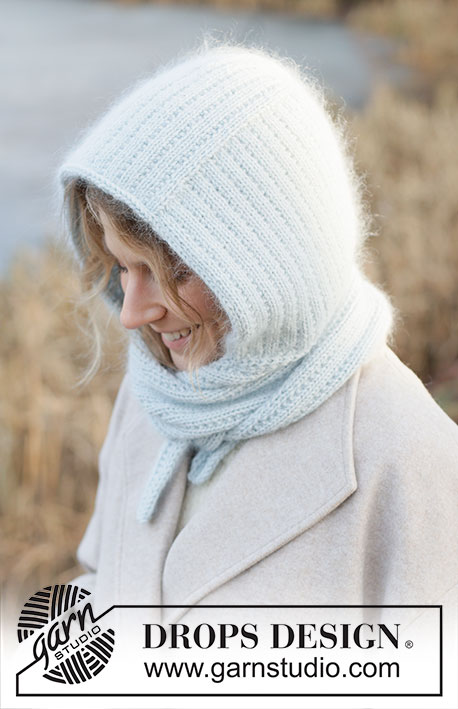
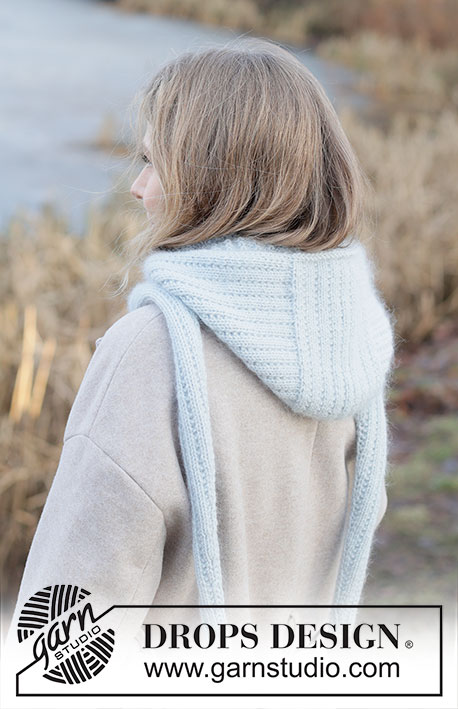
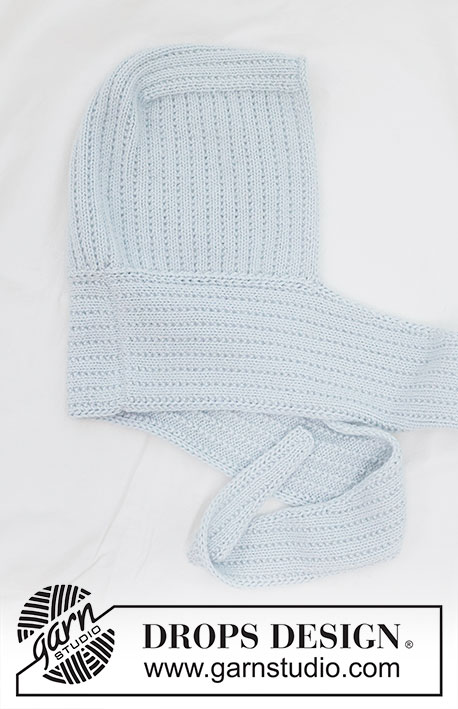
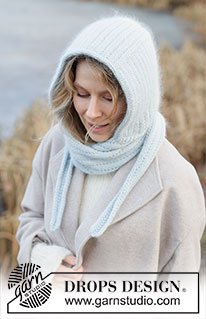
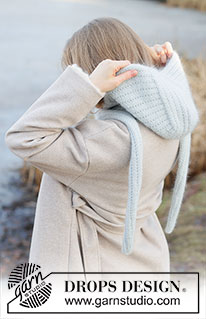
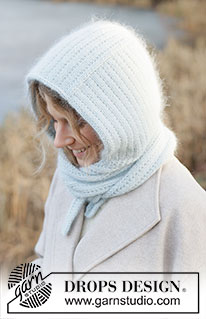
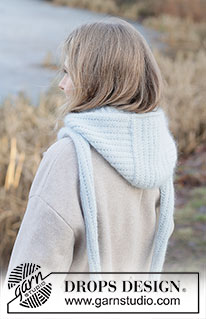
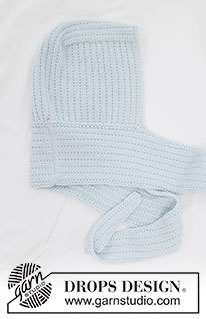
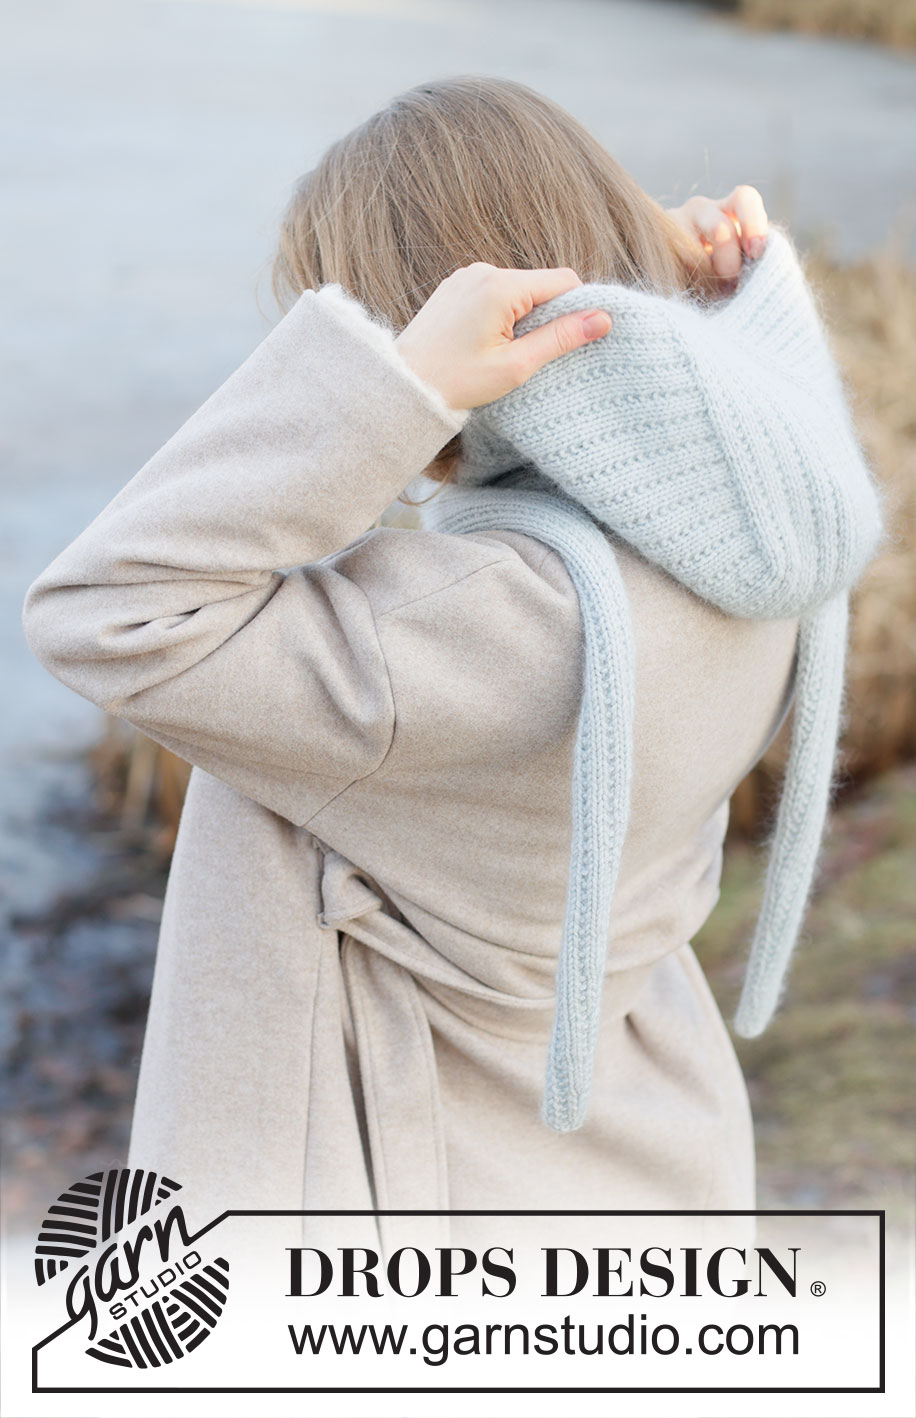
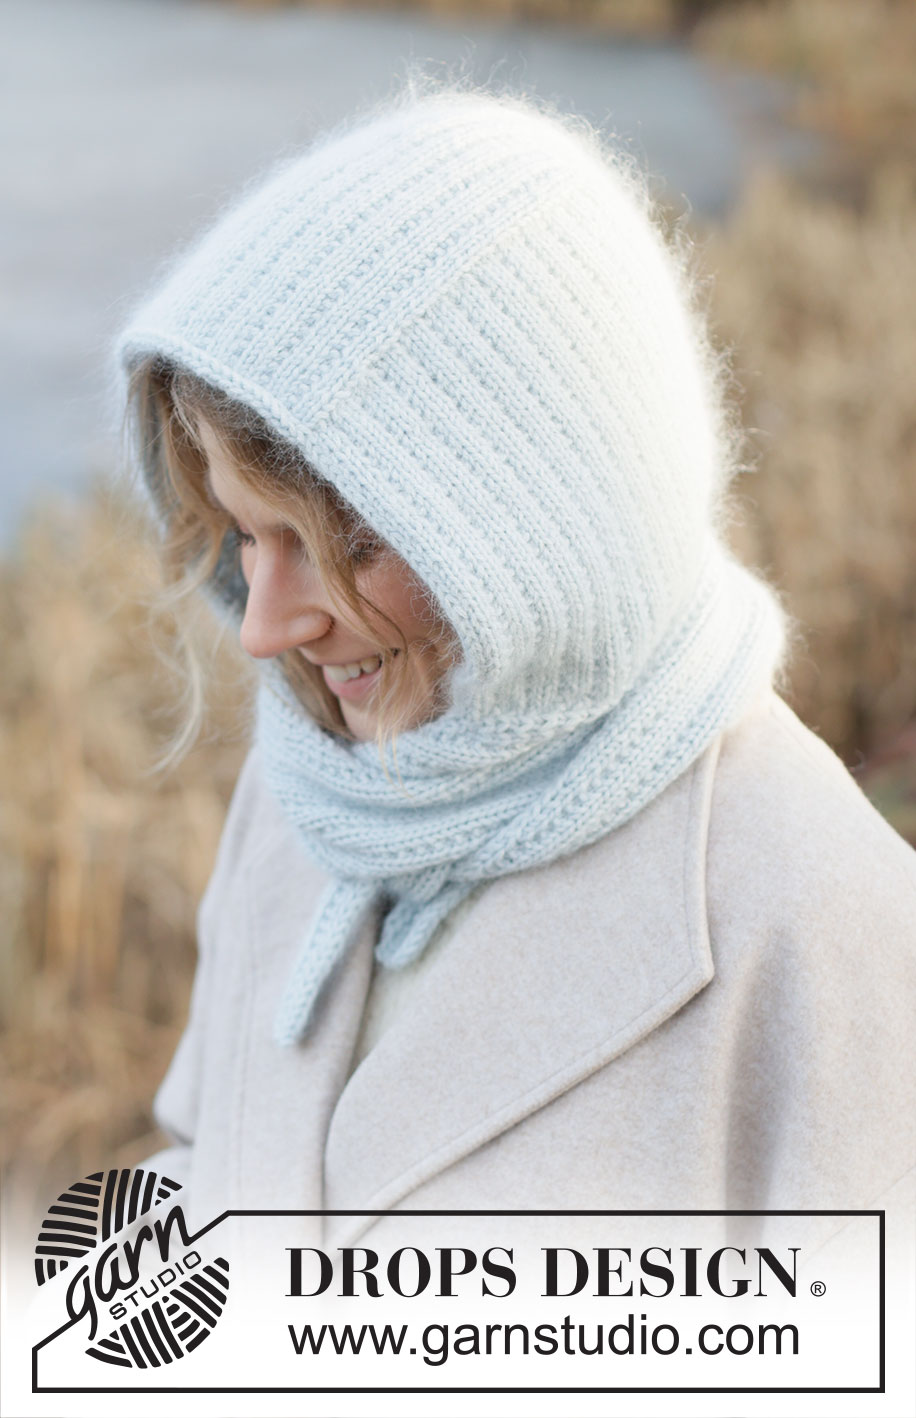
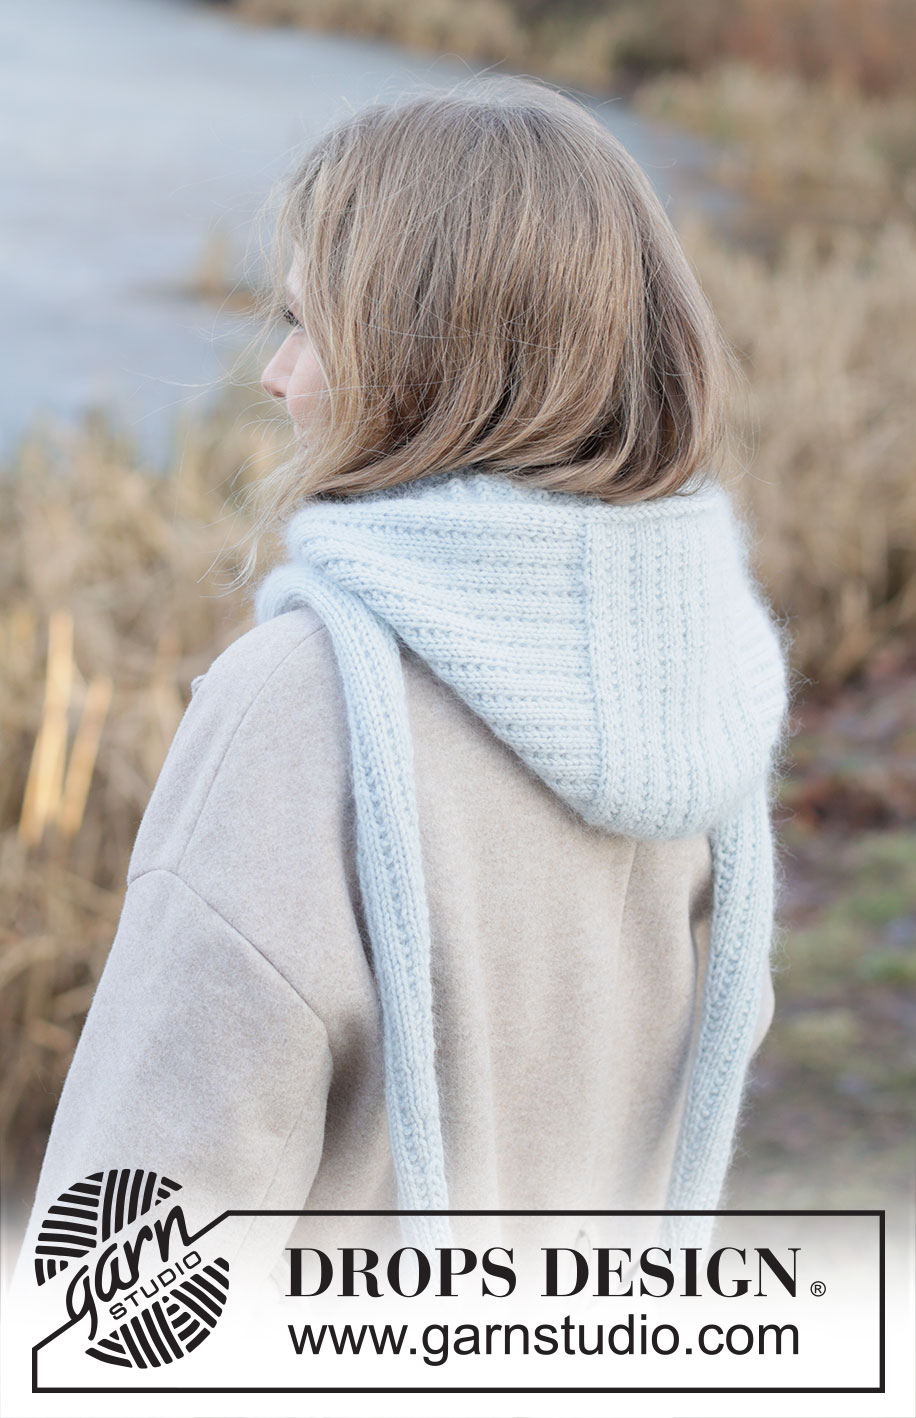
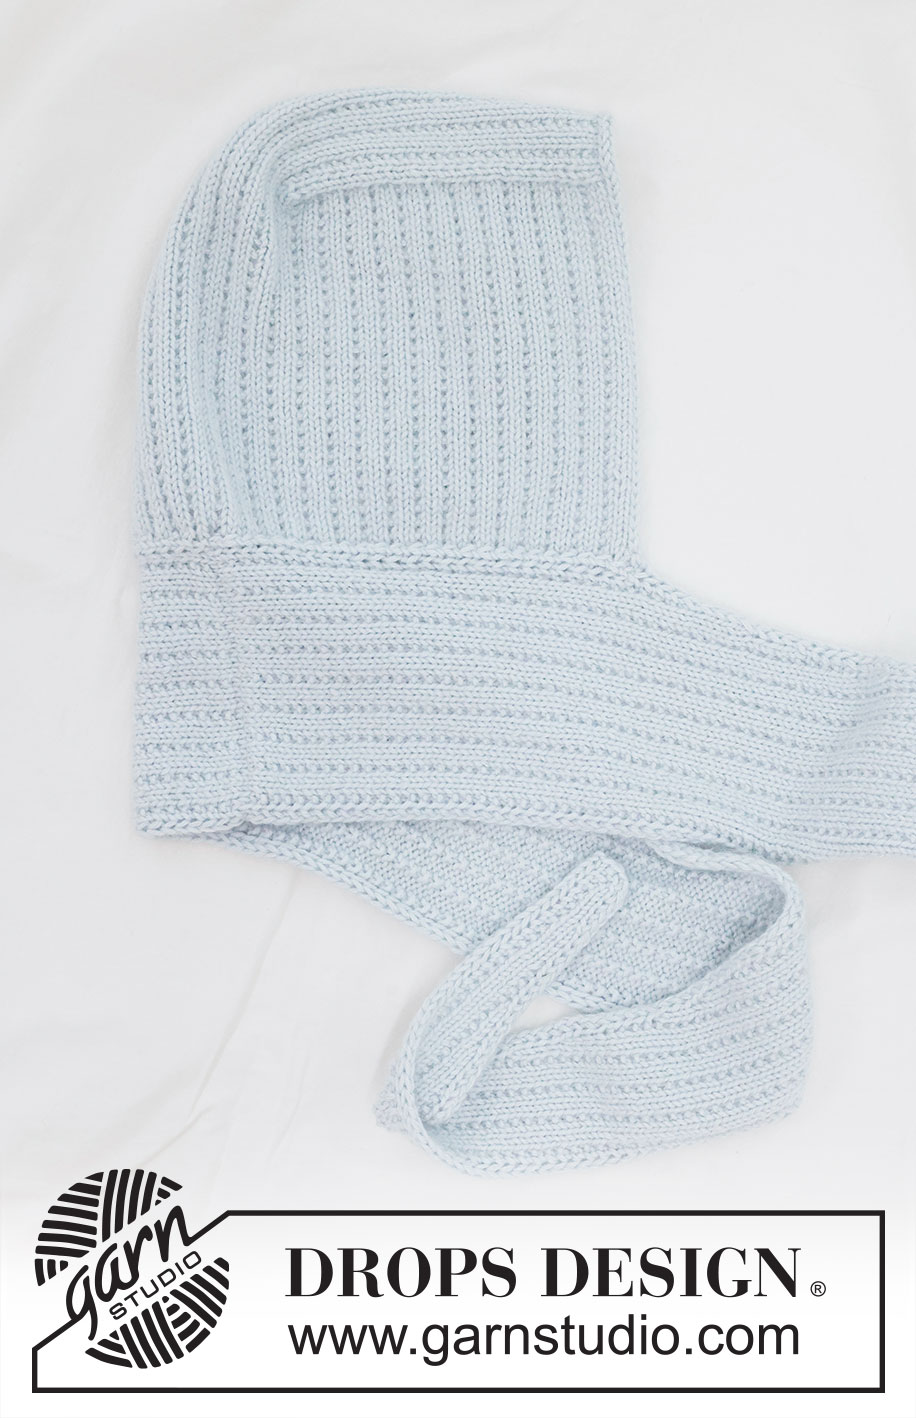
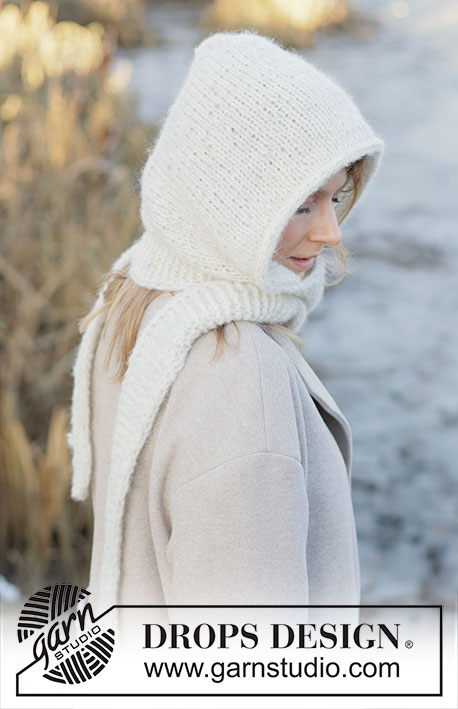
Knitted hooded scarf in DROPS Daisy and DROPS Kid-Silk. The piece is worked with pearl rib and I-cord. Sizes S - XL.
DROPS 253-61 |
||||||||||
|
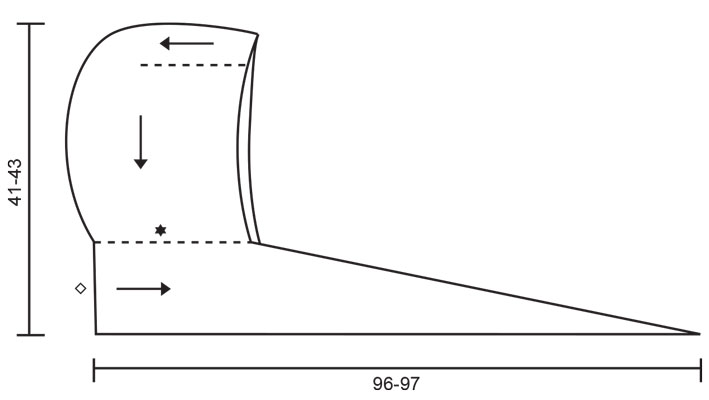
------------------------------------------------------- EXPLANATIONS FOR THE PATTERN: ------------------------------------------------------- GARTER STITCH (worked back and forth): Knit all rows, from both the right and wrong side. 1 ridge in height = knit 2 rows. I-CORD CAST OFF: Cast on 2 stitches on the right needle, slip these 2 stitches onto the left needle with the strand 2 stitches in on the left needle, * knit 1, knit the next 2 stitches twisted together, slip the 2 stitches from the right needle back onto the left needle *, work from *-* until there are 2 stitches left on the row. I-CORD EDGE STITCHES (= 2 stitches): BEGINNING OF ROW: Slip 1 stitch purl-wise with strand in front, knit 1. END OF ROW: Work until there are 2 stitches left on the row, slip 1 stitch purl-wise with strand in front, knit 1. Work like this from both the right and wrong side. ------------------------------------------------------- START THE PIECE HERE: ------------------------------------------------------- HOODED SCARF - SHORT OVERVIEW OF THE PIECE: The hood is worked back and forth with circular needle, from mid-front and backwards. Stitches are picked up on each side and the piece is continued downwards. When the hood is finished the stitches are placed on a stitch holder. An edge is knitted up around the face-opening which is cast off with I-cord. Stitches are cast on for the scarf, starting mid-back. These stitches are worked together with the stitches from the hood. When all stitches are knitted up on one side from mid-back (half the hood), one side of the scarf is finished back and forth. This is then repeated on the other side. The scarf is sewn together mid-back to finish. HOOD: Cast on 22-28 stitches with circular needle size 5 mm, 1 strand DROPS Daisy and 1 strand DROPS Kid-Silk (2 strands). Cast-on edge = mid-front of hood. Work back and forth as follows: ROW 1 (right side): 1 GARTER STITCH – read description above, work pearl rib (knit 2, 1 garter stitch) to end of row. ROW 2 (wrong side): 1 garter stitch, work pearl rib (purl 2, 1 garter stitch) to end of row. Work ROWS 1 and 2 for 19-19 cm, with the last row from the wrong side. Cut the strand and slip stitches on another needle; this piece is top front of hood. You now knit up stitches along both sides, inside the 1 garter stitch: From the right side, start from the corner by the cast-on edge and knit up 36-36 stitches along one side (left side of piece), work across the 22-28 stitches with pearl rib as before (back of hood), knit up 36-36 stitches along the other side (right side of piece) = 94-100 stitches. Further measurements are taken from this knitted-up row. ROW 1 (wrong side): 1 garter stitch, work pearl rib (purl 2, 1 garter stitch) to end of row. ROW 2 (right side): 1 garter stitch, work pearl rib (knit 2, 1 garter stitch) to end of row Work ROWS 1 and 2 until the piece measures 20-21 cm from the knitted-up row. Cut the strand; the hood is finished. Place the first 47-50 stitches on a stitch holder and the last 47-50 stitches on a second stitch holder (divided mid-back). The stitches are for each scarf-length. Now work an I-cord edge around the hood as follows: I-CORD EDGE: Start bottom right of hood (when worn), knit up 34-36 stitches inside the 1 garter stitch as far as the knitted up row, 20-24 stitches along the cast-on edge mid-front and 34-36 stitches down the left side of the hood = 88-96 stitches around the opening. Cut the strand. Start bottom right and work I-CORD CAST OFF – read description above. Cut the strand. Place the remaining 2 stitches on the stitch holder together with the 47-50 stitches on the left side of the hood = 49-52 stitches for left scarf. Pick up 2 stitches where 2 stitches were cast on for the I-cord edge on the opposite side, place these 2 stitches on the stitch holder with the 47-50 stitches on the right side of the hood = 49-52 stitches for right scarf. RIGHT SCARF: Stitches are cast-on for the scarf, AT THE SAME TIME as stitches are knitted together 2 and 2 from the hood. Start with the stitches at the division mid-back and work together with the right side of the hood as follows. Cast on 30-30 stitches with 1 strand of each quality (2 strands) – this is the cast-on edge that will be sewn afterwards to left part of scarf = mid back. ROW 1 (right side): Work 2 I-CORD EDGE STITCHES – read description above, knit 1, work pearl rib (1 garter stitch, knit 2) until there are 3 stitches left, 1 garter stitch, knit 1, slip 1 stitch knit-wise (= last stitch), knit 2 stitches together from the hood, pass the slipped stitch over the knitted together stitches from the hood = 30-30 stitches. ROW 2 (wrong side): Work pearl rib (purl 2, 1 garter stitch) until there are 3 stitches left, purl 1, 2 I-cord edge stitches. Work ROWS 1 and 2 until the first 46-50 stitches from the hood are picked up (= 46-50 rows worked). There are 3-2 stitches left on the stitch holder (including the 2 stitches picked up in I-cord). Work as follows from the right side: 2 I-cord edge stitches, knit 1, 1 garter stitch, work pearl rib (knit 2, 1 garter stitch) to end of row, knit 1-2 stitches from the stitch holder, knit together 2 and 2 the last stitches 1-0 time = 32-32 stitches. Work as follows from the wrong side: 2 I-cord edge stitches, purl 2 together, 1 garter stitch, work pearl rib (purl 2, 1 garter stitch) until there are 3 stitches left, purl 1, 2 I-cord edge stitches = 31-31 stitches. Work 8 rows of pearl rib as before, with 2 I-cord edge stitches + 1 stocking stitch on each side. On the next row (right side) decrease 1 stitch as follows: Work as before until there are 4 stitches left, knit 2 together, 2 I-cord edge stitches. Continue as before back and forth decreasing like this every 8th row (approx. each 3 cm) until there are 7-7 stitches left. Cast off at the same time as the first and last 2 stitches on the row are knitted together. The scarf measures approx. 96-98 cm from the cast-on edge mid-back. LEFT SCARF: Work in the same way as the right scarf, working along the left side of the hood at the same time as 2 and 2 stitches from the hood are worked together with the first stitch on the row as follows: Cast on 30-30 stitches with 1 strand of each quality (2 strands). ROW 1 (wrong side): Work 2 I-cord edge stitches, purl 1, 1 garter stitch, work pearl rib (purl 2, 1 garter stitch) until there are 2 stitches left, purl 2. ROW 2 (right side): Place 2 stitches from the stitch holder on the left needle, knit 3 together (2 stitches from stitch holder + 1 stitch from scarf), knit 1, work pearl rib (1 garter stitch, knit 2) until there are 4 stitches left, 1 garter stitch, knit 1, 2 I-cord edge stitches = 30-30 stitches. Work ROWS 1 and 2 until the first 46-50 stitches from the hood are picked up (= 46-50 rows worked). There are 3-2 stitches left on the stitch holder (including the 2 stitches from the I-cord cast off). Work as follows from the wrong side: 2 I-cord edge stitches, purl 1, 1 garter stitch, work pearl rib (purl 2, 1 garter stitch) to end of row, purl 1-2 stitches from the stitch holder, purl together 2 and 2 the last stitches 1-0 time = 32-32 stitches. Work as follows from the right side: 2 I-cord edge stitches, slip 1 stitch knit-wise, knit 1, pass the slipped stitch over the knitted stitch, 1 garter stitch, work pearl rib (knit 2, 1 garter stitch) until there are 3 stitches left on the row, knit 1, 2 I-cord edge stitches = 31-31 stitches. Work 7 rows of pearl rib as before, with 2 I-cord edge stitches + 1 stocking stitch on each side. On the next row (right side) decrease 1 stitch as follows: 2 I-cord edge stitches, slip 1 stitch knit-wise, knit 1, pass the slipped stitch over the knitted stitch, work to end of row. Continue as before back and forth decreasing like this every 8th row (approx. each 3 cm) until there are 7-7 stitches left. Cast off at the same time as the first and last 2 stitches are knitted together. The scarf measures approx. 96-98 cm from the cast-on edge mid-back. ASSEMBLY: Sew the cast-on edge of right and left sides of the scarf together mid-back with grafting stitches. |
||||||||||
Diagram explanations |
||||||||||
|
||||||||||
 |
||||||||||
Have you finished this pattern?Tag your pictures with #dropspattern #winterhughood or submit them to the #dropsfan gallery. Do you need help with this pattern?You'll find 21 tutorial videos, a Comments/Questions area and more by visiting the pattern on garnstudio.com. © 1982-2026 DROPS Design A/S. We reserve all rights. This document, including all its sub-sections, has copyrights. Read more about what you can do with our patterns at the bottom of each pattern on our site. |
||||||||||







Post a comment to pattern DROPS 253-61
We would love to hear what you have to say about this pattern!
If you want to leave a question, please make sure you select the correct category in the form below, to speed up the answering process. Required fields are marked *.