
Popular categories
Looking for a yarn?


Comments / Questions (13)
![]() Carla wrote:
Carla wrote:
Pur facendo la richiesta di modelli a maglia uomo con ferri dritti il sistema mi riporta solo modelli con ferri circolari. Che cosa sbaglio?
12.02.2026 - 13:00DROPS Design answered:
Buongiorno Carla, i ferri circolari si possono tranquillamente usare per qualsiasi modello, anche lavorato in piano. Buon lavoro!
14.02.2026 - 13:58
![]() Carla wrote:
Carla wrote:
Pur digitando nella ricerca "maglioni uomo ferri diritti" mi appaiono tutti modelli con ferri circolari.
12.02.2026 - 12:57DROPS Design answered:
Buongiorno Carla, i ferri circolari si possono tranquillamente usare per qualsiasi modello, anche lavorato in piano. Buon lavoro!
14.02.2026 - 13:59
![]() Mindy E wrote:
Mindy E wrote:
Hello, At the beginning of the back piece, the pattern says to increase to the left, then to the right for the right side. Then for the wrong side it says to increase to the left, then to the left again. Shouldn't it say increase to the left, then to the right? Thanks for your help on this - I'm excited to knit this pattern! Mindy
07.02.2026 - 20:29DROPS Design answered:
Hi Mindy, The first increase from the wrong side is towards the left, the second increase towards the right. Regards, Drops Team.
10.02.2026 - 07:15
![]() Cerioli wrote:
Cerioli wrote:
Je n'aime pas tricoter en rond. Y a-t-il un modèle équivalent en allers-retours classiques? Sans explications, je crains de ne pas savoir adapter ce modèle
27.01.2026 - 20:51DROPS Design answered:
Bonjour Mme Cérioli, retrouvez ici comment adapter un modèle sur aiguilles droites, vous pouvez également retrouver plus de détails sur la construction de ce pull en vidéo et en photos sous ls onglets Vidéos et Leçons en haut de page, à droite de l'onglet Explications. Bon tricot!
28.01.2026 - 08:56
![]() Juliacot wrote:
Juliacot wrote:
Bonjour ! J'aimerais avoir une reponse a ma demande initiale. Merci de me contacter par WhatsApp a votre convenance. wa.me/+79939466590
13.11.2025 - 12:40
![]() Anna wrote:
Anna wrote:
It was my first ever sweater and it turned out so beautifully. A great design and such clear instructions; I really needed all the videos and all the extra tips. And it helps that it was free. I used an alpaca polyamide blend and sized up with needles. My son loves it as does everybody else! Thank you!
26.10.2025 - 05:54
![]() Juliacot wrote:
Juliacot wrote:
Bonjour ! J'ai envoye une demande, mais je n'ai malheureusement pas recu de reponse. Veuillez me contacter sur Whatsapp ou Telegram. wa.me/+66945829340 ou Telegram t.me/sveta_bez_sveta
14.10.2025 - 15:41
![]() Viveque wrote:
Viveque wrote:
Jeg skal strikke denne sweater til min sån
01.08.2025 - 22:32
![]() Isabelle wrote:
Isabelle wrote:
Madame Monsieur, S’il vous plaît 🙏 pourriez-vous si vous pouvez m’envoyer les explications avec les aiguilles droites. Je ne fais pas vos modèles à mon grand regret car les explications sont très compliquées à mon goût !!! Belle journée à vous très cordialement Madame Monsieur !!! Isa
07.07.2025 - 16:01
![]() E Silva wrote:
E Silva wrote:
Bonjour, Quand vous proposez une quantité de laine pour un modèle, est-ce que celle de l\'échantillon est compris avec ? Merci !
24.10.2024 - 09:09DROPS Design answered:
Bonjour Mme Silva, la quantité requise ne comprend pas celle de l'échantillon mais vous avez en général suffisamment de laine pour, notez que vous pouvez également le mettre de côté pour le défaire si besoin. Bon tricot!
24.10.2024 - 15:20
|
|||||||
Waterway#waterwaysweater |
|||||||
 |
 |
||||||
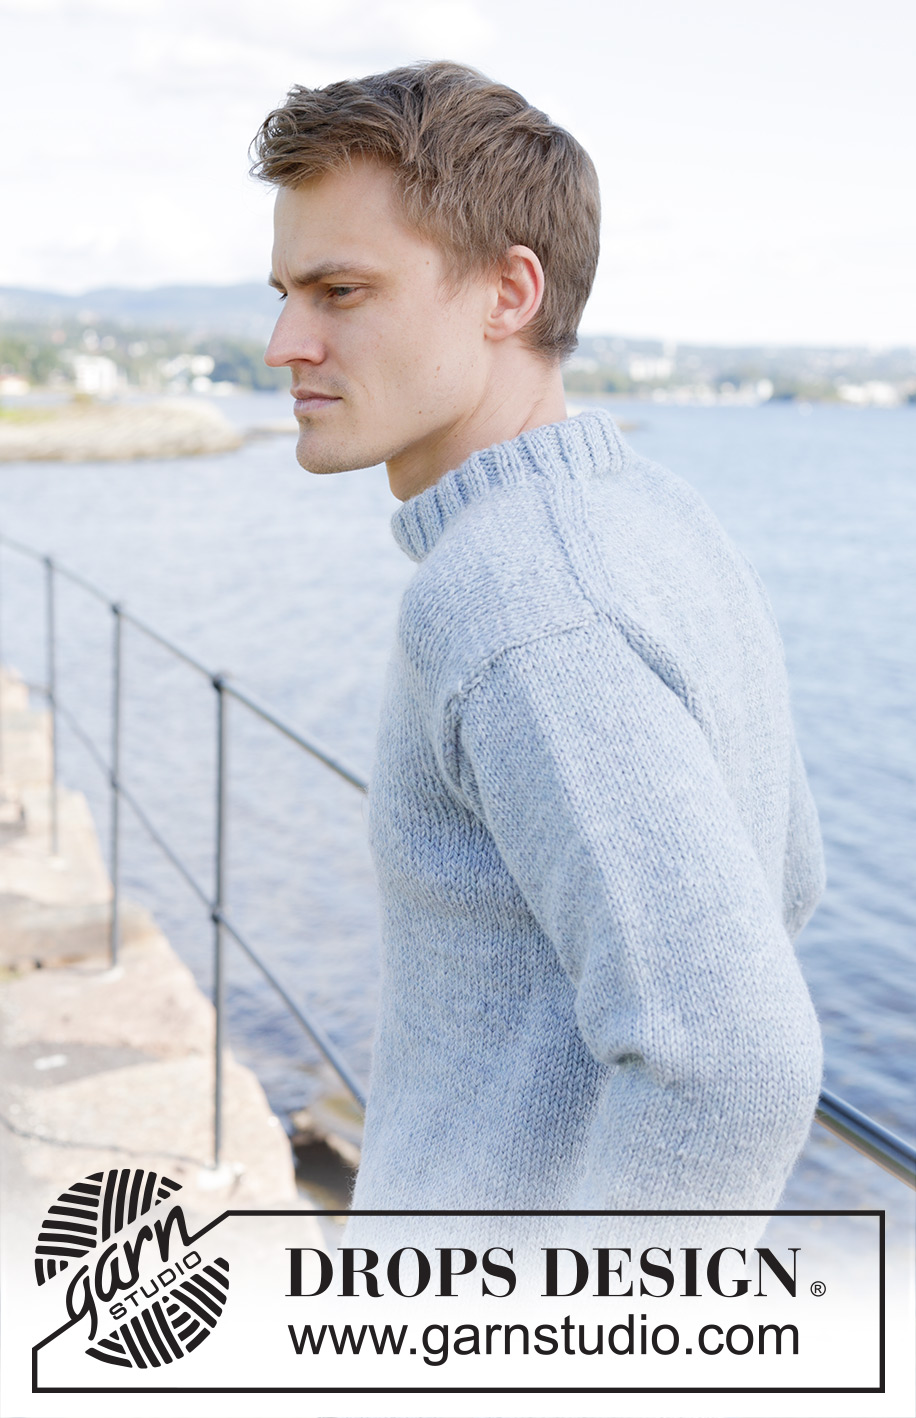
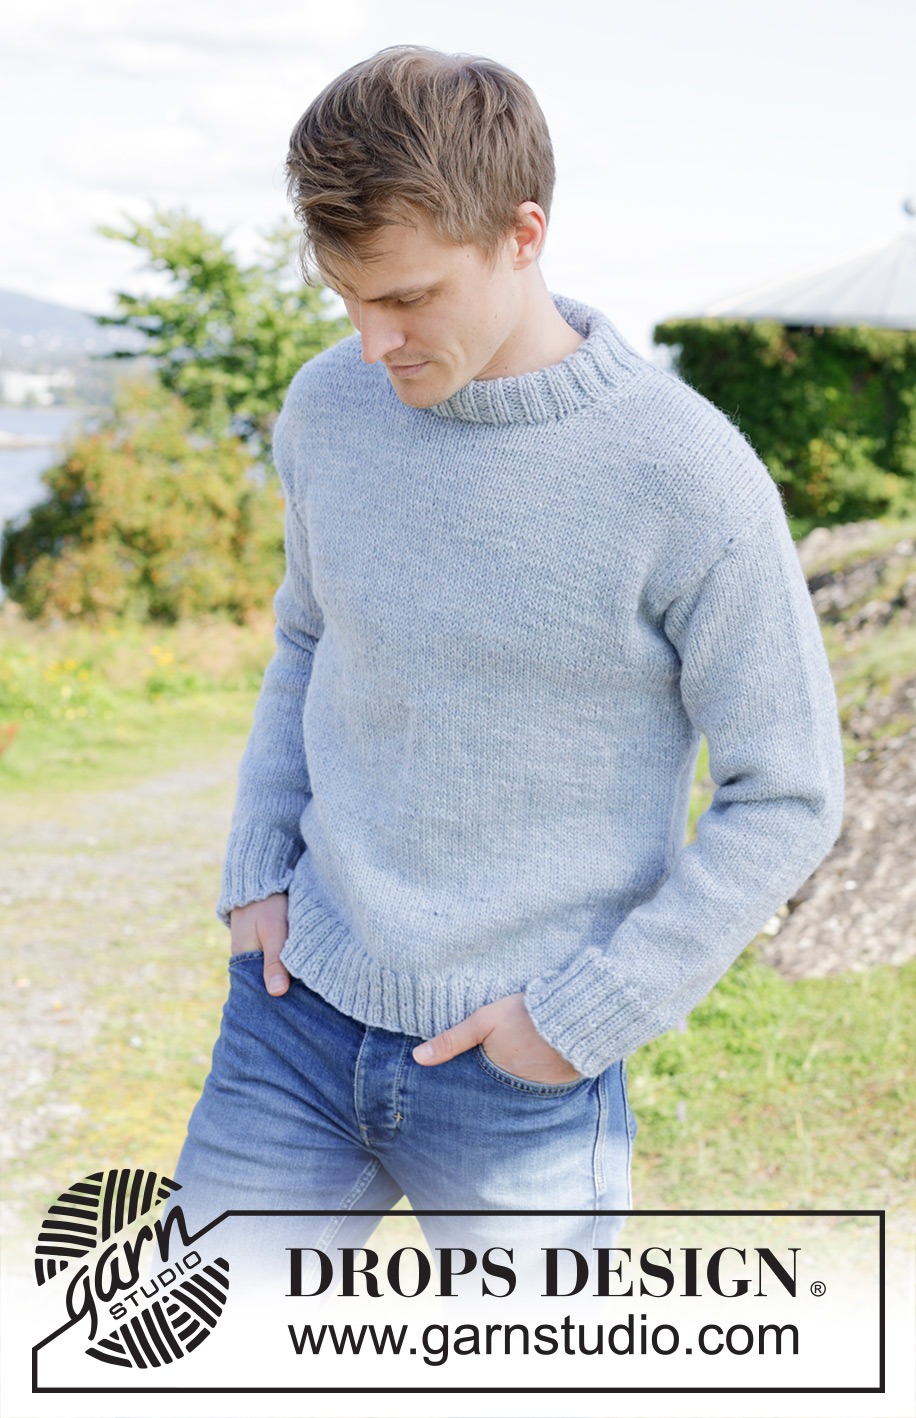
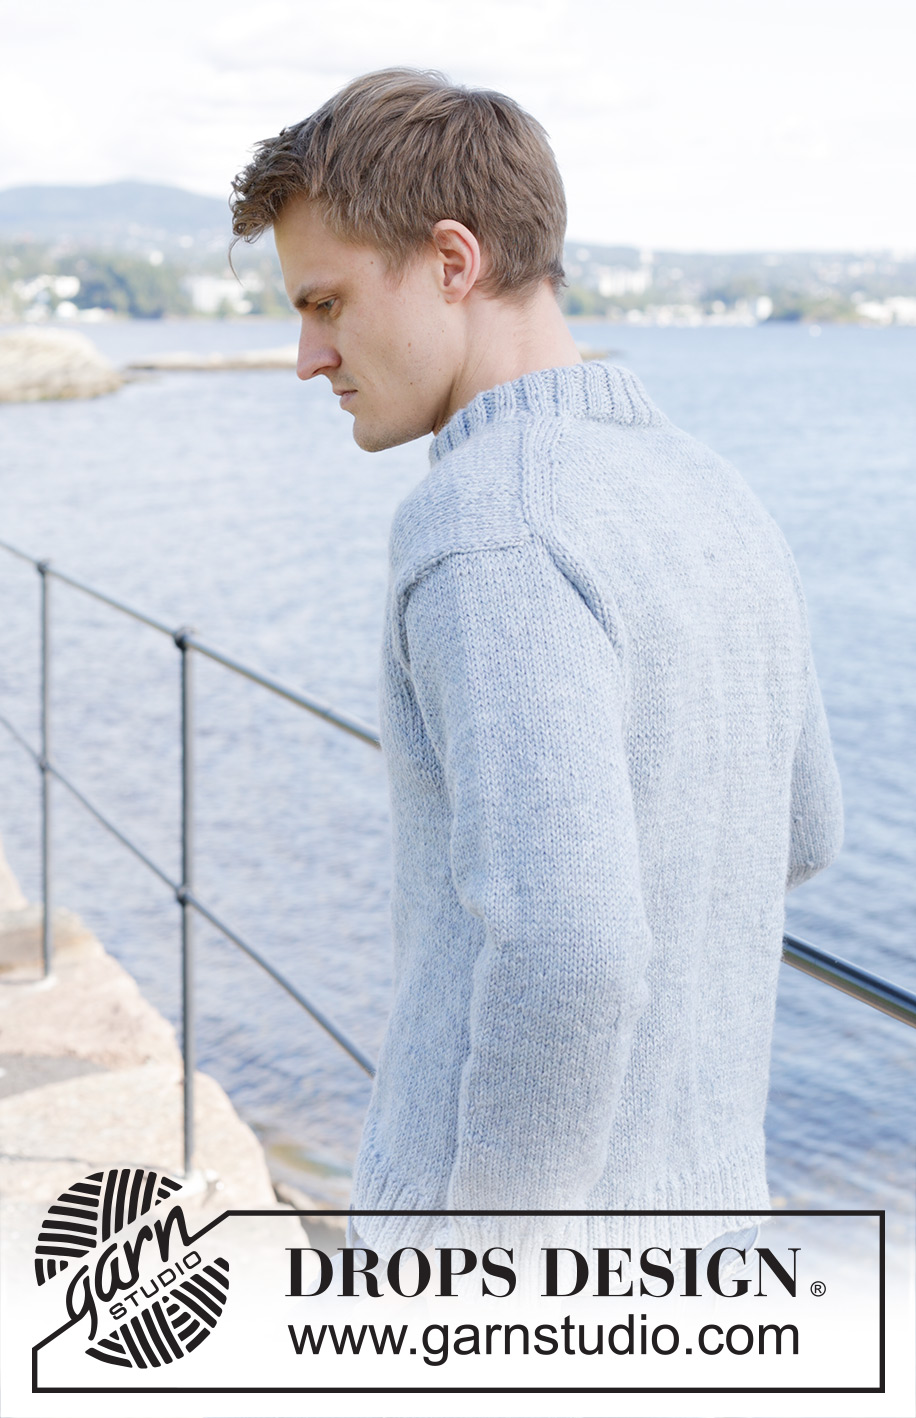
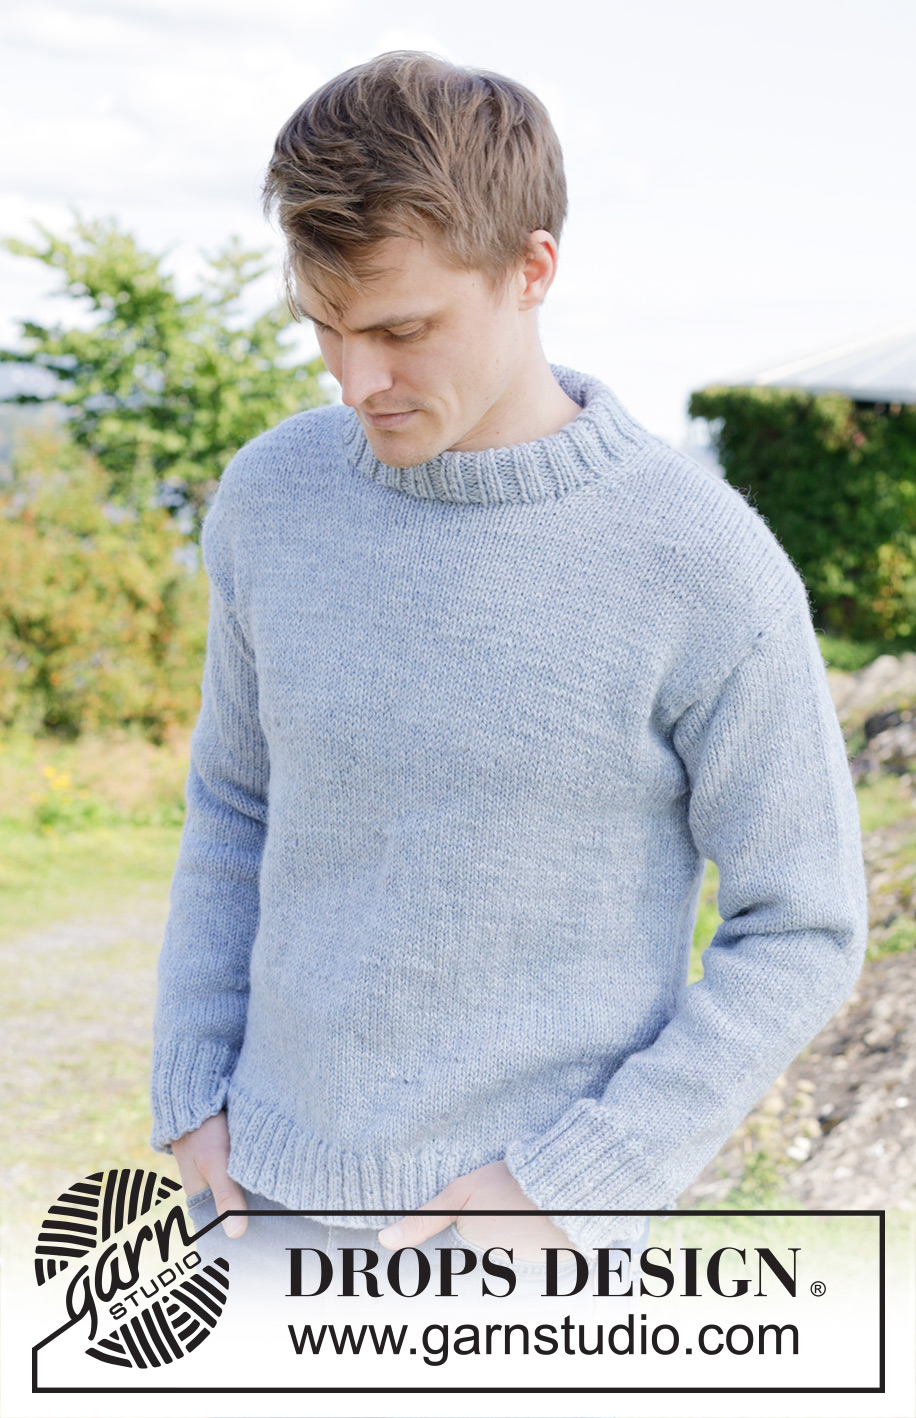
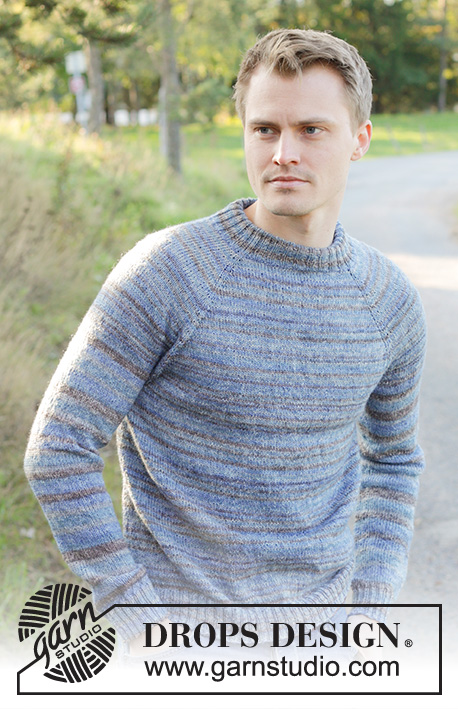
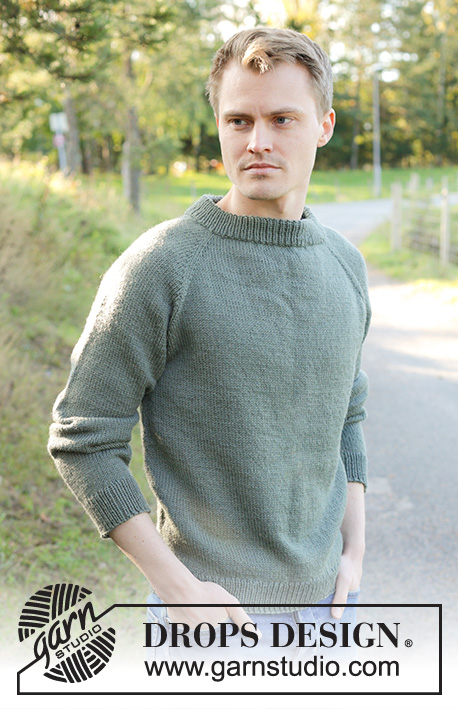
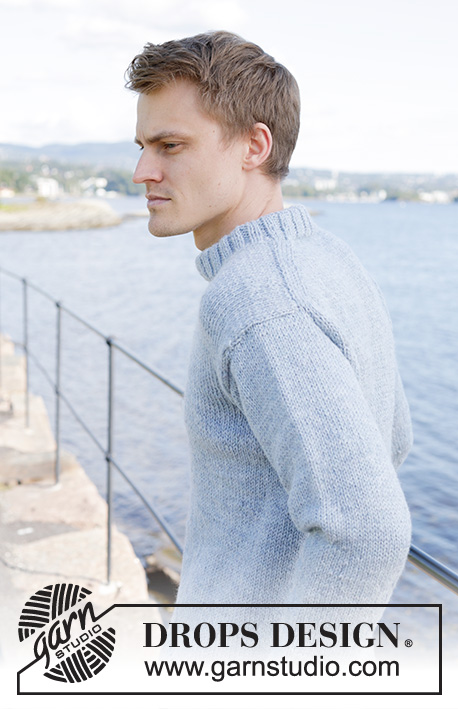
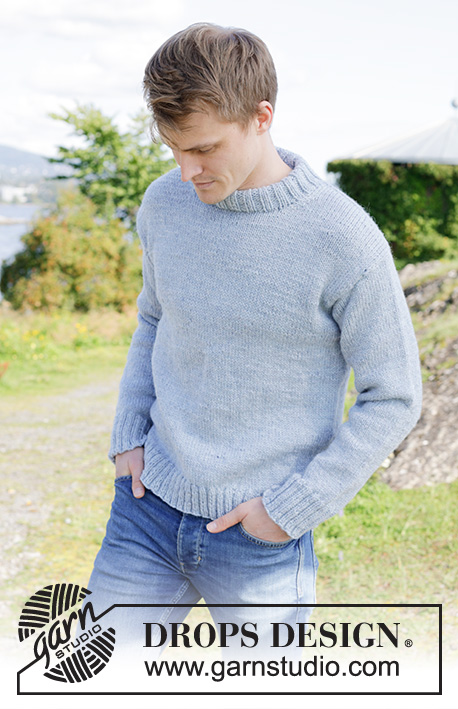
Knitted jumper for men in DROPS Alaska. The piece is worked top down in stocking stitch with European/diagonal shoulders. Sizes S - XXXL.
DROPS 246-14 |
|||||||
|
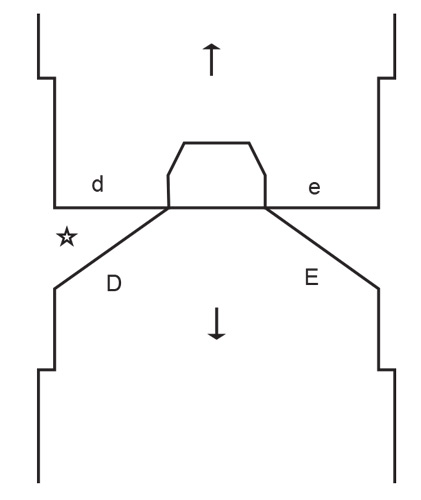
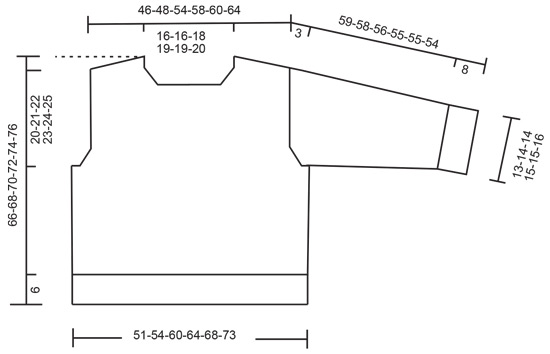
------------------------------------------------------- EXPLANATIONS FOR THE PATTERN: ------------------------------------------------------- INCREASE TIP FROM THE RIGHT SIDE: Increase towards the left: Use left needle to pick up yarn between 2 stitches from row below, pick up yarn from the front and knit in the stitch loop that is on the back of the needle. Increase towards the right: Use left needle to pick up yarn between 2 stitches from row below, pick up yarn from the back and knit in the stitch loop that is on the front side of the needle. INCREASE TIP FROM THE WRONG SIDE: Increase towards the right: Use left needle to pick up yarn between 2 stitches from row below, pick up yarn from the back and purl in the stitch loop that is on the front side of the needle. Increase towards the left: Use left needle to pick up yarn between 2 stitches from row below, pick up yarn from the front and purl in the stitch loop that is on the back side of the needle. DECREASE TIP (for sleeves): Decrease 1 stitch on each side of the marker-thread as follows: Work until there are 3 stitches left before the marker-thread, knit 2 together, knit 2 (marker-thread sits between these 2 stitches), slip 1 stitch knit-wise, knit 1 and pass the slipped stitch over the knitted stitch. ------------------------------------------------------- START THE PIECE HERE: ------------------------------------------------------- JUMPER – SHORT OVERVIEW OF THE PIECE: The back piece is started back and forth with circular needle, top down until the armholes are finished. Stitches are knitted up along each shoulder for the front, then increased for the neck and the front piece is worked back and forth with circular needle, top down until the armholes are finished. The front and back pieces are joined and the body continued in the round with circular needle. Stitches are knitted up around the armholes, the sleeve cap worked back and forth with circular needle, then the rest of the sleeve is worked in the round with circular needle/double pointed needles. The neck is worked in the round to finish. BACK PIECE: Cast on 30-30-32-34-34-36 stitches with circular needle size 5 mm and DROPS Alaska. Purl 1 row from the wrong side. Work as follows from the right side: Knit 4, increase to the left, knit until there are 4 stitches left, increase to the right, knit 4 - read INCREASE TIP FROM RIGHT SIDE. Work as follows from the wrong side: Purl 4, increase to the right, purl until there are 4 stitches left, increase to the left, purl 4 - read INCREASE TIP FROM WRONG SIDE. Continue working stocking stitch and increasing from both the right and wrong side a total of 24-26-30-32-34-36 times = 78-82-92-98-102-108 stitches. Insert 1 marker outermost on one side. The piece is now measured from here! Continue working until the piece measures 13-14-15-15-15-15 cm from the marker along armhole. Work the next row as follows from the right side: Knit 3, increase to the left, knit until there are 3 stitches left, increase to the right, knit 3 - remember INCREASE TIP FROM RIGHT SIDE. Increase like this on each row from the right side 2-2-2-2-3-4 times in total = 82-86-96-102-108-116 stitches. Continue working until the piece measures 15-16-17-17-18-19 cm along the armhole. Cut the strand, place the stitches on a stitch holder. FRONT PIECE: Start with left shoulder (when garment is worn): Knit up 24-26-30-32-34-36 stitches inside the outermost stitch along the left back shoulder (knit up 1 stitch in each row, see D in the sketch). Work stocking stitch back and forth for 7 cm. Increase for the neckline as follows from the right side: Knit 3, increase to the left, knit to end of row - remember INCREASE TIP FROM RIGHT SIDE. Increase like this on each row from the right side 3 more times = 28-30-34-36-38-40 stitches. Purl back from the wrong side. Cut the strand, place the stitches on a stitch holder and work the right front shoulder. Knit up 24-26-30-32-34-36 stitches inside the outermost stitch along the right back shoulder (knit up 1 stitch in each row, see E on sketch). Work stocking stitch back and forth for 7 cm. Now increase for the neckline as follows from the right side: Knit until there are 3 stitches left, increase to the right, knit 3 - remember INCREASE TIP FROM RIGHT SIDE. Increase like this on each row from the right side 3 more times = 28-30-34-36-38-40 stitches. Purl back from the wrong side after the last increase. Work the next row as follows from the right side: Knit the 28-30-34-36-38-40 stitches from the right front shoulder, cast on 22-22-24-26-26-28 stitches for the neckline, knit the 28-30-34-36-38-40 stitches from the left front shoulder = 78-82-92-98-102-108 stitches. Work stocking stitch back and forth until the piece measures 23-24-25-27-27-27 cm, along the armhole. Work as follows from the right side: Knit 3, increase to the left, knit until there are 3 stitches left, increase to the right, knit 3 - remember INCREASE TIP FROM RIGHT SIDE. Increase like this on each row from the right side 2-2-2-2-3-4 times in total = 82-86-96-102-108-116 stitches. Continue working until the piece measures 25-26-27-29-30-31 cm, outermost along the armhole. The front and back pieces are now joined for the body. BODY: Knit from the right side the 82-86-96-102-108-116 stitches from the front piece, cast on 4-6-6-6-8-8 stitches (= side), knit the 82-86-96-102-108-116 stitches from the back piece, cast on 4-6-6-6-8-8 stitches = 172-184-204-216-232-248 stitches. Work stocking stitch in the round until the piece measures 60-62-64-66-68-70 cm, from the top of the front shoulder. Change to circular needle size 4 mm. Knit 1 round and increase 20-20-24-24-28-28 stitches evenly spaced = 192-204-228-240-260-276 stitches. Work rib (knit 2, purl 2) for 6 cm. Cast off. The jumper measures approx. 66-68-70-72-74-76 cm, from the top of the shoulder. LEFT SLEEVE: Lay the piece flat and insert 1 marker at the top of the left armhole (NOTE! This is not where stitches were knitted up for the front piece but 5-6 cm down the front piece = mid-top of shoulder). Use circular needle size 5 mm. Start in the middle of the cast-on stitches under the sleeve and knit up 72-78-80-84-90-94 stitches around the armhole – with an equal number of stitches on both sides of the marker. Work short rows back and forth for the sleeve cap as follows: Row 1 (right side): Knit to 6 stitches past the marker, turn. Row 2 (wrong side): Purl to 6 stitches past the marker, turn. Row 3 (right side): Knit to 12 stitches past the marker, turn Row 4 (wrong side): Purl to 12 stitches past the marker, turn. Row 5 (right side): Knit to 18 stitches past the marker, turn Row 6 (wrong side): Purl to 18 stitches past the marker, turn. Row 7 (right side): Knit to beginning of round. Insert 1 marker-thread at the beginning of the round (mid-under sleeve). Allow the thread to follow your work onwards. With short circular needle, work stocking stitch in the round until the sleeve measures 7 cm from the knitted-up stitches (all measurements are taken down the middle of the sleeve). Now decrease 2 stitches under the sleeve – read DECREASE TIP. Decrease like this every 3-2½-2½-2-2-1½ cm a total of 14-16-16-17-19-20 times = 44-46-48-50-52-54 stitches. Work until the sleeve measures 51-50-48-47-47-46 cm. There is 8 cm left; try the jumper on and work to desired length. Knit 1 round and increase 8-6-8-6-8-6 stitches evenly spaced = 52-52-56-56-60-60 stitches. Change to double pointed needles size 4 mm. Work rib (knit 2, purl 2) for 8 cm. Cast off a little loosely. The sleeve measures approx. 59-58-56-55-55-54 cm. RIGHT SLEEVE: Work in the same way as the left sleeve. NECK: Start on one shoulder line and knit up from the right side (inside 1 edge stitch) 88 to 100 stitches with short circular needle size 4 mm. The stitch count must be divisible by 4. Work rib in the round (knit 2, purl 2) for 9 cm. Cast off a little loosely. Fold the neck double to the inside and fasten down with a couple of stitches. |
|||||||
Diagram explanations |
|||||||
|
|||||||
 |
|||||||
 |
|||||||
Have you finished this pattern?Tag your pictures with #dropspattern #waterwaysweater or submit them to the #dropsfan gallery. Do you need help with this pattern?You'll find 29 tutorial videos, a Comments/Questions area and more by visiting the pattern on garnstudio.com. © 1982-2026 DROPS Design A/S. We reserve all rights. This document, including all its sub-sections, has copyrights. Read more about what you can do with our patterns at the bottom of each pattern on our site. |
|||||||


With over 40 years in knitting and crochet design, DROPS Design offers one of the most extensive collections of free patterns on the internet - translated to 17 languages. As of today we count 324 catalogues and 12290 patterns translated into English (UK/cm). 12290
We work hard to bring you the best knitting and crochet have to offer, inspiration and advice as well as great quality yarns at incredible prices! Would you like to use our patterns for other than personal use? You can read what you are allowed to do in the Copyright text at the bottom of all our patterns. Happy crafting!
Post a comment to pattern DROPS 246-14
We would love to hear what you have to say about this pattern!
If you want to leave a question, please make sure you select the correct category in the form below, to speed up the answering process. Required fields are marked *.