
Popular categories
Looking for a yarn?


Comments / Questions (10)
![]() Sennett wrote:
Sennett wrote:
I am having some trouble understanding the decrease tip. Can you clarify what you mean by "Decrease 4 stitches 1 time = 16 stitches, then knit all stitches together 2 and 2 a total of 2 times = 4 stitches on the needle." Thanks!
15.01.2025 - 03:53DROPS Design answered:
Dear Sennet, there are 20 sts on needle, on next row from RS decrease 4 sts evenly = 16 sts remain. Then on next row k2 together across = 8 sts remain. On next row, K2 together across = 4 sts remain. Happy knitting!
15.01.2025 - 09:09
![]() Birgitte wrote:
Birgitte wrote:
Hvorfor skal man slå 11 (=22) masker op til ølvanten, når man skal slå 27 masker op til den anden vante? Så bliver de vel ikke lige stramme om håndleddet? Mvh Birgitte
14.12.2023 - 20:01DROPS Design answered:
Hej Birgitte, har du set de 2 videoer vi har lavet til disse vanter? Du finder dem nederst i opskriften :)
15.12.2023 - 08:59
![]() Ingrid Nilsson wrote:
Ingrid Nilsson wrote:
Hej! Jag undrar om ni har mönster på virkad ölvante? Har hittat på stickad ölvante! Mvh Ingrid Nilsson
05.02.2023 - 09:31DROPS Design answered:
Hei Ingrid. Nei, det har vi dessverre ikke. Men takk for tipset, ønsket er videresendt til design avdelingen. mvh DROPS Design
06.02.2023 - 11:20
![]() Judith Benedict wrote:
Judith Benedict wrote:
Is there an USA crochet pattern for this item ?
03.12.2020 - 23:07DROPS Design answered:
Hi Judith, Click on the language box, below the photograph, and you can choose US English. Happy crafting!
04.12.2020 - 07:29
![]() Alice wrote:
Alice wrote:
I figured out the pattern the wording is wrong which is why its so confusing top and underneath should be left and right . the thumb is started then placed on a holder then the mitten is continued as if the thumb wasn't there when you knit the stitches up to the thumb area you add 1 then continue across i have pictures as i went no idea how to post here to help
11.11.2020 - 06:43
![]() Barbara LeLievre wrote:
Barbara LeLievre wrote:
I have made the beer mitten, with no problem. But, I am completely "stuck" on the other mitten, from the point of the thumb thread onward. I simply cannot understand the instructions, and the thumb video is not made the same as the beer mitten partner. Do you have a specific video showing how to do this specific pattern? Or can you explain the pattern more simply and specifically. I have been knitting for 50 years, and I just can't "get" this.
05.01.2020 - 00:57DROPS Design answered:
Dear Mrs LeLievre, could this other video help you? You just need to increase on each side of the st with a marker, and knit the yarn over twisted on next row from WS (the mitten is worked in the round in the video) = 3 sts for thum after 1st inc, then increase on either side of these 3 sts until there are a total of 9 sts for thumb. Happy knitting!
06.01.2020 - 08:31
![]() Elaine wrote:
Elaine wrote:
I'm having problems following the 'plain' mitt pattern - is there a video or pic of it?
24.12.2019 - 06:03DROPS Design answered:
Dear Elanie, you can find the videos that can help you with this project here. Happy Knitting and Happy Holidays!
24.12.2019 - 16:59
![]() Rose Mary Ley wrote:
Rose Mary Ley wrote:
This is what I want
04.11.2019 - 17:26
![]() Lynn Staples wrote:
Lynn Staples wrote:
This is a better design and easier to make. Now I have to remember how to knit. Thank you for the information.
06.05.2019 - 21:37
![]() Sengier wrote:
Sengier wrote:
Bonjour, Pour faire une couverture bébé de 1mètre/1mètre, en point de blé, combien je dois prévoir de pelotes de laine ESKIMO ? Merci
28.02.2019 - 14:56DROPS Design answered:
Bonjour Mme Sengier, tout va dépendre de votre échantillon/des aiguilles utilisées. Ce modèle pourra probablement vous inspirer. Pour toute assistance personnelle complémentaire, merci de bien vouloir contacter votre magasin DROPS. Bon tricot!
28.02.2019 - 15:03
|
|||||||
Keep It Warm#keepitwarmbeermitt |
|||||||
 |
 |
||||||
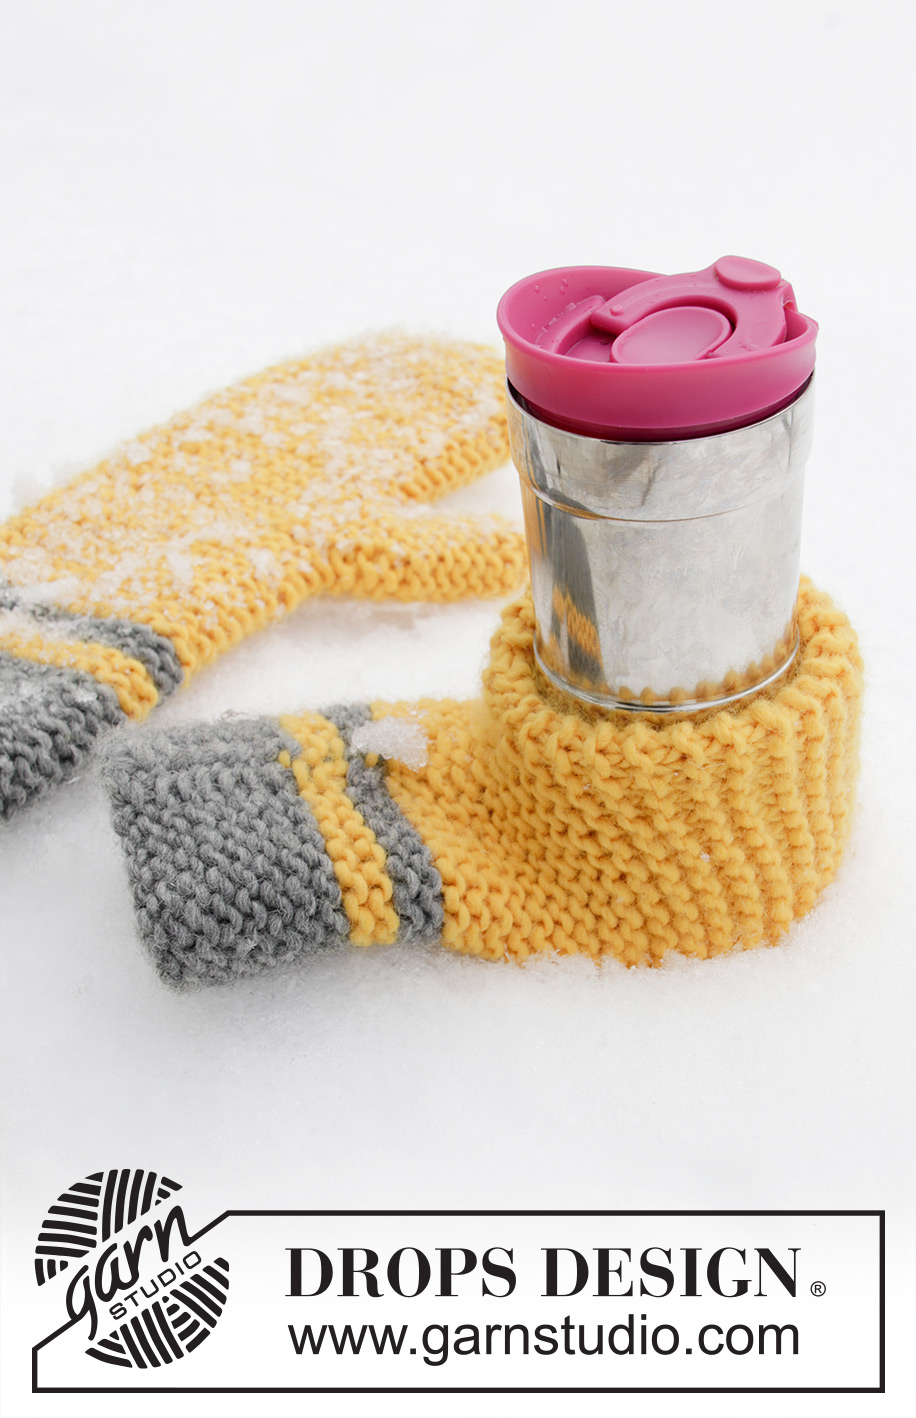
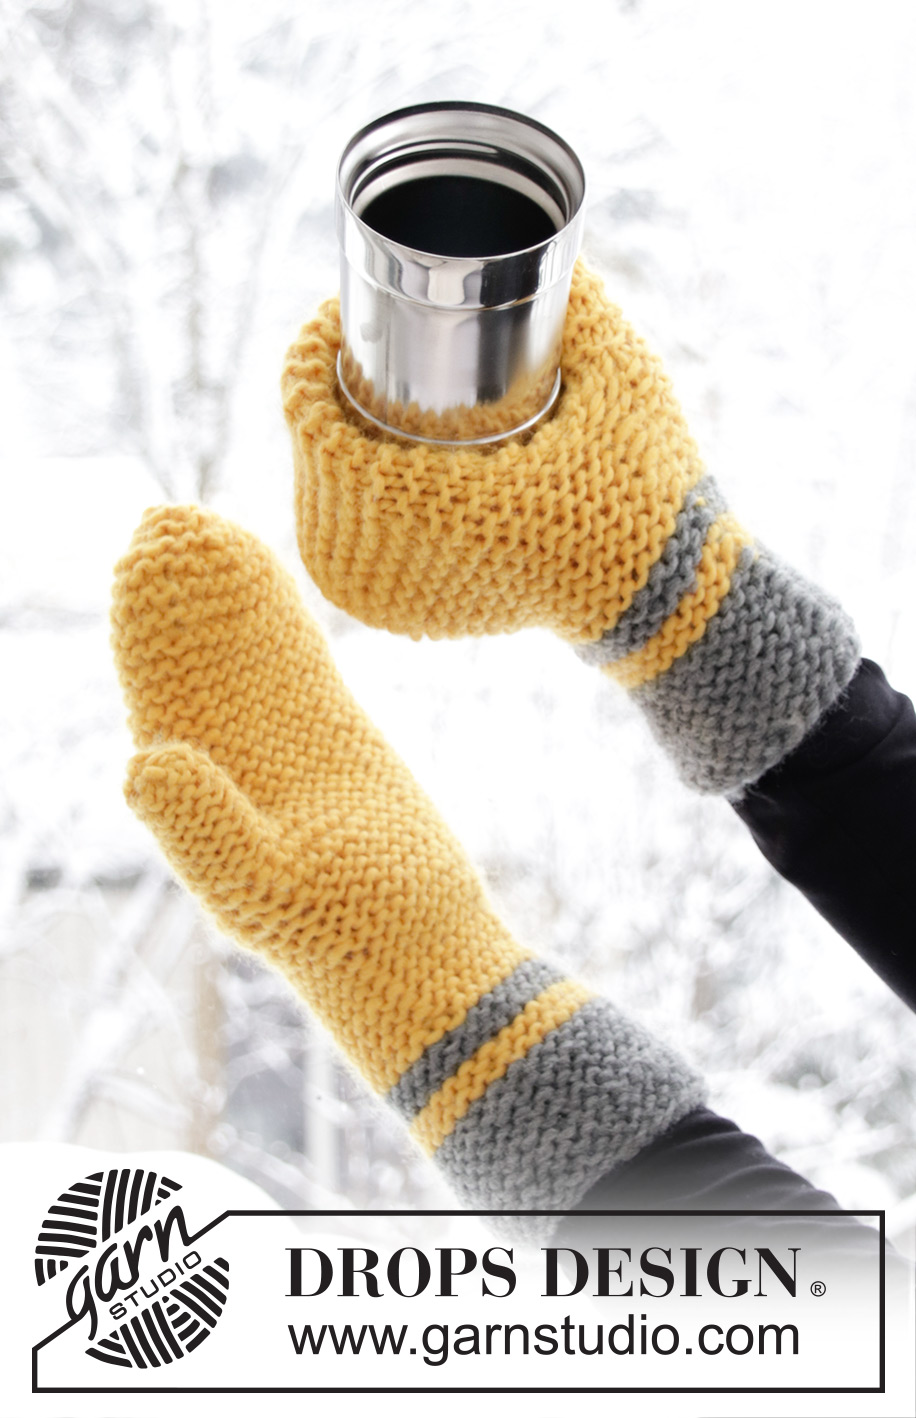
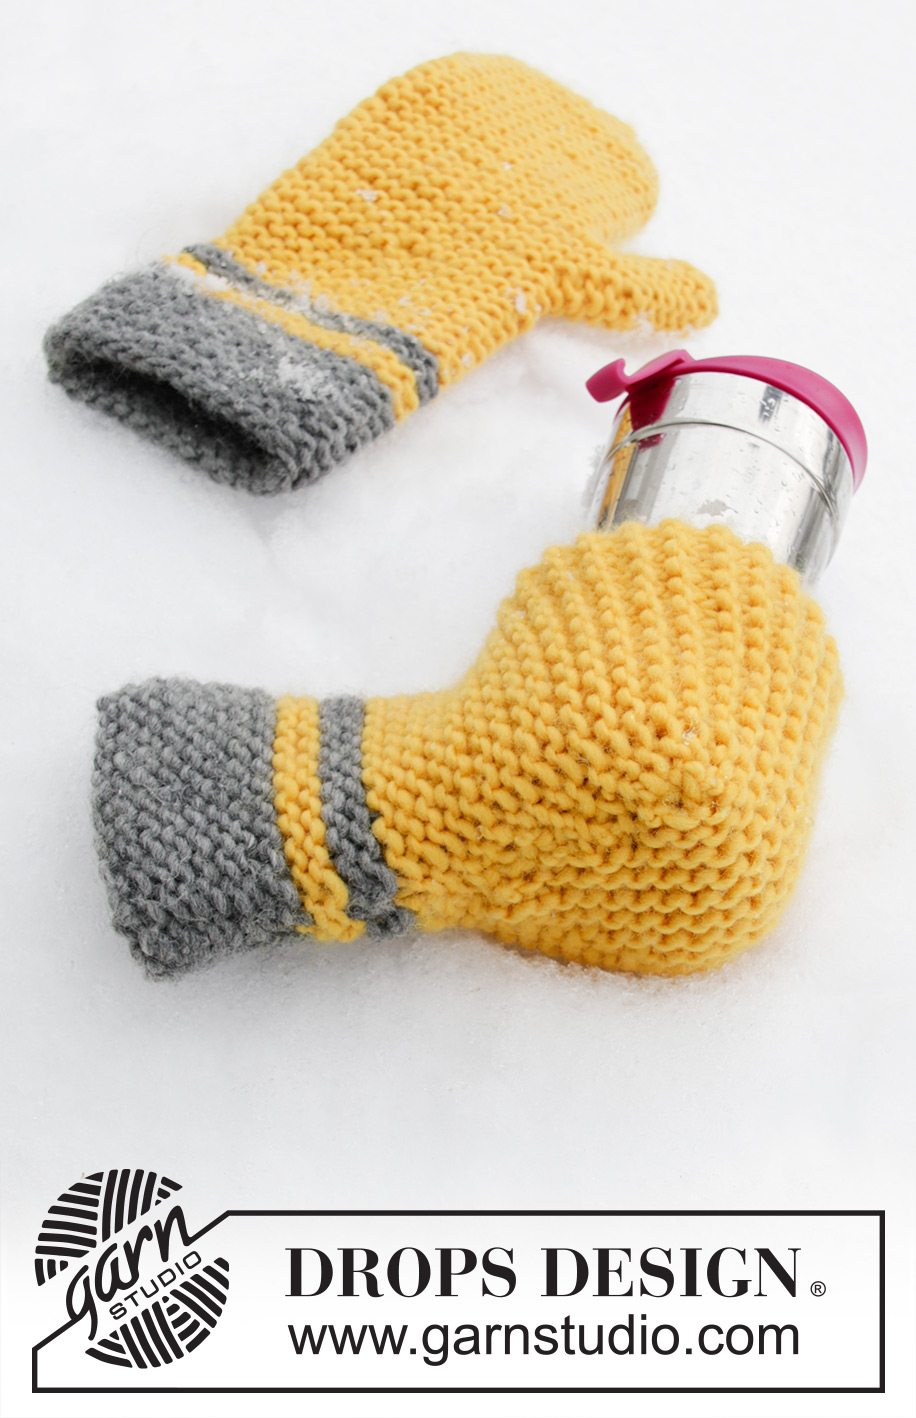
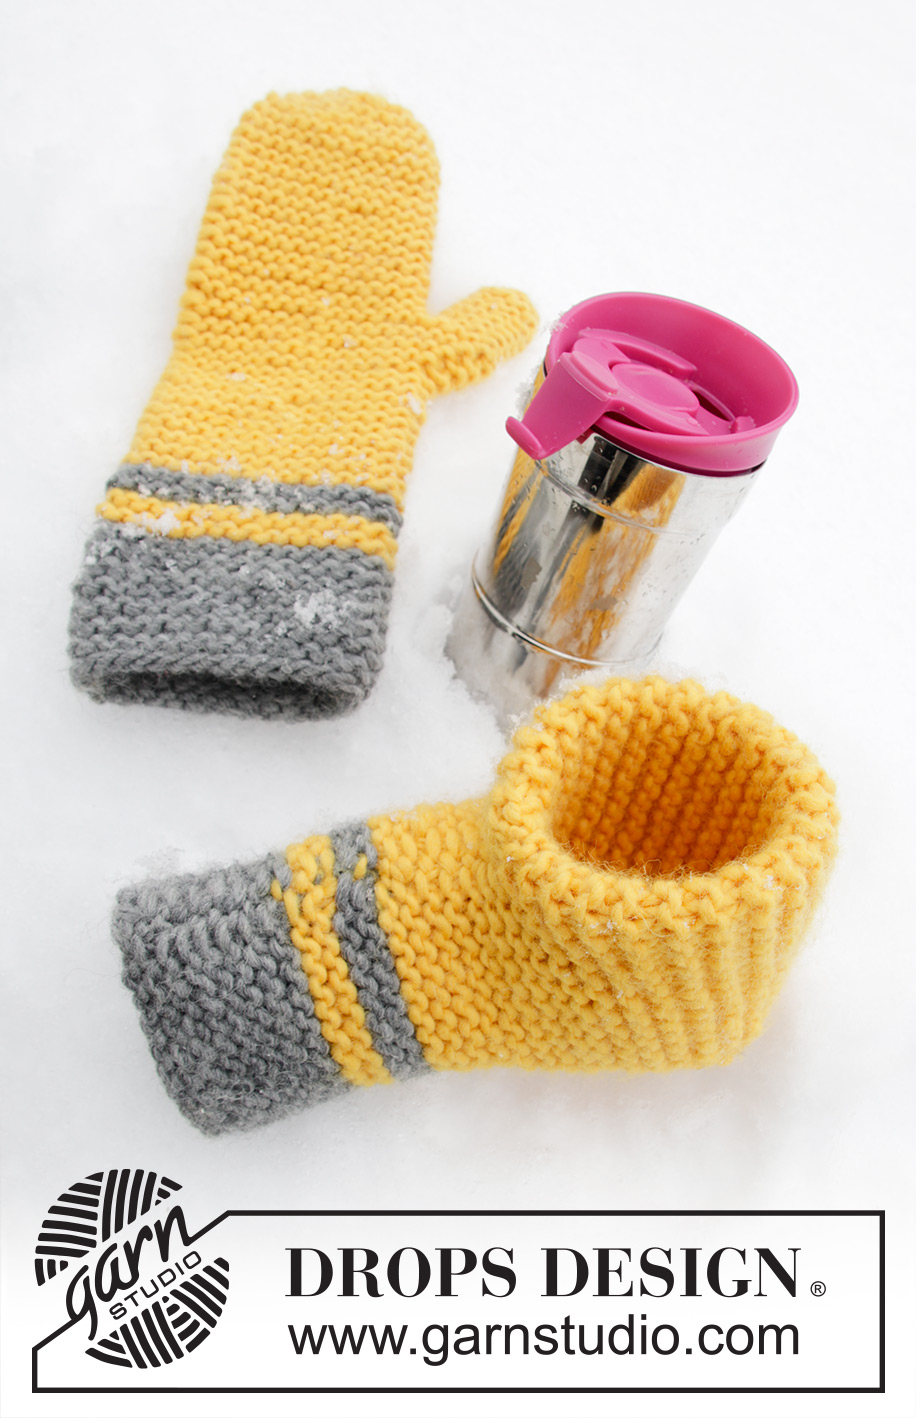
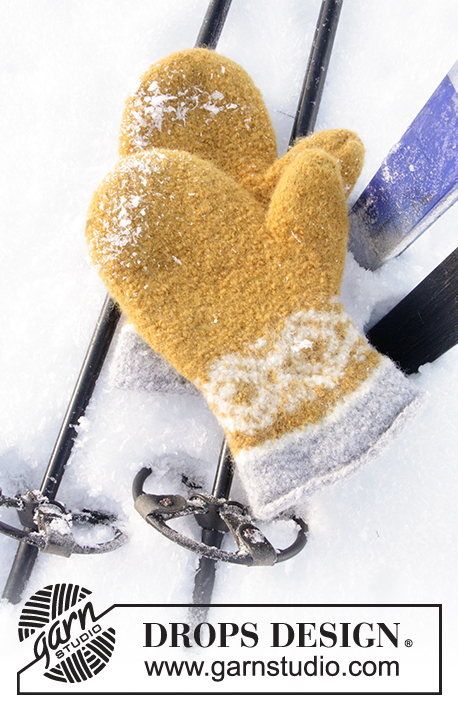
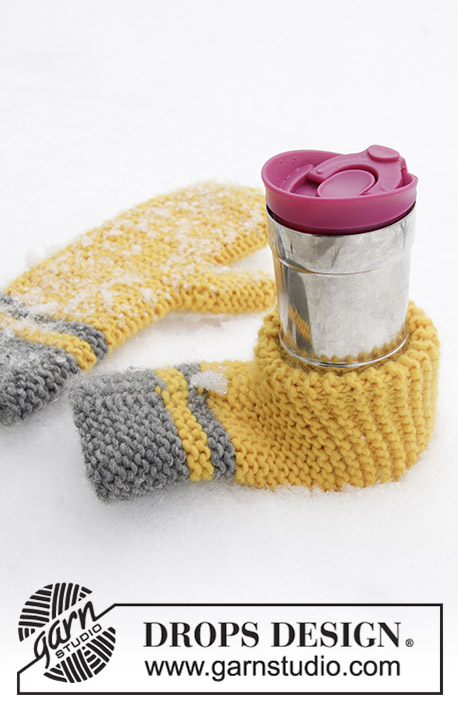
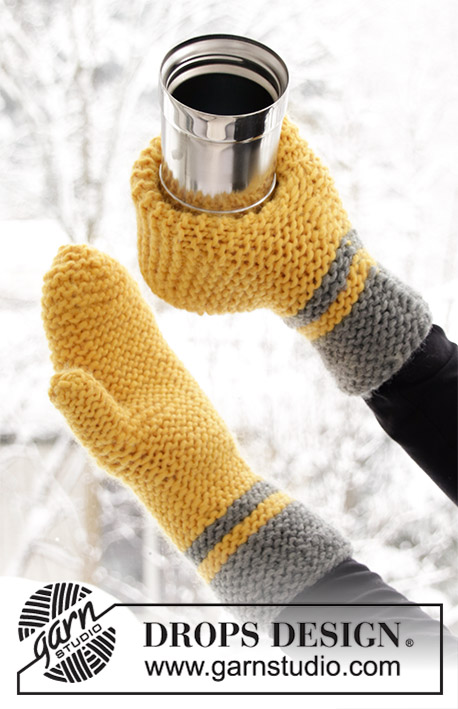
Knitted mitten and beer mitten in DROPS Snow. Stripes and garter stitch. Theme: Easter.
DROPS Extra 0-1422 |
|||||||
|
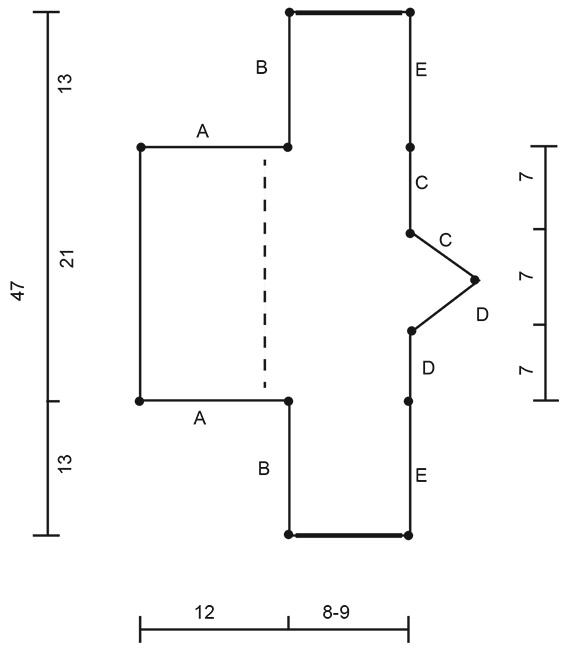
INFORMATION FOR THE PATTERN: RIDGE/GARTER STITCH (worked back and forth): 1 ridge = Knit 2 rows. INCREASE TIP (applies to right/left mitten): Increase 1 stitch by making 1 yarn over. On the next row work the yarn over twisted to avoid a hole. DECREASE TIP: Always decrease from the right side. ---------------------------------------------------------- MITTENS: Both mittens are worked back and forth on the needle and sewn together to finish. The mittens are worked in the same way, irrespective of whether you are working the left or the right mitten. BEER-MITTEN: The piece is worked back and forth on the needle in one piece – see sketch. Cast on 11-13 stitches with needle size 5.5 mm and medium grey. The piece is worked in GARTER STITCH – see description above. Row 1 = right side. Work 7 ridges with medium grey, 2 ridges with yellow, 2 ridges medium grey and then continue with yellow. REMEMBER THE KNITTING TENSION! When the piece measures 13 cm cast on 17 stitches at the end of the next row from the right side = 28-30 stitches. When the piece measures 20 cm cast on 2 stitches at the end of the next row from the wrong side for a triangle (= bottom). Cast on 2 stitches at the end of each row from the wrong side a total of 5 times = 38-40 stitches. Work 2 rows. Then cast off 2 stitches at the beginning of each row from the right side. Cast off 2 stitches on each row from the right side a total of 5 times = 28-30 stitches. When the piece measures 34 cm cast off the first 17 stitches at the beginning of the next row from the wrong side = 11-13 stitches. Continue back and forth until the piece measures 39 cm. Work 2 ridges with medium grey, 2 ridges with yellow, then 7 ridges with medium grey. Loosely cast off. ASSEMBLY: See sketch. Sew A to A – sew in the outermost loop of the outermost stitch so that the seam is flat and fold half inwards – see broken line. Sew B to B (= top of hand), C to C (= one side of the bottom), D to D (= other side of bottom) and E to E (= under the hand). MITTEN: The piece is worked back and forth on the needle and is sewn together to finish. Cast on 27-29 stitches with needle size 5.5 mm and medium grey. The piece is worked in GARTER STITCH – see description above. Row 1 = right side. Work 7 ridges with medium grey, 2 ridges with yellow, 2 ridges with medium grey, then continue with yellow. When the piece measures 13 cm insert 1 marker thread in the 14th-15th stitch (= thumb gusset). THE PIECE IS NOW MEASURED FROM HERE. There are now 13-14 stitches on top of the mitten and 13-14 stitches underneath. Continue like this until the piece measures 3 cm from the marker thread. Now increase to thumb gusset by increasing 1 stitch on each side of the stitch with the marker – read INCREASE TIP! Increase like this every 2nd row a total of 4 times = 35-37 stitches. Continue working until the piece measures 6 cm. Place the 9 thumb-gusset stitches on 1 thread, continue back and forth and at the same time cast on 1 new stitch on the row over the stitches on the thread = 27-29 stitches. Continue working until the piece measures 15-16 cm from the marker thread (there is now approx. 3 cm left to finished length, you can try the mitten on and work to desired length if necessary). On the next row from the right side decrease 7-9 stitches evenly on row – read DECREASE TIP = 20 stitches. Decrease 4 stitches 1 time = 16 stitches, then knit all stitches together 2 and 2 a total of 2 times = 4 stitches on the needle. The piece now measures approx. 18-19 cm from the marker thread. Cut the strand and pull it through the remaining stitches, tighten and fasten well. Sew the side seam in the outermost loop of the outermost stitch so that the seam is flat. THUMB: Place the 9 stitches from the thread on needle size 5.5 mm and in addition knit up 1 stitch at the back of the thumb = 10 stitches. Work garter stitch with yellow. When the thumb measures approx. 6 cm knit all stitches together 2 and 2 = 5 stitches. Cut the strand and pull it through the remaining stitches, tighten and fasten well. Sew the side seam of the thumb in the outermost loop of the outermost stitch so that the seam is flat. |
|||||||
Diagram explanations |
|||||||
|
|||||||
 |
|||||||
Have you finished this pattern?Tag your pictures with #dropspattern #keepitwarmbeermitt or submit them to the #dropsfan gallery. Do you need help with this pattern?You'll find 19 tutorial videos, a Comments/Questions area and more by visiting the pattern on garnstudio.com. © 1982-2026 DROPS Design A/S. We reserve all rights. This document, including all its sub-sections, has copyrights. Read more about what you can do with our patterns at the bottom of each pattern on our site. |
|||||||


With over 40 years in knitting and crochet design, DROPS Design offers one of the most extensive collections of free patterns on the internet - translated to 17 languages. As of today we count 324 catalogues and 12290 patterns translated into English (UK/cm). 12290
We work hard to bring you the best knitting and crochet have to offer, inspiration and advice as well as great quality yarns at incredible prices! Would you like to use our patterns for other than personal use? You can read what you are allowed to do in the Copyright text at the bottom of all our patterns. Happy crafting!
Post a comment to pattern DROPS Extra 0-1422
We would love to hear what you have to say about this pattern!
If you want to leave a question, please make sure you select the correct category in the form below, to speed up the answering process. Required fields are marked *.