
Categorías populares
¿Buscas un hilo?


Comentarios / Preguntas (50)
![]() Amy escribió:
Amy escribió:
Hello Thanks for previous reply that really helped. Another confusion it says in the pattern increase on body every second round and increase on the sleeves every 4th round so that means on the 4th round you have to increase for body and sleeves at the same time. Thanks
16.12.2025 - 03:26DROPS Design respondió:
Dear Amy, you will increase alternately 4 and 8 stitches, ie increase 4 sts (front and back pieces only), work 1 round without increasing, increase 8 sts (front, back pieces and sleeves), work 1 round without increasing and repeat these 4 rounds as many times as stated for the size. Happy knitting!
17.12.2025 - 10:10
![]() Amy escribió:
Amy escribió:
Hello I am confused when you knit the first short row and A1 how you do raglan on both side of A1. Because there are only 2 stitches before marker and you can not increase for raglan because in the instructions it says the knit stitch should be on the marker. And there are only 2 stitches before marker. Please explain Thanks
12.12.2025 - 00:40DROPS Design respondió:
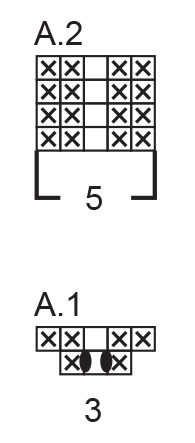
Dear Amy, the increases for raglan are worked on each side of A.1/A.2, so on first round, work A.1 and increase for raglan at the same time as follows: YO (raglan increase), P1, YO, K1, YO, P1 (= A.1 with 2 increases), YO (raglan increase), on next row, purl the yarn overs on each side of A.1 twisted, and knit the both yarn overs on each side of the middle stitch in A.1 twisted; you have now P2, K1, P2 for A.2 on next row. Happy knitting!
12.12.2025 - 08:17
![]() Amy escribió:
Amy escribió:
Hi Please let me know how to increase in the second row of A1 from wrong side. Because it says in the pattern only increase for body 4 stitches. Thanks
10.12.2025 - 22:46DROPS Design respondió:
Hi Amy, When increasing only on the body, you increase before marker-1 (on the back piece), the work across the sleeve without increasing, increase after marker-2 and before marker-3 on the front piece, work across the sleeve without increasing and, finally, increase after marker-4. Hope this helps. Regards, Drops Team.
11.12.2025 - 06:25
![]() Amy escribió:
Amy escribió:
Thanks for reply. Another question It says in the pattern Turn, tighten the strand and work from the wrong side (increasing for raglan on the body only) to 2 stitches past where the short rows began by marker-3 (4 increased stitches. So that means you have to increase from wrong side also. Thanks
10.12.2025 - 18:21DROPS Design respondió:
Hi Amy, When working short rows you increase from both the right and wrong side. Follow the instructions for how to increase as described under Raglan at the top of the pattern. Regards, Drops Team.
11.12.2025 - 06:32
![]() Amy escribió:
Amy escribió:
Hello increasing for raglan and working A.2 over A.1, to 2 stitches Please explain how do you work A2overA1 Thanks
10.12.2025 - 00:56DROPS Design respondió:
Hi Amy, Both A.1 and A.2 consist of 5 stitches, so when you work across the stitches from the last row in A.1, you work according to A.2 (which is the same pattern but without increases). Regards, Drops Team.
10.12.2025 - 06:44
![]() Amy escribió:
Amy escribió:
Hi I am confused at this point. Knit 10-12-12-14-14-16 and increase 1 stitch (half back piece), insert marker-1 in the next stitch. Do I have to insert marker in the next stitch without knitting or after knitting the stitch. Thanks
09.12.2025 - 20:24DROPS Design respondió:
Hi Amy, The marker-stitch is also knitted but not included in the numbers (so for the smallest size, you knit 10, then knit the next stitch with marker, knit 21, knit the next stitch with marker, etc.). Regards, Drops Team.
10.12.2025 - 06:59
![]() Alexandra escribió:
Alexandra escribió:
Thank you for answering my last question. I have one more. Are the raglan increases (yo) worked twisted on the next row? When I work twisted, I am getting a lumpy result. When I work regular, I am still getting holes, even when "pulling tight".
15.03.2025 - 00:34DROPS Design respondió:
Dear Alexandra, if you want to close the holes you need to work the yarn over twisted, otherwise there will be a hole. You can see a video here on how to work these yarn overs, including how to work the yarn over twisted to better close the hole. Happy knitting!
16.03.2025 - 19:10
![]() Alexandra escribió:
Alexandra escribió:
Hello! I'm having trouble understanding the neckline. What does "work A.2 over A.1" signify? Why are there 5 rows for A.2 but only 2 for A.1? Why am I getting holes in the raglan and body increases, even when working a correct yarn over? I've had to frog 2x now, a little frustrated as I can see the end result is a beautiful fit, but the pattern seems needlessly complex.
13.03.2025 - 15:17DROPS Design respondió:
Dear Alexandra, you first work the 2 rows A.1 increasing on first row and then, on next row diagram shows how to work these 5 stitches. After these 2 rows, work these 5 stitches as shown in A.2, ie P2, K1, P2 (seen from RS, ie K2, P1, K2 from WS) all the way until yoke is done. Happy knitting!
14.03.2025 - 07:06
![]() Theresa escribió:
Theresa escribió:
Hi! I am wondering about the dividing of the body and sleeves. How is it possible that in the instructions there is an equal amount of stitches in the front and back section, when I did the short rows and increased the stitches in the front? Thank you for clarifying! Kind regards, Theresa
05.03.2025 - 18:23DROPS Design respondió:
Dear Theresa, while working shor trows for neckline you should have the same number of increases on front and back pieces; then, because of the uneven number of stitches on both front/back piece, you will have a different number of stitches at the beginning of the round (37 to 58, see size) than at the end of the round (38-57) but in both case you will have 75-115 sts for front piece and for both half back pieces. Happy knitting!
06.03.2025 - 10:22
![]() Prerana Karki escribió:
Prerana Karki escribió:
I am working on the Yoke(sizeL) and having the same trouble Start mid-back, round 1: A.2 no increases round 2: increase for raglan on the body and sleeve- that's 8 increases and repeat the above?
10.01.2025 - 03:24DROPS Design respondió:
Dear Mrs Karki, correct, work these 2 rounds a total of 10 times = you get 212 stitches on needle. Happy knitting!
10.01.2025 - 09:40
|
||||||||||
Spice Market#spicemarketsweater |
||||||||||
 |
 |
|||||||||
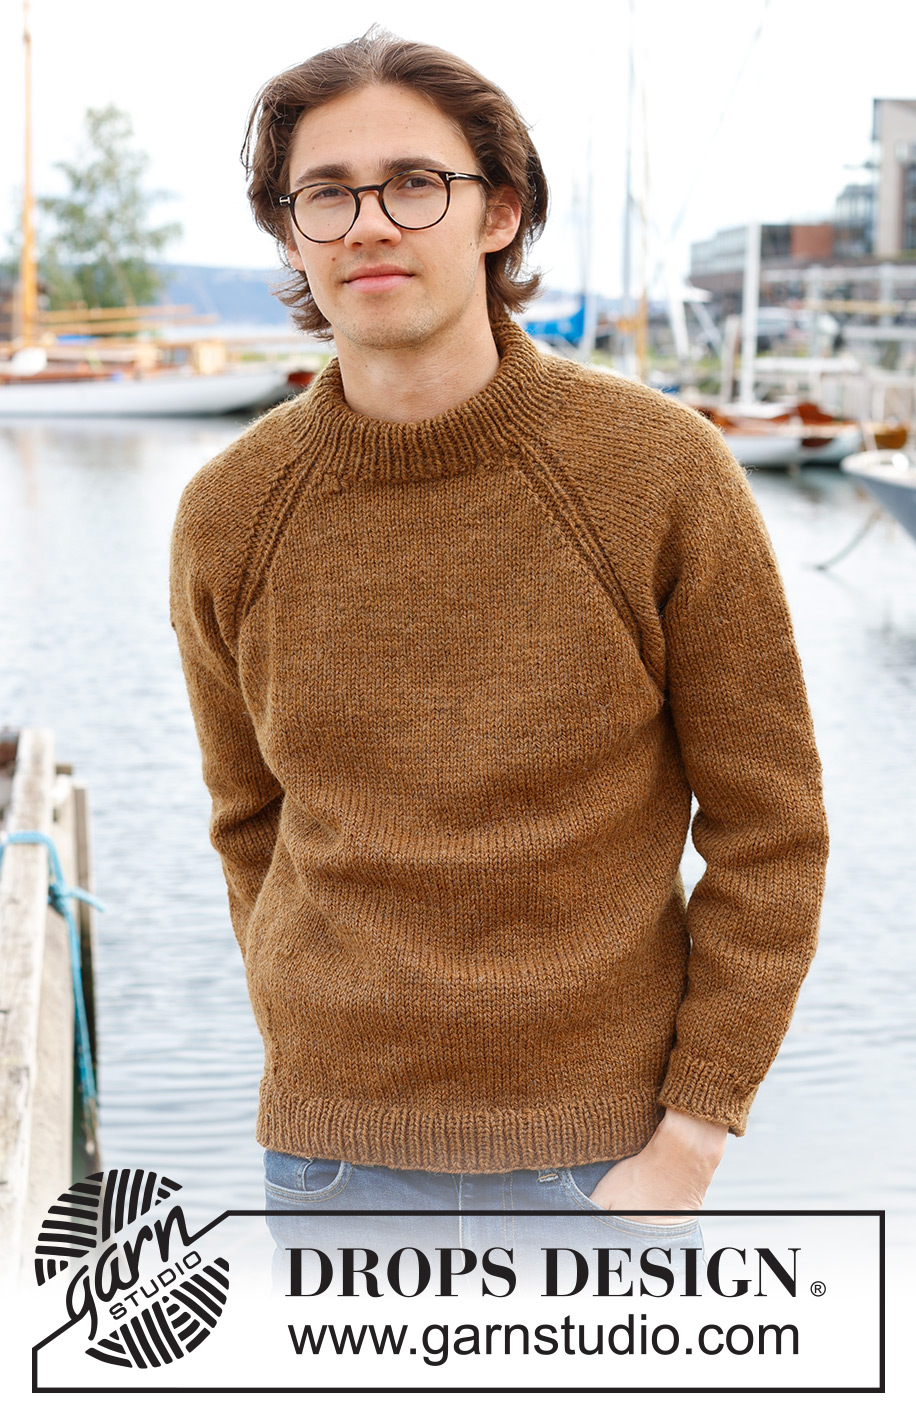
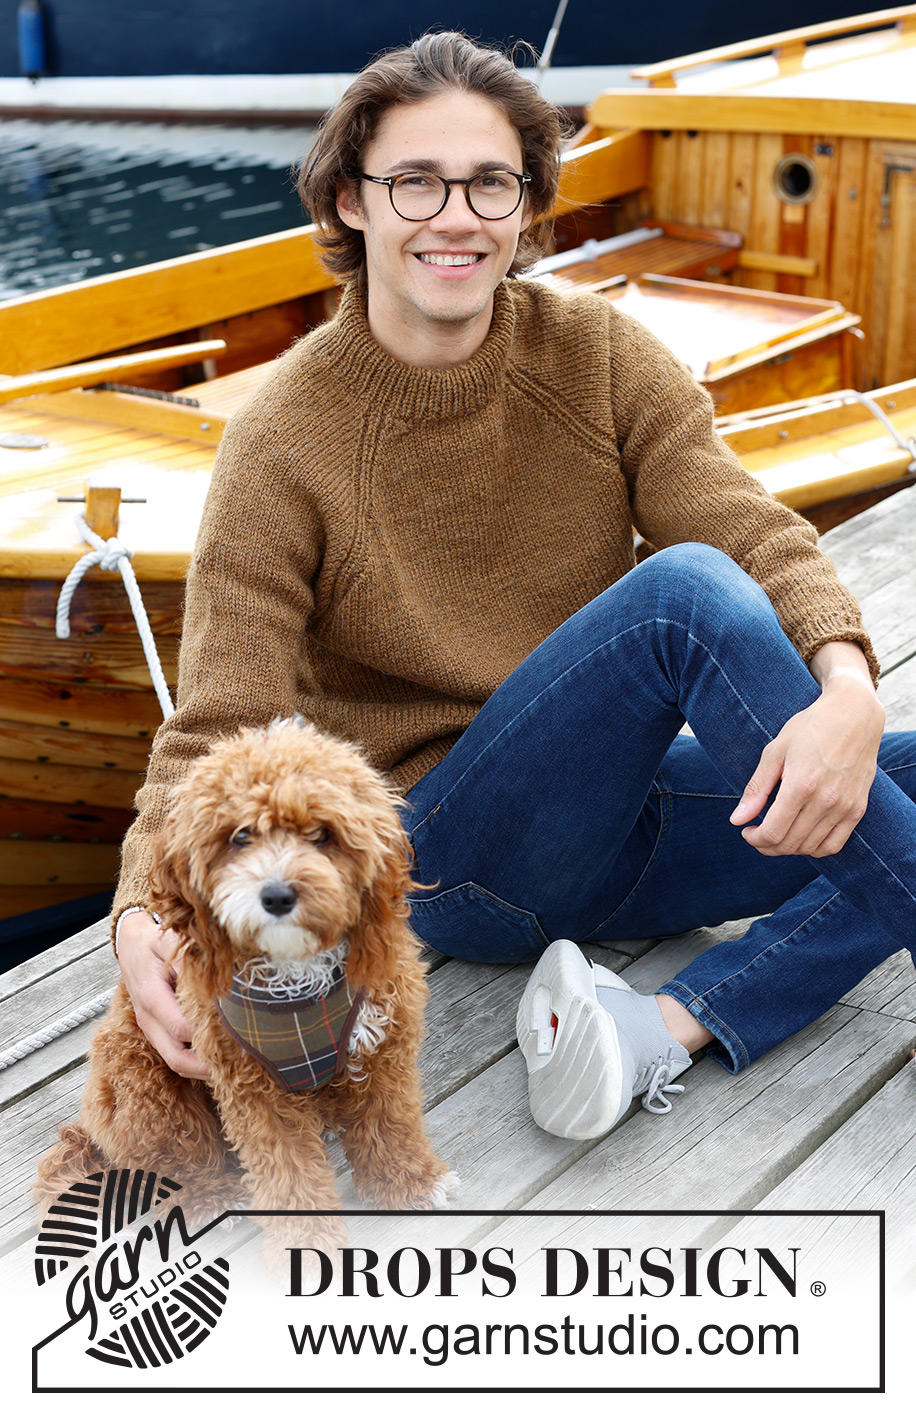
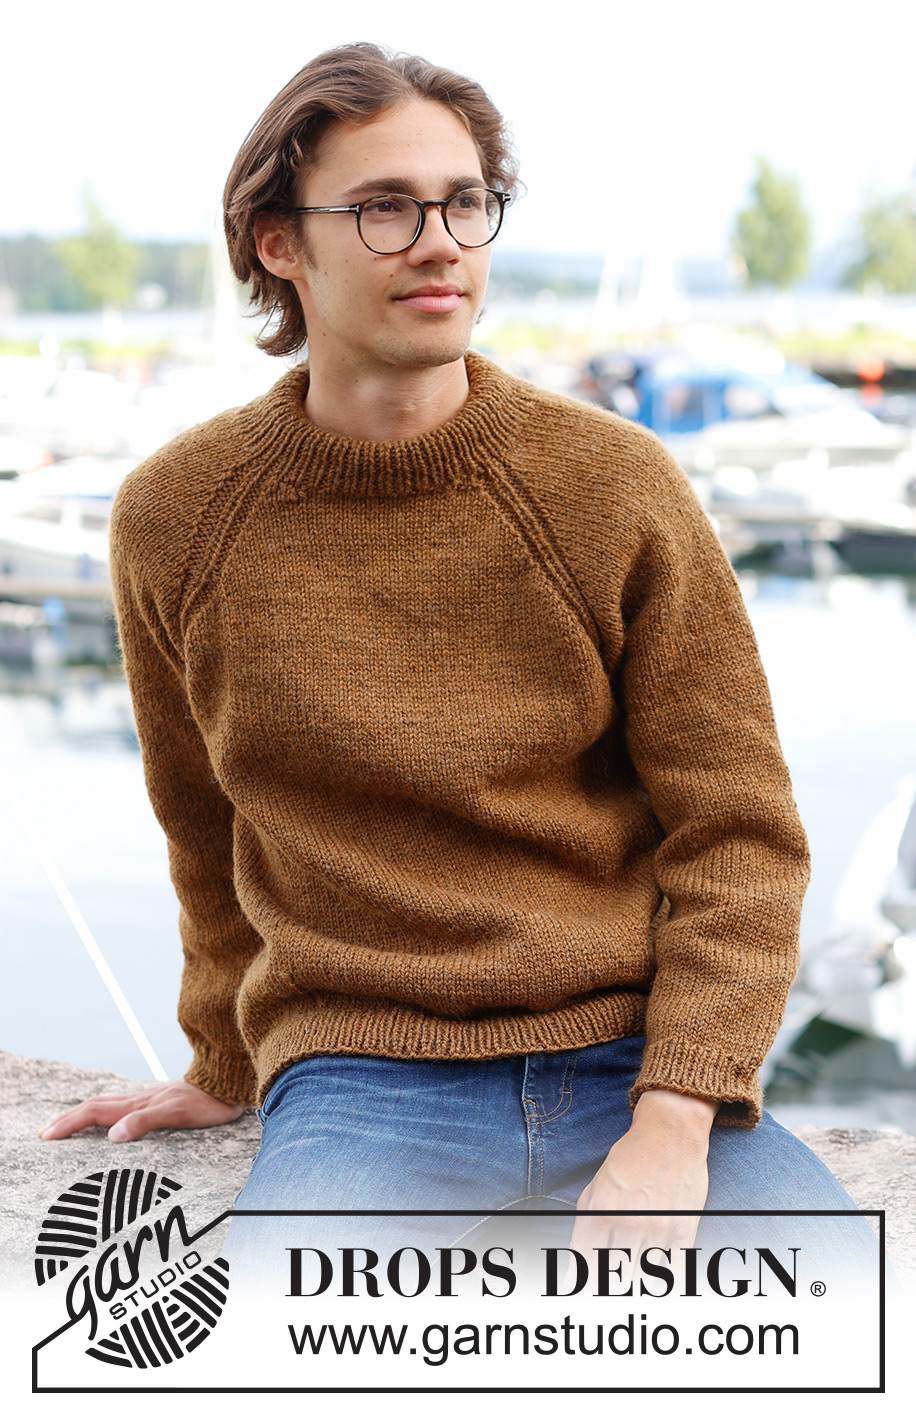
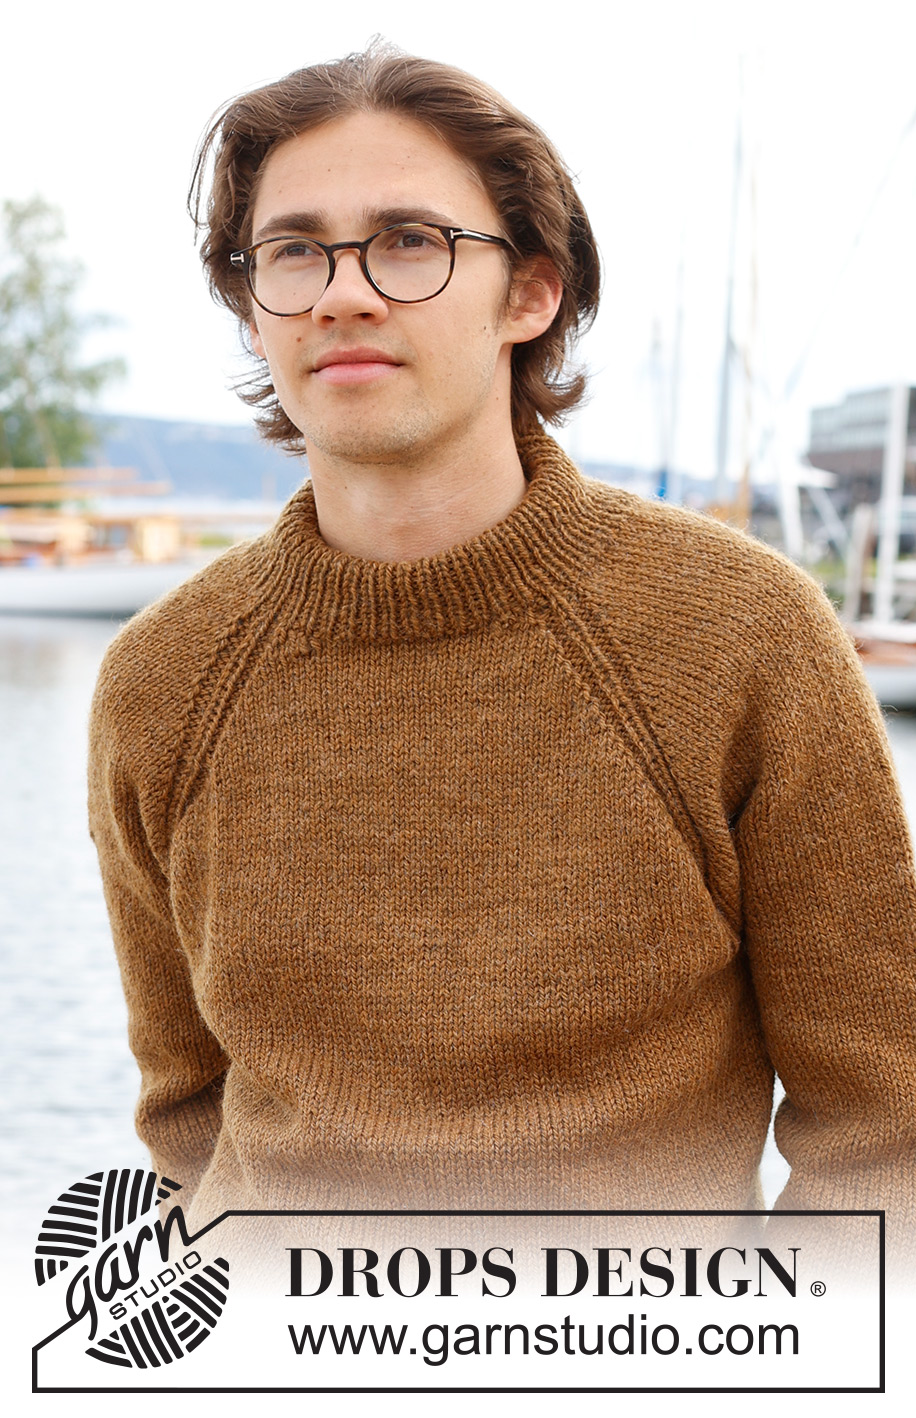
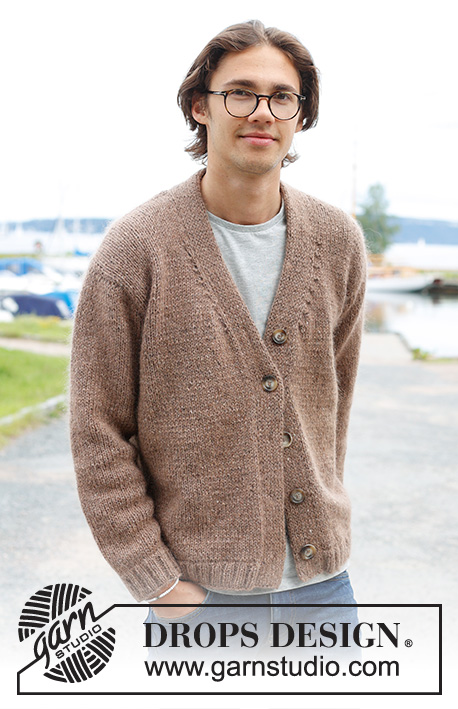
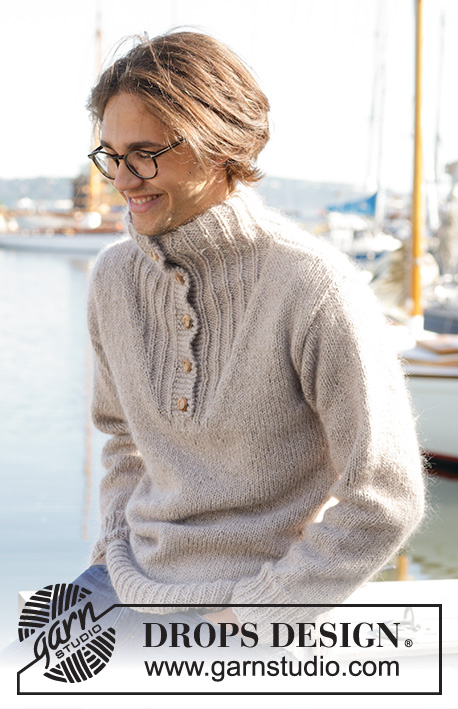
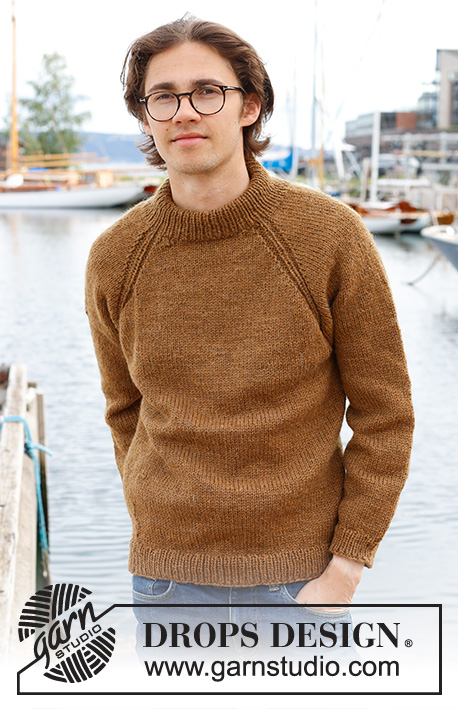
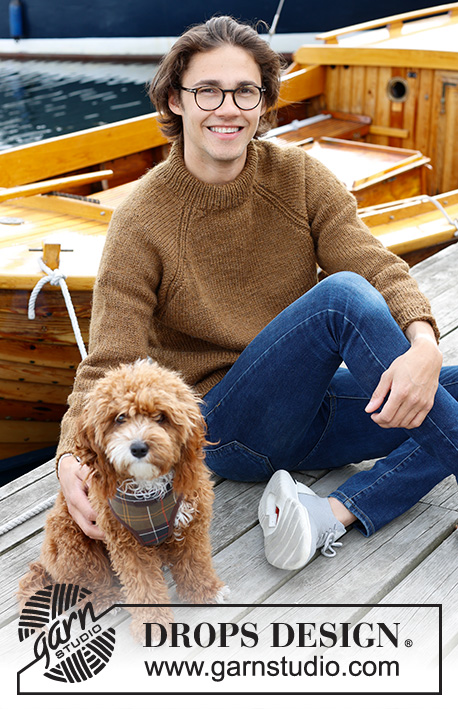
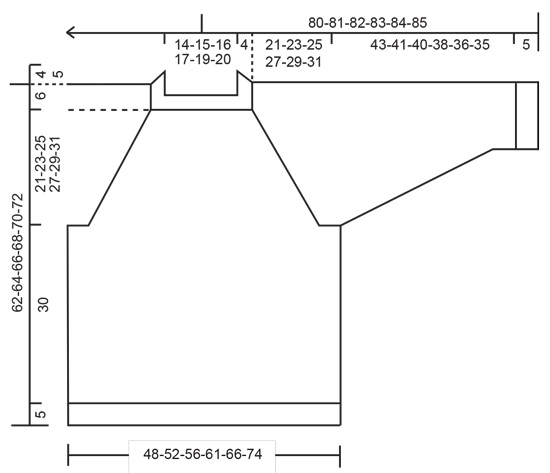
Jersey de punto para hombre en DROPS Alaska. La pieza está tejida de arriba hacia abajo con punto jersey, cuello doble y raglán. Tallas S – XXXL.
DROPS 233-10 |
||||||||||
|
EXPLICACIONES PARA REALIZAR EL PATRÓN: ------------------------------------------------ PATRÓN: Ver diagramas A.1 y A.2. Los diagramas muestran todas las hileras del patrón por el lado derecho. RAGLÁN: Los aumentos varían en el cuerpo y en las mangas y en las diferentes tallas. Aumentar antes/después de A.1/A.2 (el punto con marcador es el punto central en A.1/A.2). Aumentar para el cuerpo antes de los marcadores 1 y 3 y después de los marcadores 2 y 4 cuando se teje por el lado derecho, después de los marcadores 1 y 3 y antes de los marcadores 2 y 4 cuando se teje por el lado revés. Aumentar para las mangas después de los marcadores 1 y 3 y antes de los marcadores 2 y 4. Siempre aumentar por el lado derecho en las mangas. Aumentar haciendo 1 lazada. Cuando se teje de ida y vuelta, tejer las lazadas por el lado revés de la manera siguiente: ANTES DE A.1/A.2: Tejer la lazada de revés por el bucle posterior. No se forma un agujero. DESPUÉS DE A.1/A.2: Deslizar la lazada de la aguja y volver a colocarla retorcida (insertar la aguja izquierda por atrás al volver a colocarla). Tejer la lazada de revés por el bucle del frente. No se forma un agujero. Cuando se teje de ida y vuelta, tejer las lazadas por el lado derecho de la manera siguiente (también aplica cuando se teje en redondo): ANTES DE A.1/A.2: Deslizar la lazada de la aguja y volver a colocarla retorcida (insertar la aguja izquierda por atrás al volver a colocarla). Tejer la lazada de derecho por el bucle del frente (el punto se inclina hacia la derecha. No se forma un agujero. DESPUÉS DE A.1/A.2: Tejer la lazada de derecho por el bucle posterior (el punto se inclina hacia la izquierda). No se forma un agujero. TIP PARA DISMINUIR (aplicar a las mangas): Comenzar 3 puntos antes del marcador, tejer 2 puntos juntos de derecho, tejer 2 puntos derechos (el marcador está entre estos 2 puntos), deslizar 1 punto como de derecho, tejer 1 punto derecho y pasar el punto deslizado por encima del punto tejido. ------------------------------------------------ COMENZAR LA PIEZA AQUÍ: ------------------------------------------------ JERSEY – RESUMEN DE LA PIEZA: El cuello y el canesú se tejen en redondo con aguja circular, a partir del centro de la espalda y de arriba hacia abajo. El canesú se divide para el cuerpo y las mangas y el cuerpo es continuado en redondo con aguja circular. Las mangas se tejen con aguja circular corta/agujas de doble punta. CUELLO DOBLE: Montar 88-92-96-100-104-108 puntos con aguja circular corta tamaño 5 mm y DROPS Alaska. Cambiar a aguja circular tamaño 4 mm y tejer en resorte en redondo (1 derecho, 1 revés) durante 9-9-9-11-11-11 cm. En la vuelta siguiente insertar 4 marcadores y aumentar 4 puntos como está explicado abajo. Los marcadores son utilizados cuando se aumenta para el raglán (cada marcador es insertado en un punto derecho del resorte): Tejer 10-12-12-14-14-16 puntos derechos y aumentar 1 punto (mitad pieza de la espalda), insertar el marcador-1 en el punto siguiente, tejer 21 puntos derechos (manga), insertar el marcador-2 en el punto siguiente, tejer 21-23-25-27-29-31 puntos derechos y aumentar 2 puntos distribuidos equitativamente (pieza del frente), insertar el marcador-3 en el punto siguiente, tejer 21 puntos derechos (manga), insertar el marcador-4 en el punto siguiente, tejer de derecho sobre los últimos 11-11-13-13-15-15 puntos y aumentar 1 punto (mitad pieza de la espalda) = 92-96-100-104-108-112 puntos. Cortar el hilo. LÍNEA DEL ESCOTE: Cambiar a aguja circular tamaño 5 mm y tejer una línea del escote con hileras cortas, AL MISMO TIEMPO aumentar para el raglán como está explicado abajo. Adicionalmente, tejer A.1 en cada marcador (los puntos con marcador son los puntos centrales en cada A.1). Comenzar por el lado derecho 2 puntos antes del punto con marcador-3 (lado izquierdo del escote del frente cuando se usa la prenda). Tejer punto jersey, A.1 y aumentar para el RAGLÁN – leer descripción arriba, hasta haber tejido 2 puntos después del punto con marcador-2 (lado derecho del escote del frente - se han aumentado 8 puntos para el raglán). Virar, apretar el hilo y tejer por el lado revés (aumentando para el raglán en el cuerpo únicamente) hasta 2 puntos después de donde comenzaron las hileras cortas junto al marcador-3 (4 puntos aumentados). Virar y tejer por el lado derecho, aumentando para el raglán y tejiendo A.2 sobre A.1, hasta 2 puntos después de donde se viró la última vez junto al marcador-2. Virar, apretar el hilo y tejer por el lado revés (aumentando para el raglán en el cuerpo únicamente) hasta 2 puntos después del marcador-3. Cortar el hilo. CANESÚ: = 124-128-132-136-140-144 puntos. Tejer en redondo sobre todos los puntos de la manera siguiente: TALLAS S, M, L y XL: Comenzar al centro de la espalda, tejer punto jersey y A.2 y aumentar para el raglán en el cuerpo y en las mangas cada 2ª vuelta 2-8-10-11 veces = 140-192-212-224 puntos. Continuar tejiendo y aumentando, pero cada 2º aumento es solo en el cuerpo (4 puntos aumentados); es decir, aumentar en el cuerpo cada 2ª vuelta y en las mangas cada 4ª vuelta. Aumentar así 18-15-14-16 veces en el cuerpo (9-7-7-8 veces en las mangas). Un total de 24-27-28-31 veces en el cuerpo y 13-17-19-21 veces en las mangas. Después del último aumento, hay 248-280-296-320 puntos. Ir a TODAS LAS TALLAS. TALLAS XXL y XXXL: Comenzar al centro de la espalda, tejer punto jersey y A.2, continuando a aumentar para el raglán en el cuerpo en cada vuelta 2-6 veces más, y en las mangas cada 2 vueltas 1-3 veces más = 152-180 puntos. Después aumentar en el cuerpo y en las mangas cada 2ª vuelta 10-7 veces = 232-236 puntos. Continuar tejiendo y aumentando, pero cada 2º aumento es solo en el cuerpo (4 puntos aumentados); es decir, aumentar en el cuerpo cada 2ª vuelta y en las mangas cada 4ª vuelta. Aumentar así 18-22 veces en el cuerpo (9-11 veces en las mangas). Un total de 34-39 veces en el cuerpo y 22-23 veces en las mangas. Después del último aumento, hay 340-368 puntos. Ir a TODAS LAS TALLAS. TODAS LAS TALLAS: = 248-280-296-320-340-368 puntos. Continuar con punto jersey y A.2 sin más aumentos hasta que la pieza mida 21-23-25-27-29-31 cm al centro del frente – medida a partir del cuello. Ahora dividir para el cuerpo y las mangas de la manera siguiente: Tejer 37-42-43-48-51-58 puntos (mitad pieza de la espalda), colocar los 49-57-61-65-67-69 puntos siguientes en un hilo para la manga, montar 6-6-8-8-10-10 puntos (en el lado bajo la manga), tejer 75-83-87-95-103-115 puntos (pieza del frente), colocar los 49-57-61-65-67-69 puntos siguientes en un hilo para la manga, montar 6-6-8-8-10-10 puntos (en el lado bajo la manga), tejer los últimos 38-41-44-47-52-57 puntos (mitad pieza de la espalda). Terminar el cuerpo y las mangas separadamente. ¡La pieza ahora se mide a partir de aquí! CUERPO: = 162-178-190-206-226-250 puntos. Tejer punto jersey en redondo hasta que el cuerpo mida 30 cm a partir de la división. Tejer 1 vuelta de derecho y aumentar 20-20-22-26-26-32 puntos distribuidos equitativamente = 182-198-212-232-252-282 puntos. Cambiar a aguja circular tamaño 4 mm y tejer en resorte (1 derecho, 1 revés) durante 5 cm. Rematar un poco flojo con derecho sobre derecho y revés sobre revés. El jersey mide aprox. 62-64-66-68-70-72 cm a partir del hombro hacia abajo. MANGAS: Colocar los 49-57-61-65-67-69 puntos del hilo en uno de los lados de la pieza en aguja circular corta/agujas de doble punta tamaño 5 mm y levantar 1 punto en cada uno de los 6-6-8-8-10-10 puntos montados bajo la manga = 55-63-69-73-77-79 puntos. Insertar un marcador en el centro de los nuevos puntos bajo la manga. Dejar que el marcador siga la labor a medida que se teje; será usado cuando se disminuya bajo la manga. Tejer punto jersey en redondo. Cuando la manga mida 4 cm, disminuir 2 puntos a cada lado del marcador – leer TIP PARA DISMINUIR. Disminuir así cada 6-3½-3-2½-2-2 cm un total de 7-10-12-13-15-15 veces = 41-43-45-47-47-49 puntos. Continuar tejiendo hasta que la manga mida 43-41-40-38-36-35 cm a partir de la división (o hasta el largo deseado; restan aprox. 5 cm). Tejer 1 vuelta de derecho y aumentar 5-5-5-5-7-7 puntos distribuidos equitativamente = 46-48-50-52-54-56 puntos. Cambiar a agujas de doble punta tamaño 4 mm y tejer en resorte (1 derecho, 1 revés) durante 5 cm. Rematar un poco flojo con derecho sobre derecho y revés sobre revés. La manga mide aprox. 48-46-45-43-41-40 cm a partir de la división. Tejer la otra manga de la misma manera. ENSAMBLAJE: Doblar el cuello en dos hacia el lado de adentro y coser con una puntada en cada línea del raglán. |
||||||||||
Explicaciones del diagrama |
||||||||||
|
||||||||||
 |
||||||||||
 |
||||||||||
¿Terminaste este patrón?Entonces, etiqueta tus fotos con #dropspattern #spicemarketsweater o envíalas a la galería #dropsfan. ¿Necesitas ayuda con este patrón?Encontrarás 32 videos tutoriales, un espacio para comentarios/preguntas y más visitando la página del patrón en garnstudio.com © 1982-2026 DROPS Design A/S. Todos los derechos reservados. Este documento, incluyendo todas sus sub-secciones, está protegido por los derechos de autor (copyright). Lee más acerca de lo que puedes hacer con nuestros patrones en la parte de abajo de cada patrón de nuestro sitio. |
||||||||||


Con más de 40 años en el diseño de modelos de punto y de ganchillo, DROPS Design ofrece una de las más vastas colecciones de patrones gratuitos en el internet - traducidos en 17 idiomas. Al día de hoy, contamos con 324 catálogos y 12290 patrones - de los cuales 11685 están traducidos en español.
Nosotros trabajamos con mucho esmero para brindarte lo mejor que las labores de punto y ganchillo tienen para ofrecer,inspiración y consejos, así como hilos de magnífica calidad a precios increíbles! Te gustaría usar nuestros patrones para otro fin además del uso personal? Puedes leer acerca de lo que estás permitida a hacer en el texto de Copyright en la parte de abajo de todos nuestros patrones. Felices labores!
Escribe un comentario sobre DROPS 233-10
¡Nos encantaría saber qué piensas acerca de este patrón!
Si quieres escribir una pregunta referente al patrón, por favor asegúrate de elegir la categoría correcta en el formulario debajo, para acelerar el proceso de respuesta. Los campos obligatorios están marcados con un *.