
Popular categories
Looking for a yarn?


Comments / Questions (115)
Ángela wrote:
He terminado el delantero izquierdo y monté los 6 puntos en el lado izquierdo. Pero cuando dice "cuando todos los puntos han sido aumentados para el escote", a qué se refiere? tengo que seguir haciendo aumentos? cuántos? Gracias, es que estoy perdida ahí
11.01.2014 - 19:00DROPS Design answered:
Hola Angela. No tienes que hacer más aumentos que los que marca el patrón. (1 pt 3 vcs)
16.01.2014 - 09:39Elsa wrote:
Ja det är klart! Vad trodde du det skulle bli?
08.12.2013 - 18:54
![]() Annica wrote:
Annica wrote:
HALSKANT: /.../Sticka upp, från rätsidan, ca 40 till 50 m runt halsen/../ Ska jag plocka upp 40-50 maskor runt halsen? Ska det bli en kant?
08.12.2013 - 18:06DROPS Design answered:
Ja då får du en liten rätstickat halskant :)
10.12.2013 - 09:22
![]() Valeria wrote:
Valeria wrote:
Bellissimo!!!!
03.12.2013 - 14:08Ana Salgado wrote:
Precioso y facil, lo estoy haciendo y me encanta.
30.09.2013 - 19:34
![]() Treaclesmum wrote:
Treaclesmum wrote:
I am a new knitter and am having a problem with the Right Side of this pattern. I am making it in the smallest size. The diagram shows the side should measure 12.5 cm in total. However the instructions tell me to work until it is 12.5 cm, THEN do the buttonholes, THEN continue for 2.5 cm, making a total of just over 15 cm. please could you explain what I should do. Many thanks
18.06.2013 - 08:19DROPS Design answered:
Dear Mrs Treaclesmum, you started with right sleeve and then cast on new sts for back piece and right front piece, and after 9 cm you continue separately on sts for front piece only, when this part (from where you cast on sts for front piece) measures 12.5 cm then open the buttonholes. If you look at the measurement chart, total width for body is 25 cm / 2 for each front piece = 12.5 cm for each front +2.5 cm overlapp for button band. Happy knitting!
18.06.2013 - 09:20
![]() Stark wrote:
Stark wrote:
Ce joli modèle est très joli et facile à faire pour une débutante.Merci à Drops pour vos formidable modèle.
02.06.2013 - 19:57Jiangling Chen wrote:
I love this pattern.
02.05.2013 - 10:51
![]() Stephanie wrote:
Stephanie wrote:
Hej! Jag undrar en sak; FRAM- OCH BAKST: Sätt in de 46-49-56 (63-68) m från bakst på samma st som vänster framst = 92-98-112 (126-136) m på st. Hur sätter man alla på samma, varrannan från varje sticka eller hur ska det vara? Tacksam för svar!
23.02.2013 - 17:57DROPS Design answered:
Bakst sätter du ind på vänster sida av vänster framst. På samma sätt som när du hade höger fram och bakst på samma sticka!
12.03.2013 - 10:38
![]() Stephanie wrote:
Stephanie wrote:
Hej! Jag undrar en sak; FRAM- OCH BAKST: Sätt in de 46-49-56 (63-68) m från bakst på samma st som vänster framst = 92-98-112 (126-136) m på st. Hur sätter man alla på samma, varrannan från varje sticka eller hur ska det vara? Tacksam för svar!
23.02.2013 - 17:19
|
||||
Grey Gosling#greygoslingcardigan |
||||
 |
 |
|||
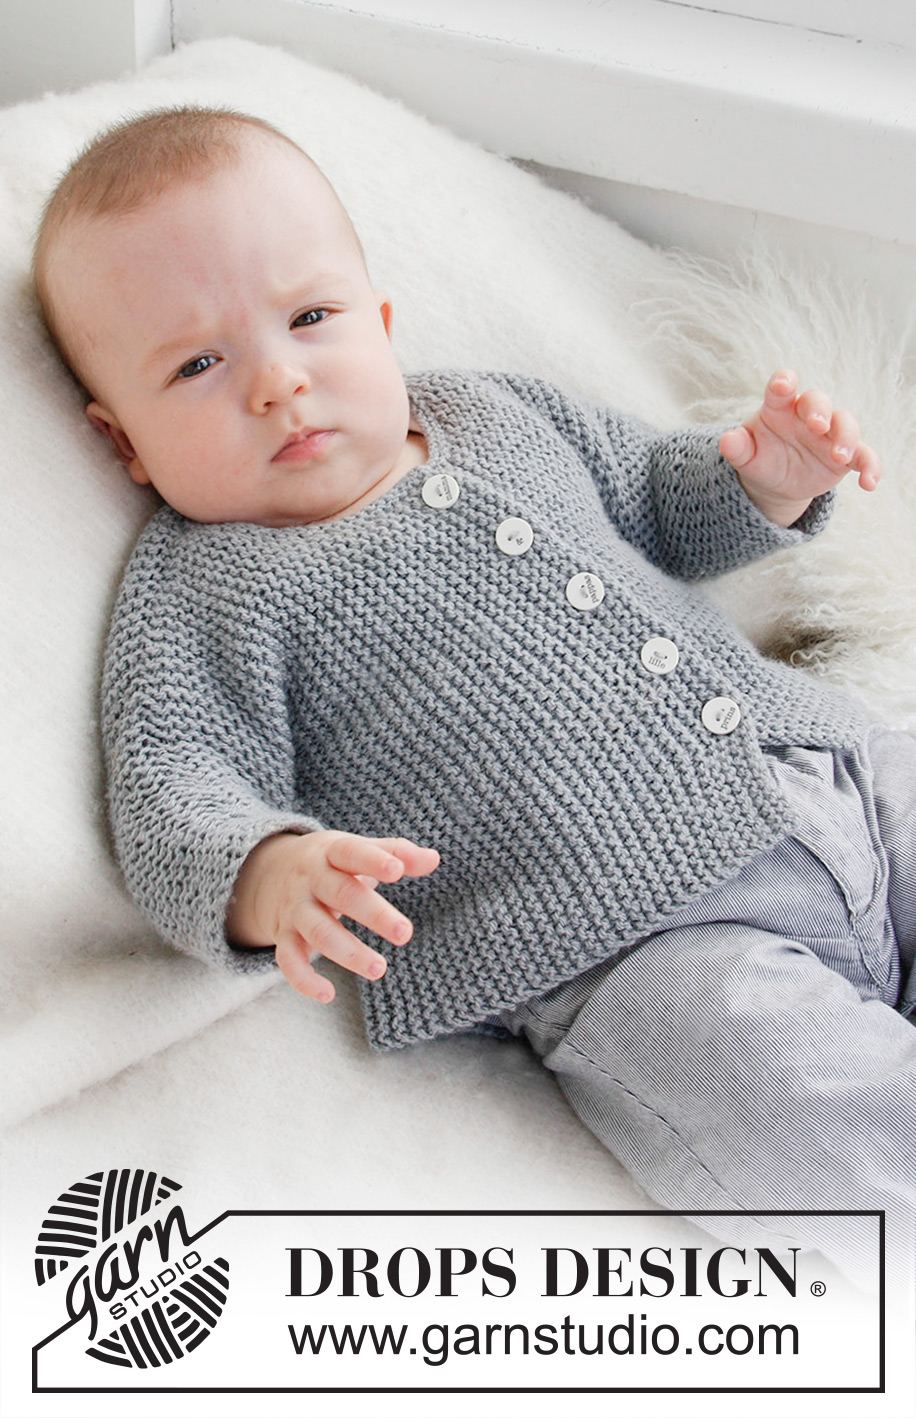
Knitted jacket worked sideways for baby and children in 2 threads DROPS Alpaca
DROPS Baby 21-39 |
||||
|
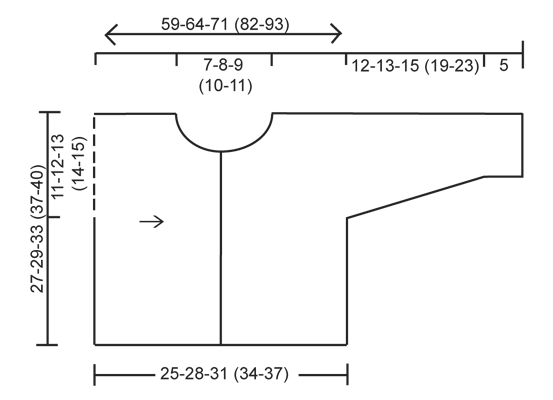
GARTER ST (back and forth on needle): K all rows. INCREASE TIP (applies to neck line): Inc by making 1 YO inside 2 edge sts in garter st. On next row K YO twisted (i.e. work in back loop of st instead of front to avoid holes). NOTE: Work the outermost st in neck line a little tight so that the edge looks nice BUTTON HOLES: 1 button hole = Cast off 1 st and make 1 YO on next row over the cast off st. ------------------------------------------------------- JACKET: Front and back piece is worked in one, sideways from arm to arm. RIGHT SLEEVE: Loosely cast on 26-28-28 (30-30) sts (= bottom of right sleeve) on needle size 5 mm with 2 threads Alpaca. Work in Garter St - see explanation above. When piece measures 5 cm, inc 1 st in each side, repeat inc every other cm a total of 6-6-8 (9-11) times = 38-40-44 (48-52) sts. When piece measures 17-18-20 (24-28) cm, loosely cast on 27-29-34 (39-42) new sts at beg and end of row for front and back piece = 92-98-112 (126-136) sts. Continue to work until piece measures 9-10-11 (12-13) cm from where the sts for front and back piece were cast on (piece measures 26-28-31 (36-41) cm from cast on edge at the bottom of sleeve). Work next row from RS as follows: K the first 46-49-56 (63-68) sts on needle (= front piece) and slip the remaining 46-49-56 (63-68) sts on a stitch holder (= back piece). Insert a marker in last row, now measure back piece from here. FRONT PIECE: = 46-49-56 (63-68) sts. Turn piece and cast off the first 6-6-6 (7-7) sts on row for neck. Then dec for neck line towards the neck every cm: 1 st 3 times in total = 37-40-47 (53-58) sts on needle. Work until width of front piece = 12.5-14-15.5 (17-18.5) cm. Now cast off for 5-5-5 (6-6) button holes evenly on next row – see explanation above, Note the hole at the top are cast off after 2 sts at neck edge. Then work 4 rows in garter stitch. Cast off. BACK PIECE: Slip the 46-49-56 (63-68) sts from stitch holder back on needle and K every row until piece measures 7-8-9 (10-11) cm from last marker. Put the piece aside and work left front piece. LEFT FRONT PIECE: Loosely cast on 37-40-47 (53-58) sts on needle size 5 mm with 2 threads Alpaca. K every row until piece measure 4-4.5-5 (5.5-6) cm. Now inc for neck line in the left side of piece on every cm 1 st a total of 3 times - see Inc.tips above. When piece measure 6-6.5-7 (7.5-8) cm cast on 6-6-6 (7-7) sts in left side = 46-49-56 (63-68) m. When all sts are inc for neck work pieces together - see BODY. BODY: Slip the 46-49-56 (63-68) sts from back piece on to same needle as left front piece = 92-98-112 (126-136) sts on needle. Insert a new marker in the piece - now measure piece from here! Work until piece measures 9-10-11 (12-13) cm. Loosely cast off at beg of the next 2 rows 27-29-34 (39-42) sts in each side = 38-40-44 (48-52) sts remain on needle for left sleeve – now measure piece from here. When piece measures 2-3-1 (3-3) cm, dec 1 st in each side, repeat every other cm a total of 6-6-8 (9-11) times = 26-28-28 (30-30) sts on needle. Loosely cast off when sleeve measures 17-18-20 (24-28) cm (piece measures approx. 59-64-71 (82-93) cm from arm to arm). NECK EDGE: From RS pick up approx 40 - 50 sts around neck with 2 strands on needles size 5 mm/US 8. K3 rows back and forth, then cast/bind off loosely. ASSEMBLY: Fold the piece double at the shoulders and sew sleeve and side seams in one in front loop of outermost st to avoid a chunky seam. Sew on buttons. |
||||
Diagram explanations |
||||
|
||||
 |
||||
Have you finished this pattern?Tag your pictures with #dropspattern #greygoslingcardigan or submit them to the #dropsfan gallery. Do you need help with this pattern?You'll find 11 tutorial videos, a Comments/Questions area and more by visiting the pattern on garnstudio.com. © 1982-2026 DROPS Design A/S. We reserve all rights. This document, including all its sub-sections, has copyrights. Read more about what you can do with our patterns at the bottom of each pattern on our site. |
||||


With over 40 years in knitting and crochet design, DROPS Design offers one of the most extensive collections of free patterns on the internet - translated to 17 languages. As of today we count 324 catalogues and 12290 patterns translated into English (UK/cm). 12290
We work hard to bring you the best knitting and crochet have to offer, inspiration and advice as well as great quality yarns at incredible prices! Would you like to use our patterns for other than personal use? You can read what you are allowed to do in the Copyright text at the bottom of all our patterns. Happy crafting!
Post a comment to pattern DROPS Baby 21-39
We would love to hear what you have to say about this pattern!
If you want to leave a question, please make sure you select the correct category in the form below, to speed up the answering process. Required fields are marked *.