
Popular categories
Looking for a yarn?


Comments / Questions (10)
![]() Grandmont wrote:
Grandmont wrote:
Quand vous dîtes une maille serrée autour de chaque mailles, ne pas crocheter en piquant sous les deux brins, est ce que c est le brin avant ou arrière svp. Merci
24.08.2025 - 11:00DROPS Design answered:
Bonjour Mme Grandmont, ni l'un ni l'autre dans ce cas, on va crocheter autour des mailles serrées du tour précédent comme on le montre dans cette vidéo. Bon crochet!
08.10.2025 - 09:09
![]() Camilla wrote:
Camilla wrote:
Dopo aver fatto la parte iniziale devo continuare il lavoro senza aggiungere maglie. La misurazione di 8 cm deve essere fatta dal centro del cerchio o da quando inizio a non aumentare più? Invece, in centimetri, quanto bisogna andare avanti, nella parte iniziale, aggiungendo maglie? Sto usando un uncinetto e un filato diverso e non riesco a regolarmi sulle misure. Grazie!
18.07.2025 - 16:32DROPS Design answered:
Buonasera Camilla, gli 8 cm si misurano dal segnapunti come indicato. Se utilizza filati diversi deve adattare la lavorazione al suo campione. Buon lavoro!
20.07.2025 - 17:17
![]() Mariann wrote:
Mariann wrote:
Hvordan hekle Om masken og ikke i maskeledd?
13.12.2023 - 19:17DROPS Design answered:
Hej Mariann, se videoen nederst i opskriften :)
14.12.2023 - 08:26
![]() Emilie wrote:
Emilie wrote:
Efter man har hæklet kanten i toppen af bøllehatten, fortsætter man så med at vende projektet og hækle henholdsvis på ret og vrang siden, eller bliver man på retsiden indtil man skal hækle skyggen? Altså for at præcisere så snakker jeg om passagen mellem kanten i toppe og skyggen :)
11.07.2023 - 23:52DROPS Design answered:
Hei Emilie Det hekles i maskeleddene som før (det hekles rundt, samtidig som arbeidet vendes for hver omgang). mvh DROPS Design
24.07.2023 - 14:37
![]() Guro wrote:
Guro wrote:
Når man hekler i sirkel og bruker en kjedemaske for å lenke sammen runden og starter med en luftmaske, så får man en stygg søm langs hele hatten. Løsningen er jo å droppe dette og heller bare hekle i spiral hele veien, rundt og rundt. Men da får jeg ikke samme mønster på hatten som om man snur arbeidet etter hver runde. Har dere noen bedre løsninger for å ikke få sømmen, men fortsatt snu arbeidet?
24.05.2023 - 15:37DROPS Design answered:
Hej Guro, nederst i opskriften finder du en video "Hvordan hekle rundt med fm" - ja du vil få en kant, men den er ikke så stygg :)
25.05.2023 - 07:37
![]() Ernesto wrote:
Ernesto wrote:
Esiste qualcosa di simile per gli uomini?
08.08.2022 - 19:15DROPS Design answered:
Buonasera Ernesto, al momento non abbiamo modelli simili per uomo, ma provi a guardare quiqui la nostra selezione di modelli da uomo. Buon lavoro!
10.08.2022 - 22:26
![]() Ernesto wrote:
Ernesto wrote:
Sembra così carino!
08.08.2022 - 19:13
![]() Mascha wrote:
Mascha wrote:
Wird der Rand auch in Hin- und Rückrunden gehäkelt?
22.07.2022 - 23:05DROPS Design answered:
Liebe Mascha, der Abschluss-Rand besteht nur aus einer Runde und diese Runde wird als Hin-Runde gehäkelt. Viel Spaß beim Häkeln!
25.07.2022 - 19:28
![]() Beatrice wrote:
Beatrice wrote:
Hippie
19.01.2022 - 22:05
![]() Micaela Olivetti wrote:
Micaela Olivetti wrote:
Dolly
14.01.2022 - 14:27
|
|
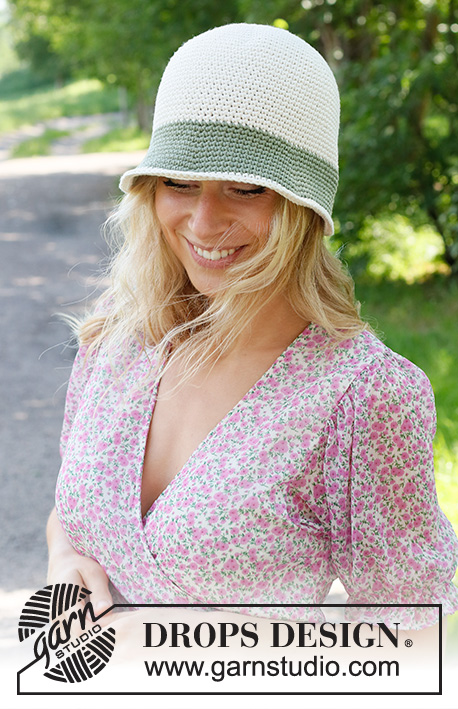
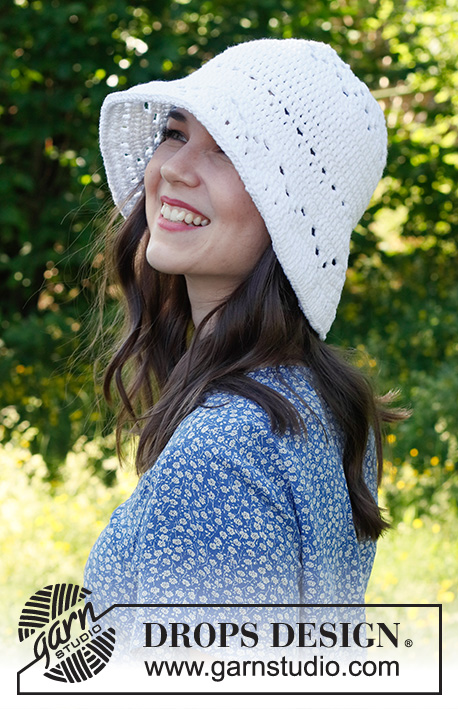
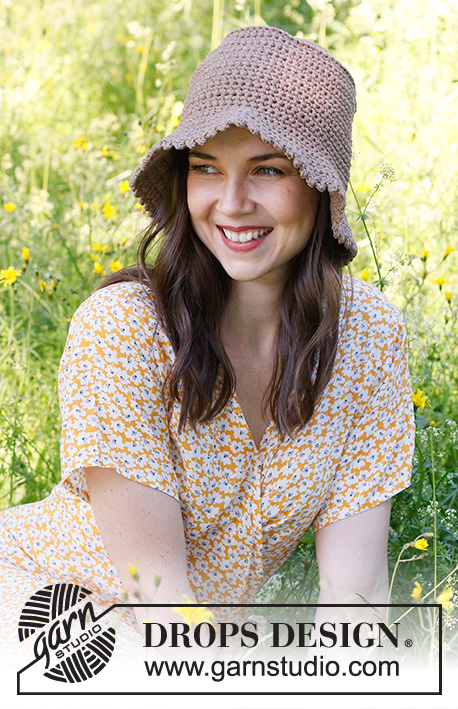
Sunshine Smiles#sunshinesmileshat |
|
 |
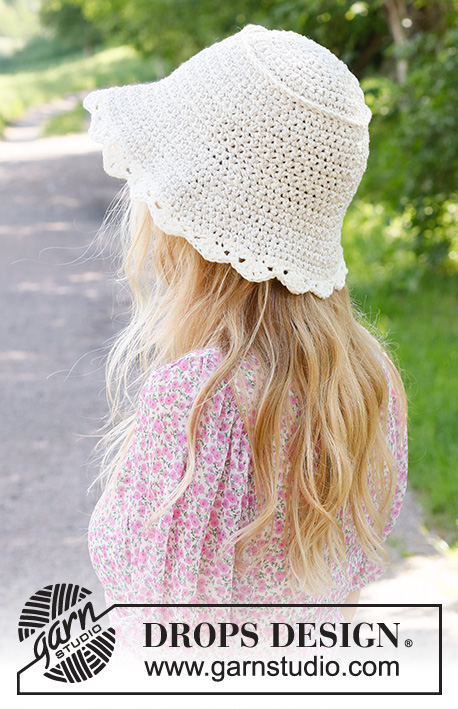 |
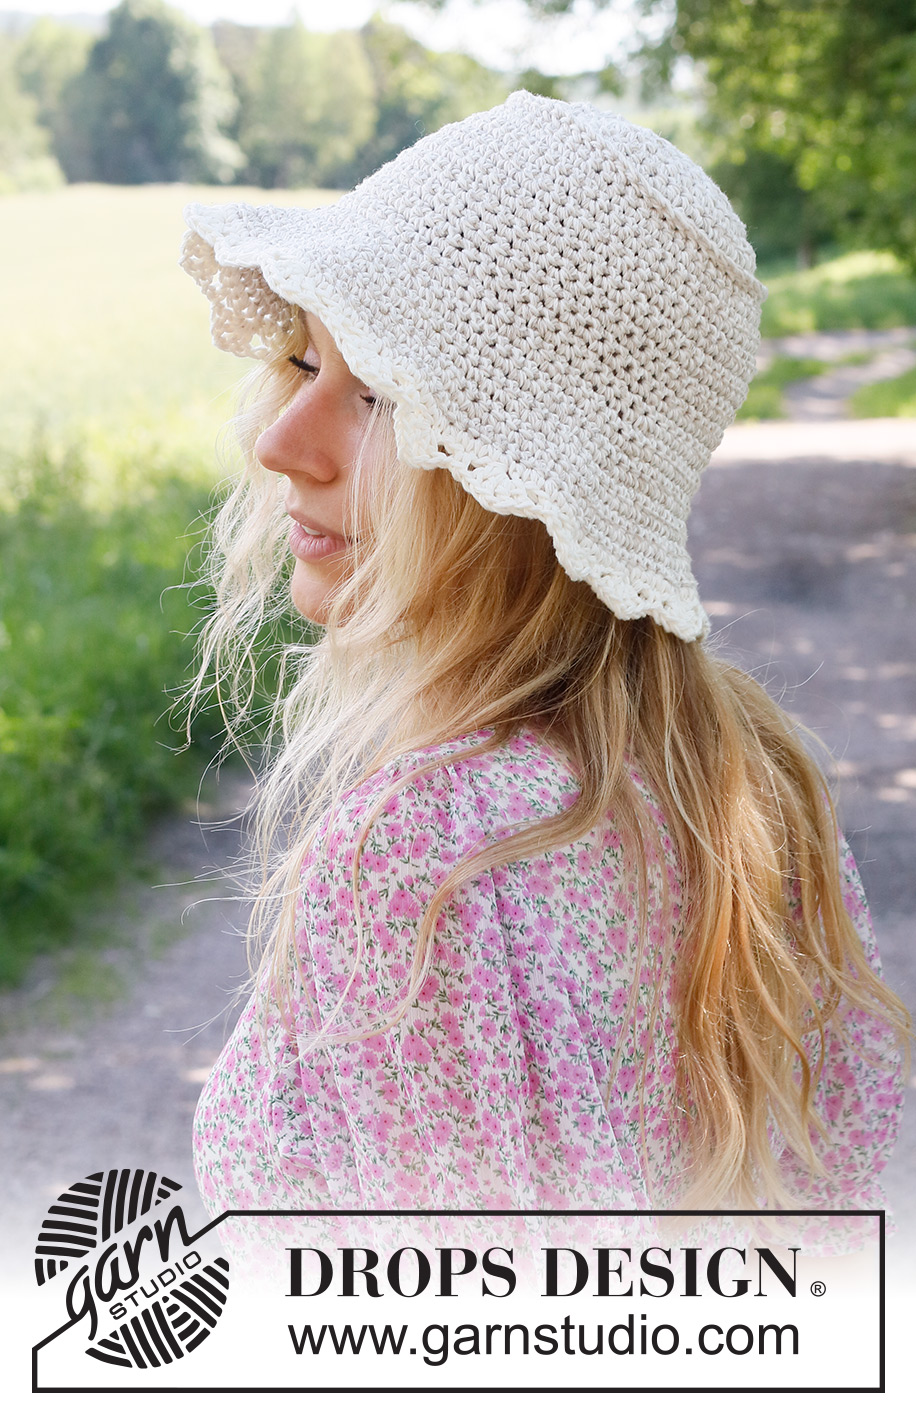
Crocheted hat in 2 strands DROPS Bomull-Lin. The piece is worked top down.
DROPS 229-29 |
|
|
------------------------------------------------------- EXPLANATIONS FOR THE PATTERN: ------------------------------------------------------- CROCHET INFORMATION: At the beginning of each round of double crochets work 1 chain stitch, which does not replace the first double crochet. The round finishes with 1 slip stitch in the first double crochet. CROCHET TIP: The first round is worked from the right side. The round is finished with 1 slip stitch in the first double crochet at the beginning of the round. Turn and work the next round from the wrong side. The round is finished with 1 slip stitch in the first double crochet at the beginning of the round. Turn and work from the right side. Continue back and forth like this, alternately from the right and wrong side. INCREASE TIP (evenly spaced): To work out how to increase evenly, count the total number of stitches on the round (e.g. 60 stitches) and divide by the number of increases to be made (e.g. 4) = 15. In this example increase by working 2 double crochets in every 15th stitch. ------------------------------------------------------- START THE PIECE HERE: ------------------------------------------------------- HAT – SHORT OVERVIEW OF THE PIECE: The hat is worked top down with 2 strands. The piece is worked in the round, turning after each round – read CROCHET TIP. HAT: Work 4 chain stitches with hook size 6 mm and 1 strand of each colour in DROPS Bomull-Lin. Form them into a ring with 1 slip stitch in the first chain stitch. Read CROCHET INFORMATION. ROUND 1: Work 1 chain stitch – read CROCHET INFORMATION, then work 6 double crochets around the chain-stitch ring. ROUND 2: Work 2 double crochets in each stitch = 12 stitches. ROUND 3: Work * 2 double crochets in first stitch, 1 double crochet in the next stitch *, work from *-* to the end of the round = 18 stitches. ROUND 4: Work * 2 double crochets in first stitch, 1 double crochet in the next 2 stitches,* work from *-* to the end of the round = 24 stitches. REMEMBER THE CROCHET TENSION! Continue like this, increasing 6 stitches on each round but with 1 more stitch between the increases each time. When you have worked 10 rounds there are 60 stitches. In M/L work 1 round with 1 double crochet in each stitch and increasing 4 stitches evenly spaced – read INCREASE TIP = 60-64 stitches. Now work as follows from the right side: 1 double crochet around each stitch (do not work in the loops). Insert a marker in this round; the piece is measured from here. Continue, working with 1 double crochet in each stitch on the next-but-last round and in the loops as before. When the piece measures 8-9 cm from the marker, increase 0-2 stitches on the next round = 60-66 stitches. BRIM: Insert 6 markers with 10-11 stitches between each one. Work as before, alternately from the right and wrong side and increase as follows: ROUND 1: Increase by working 2 double crochets in the stitch after each marker = 66-72 stitches. Move the markers 2 stitches to the left (seen from the right side). ROUND 2: * Increase by working 2 double crochets in the stitch before each marker (seen from the wrong side) = 72-78 stitches. Move the markers 2 stitches to the left (seen from the right side). ROUND 3: Increase by working 2 double crochets in the stitch after each marker (seen from the right side) = 78-84 stitches. Move the markers 2 stitches to the left (seen from the right side). Continue like this, moving the markers 2 stitches to the left (seen from the right side) and increasing 1 stitch by each marker until you have increased a total of 8 times = 108-114 stitches. EDGE: Work with 2 strands off-white and from the right side. Work *1 double crochet in the first/next stitch, 1 chain stitch, skip 2 stitches, work (2 treble crochets + 1 chain stitch + 2 treble crochets) in the next stitch, 1 chain stitch, skip 2 stitches,*, work from *-* to the end of the round, finish with 1 slip stitch in the first double crochet on the round. Cut and fasten the strand. |
|
Have you finished this pattern?Tag your pictures with #dropspattern #sunshinesmileshat or submit them to the #dropsfan gallery. Do you need help with this pattern?You'll find 11 tutorial videos, a Comments/Questions area and more by visiting the pattern on garnstudio.com. © 1982-2026 DROPS Design A/S. We reserve all rights. This document, including all its sub-sections, has copyrights. Read more about what you can do with our patterns at the bottom of each pattern on our site. |
|


With over 40 years in knitting and crochet design, DROPS Design offers one of the most extensive collections of free patterns on the internet - translated to 17 languages. As of today we count 324 catalogues and 12290 patterns translated into English (UK/cm). 12290
We work hard to bring you the best knitting and crochet have to offer, inspiration and advice as well as great quality yarns at incredible prices! Would you like to use our patterns for other than personal use? You can read what you are allowed to do in the Copyright text at the bottom of all our patterns. Happy crafting!
Post a comment to pattern DROPS 229-29
We would love to hear what you have to say about this pattern!
If you want to leave a question, please make sure you select the correct category in the form below, to speed up the answering process. Required fields are marked *.