
Popular categories
Looking for a yarn?


Comments / Questions (63)
![]() Gloria wrote:
Gloria wrote:
Está en español el patrón?
30.04.2025 - 03:58
![]() Glynne wrote:
Glynne wrote:
Wonderful pattern thanks. I have made it three times now in vastly different yarns and weights.
21.04.2025 - 03:02
![]() Amany Fawzy wrote:
Amany Fawzy wrote:
I hope you add arabic translation.
23.02.2025 - 19:36
![]() Amany Fawzy wrote:
Amany Fawzy wrote:
Very nice piece
23.02.2025 - 19:34
![]() Liva wrote:
Liva wrote:
Hvor sættes mærketråden hvorfra der måles resten af arbejdet i opskrift Rhythmic Rain. I begyndelsen af halsribben Eller i begyndelsen af bærestykket ?
20.02.2025 - 22:28DROPS Design answered:
Hei Liva, Du setter 1 merke (til å måle videre fra) på begynnelsen av omgangen rett etter du er ferdig med halskanten og før du begynner bærestykke. God fornøyelse!
21.02.2025 - 06:48
![]() Barbara wrote:
Barbara wrote:
What is the positive ease of this sweater?
08.02.2025 - 17:06DROPS Design answered:
Dear Barbara, the measurements in the size chart below show the final measurements of the garment in cm. The ease of the sweater will depend on your own measurements and your ease preference; whether you prefer a tighter or looser fit. You can compare the measurements indicated to your favourite sweaters and check if you want more or less ease in the garment, so as to see if you want to work a larger size. Happy knitting!
10.02.2025 - 00:40
![]() Maimu wrote:
Maimu wrote:
Tere! Juhin tähelepanu tõlkimise veale. Kui töö pikkus on 13 cm reamärkijast, siis tuleb võtta ringvardad 8 mm , mitte 5 mm nagu kirjas on.
25.01.2025 - 07:45
![]() Jennifer wrote:
Jennifer wrote:
Hello :) thanks for the pattern! I am a beginner knitter, so maybe the question is obvious to others but I was wondering with which needle size I'm supposed to do the sample?
17.12.2024 - 11:09DROPS Design answered:
Hi Jennifer, The swatch is worked with needle size 8 mm. Happy Christmas!
18.12.2024 - 07:06
![]() Kirsten Lange wrote:
Kirsten Lange wrote:
Hvor sættes mærketråden hvorfra der måles resten af arbejdet i opskrift Rhythmic Rain. I begyndelsen af halsribben Eller i begyndelsen af bærestykket ?
27.11.2024 - 13:54
![]() Kathy wrote:
Kathy wrote:
Re-bonjour, vue que je n'ai pas le bon nombre de mailles soit 58 au lieu de 60, comment je pourrais faire pour augmenter de 2 mailles soit 1m env et 1 m. end pour éviter de décaler mes côtes? Merci d'avance
20.11.2024 - 13:33DROPS Design answered:
Bonjour Kathy, on augmente ici uniquement dans les mailles envers - cf réponses précédentes, mais vous devez calculer d'après votre tension et le nombre de mailles que vous avez choisi comment adapter le nombre d'augmentations pour tomber juste sur la largeur. Bon tricot!
20.11.2024 - 15:36
|
|
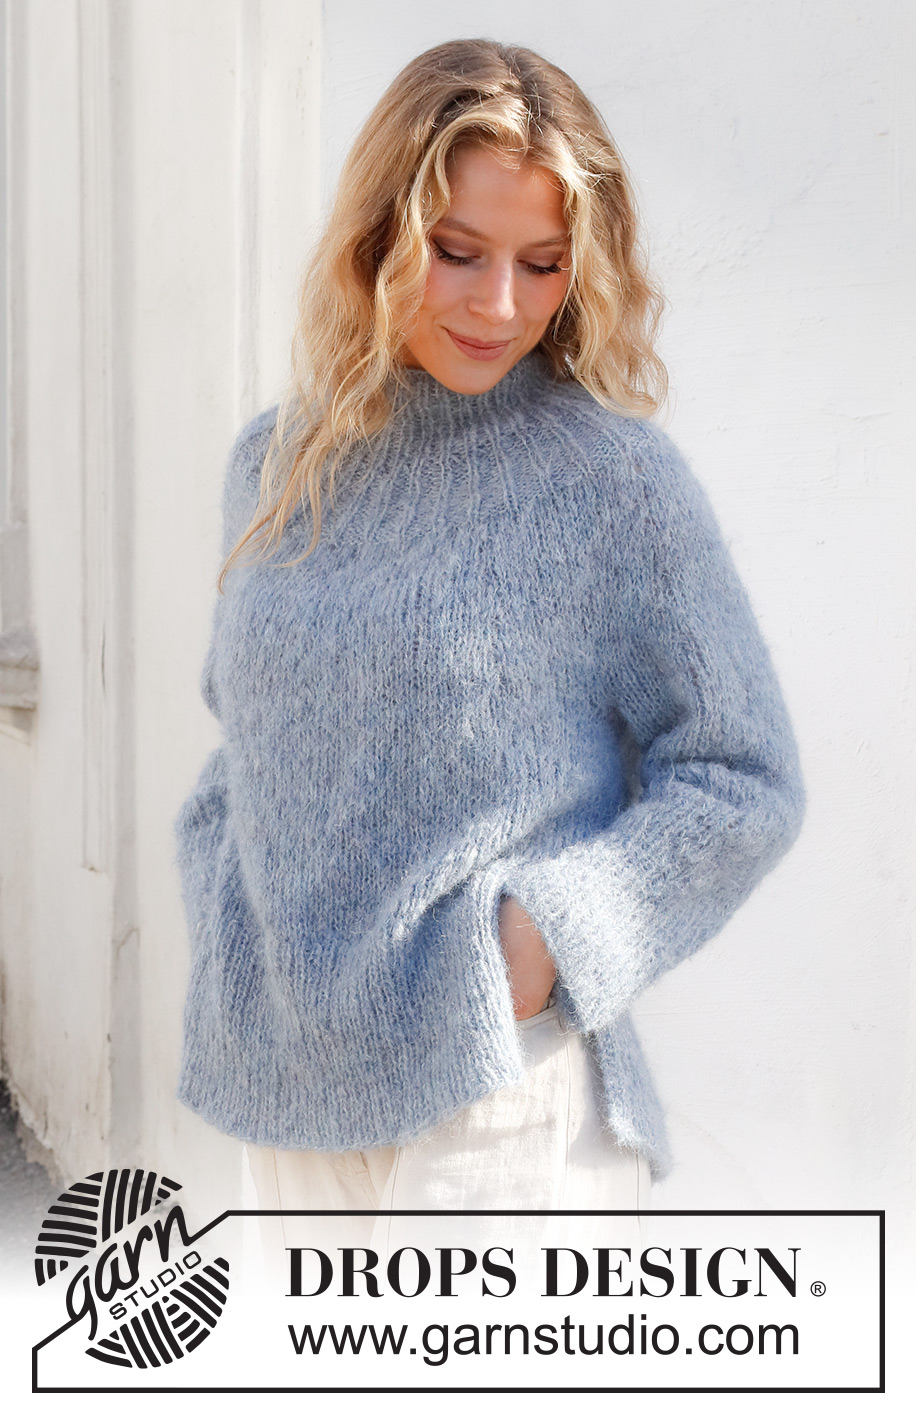
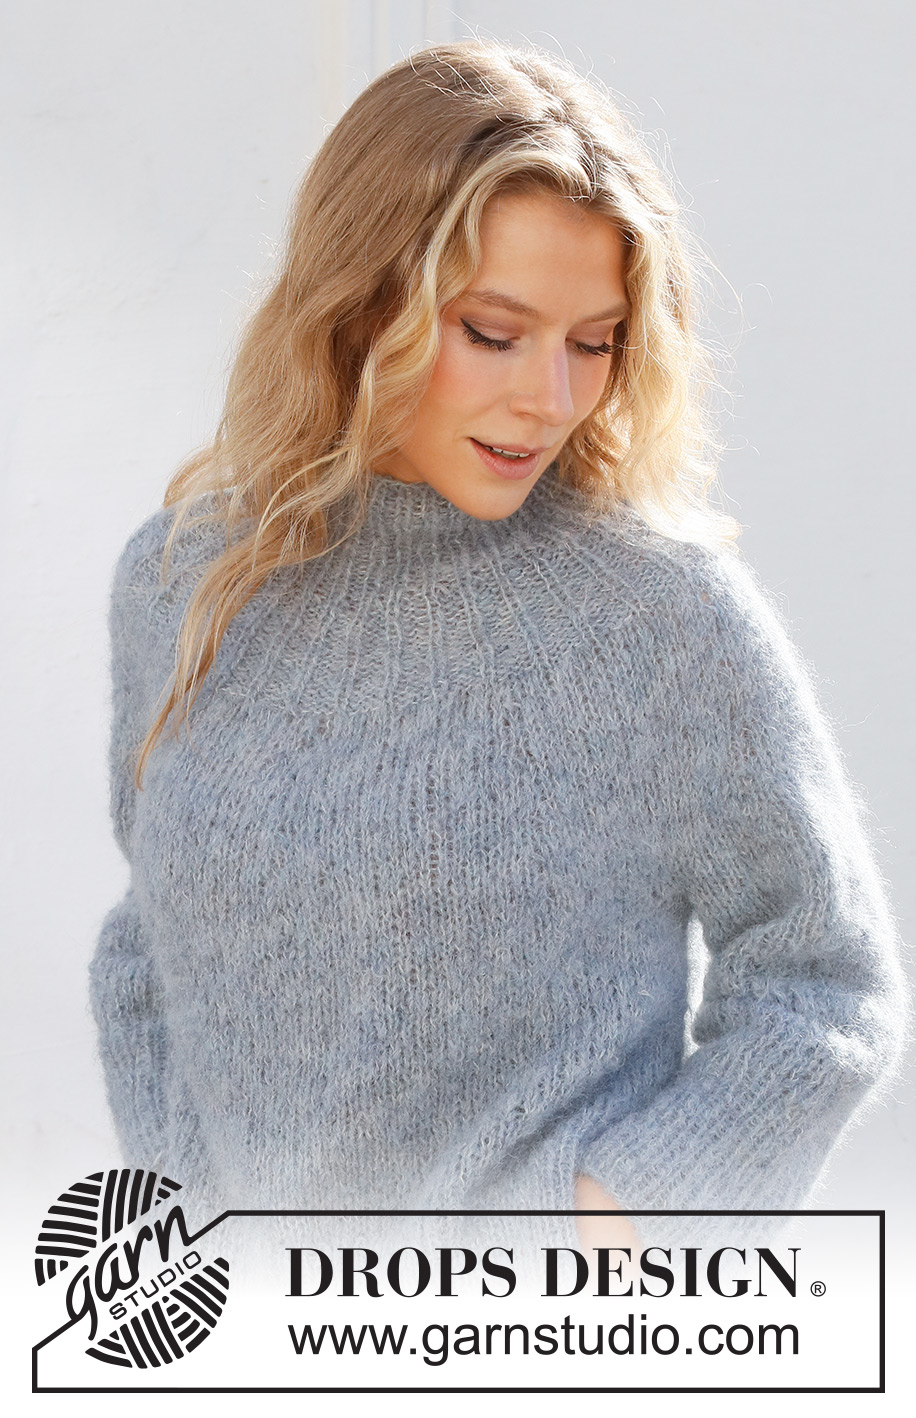
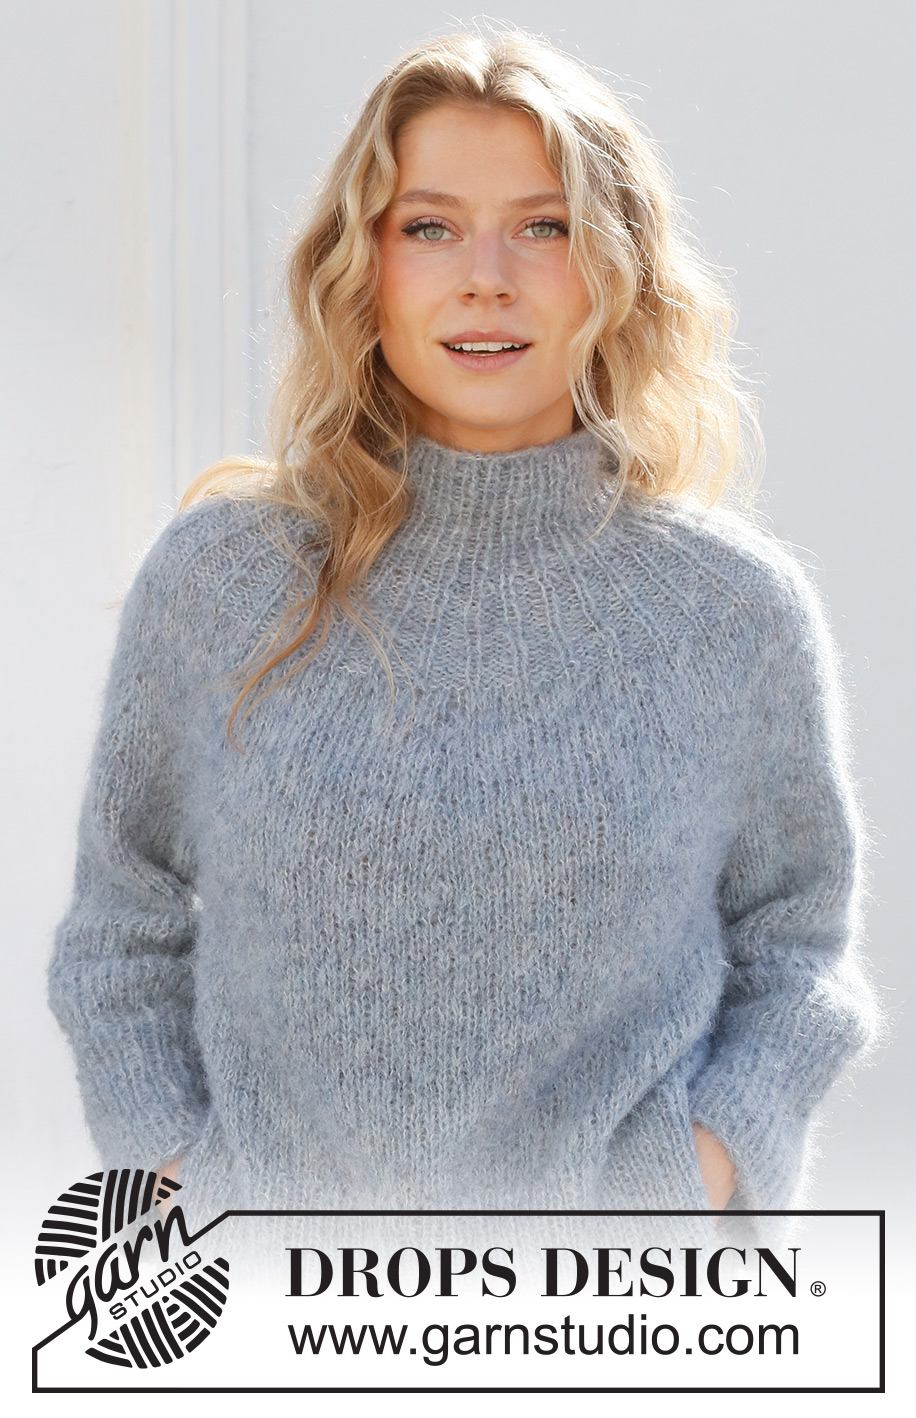
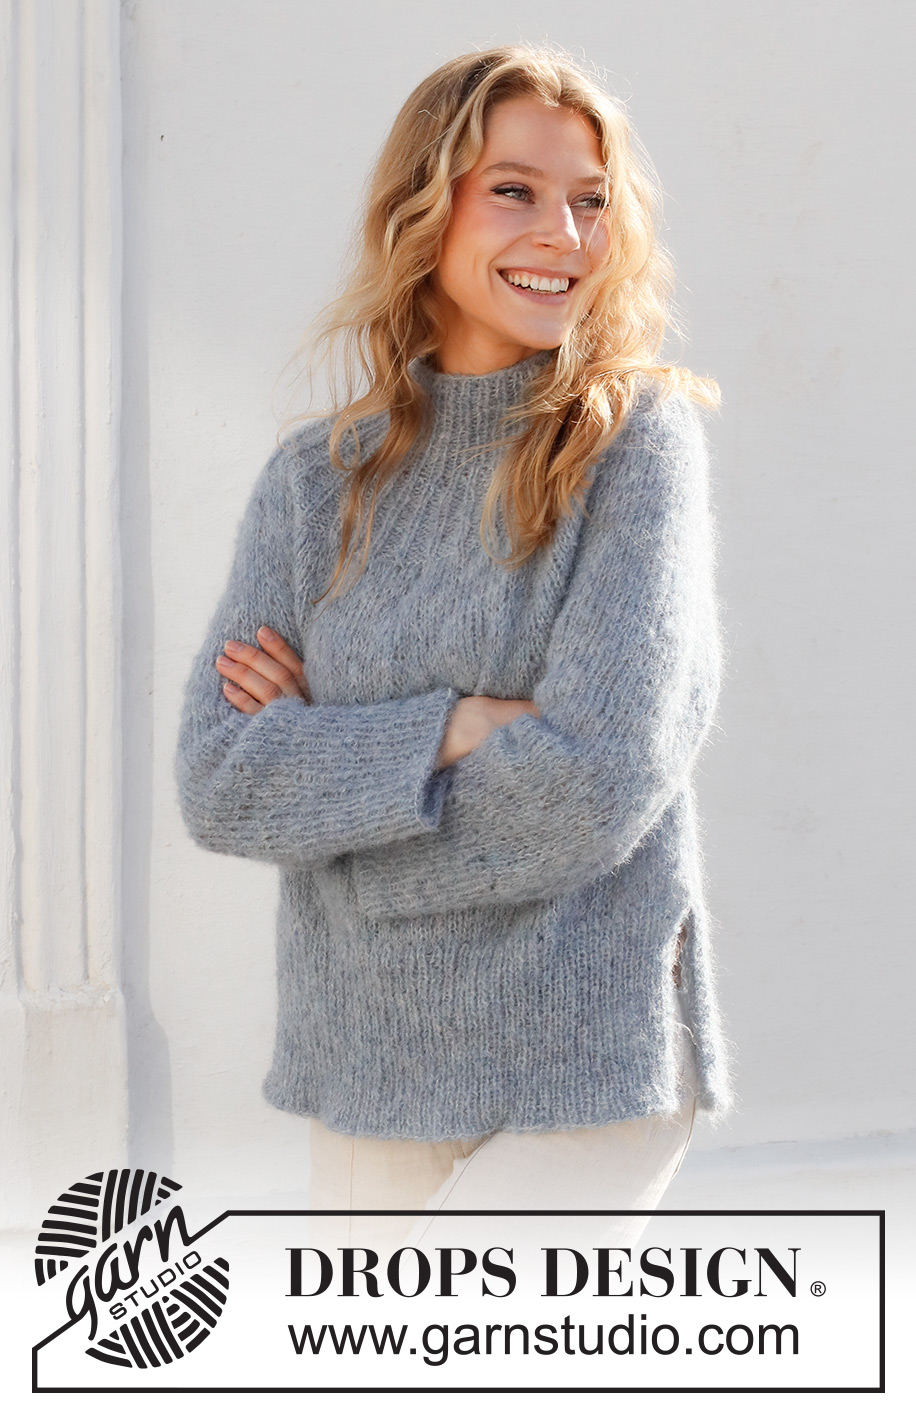
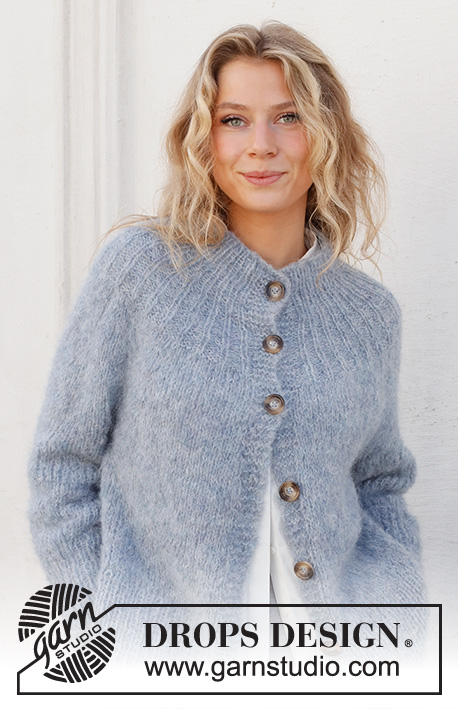
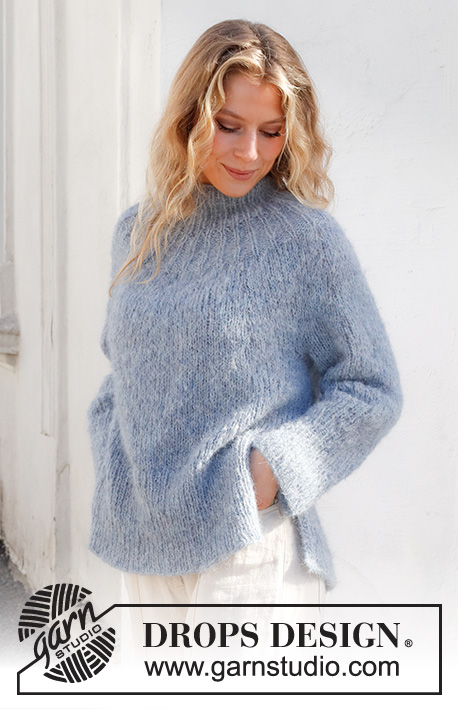
Rhythmic Rain#rhythmicrainsweater |
|
 |
 |
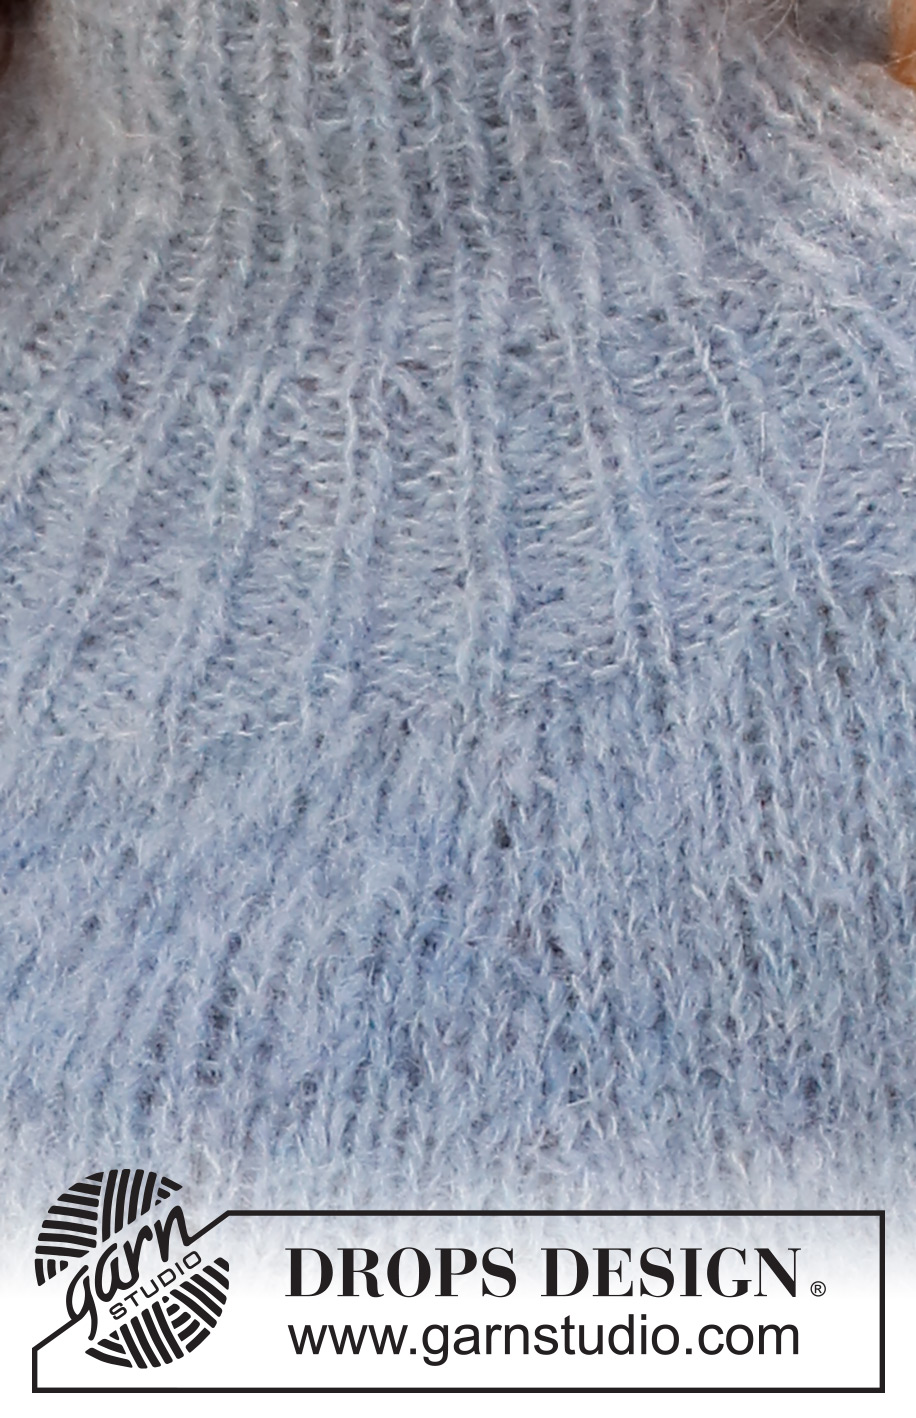
Knitted jumper in DROPS Melody. The piece is worked top down with round yoke, ribbed edges and split in the sides. Sizes S - XXXL.
DROPS 228-42 |
|
|
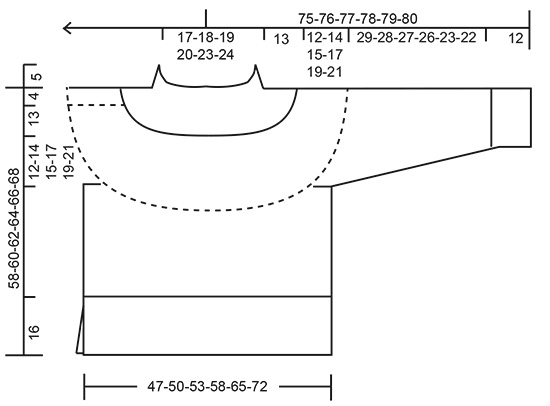
------------------------------------------------------- EXPLANATIONS FOR THE PATTERN: ------------------------------------------------------- RIDGE/GARTER STITCH (worked back and forth): Knit all rows. 1 ridge = knit 2 rows. INCREASE TIP (evenly spaced): To work out how to increase evenly, count the total number of stitches on the needle (e.g. 120 stitches) and divide by the number of increases to be made (e.g. 12) = 10. In this example, increase by making 1 yarn over after each 10th stitch. On the next round work the yarn overs twisted to avoid holes. DECREASE TIP (sleeves): Decrease 1 stitch on either side of the marker thread as follows: Work until there are 3 stitches left before the marker thread, knit 2 together, knit 2 (marker thread sits between these 2 stitches), slip 1 stitch as if to knit, knit 1 and pass the slipped stitch over the knitted stitch (2 stitches decreased). CASTING-OFF TIP: To avoid the cast-off edge being tight you can cast off with a larger size needle. If the edge is still tight, make 1 yarn over after approx. each 4th stitch at the same time as casting off; the yarn overs are cast off as normal stitches. ------------------------------------------------------- START THE PIECE HERE: ------------------------------------------------------- JUMPER – SHORT OVERVIEW OF THE PIECE: The neck and yoke are worked in the round with circular needle, top down from mid-back. The yoke is divided for the body and sleeves and the body continued in the round as far as the split, when the front and back pieces are finished separately back and forth. The sleeves are worked in the round with short circular needle/double pointed needles, top down. NECK: Cast on 60-62-64-68-74-76 stitches with circular needle size 6 mm and DROPS Melody. Knit 1 round then work rib (knit 1, purl 1) for 5 cm. Insert a marker at the beginning of the round; the yoke is measured from here. YOKE: Continue the rib for another 5 cm, then increase as follows: Increase 1 stitch by making 1 yarn over at the beginning of all purled sections = 90-93-96-102-111-114 stitches. Continue the new rib (knit 1, purl 2); the yarn overs are purled twisted on the first round to avoid holes. When the piece measures 10 cm from the marker, increase 1 stitch by making 1 yarn over at the end of all purled sections = 120-124-128-136-148-152 stitches. Continue the new rib (knit 1, purl 3); the yarn overs are purled twisted on the first round to avoid holes. When the piece measures 13 cm from the marker change to circular needle size 8 mm. Knit 1 round where you increase 12-20-22-24-26-32 stitches evenly spaced – read INCREASE TIP = 132-144-150-160-174-184 stitches. Continue with stocking stitch. When the piece measures 15 cm from the marker increase 10 stitches evenly spaced. Increase like this every 2½-3-2½- 2½-2-2 cm a total of 4-4-5-6-7-8 times = 172-184-200-220-244-264 stitches. REMEMBER THE KNITTING TENSION! Continue with stocking stitch until the piece measures 25-27-28-30-32-34 cm from the marker. Divide for the body and sleeves on the next round as follows: Knit 25-27-29-32-36-40 (= half back piece), place the next 36-38-42-46-50-52 stitches on 1 thread for the sleeve, cast on 6 stitches (= in side under sleeve), knit 50-54-58-64-72-80 (= front piece), place the next 36-38-42-46-50-52 stitches on 1 thread for the sleeve, cast on 6 stitches (= in side under sleeve), knit the last 25-27-29-32-36-40 stitches (= half back piece). The body and sleeves are finished separately. THE PIECE IS NOW MEASURED FROM HERE! BODY: = 112-120-128-140-156-172 stitches. Continue with stocking stitch in the round for 13-13-14-14-14-14 cm (or to desired length; there is approx. 16 cm left to finished length). Now divide the piece for the split as follows: Place the first and last 28-30-32-35-39-43 stitches on a thread = 56-60-64-70-78-86 stitches on the needle (= front piece). FRONT PIECE: To avoid the following rib being tight, knit 1 row from the right side where you increase 23-25-25-27-31-33 stitches evenly spaced = 79-85-89-97-109-119 stitches. Change to circular needle size 6 mm and work the next row from the wrong side as follows: 2 stitches in GARTER STITCH – read description above, * purl 1, knit 1 *, work from *-* until there are 3 stitches left, purl 1 and 2 stitches in garter stitch. Work this rib for 16 cm. Cast off with knit over knit and purl over purl – read CASTING-OFF TIP. BACK PIECE: Place the remaining stitches on circular needle size 8 mm and work as for the front piece. SLEEVES: Place the 36-38-42-46-50-52 stitches from the thread on the one side of the piece on double pointed needles/short circular needle size 8 mm and knit up 1 stitch in each of the 6 stitches cast on under the sleeve = 42-44-48-52-56-58 stitches. Insert a marker thread in the middle of the 6 stitches under the sleeve. Allow the thread to follow your work onwards; it will be used when decreasing under the sleeve. Start at the marker thread and work stocking stitch in the round for 2 cm, then decrease 2 stitches under the sleeve – read DECREASE TIP. Decrease like this every 8-8-4½-3½-2½-2½ cm a total of 4-4-6-7-8-8 times = 34-36-36-38-40-42 stitches. Continue working, without further decreases, until the sleeve measures 29-28-27-26-23-22 cm from the division (there is approx. 12 cm to finished length; try the jumper on and work to desired length). Knit 1 round where you increase 6 stitches evenly spaced = 40-42-42-44-46-48 stitches. Change to double pointed needles size 6 mm and work rib (knit 1, purl 1) for 12 cm. Cast off with knit over knit and purl over purl – remember CASTING-OFF TIP! The sleeve measures approx. 41-40-39-38-35-34 cm from the division. Work the other sleeve in the same way. |
|
 |
|
Have you finished this pattern?Tag your pictures with #dropspattern #rhythmicrainsweater or submit them to the #dropsfan gallery. Do you need help with this pattern?You'll find 31 tutorial videos, a Comments/Questions area and more by visiting the pattern on garnstudio.com. © 1982-2026 DROPS Design A/S. We reserve all rights. This document, including all its sub-sections, has copyrights. Read more about what you can do with our patterns at the bottom of each pattern on our site. |
|


With over 40 years in knitting and crochet design, DROPS Design offers one of the most extensive collections of free patterns on the internet - translated to 17 languages. As of today we count 324 catalogues and 12290 patterns translated into English (UK/cm). 12290
We work hard to bring you the best knitting and crochet have to offer, inspiration and advice as well as great quality yarns at incredible prices! Would you like to use our patterns for other than personal use? You can read what you are allowed to do in the Copyright text at the bottom of all our patterns. Happy crafting!
Post a comment to pattern DROPS 228-42
We would love to hear what you have to say about this pattern!
If you want to leave a question, please make sure you select the correct category in the form below, to speed up the answering process. Required fields are marked *.