
Popular categories
Looking for a yarn?


Comments / Questions (81)
![]() Laurence wrote:
Laurence wrote:
Que signifie section " diminuer toutes les sections "
28.01.2026 - 16:30DROPS Design answered:
Bonjour Laurence, vous devez diminuer au début dans toute les sections 2 mailles envers des côtes, autrement dit, tricotez ainsi: (2 m ens à l'envers, 1 m end) et continuez en côtes 1 m env, 2 m end. Diminuez ensuite dans toutes les sections 2 end des côtes en tricotant (1 m env, 2 m ens à l'end), vous obtenez ainsi des côtes 1 m env, 1 m end. Bon tricot!
29.01.2026 - 08:46
![]() Yvonne wrote:
Yvonne wrote:
Even op je taalgebruik letten. Het u hebt en NIET u heeft.... dus... als u ..steken hebt....!! Wel belangrijk op een website! Met vriendelijke groet Y. Bosboom
22.01.2026 - 16:51
![]() Beata wrote:
Beata wrote:
Już rozgryzłam ! Oczka z drutu z żyłką przerabiamy w te i z powrotem zamykajac oczka z drutów pończoszniczych !... ociężały umysł po świętach 😉
27.12.2025 - 18:26
![]() Beata wrote:
Beata wrote:
Zabrałam sie ponownie za ten wzór . Proszę o wyjaśnienie, nie rozumiem tego ? Czy mam każdy bok z drutu pończoszniczego robic oddzielnie? "....Przerabiać na prawo aż zostaje 1 oczko, zdjąć ostatnie oczko jak do przerobienia na prawo, przerobić 1 oczko z drutu pończoszniczego na prawo i przełożyć oczko zdjęte na drucie z żyłką ponad przerobionym oczkiem (= zostaje zamknięte 1 z oczek z drutu pończoszniczego). Obrócić robótkę....?....."
27.12.2025 - 16:29DROPS Design answered:
Witaj Beato, cieszę się, że się udało. Miłego świątecznego wypoczynku :) Pozdrawiamy
28.12.2025 - 20:39
![]() Clara wrote:
Clara wrote:
"In dieser Weise beidseitig in jeder Hin-Reihe insgesamt 3 x abnehmen und beidseitig des Markierers in jeder Hin-Reihe insgesamt 7-7-7-7 (7-8) x zunehmen" Sind da wirklich Maschen gemeint, oder vielleicht doch Reihen? Ich nehme ja jeweils 2 Maschen pro Hinreihe zu und jeweils 2 ab. Wie komm ich dann auf eine ungerade Zahl? Danke sehr!
29.11.2025 - 10:54DROPS Design answered:
Liebe Clara, es wird jeweils 2 Maschen 3 Mal abgenommen (insgesamt 6) und 2 Maschen 7 oder 8 Mal (siehe Größe) (insgesamt14 oder 16) zugenommen, so stimmt die Maschenanzahl in jeder Größe, oder meinten Sie etwas anderes? Welche Größe stricken Sie?
01.12.2025 - 08:19
![]() Yolanda wrote:
Yolanda wrote:
He observado que en la traducción en español no constan los puntos que hay que montar en las agujas para empezar.....si por favor pueden rectificar Muchas gracias
26.11.2025 - 21:45
![]() Hilde Lutterloh Ljones wrote:
Hilde Lutterloh Ljones wrote:
Strikker str.2 og 3-4 år. Når det står , skal det måles fra den siste fellingen på høyre og venstre side forran eller midt forran under haken(der det er felt 10 m)?
18.11.2025 - 06:40DROPS Design answered:
Hei Hilde, De senere målene er tatt fra der du felte av masker under haken. Hilsen Drops Team.
18.11.2025 - 06:47
![]() Marie-Pia wrote:
Marie-Pia wrote:
Bonjour, Je souhaite utiliser la laine Baby Merino. Le convertisseur indique qu'il faudrait 2 fils de Baby Merino 86 gr. S'agit-il de 86 gr en tout ou 2X 86 gr. Merci d'avance.
15.11.2025 - 15:42DROPS Design answered:
Bonjour Marie-Pia, il vous faudra 86 g au total (soit 2 pelotes Baby Merino), en tricotant le fil en double. Bon tricot!
17.11.2025 - 07:50
![]() Maria Jose Rocha wrote:
Maria Jose Rocha wrote:
Os vossos tutoriais são muito Poucos claros. Faço tricot e croché há mais de 10 anos e nunca consegui perceber nenhum modelo,
14.11.2025 - 23:17DROPS Design answered:
Boa tarde, Aconselhamo-la a ver os nossos tutoriais em vídeo que acompanham cada modelo no separador vídeos. Temos mais de 1600 tutoriais, tanto em tricô como em croché. A equipa DROPS
19.11.2025 - 14:57
![]() MICHELINE wrote:
MICHELINE wrote:
Bonjour, j'aime ce m modèle et je voudrais savoir si c'est normal que ma cagoule terminée fait un pointu à l'arrière à cause des augmentations de chaque coté du milieu? merci de me faire le suivi
02.11.2025 - 15:15DROPS Design answered:
Bonjour Micheline, il est possible que, posée à plat, vous ayez deux angles au niveau de la transition entre les mailles tricotées au milieu et celles des côtés tricotées en fin de rang; quand la cagoule est portée, ces "angles" ne devraient plus être visibles. Bon tricot!
03.11.2025 - 08:56
|
|
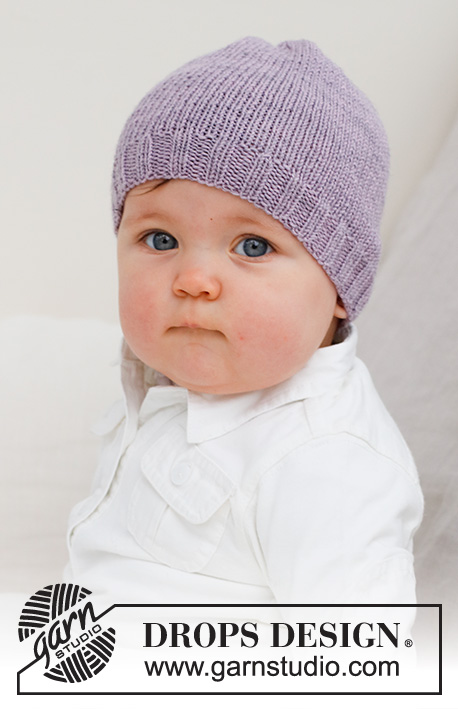
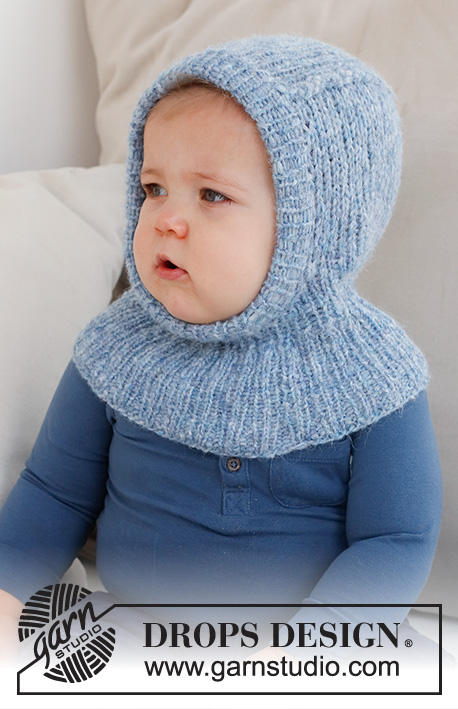
Chilly Day Balaclava#chillydaybalaclava |
|
 |
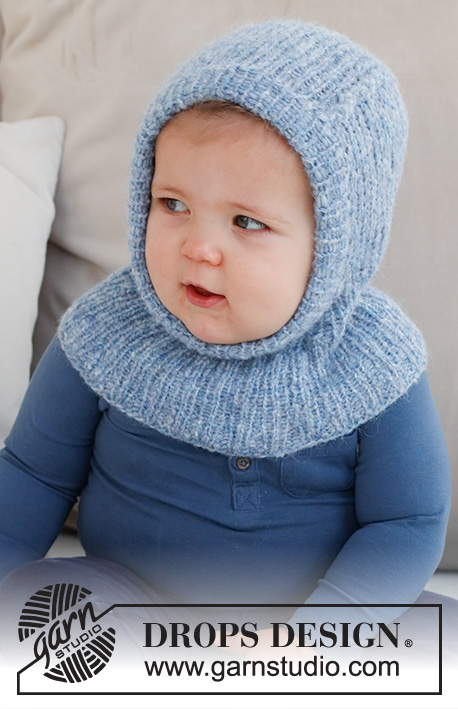 |
Knitted hat / balaclava for baby and children in DROPS Air. Piece is knitted in rib. Size 0 - 4 years
DROPS Baby 42-20 |
|
|
---------------------------------------------------------- EXPLANATION FOR THE PATTERN: ---------------------------------------------------------- GARTER STITCH (back and forth): Knit all rows. 1 ridge vertically = knit 2 rows. INCREASE TIP: All increases are done from the right side. Increase 1 stitch by making a yarn over. On next row purl yarn over twisted to avoid hole. DECREASE TIP: All decreases are done from the right side! WORK 2 STITCHES TOGETHER AT THE BEGINNING OF ROW AS FOLLOWS: Slip 1 stitch knitwise, knit 1, pass slipped stitch over stitch worked (= 1 stitch decreased). WORK 2 STITCHES TOGETHER AT THE END OF ROW AS FOLLOWS: Knit 2 together. ---------------------------------------------------------- START THE PIECE HERE: ---------------------------------------------------------- HAT - SHORT SUMMARY OF GARMENT: Worked in the round on circular needle, bottom up. Decrease stitches mid front and continue piece back and forth. Finish with a double edge around the opening for face. HAT: Cast on 88-96-104-108 (124-128) stitches on circular needle size 4 mm with DROPS Air. Knit 1 round. Then work rib (purl 2/knit 2) for 2-2-3-3 (4-4) cm. On next round work all 2 purl together into 1 purl stitch = 66-72-78-81 (93-96) stitches. Continue rib with purl 1/knit 2. When piece measures 6-6-7-8 (10-12) cm from cast-on edge, work all 2 knit together into 1 knit stitch = 44-48-52-54 (62-64) stitches. Switch to double pointed needles size 4 mm. Continue rib with purl 1/knit 1. When piece measures 8-8-9-10 (12-14) cm from cast-on edge, switch to circular needle size 5 mm and work back and forth as follows: Cast off the first 6-6-6-8 (10-10) stitches, work 1 edge stitch in GARTER STITCH – read explanation above, knit 17-19-21-21 (24-25), make 1 yarn over, knit 1, insert 1 marker around needle (mid back), knit 1, make a yarn over, knit 17-19-21-21 (24-25) and 1 edge stitch in garter stitch = 40-44-48-48 (54-56) stitches. Continue piece in stocking stitch back and forth with 1 edge stitch in garter stitch in each side (on next row work yarn overs twisted). AT THE SAME TIME on next row from right side decrease stitches on each side of opening mid front and increase stitches mid back as follows: Work 1 edge stitch in garter stitch, work 2 stitches together (= 1 stitch decreased) - read DECREASE TIP, work until 1 stitch remains before marker mid back, increase 1 stitch - read INCREASE TIP, knit 2, increase 1 stitch, work until 3 stitches remain on needle, work 2 stitches together (= 1 stitch decreased) and finish with 1 edge stitch in garter stitch. Decrease like this in each side mid front on every row from right side 3 times in total. Increase like this on each side of marker on every row from right side 7-7-7-7 (7-8) times in total (in addition to the increase done when casting off stitches mid front). REMEMBER THE KNITTING TENSION! When all increases and decreases are done, there are 48-52-56-56 (62-66) stitches on row. Continue in stocking stitch with 1 edge stitch in garter stitch in each side. When piece measures 10-10-11-11 (11-12) cm from where stitches were cast off mid front, slip the outermost 18-19-21-20 (22-24) stitches in each side on separate double pointed needle size 5 mm, i.e. 12-14-14-16 (18-18) stitches on circular needle. Cut the yarn. Stitches from double pointed needle in each side should be worked together with the outermost stitch in each side on circular needle at the end of every row as follows: FROM RIGHT SIDE: Knit until 1 stitch remains on needle, slip last stitch knitwise, knit 1 from pointed needle and pass slipped stitch from circular needle on to stitch worked (= 1 stitch decreased double pointed needle). Turn piece. FROM WRONG SIDE: Purl 1 twisted (i.e. work in back loop of stitch), purl until 1 stitch remain on circular needle, slip 1 stitch purlwise, purl 1 from double pointed needle and pass the slipped stitch over stitch worked. Turn piece. Work and decrease like this until all stitches from double pointed needles in each side have been decreased. There are 12-14-14-16 (18-18) stitches on circular piece and no stitches on double pointed needles in the side. Now work an edge around the opening as follows: DOUBLE EDGE: Pick up approx. 52 to 68 stitches (including stitches from circular needle) inside 1 edge stitch on double pointed needles size 4 mm. Adjust so that number of stitches is divisible by 2 and to avoid a tight/loose edge. Work rib (knit 1/purl 1) for 5 cm. Cast off with circular needle size 5 mm. Fold the edge double towards inside of hat and fasten cast-off edge to where stitches were picked up around the opening for face. To avoid a tight edge that sticks out it is important to keep the seam elastic. |
|
Have you finished this pattern?Tag your pictures with #dropspattern #chillydaybalaclava or submit them to the #dropsfan gallery. Do you need help with this pattern?You'll find 22 tutorial videos, a Comments/Questions area and more by visiting the pattern on garnstudio.com. © 1982-2026 DROPS Design A/S. We reserve all rights. This document, including all its sub-sections, has copyrights. Read more about what you can do with our patterns at the bottom of each pattern on our site. |
|


With over 40 years in knitting and crochet design, DROPS Design offers one of the most extensive collections of free patterns on the internet - translated to 17 languages. As of today we count 324 catalogues and 12290 patterns translated into English (UK/cm).
We work hard to bring you the best knitting and crochet have to offer, inspiration and advice as well as great quality yarns at incredible prices! Would you like to use our patterns for other than personal use? You can read what you are allowed to do in the Copyright text at the bottom of all our patterns. Happy crafting!
Post a comment to pattern DROPS Baby 42-20
We would love to hear what you have to say about this pattern!
If you want to leave a question, please make sure you select the correct category in the form below, to speed up the answering process. Required fields are marked *.