
Popular categories
Looking for a yarn?


























Comments / Questions (4)
 Janet wrote:
Hallo, ich verstehe den Teil nicht:Das Bindeband nehmen und die 4 Maschen desI-Cords stricken, soll ich das Band anstricken?Liebe Grüße
04.11.2026 - 06:24DROPS Design answered:
Liebe Janet, ich verstehe leider nicht wo genau Sie in der Anleitung sind, können Sie uns bitte mehr sagen? Danke im voraus für Ihr Verständnis.
04.11.2026 - 09:07
 Agnès Houlmann wrote:
Bonjour ! J'ai le même échantillon... J'ai modifié le bord et le point mais ça ne modifie en rien l'échantillon et pour la hauteur j'ai fait la longueur dite ! J'ai fait la 1ère taille avec le fil Air et j'obtient un joli bonnet pour une taille 1à 3 mois 😅😂🤷🏼
19.10.2026 - 10:01
Agnès Houlmann wrote:
Correction de mon 1ère commentaire, j'ai fait la plus grande taille 3-4 ans et j'obtient une taille pour du 6 mois 😳🤔
13.10.2026 - 10:15DROPS Design answered:
Bonjour Mme Houlmann, est-ce que votre échantillon était juste? vous aviez bien 26 m x 34 rangs jersey = 10x10 cm? Avez-vous bien tricoté la bordure picot ainsi que le point ajouré comme indiqué? Et surtout bien conservé la même tension pendant que vous tricotiez que celle de votre échantillon?
13.10.2026 - 13:56
Agnès Houlmann wrote:
J'ai réalisé ce béguin en taille 2-4 ans et j'ai obtenu une taille pour du 6 mois 😳
13.10.2026 - 10:12
|
|||||||||||||
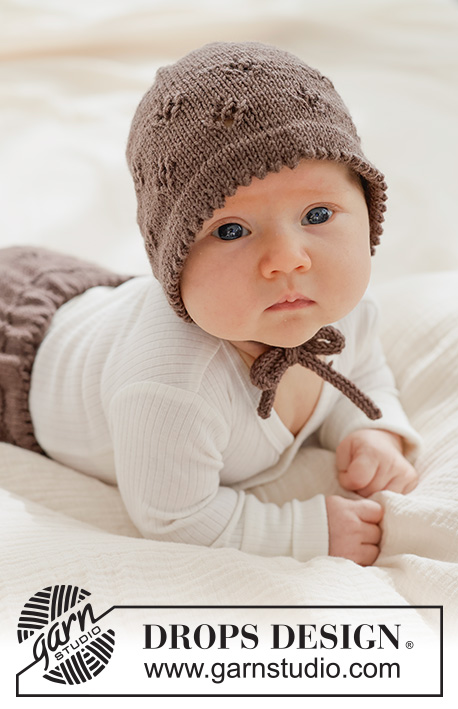
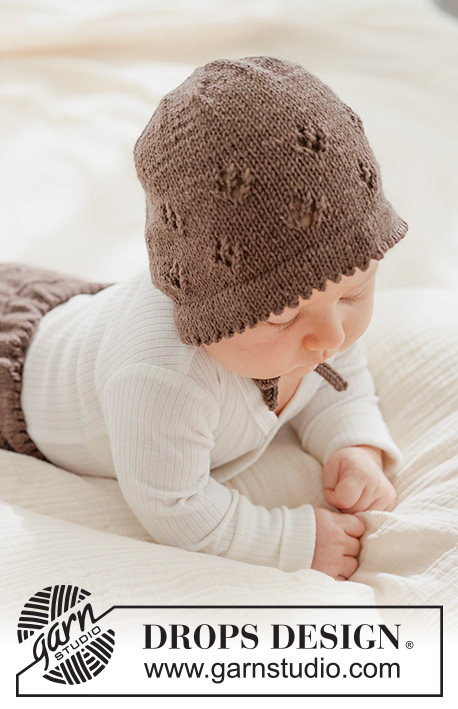
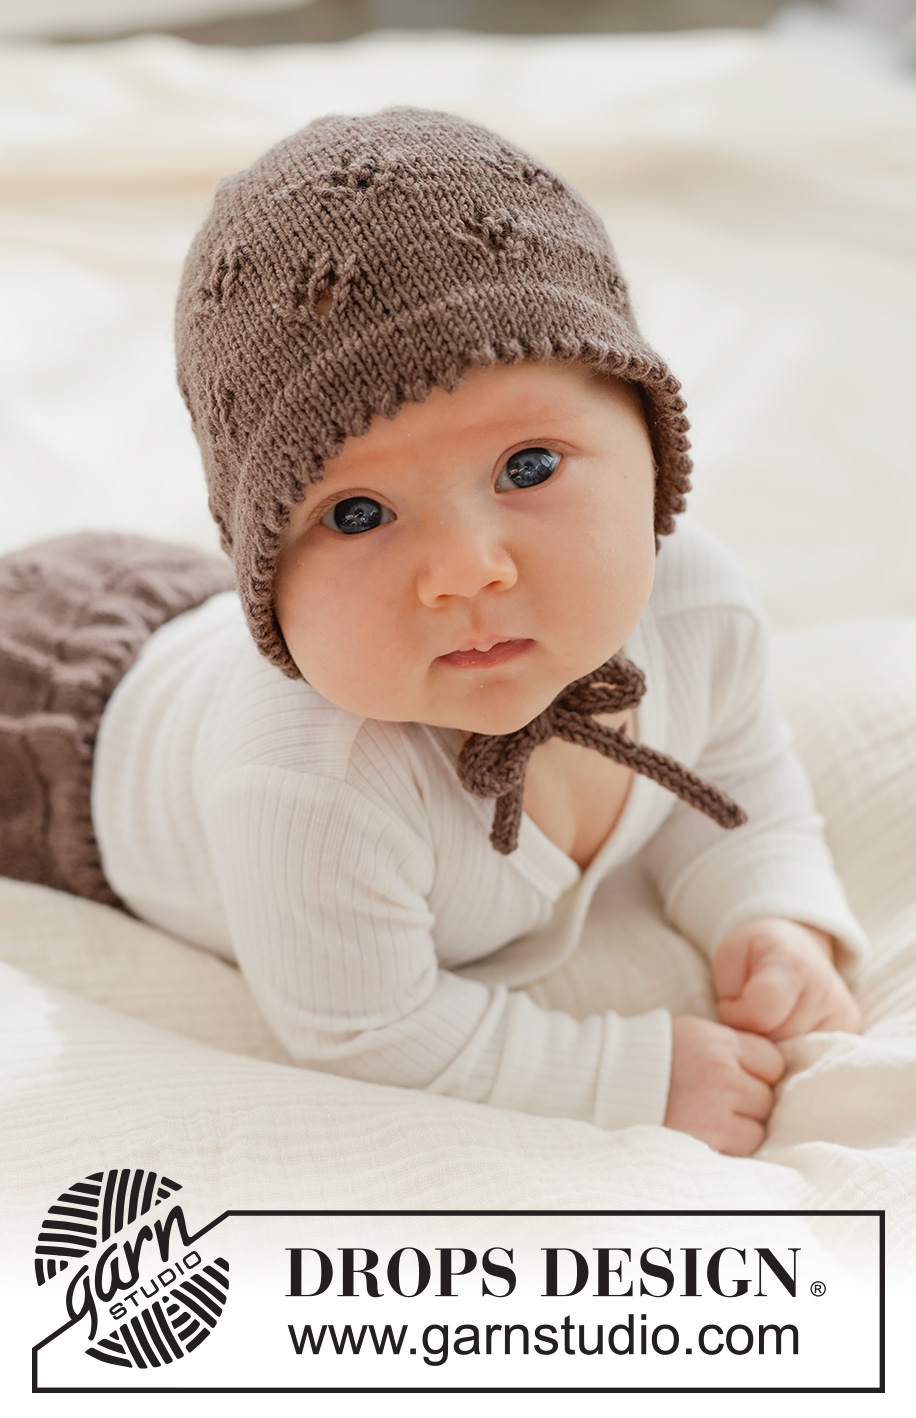
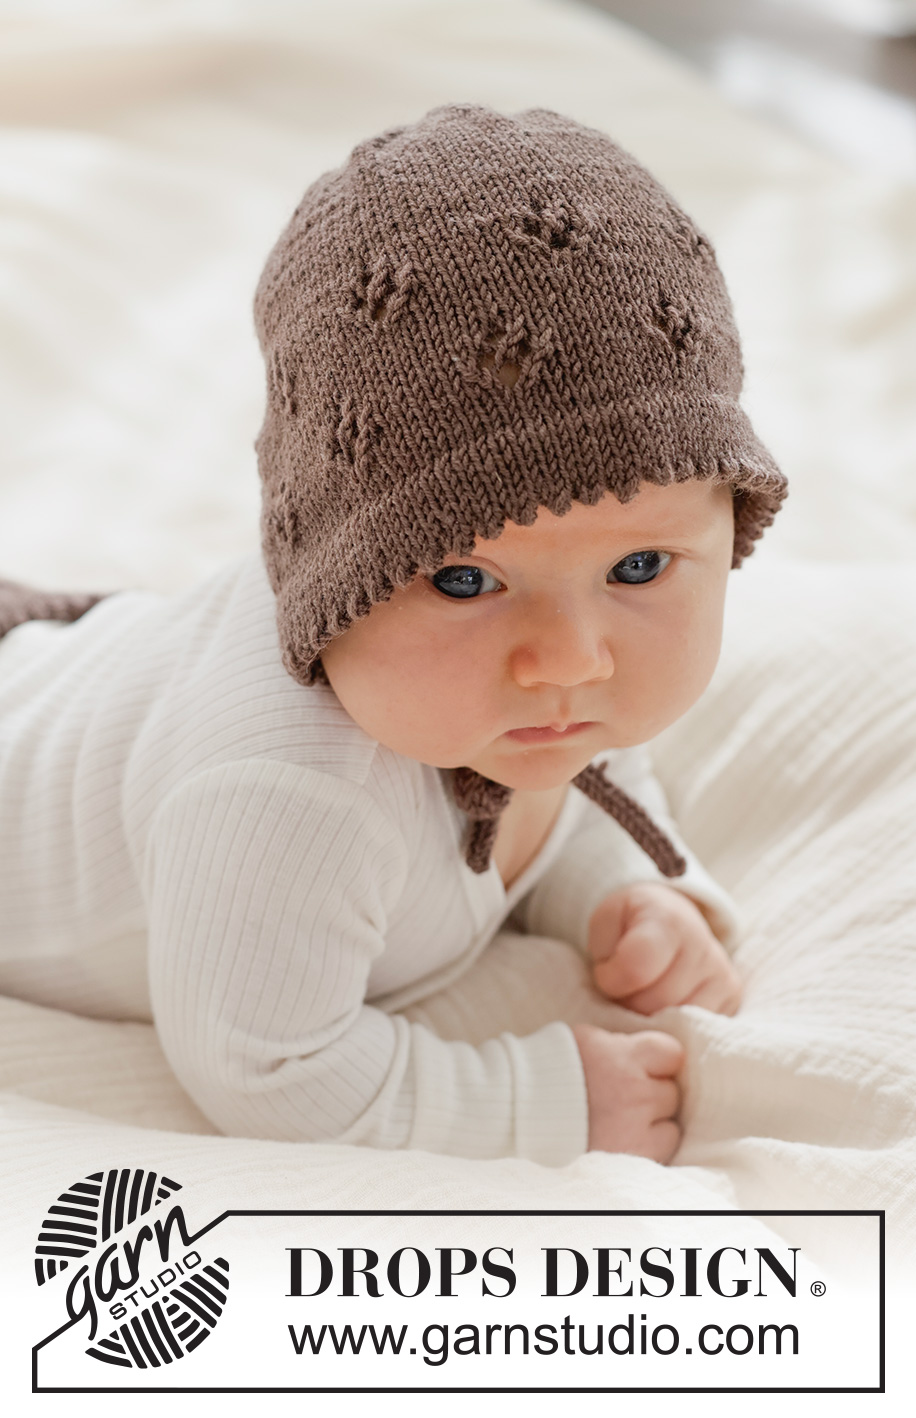
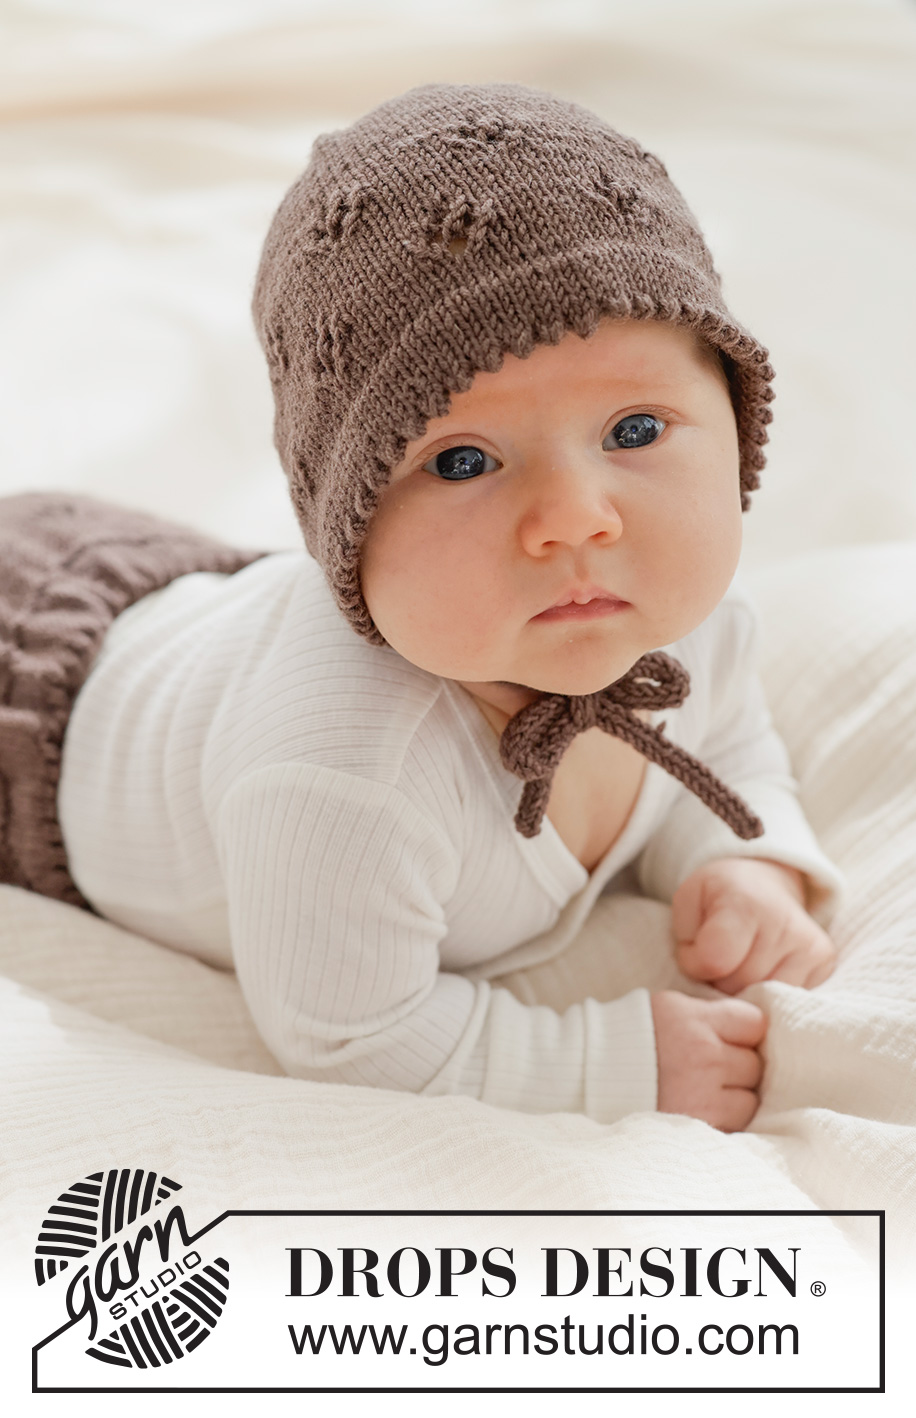
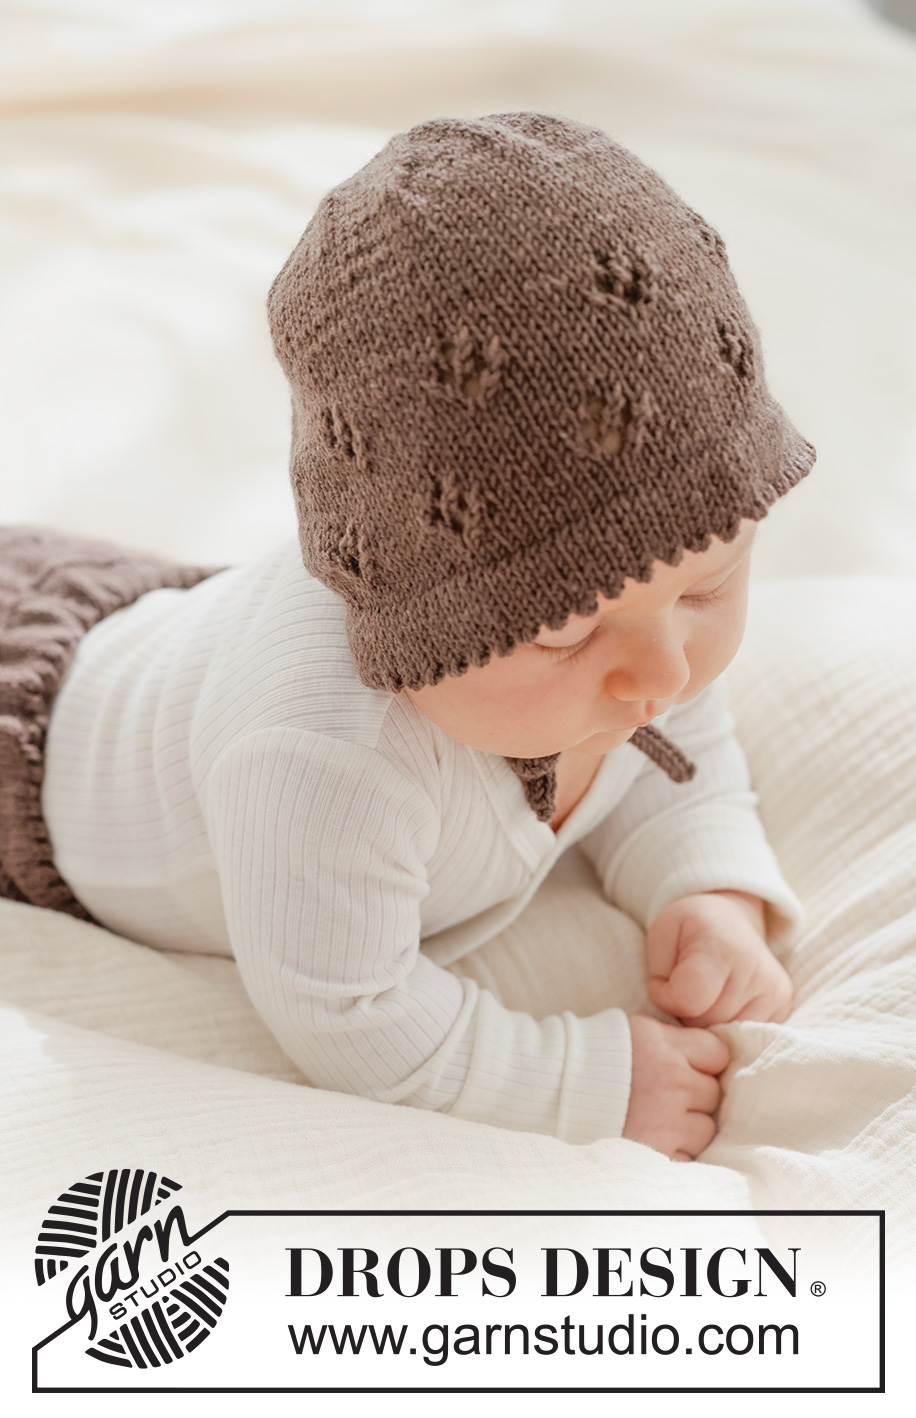
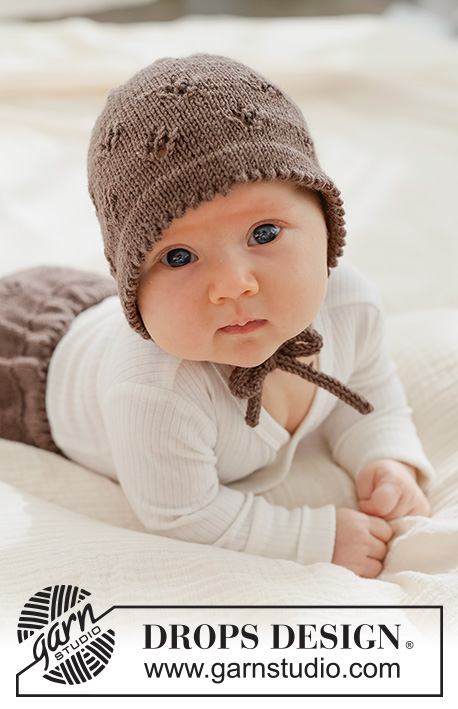
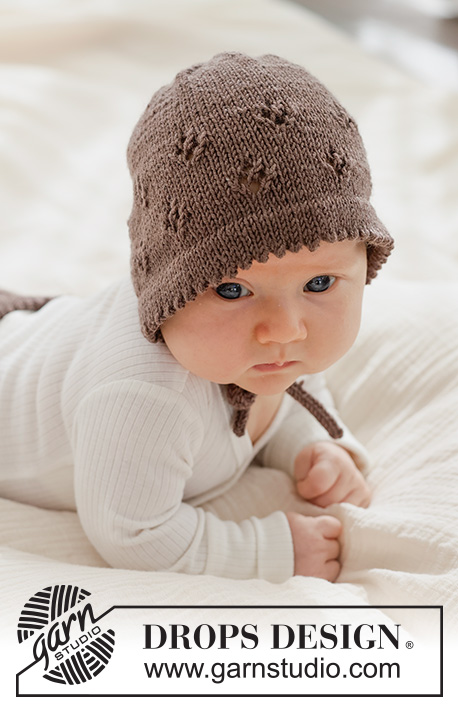
Chestnut Bloom Bonnet#chestnutbloombonnet |
|||||||||||||
 |
 |
||||||||||||
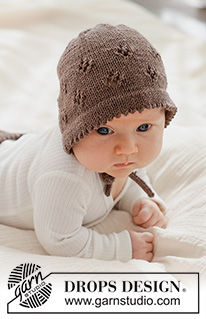
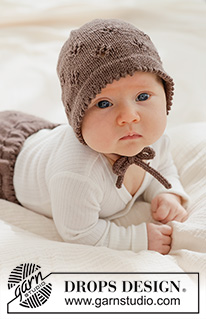
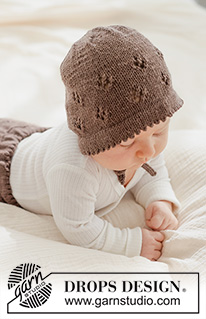
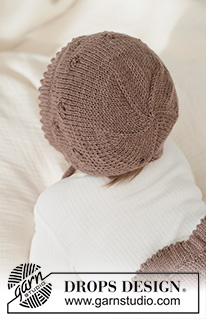
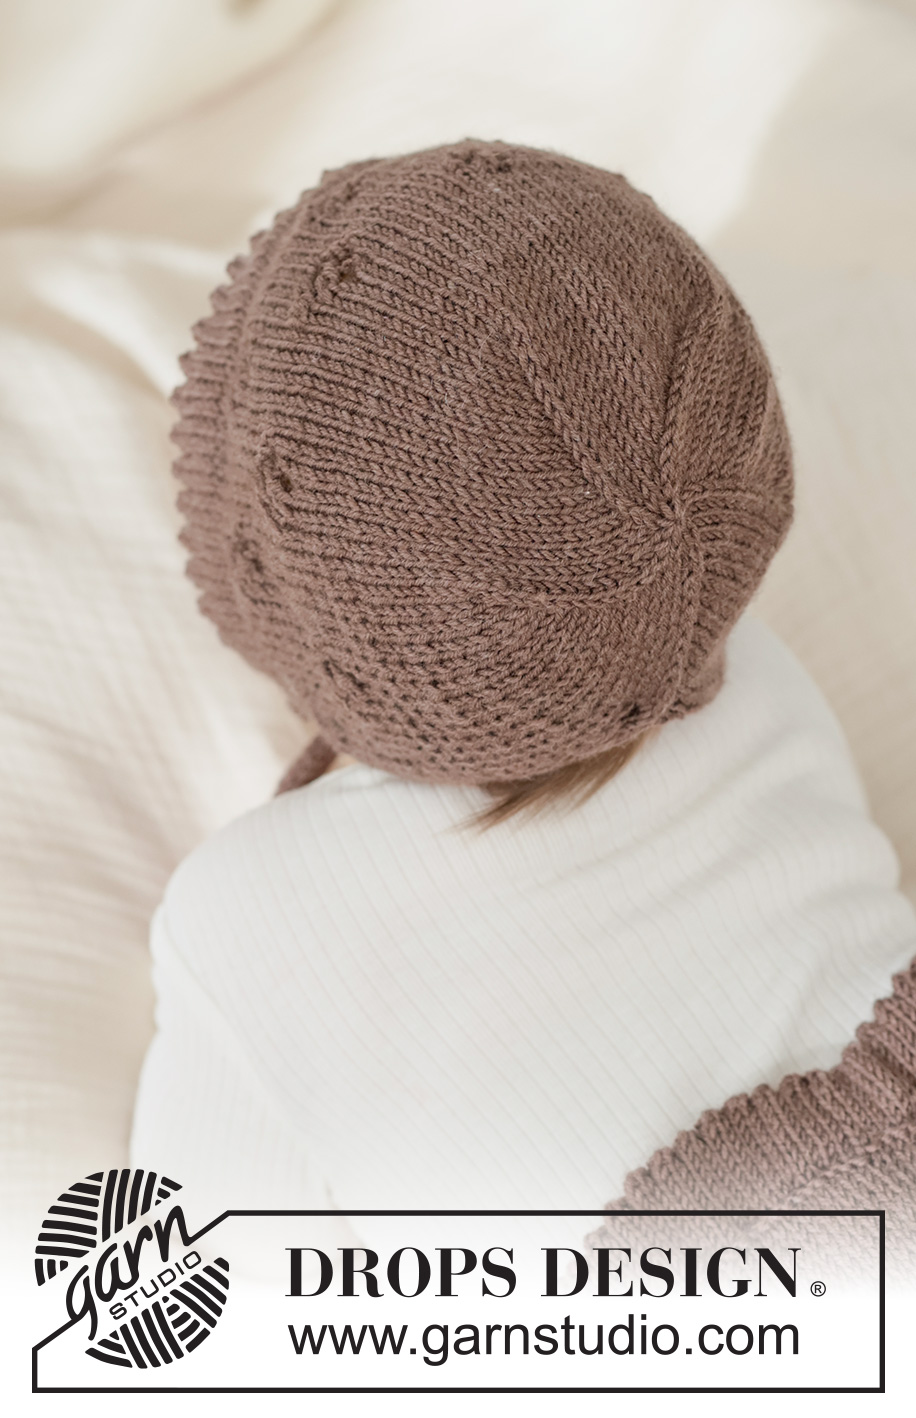
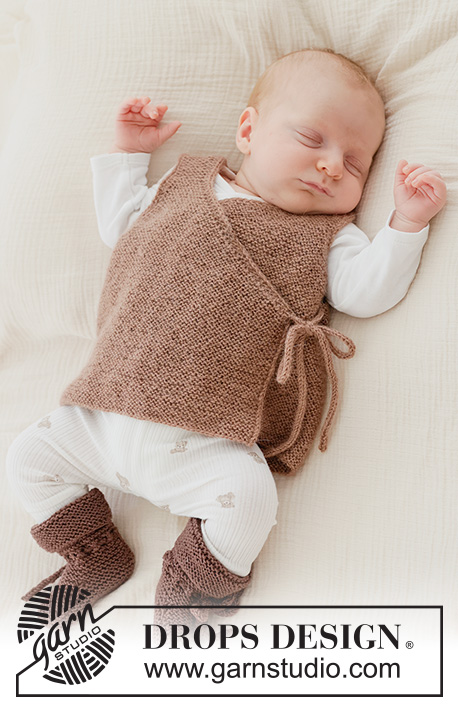
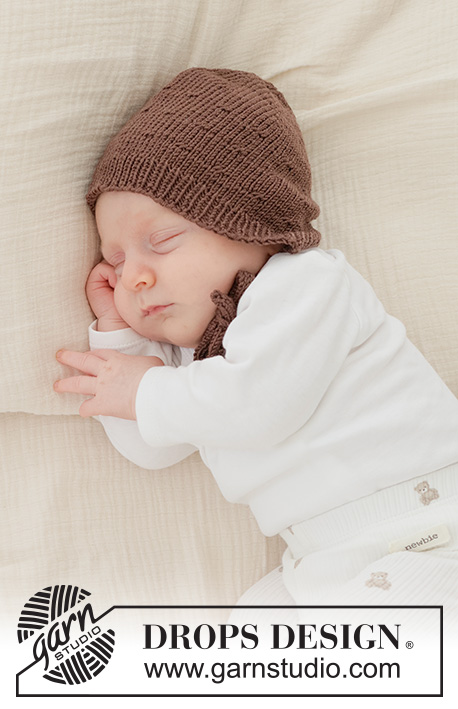
Knitted bonnet for babies and children in DROPS Baby Merino. The piece is worked with lace-pattern and I-cord.
DROPS Baby 52-9 |
|||||||||||||
|
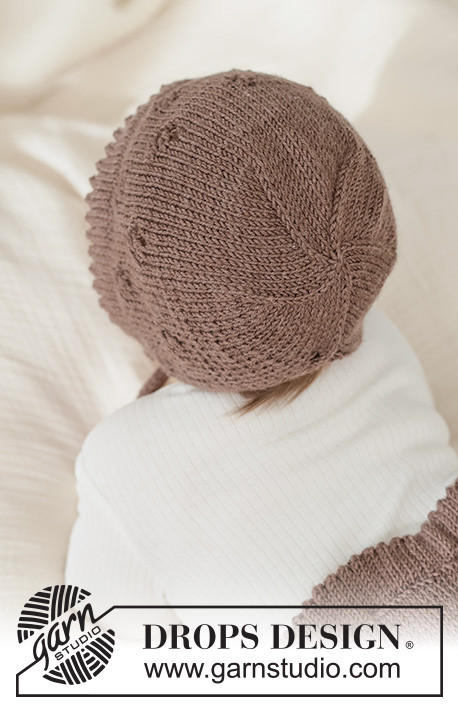
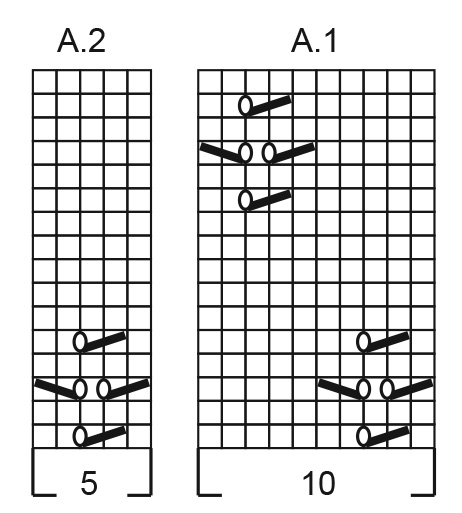
------------------------------------------------------- EXPLANATIONS FOR THE PATTERN: ------------------------------------------------------- EDGE STITCHES I-CORD (when joining the piece): Work in the same way from both the right and wrong side. BEGINNING OF ROW: Work 4 edge-stitches as follows: Slip 1 stitch purl-wise with the strand in front, knit 1, slip 1 stitch purl-wise with the strand in front, knit 1. END OF ROW: Work 4 edge-stitches as follows: Work until there are 4 stitches left on the row, slip 1 stitch purl-wise with the strand in front, knit 1, slip 1 stitch purl-wise with the strand in front, knit 1. Continue like this from the right and wrong side. PATTERN: See diagrams A.1 and A.2. The diagrams show the pattern from the right side. DECREASE TIP: Knit 2 together before each marker. ------------------------------------------------------- START THE PIECE HERE: ------------------------------------------------------- BONNET - SHORT OVERVIEW OF THE PIECE: The pattern uses both long and short needles; start with the length which fits the number of stitches and change when necessary. 2 ties are worked with I-cord. An edge is worked around the face-opening, the piece is worked back and forth then in the round to finish (towards mid-back). TIES: Cast on 4 stitches with double pointed needles size 3 mm and DROPS Baby Merino. Work back and forth as follows (from both the right and wrong side): Slip 1 stitch purl-wise with the strand in front, knit 1, slip 1 stitch purl-wise with the strand in front, knit 1. Work until the piece measures 20-25 cm. Leave the stitches on a needle. Cut the strand. Work 1 more tie in the same way. Cut the strand. EDGE: Cast on 61-71-75-79-85-89 stitches with circular needle size 3 mm. Work stocking stitch back and forth for 1½ to 2 cm, with the next row from the right side. Work a row of holes as follows: ROW 1 (right side): * Knit 2 together, make 1 yarn over *, work from *-* until there is 1 stitch left, knit 1, do not turn. Take one of the ties and work across the 4 stitches – read EDGE-STITCHES I-CORD = 65-75-79-83-89-93 stitches. Turn. ROW 2 (wrong side): Work 4 edge-stitches, purl to end of row, do not turn. Take the second tie and work across the 4 stitches as described under EDGE-STITCHES I-CORD = 69-79-83-87-93-97 stitches. Continue stocking stitch back and front with 4 edge-stitches I-cord on each side and until the length is the same as before the row of holes. The edge is later folded double to the inside at the row of holes and sewn down. Insert a measuring-marker in the middle of the last row. BONNET: Continue stocking stitch and the 4 edge-stitches for a further 1 cm, with the last row from the wrong side. Now work PATTERN – read explanation, above as follows: Work 4 edge-stitches as before, 3-3-0-2-0-2 stocking stitches, work A.1 until there are 12-12-9-11-9-11 stitches left, A.2 across 5 stitches, 3-3-0-2-0-2 stocking stitches and 4 edge-stitches as before. Continue this pattern back and forth until the diagrams are finished in height. Now continue with stocking stitch and 4 edge-stitches on each side until the piece measures 6-7-7-7-8-8 cm from the marker, with the next row from the wrong side. Purl 2 together 2 times, then work stocking stitch until there are 4 stitches left, purl 2 together 2 times = 65-75-79-83-89-93 stitches. Turn and continue in the round from the right side as follows: Knit until there are 2 stitches left, place 2 stitches on the cable needle in front of the piece, knit 2 from the beginning of the row and knit 2 from the cable needle (the piece is joined). Knit to the middle of the 4 cabled stitches; this is now the beginning of the round. Continue stocking stitch in the round until the piece measures 7-8-8-8-9-9 cm from the marker (approx. 4-5-6-7-7-8 cm to finished length). Knit 1 round and decrease 0-0-4-3-4-3 stitches evenly spaced = 65-75-75-80-85-90 stitches. Insert 5 markers with 13-15-15-16-17-18 stitches between each one. Read DECREASE TIP above and decrease every 2nd round 2-3-6-8-7-10 times, then every round 8-9-6-5-7-5 times = 15 stitches left in all sizes. Knit 1, knit together 2 and 2 stitches, to end of round = 8 stitches in all sizes. Cut the strand, pull it through the remaining stitches, tighten and fasten well. The bonnet measures approx. 11-13-14-15-16-17 cm from the marker. ASSEMBLY: Fold the edge to the wrong side and sew down. Sew the opening on the short-side of the edge to the inside. The bonnet measures approx. 13-15-16-17-18-19 cm measured from front edge to mid-back. |
|||||||||||||
Diagram explanations |
|||||||||||||
|
|||||||||||||
 |
|||||||||||||
Have you finished this pattern?Tag your pictures with #dropspattern #chestnutbloombonnet or submit them to the #dropsfan gallery. Do you need help with this pattern?You'll find 10 tutorial videos, a Comments/Questions area and more by visiting the pattern on garnstudio.com. © 1982-2026 DROPS Design A/S. We reserve all rights. This document, including all its sub-sections, has copyrights. Read more about what you can do with our patterns at the bottom of each pattern on our site. |
|||||||||||||






With over 40 years in knitting and crochet design, DROPS Design offers one of the most extensive collections of free patterns on the internet - translated to 17 languages. As of today we count 333 catalogues and 12532 patterns translated into English (UK/cm). 12521
We work hard to bring you the best knitting and crochet have to offer, inspiration and advice as well as great quality yarns at incredible prices! Would you like to use our patterns for other than personal use? You can read what you are allowed to do in the Copyright text at the bottom of all our patterns. Happy crafting!
Post a comment to pattern DROPS Baby 52-9
We would love to hear what you have to say about this pattern!
If you want to leave a question, please make sure you select the correct category in the form below, to speed up the answering process. Required fields are marked *.