
Categorie popolari
State cercando un filato?














Commenti / Domande (19)
 Rae ha scritto:
When picking up stiches for the sleeve, do I pick up all the stitches except the binded stitches? That would be 54 stitches. Thank you.
01.10.2026 - 16:14DROPS Design ha risposto:
Hi Rae, No, you knit up 30 - 40 stitches around the armhole depending on the size you are working. This will not be every stitch so you need to work out how to spread the stitches evenly around the armhole. For example, if knitting up 30 stitches, you knit up in approximately every 2nd stitch. If knitting up 40 stitches, then knit up in the first stitch, then 1 stitch in each of the 3rd and 4th stitches, then in the 6th and 7th stitches, etc., which will give you approx. 40 stitches for the sleeve. The stitch count is then adjusted on the first round if necessary. Regards, Drops team.
02.10.2026 - 06:33
Rae ha scritto:
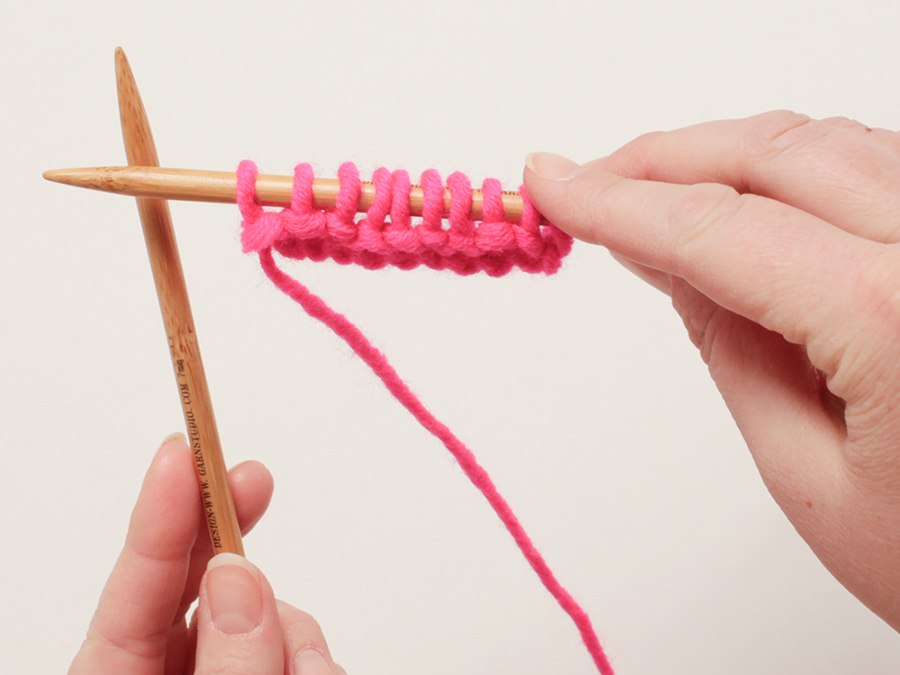
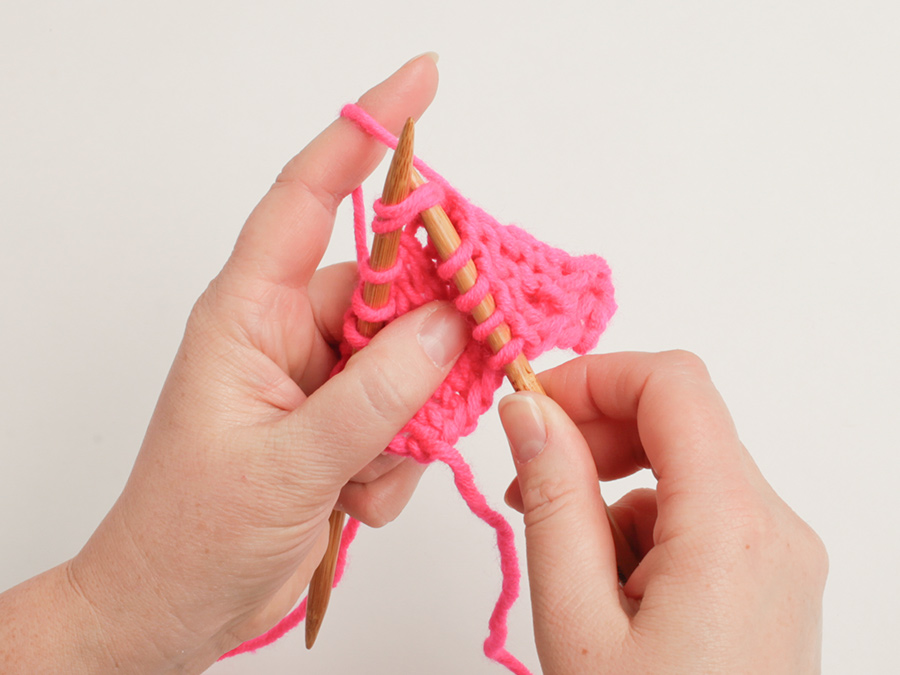
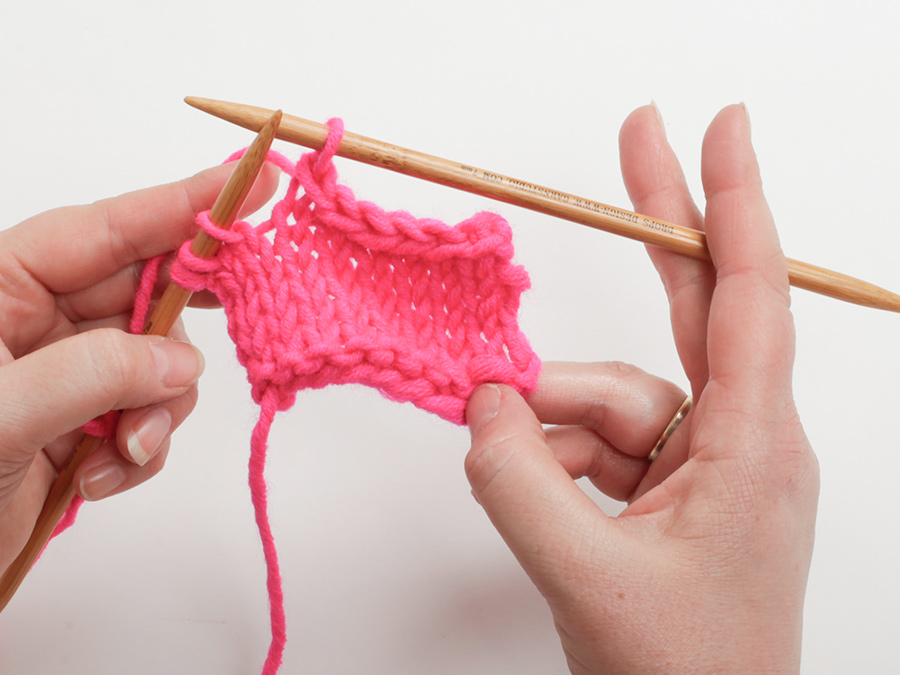
I do not understand how to knit the sleeves. I don't know what "pick up from RS approx. 30-40 it's between markers along one armhole. I have more the 40 stitches around the armhole not counting the binder off stitches.
01.10.2026 - 04:23DROPS Design ha risposto:
Hi Rae, If you click on Videos at the top of the page, there is a video showing you how to pick up stitches along the garter stitch edge. Regards, Drops Team.
01.10.2026 - 06:34
 Charron ha scritto:
Pour ce modèle j 'ai monté 148 mailles et je tricote avec du 6 cm en rond, je dois suivre quelle grandeur L ou XL ou XXL ? Car je ne sais pas comment diviser pour installer mes marqueurs pour les manches.
26.02.2023 - 22:48DROPS Design ha risposto:
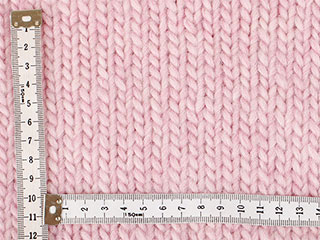
Bonjour Mme Charron, ce modèle se tricote sur la base d'un échantillon de 9 m x 16 rangs point mousse = 10 x 10 cm. Si votre tension est différente, vous devrez recalculer en fonction de la taille souhaitée et de votre propre échantillon - retrouvez par exemple nos pulls tricotés de bas en haut au point mousse ici; l'un d'eux pourra peut-être vous aider. Boon tricot!
27.02.2023 - 11:31
 Mia Mesureux ha scritto:
Bonjour, Beaucoup de modèles de pull sont réalisés avec des aiguilles circulaires et je ne n’y arrive pas, comment convertir le patron pour des aiguilles droites sans risque de se tromper ? Merci pour votre aide, Bonne journée. Mia
14.07.2022 - 09:47
Monique Abran ha scritto:
Puisqu’on ne relève pas de mailles sur celles rabattues à l’emmanchure, il y aura forcément une ouverture (trou) Je ne comprends pas ce segment. Merci
06.07.2021 - 20:43DROPS Design ha risposto:
Bonjour Mme Abran, les premiers cm de la manche seront assemblés le long des mailles rabattus pour les emmanchures - cette vidéo montre comment assembler une manche, dans ce cas, regardez au time code 03:12, on montre comment le haut de la manche doit être cousu en bas des emmanchures. Bon tricot!
07.07.2021 - 08:02
Louise Martin ha scritto:
That was not my question. I wasn’t asking, “How do I do the garter stitch?” I was asking “How can I look up DROPS patterns designed to be knitted using the garter stitch?” Thank you.
16.09.2020 - 06:33DROPS Design ha risposto:
Dear Mrs Martin, sorry for misunderstanding, you can find some of our patterns worked with garter stitch there - use filters if required - but there might be more (without the word "garter stitch" in the title). Happy knitting!
16.09.2020 - 09:08
Louise Martin ha scritto:
How can I look up patterns made in the garter stitch? I’m a Portuguese-style knitter and prefer knitting garter (purlwise). Thanks!
13.09.2020 - 23:20DROPS Design ha risposto:
Dear Mrs Martin, not sure to understand your question, you can work garter stitch either knitting all rows or purling all rows, most important will be in all cases your tension - read more about tension >here. Happy knitting!
14.09.2020 - 09:24
 Jill Scott ha scritto:
I am fairly new to knitting and would like to try the sweet lady blue pattern DROPS design: Pattern no TT-051, Yarn group E. However I notice the pattern requires crochet for the neck. I have never crocheted. How difficult is this and do you have instructions please? Thank you Jill
16.07.2020 - 21:37
 Ge Noort ha scritto:
Kan ik deze trui ook breien zonder rondbreinaald? En is daar ook een patroon van?
31.07.2019 - 10:27DROPS Design ha risposto:
Dag Noort,
Er is helaas geen aparte beschrijving om de trui met rechte naalden te breien, maar we hebben wel een instructie gemaakt hoe je patronen aan kunt passen, zodat je deze met rechte naalden kunt breien. De uitleg kun je hier vinden.
31.07.2019 - 18:09
Vicky ha scritto:
What happens to the 4 stitches not picked up under the arm please?
04.04.2019 - 23:15DROPS Design ha risposto:
Dear Vicky, they will be sewn together to the first top cm worked on sleeve. Happy knitting!
05.04.2019 - 10:03
|
|
Sweet Lady Blue#sweetladybluesweater |
|
|
|
|
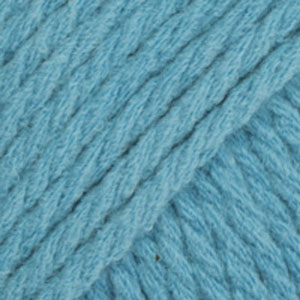
Maglione DROPS lavorato a maglia legaccio in "Ice" o in "Snow".
DROPS Extra 0-830 |
|
|
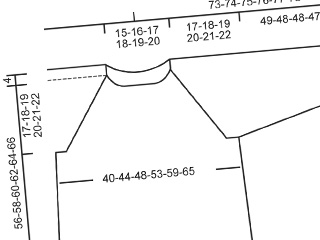
M. LEGACCIO (in tondo con i ferri circolari): * lavorare 1 giro a dir. e 1 giro a rov. *, ripetere da *-*. M. LEGACCIO (avanti e indietro sui ferri): lavorare tutti i f. a dir. SUGGERIMENTO PER LE MISURAZIONI: Misurate quando il lavoro è piatto, è importante non tirare il lavoro quando misurate. -------------------------------------------------------- CORPO: Lavorato in tondo a m. legaccio – leggere la spiegazione sopra. Avviare senza stringere 80-88-96-104-112-120 m. con i ferri circolari misura 10 mm con il filato Ice o Snow. Lavorare a coste = 1 m. dir./1 m. rov. per 5 cm, quindi lavorare a m. legaccio. FARE ATTENZIONE ALLA TENSIONE DEL LAVORO! Quando il lavoro misura 37-38-39-40-41-42 cm, inserire 2 segnapunti nel lavoro; 1 segnapunti all’inizio del giro e 1 segnapunti dopo 40-44-48-52-56-60 m. Sul giro successivo intrecciare per gli scalfi come segue: intrecciare 2-2-3-3-4-4 m. da ogni lato di ogni segnapunti (= 4-4-6-6-8-8 m. intrecciate per lato). Finire ogni parte in modo separato. DIETRO: = 36-40-42-46-48-52 m. Inserire un segnapunti all’inizio e alla fine del f. (dove riprendere le m. per le maniche in seguito). Continuare a m. legaccio avanti e indietro fino a quando il lavoro misura 52-54-56-58-60-62 cm. Poi intrecciare le 12-12-14-14-16-16 m. centrali per il collo e finire ogni spalla in modo separato. Continuare a intrecciare 1 m. sul f. successivo dal collo = 11-13-13-15-15-17 m. rimaste sulla spalla. Intrecciare quando il lavoro misura 54-56-58-60-62-64 cm. DAVANTI: = 36-40-42-46-48-52 m. Inserire un segnapunti all’inizio e alla fine del f. (dove riprendere le m. per le maniche in seguito). Continuare a m. legaccio avanti e indietro fino a quando il lavoro misura 47-49-50-52-53-55 cm. Poi intrecciare le 6-6-8-8-10-10 m. centrali per il collo e finire ogni spalla in modo separato. Poi intrecciare su ogni f. dal collo come segue: 2 m. 1 volta, 1 m. 2 volte = 11-13-13-15-15-17 m. rimaste sulla spalla. Intrecciare quando il lavoro misura 54-56-58-60-62-64 cm. CONFEZIONE: Cucire i margini delle spalle nel filo davanti della m. più esterna. MANICA: Lavorata avanti e indietro sui ferri. Dal diritto del lavoro riprendere circa 30 - 40 m. tra i segnapunti lungo uno scalfo (NOTA: non riprendere sulle m. intrecciate per lo scalfo). Lavorare il f. successivo a dir. e ALLO STESSO TEMPO aggiustare il n° di m. a 30-32-34-36-38-40. Lavorare a m. legaccio per 3-3-4-4-5-5 cm, poi diminuire 1 m. (lavorando 2 m. insieme) da ogni lato del lavoro. Ripetere le diminuzioni ogni 11-8-8-6-6-5 cm per un totale di 5-6-6-7-7-8 volte = 20-20-22-22-24-24 m. Continuare a m. legaccio fino a quando il lavoro misura 49-48-48-46-46-45 cm (misure più corte per le taglie più grandi a causa della maggiore ampiezza delle spalle), quindi lavorare a coste (1 m. dir./1 m. rov.) per 5 cm, intrecciare tutte le m. con dir. su dir. e rov. su rov. Il lavoro misura circa 54-53-53-51-51-50 cm. CONFEZIONE: Cucire insieme i margini delle maniche nel filo davanti della m. più esterna per evitare una cucitura stretta. BORDO ALL’UNCINETTO: Lavorare con l’uncinetto misura 10 mm attorno al collo come segue (iniziare al centro dietro): 1 m.b. nella 1° m., * 1 catenella, saltare circa 1½ cm, 1 m.b. nella m. successiva *, ripetere da *-* e finire con 1 m. bss. nella 1° m.b., tagliare e affrancare il filo. NOTA: Assicurarsi che il bordo all’uncinetto non sia troppo stretto. |
|
 |
|
Avete terminato questo modello?Allora taggate le vostre foto con #dropspattern #sweetladybluesweater o inviatele alla #dropsfan gallery. Avete bisogno di aiuto con questo modello?Troverete 11 video tutorial, una sezione per i commenti/domande e molto altro guardando il modello su www.garnstudio.com © 1982-2026 DROPS Design A/S. Ci riserviamo tutti i diritti. Questo documento, compreso tutte le sue sotto-sezioni, è protetto dalle leggi sul copyright. Potete leggere quello che potete fare con i nostri modelli alla fine di ogni modello sul nostro sito. |

Con oltre 40 anni di esperienza nel design di modelli di maglia e uncinetto, DROPS Design offre la più estesa collezione di modelli gratuiti su internet - tradotti in 17 lingue. Ad oggi vi possiamo fornire 333 cataloghi e 12537 modelli - 9811 dei quali sono tradotti in Italiano.
Ci stiamo impegnando molto per darvi il meglio che vi possiamo offrire in termini di maglia e uncinetto, ispirazioni e consigli così come filati di grande qualità ad un prezzo incredibile! Volete utilizzare i nostri modelli per qualcosa d'altro oltre al vostro uso personale? Potete leggere tutto ciò che è consentito nel testo sul Copyright in basso su tutte le pagine dei nostri modelli. Buon lavoro!
Lasciare un commento sul modello DROPS Extra 0-830
Noi saremmo felici di ricevere i tuoi commenti e opinioni su questo modello!
Se vuoi fare una domanda, fai per favore attenzione a selezionare la categoria corretta nella casella qui sotto per velocizzare il processo di risposta. I campi richiesti sono indicati da *.