
Popular categories
Looking for a yarn?



































Comments / Questions (54)
 Marie-Laure wrote:
Bonjour, Je ne comprends pas comment tricoter les 3 premières mailles de la première augmentation après le marqueur 2 du 2e rang de A.1. Nous devons tricoter ensemble à l’endroit le jeté et la maille glissée mais il n’y a pas de jeté car mous avons fait les augmentations. Pouvez-vous m’aider ? Merci Marie-Laure
15.08.2026 - 12:57DROPS Design answered:
Bonjour Marie-Laure, notez que les augmentations du raglan doivent être faites sur un tour où on tricote les mailles endroit et leur jeté ensemble (cf RAGLAN); au tour suivant, tricotez les 3 mailles ainsi: 1 jeté, glissez 1 m à l'endroit, tricotez 1 maille envers et terminez par 1 jeté, glissez 1 m à l'endroit); au tour suivant, tricotez ces 3 mailles en côtes anglaises comme les autres. Bon tricot!
17.08.2026 - 08:27
 Anita wrote:
Can someone explain in detail how to cast on the 11 under arm stitches. Having terrible trouble with it. Getting really frustrating. Cannot seem to get them to connect in the same rythmn as the existing stitches. Or is that not the goal? Do i cast on the stitches from left to right or vice versa? If starting from the middle, what is the first stitch? Any help is welcome
07.07.2026 - 17:30DROPS Design answered:
Dear Anita, use this technique in video or pictures for example to cast on these new stitches, see also this step in pictures here (from picture 9) and in video here (time code approx. 7:47) - on next round incorporate these new stitches to the pattern repeating A.1 as before in the round, just note that these stitches will be just either purled or knitted (instead of purled/knitted together with their yarn over). Happy knitting!
08.07.2026 - 08:03
Anita wrote:
Wanhoop over de mouwen. Talloze pogingen gedaan. Vele uren aan besteed. De steken sluiten niet goed aan op de 41 steken. Ik zet 6 op. deze brei ik nog niet. Ik brei de 41 steken van hulpdraad. Ik heb een rechte toer. Ik zet 5 steken op. Deze brei ik vlgs. rechte toer. Ga verder met 6 steken; nieuwe toer. Averecht. Maar sluiten niet goed aan op de 41 steken. Wat klopt er niet?
06.07.2026 - 20:54
 Lyne wrote:
Si je comprends bien apres les 3 mailles du raglan on commence avec une jeté,glisser 1 maille à l'envers et ensuite une maille endroit avant de commencer le A1
04.05.2026 - 20:56DROPS Design answered:
Bonjour Lyne, les côtes anglaises doivent se suivre tout le tour, même à chaque fois que l'on augmente; autrement dit, vous devez tricoter en côtes anglaises tout le tour, les augmentations se feront dans la maille endroit avant et ou après les 3 mailles des raglans. Bon tricot!
05.05.2026 - 09:11
Lyne wrote:
Bonjour ,j'aimerais savoir si les 3 mailles au milieu du raglan si on les tricotent a l'endroit quand on change les aiguilles 4.5 et que l'on fait 1 jeté.glisser 1 maille à l'envers et tricote 1 maille endroit .merci
02.05.2026 - 21:44DROPS Design answered:
Bonjour Lyne, les 3 mailles des raglans se tricotent ainsi (1 m envers des côtes anglaises, 1 m endroit des côtes anglaises, 1 m envers des côtes anglaises). On va ensuite augmenter dans la maille endroit des côtes anglaises avant et ou après ces 3 mailles. Bon tricot!
04.05.2026 - 13:28
 Maria wrote:
Hello, writing in English so more people could understand - I'm a bit unsure when exactly to divide the body and the sleeves. Neither the german, nor the english and french translations do specify - although they specify exactly when to switch back to ribbing at the end/bottom of the sleeves/body... Do I do the division in a KNIT or a PURL round? Does it matter? Thank you so much, Maria
22.02.2026 - 11:16DROPS Design answered:
Hi Maria, It doesn't matter which round you divide on. Just remember to count the yarn-overs and their respective stitches as 1 stitch (do not count the yarn-overs seperately) when dividing for the body and sleeves. Regards, Drops Team.
23.02.2026 - 07:01
Donna Pike wrote:
Thank you for responding to my question but it still don’t give me the right help. In the pattern 263-3 there is only one graph A1. There is something not right about this pattern!
09.02.2026 - 17:06
 Malene wrote:
Opskriften siger denne er strikket i Alpaca og Mohair, men nede i selve opskriften (hals) står der “slå op med Flora”… hvilket garn er det rigtige?
31.01.2026 - 21:31DROPS Design answered:
Hei Malene. Det skal være Alpaca. Takk for at du gjorde oss oppmerksom dette. mvh DROPS Design
02.02.2026 - 12:53
Marie wrote:
Bonjour, peut-on réaliser ce pull en côtes perlées ? Merci beaucoup
29.01.2026 - 09:58DROPS Design answered:
Bonjour Marie, je pense que oui. Bon tricot!
29.01.2026 - 11:48
Donna Pike wrote:
I am really having trouble with this pattern. I don’t know if I am missing something. I k it my three rounds and do the rib , then I knit a round and decrease. Change to my larger needle and do the round “make one yarn over, slip next stitch purl wise , knit1 to end of round. I know I am supposed to keep three for the raglan but doing the English rib I end up with more. Am I supposed to do English rib up to the raglan stitches and just knit the three and continue with English rib after?
17.01.2026 - 16:00
|
||||||||||
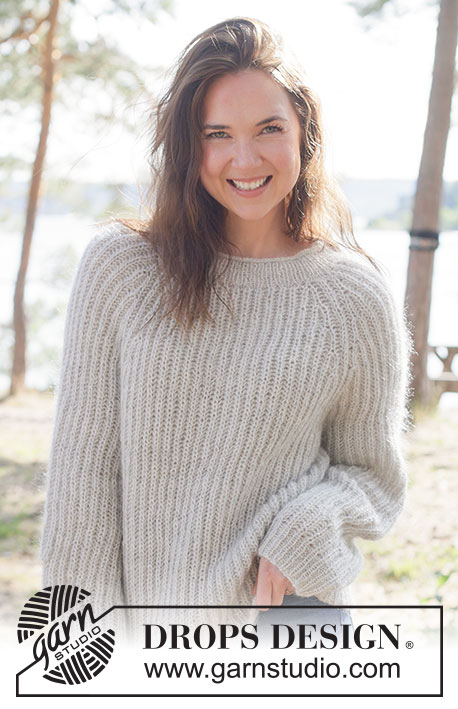
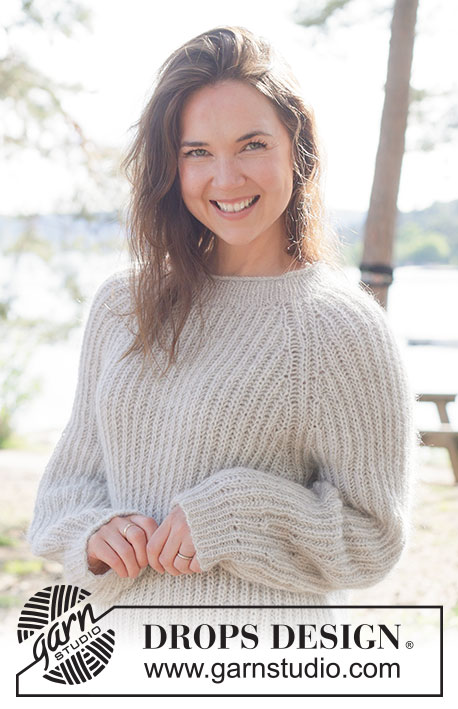
Casual Lines Sweater#casuallinessweater |
||||||||||
 |
 |
|||||||||
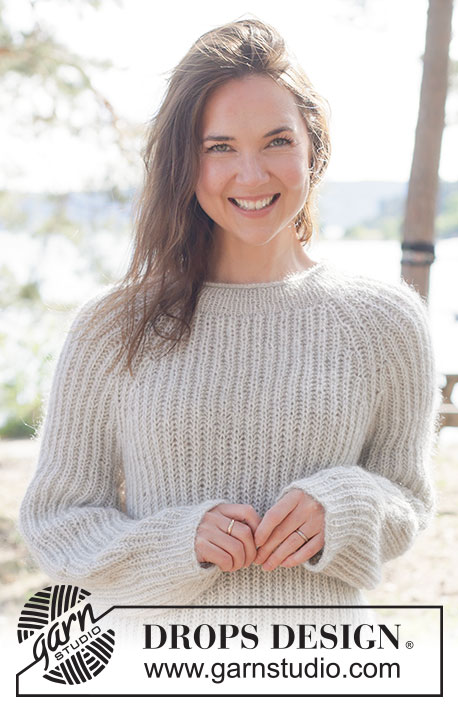
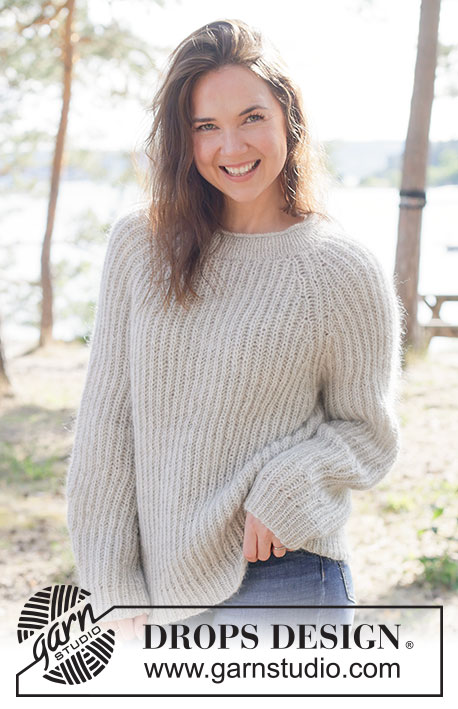
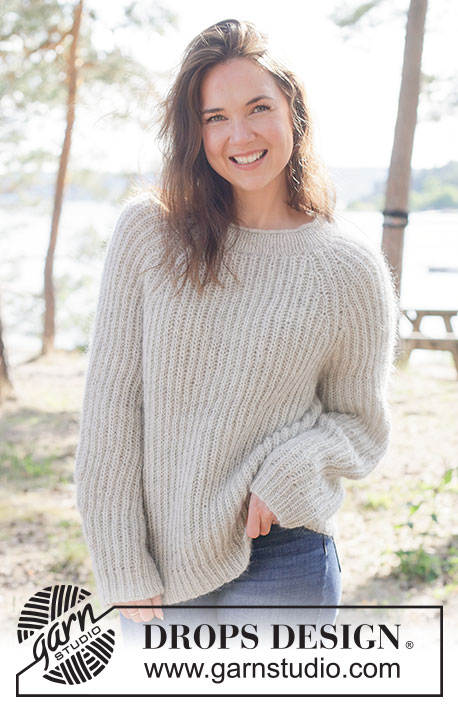
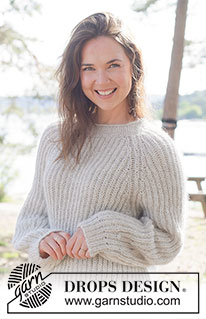
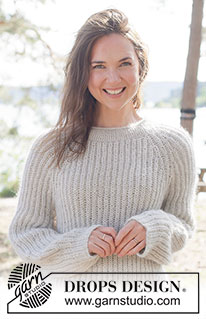
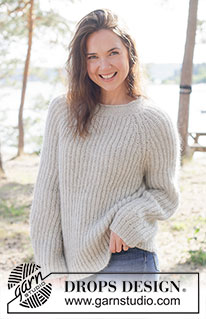
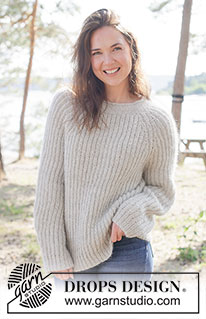
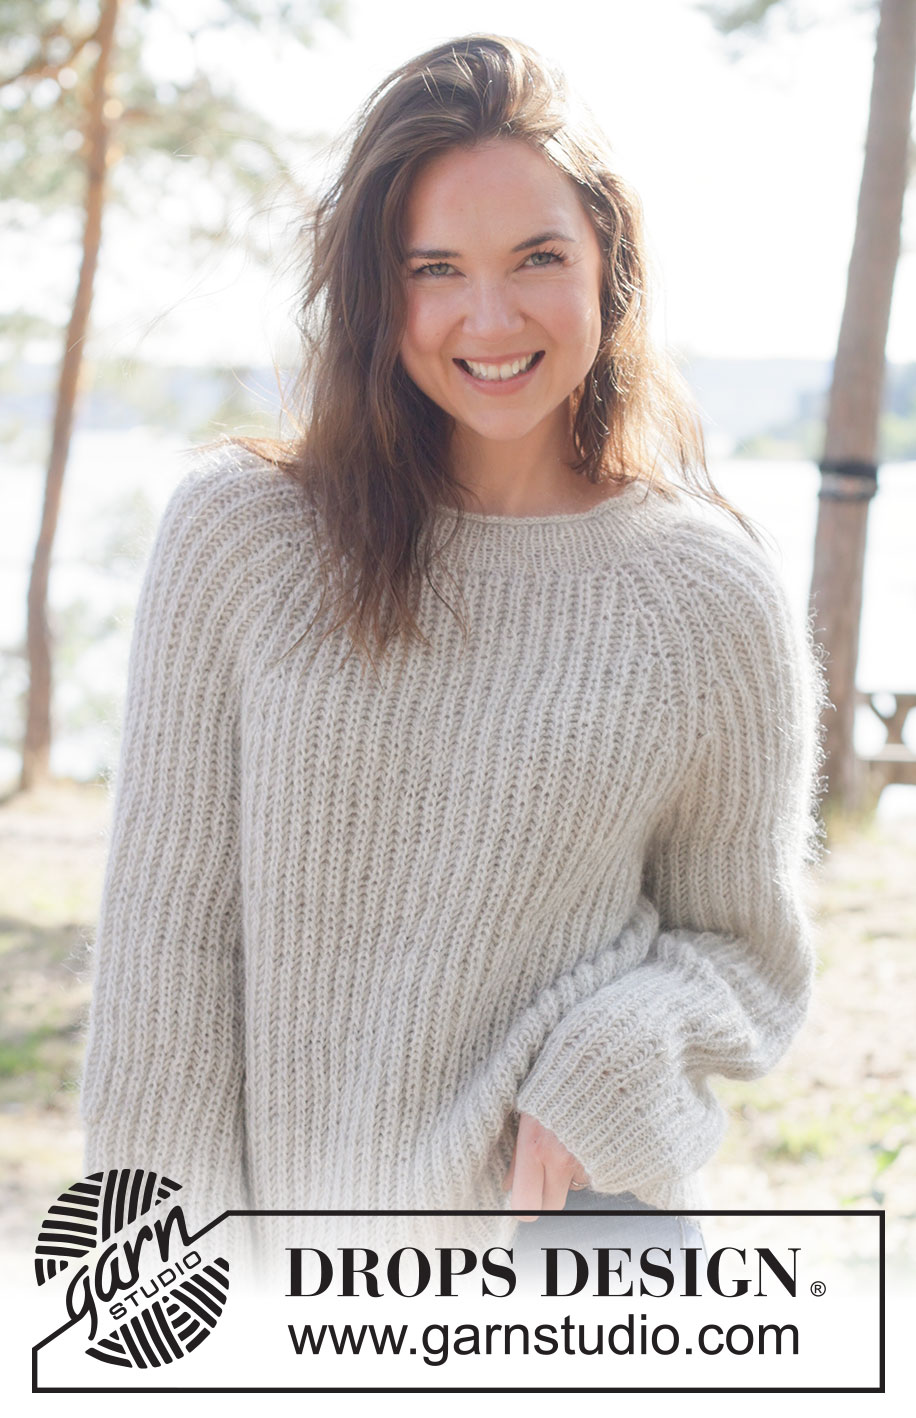
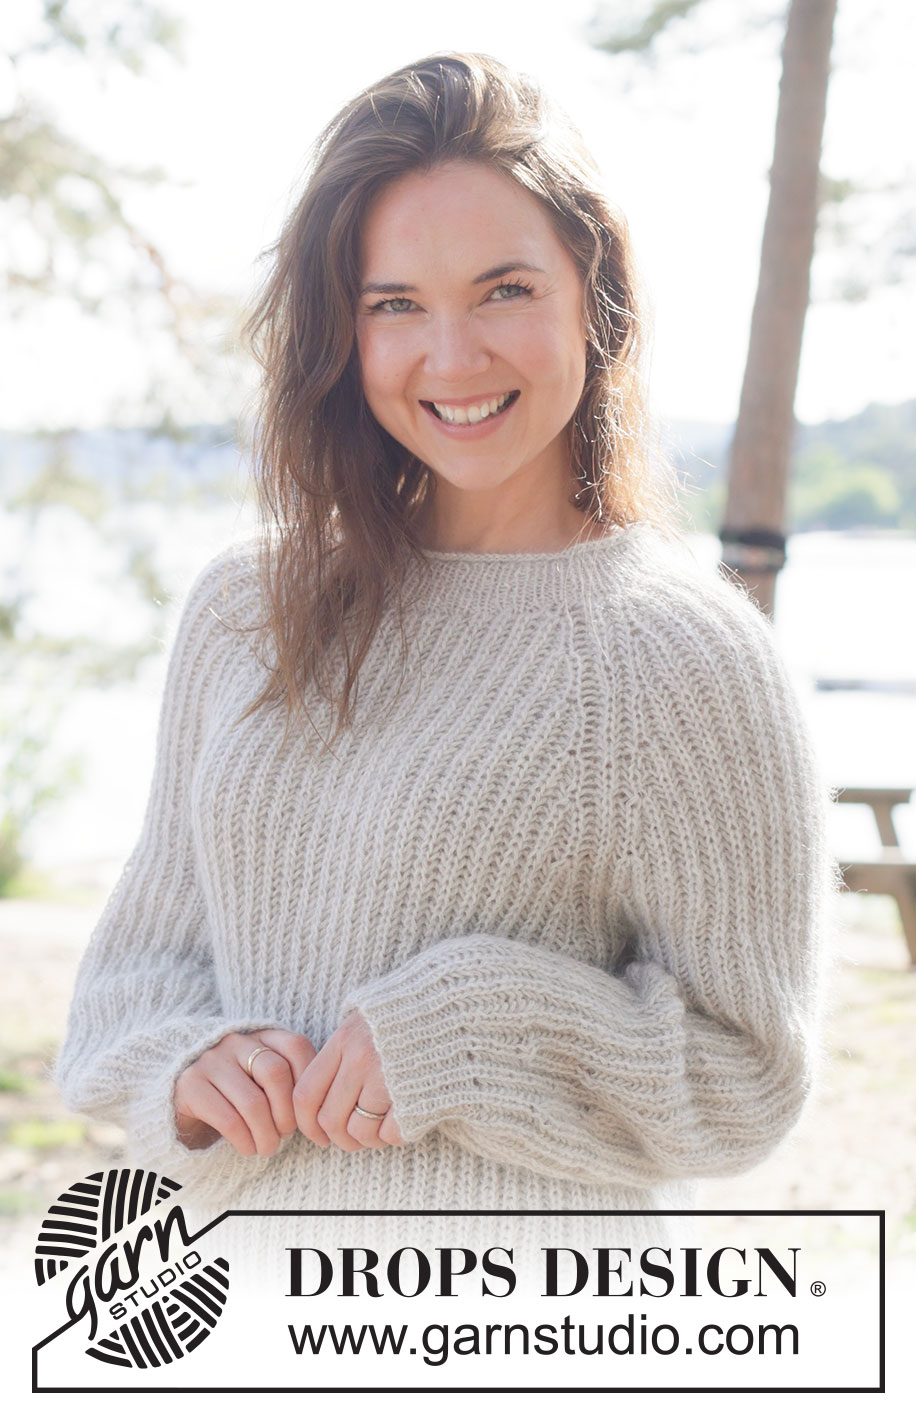
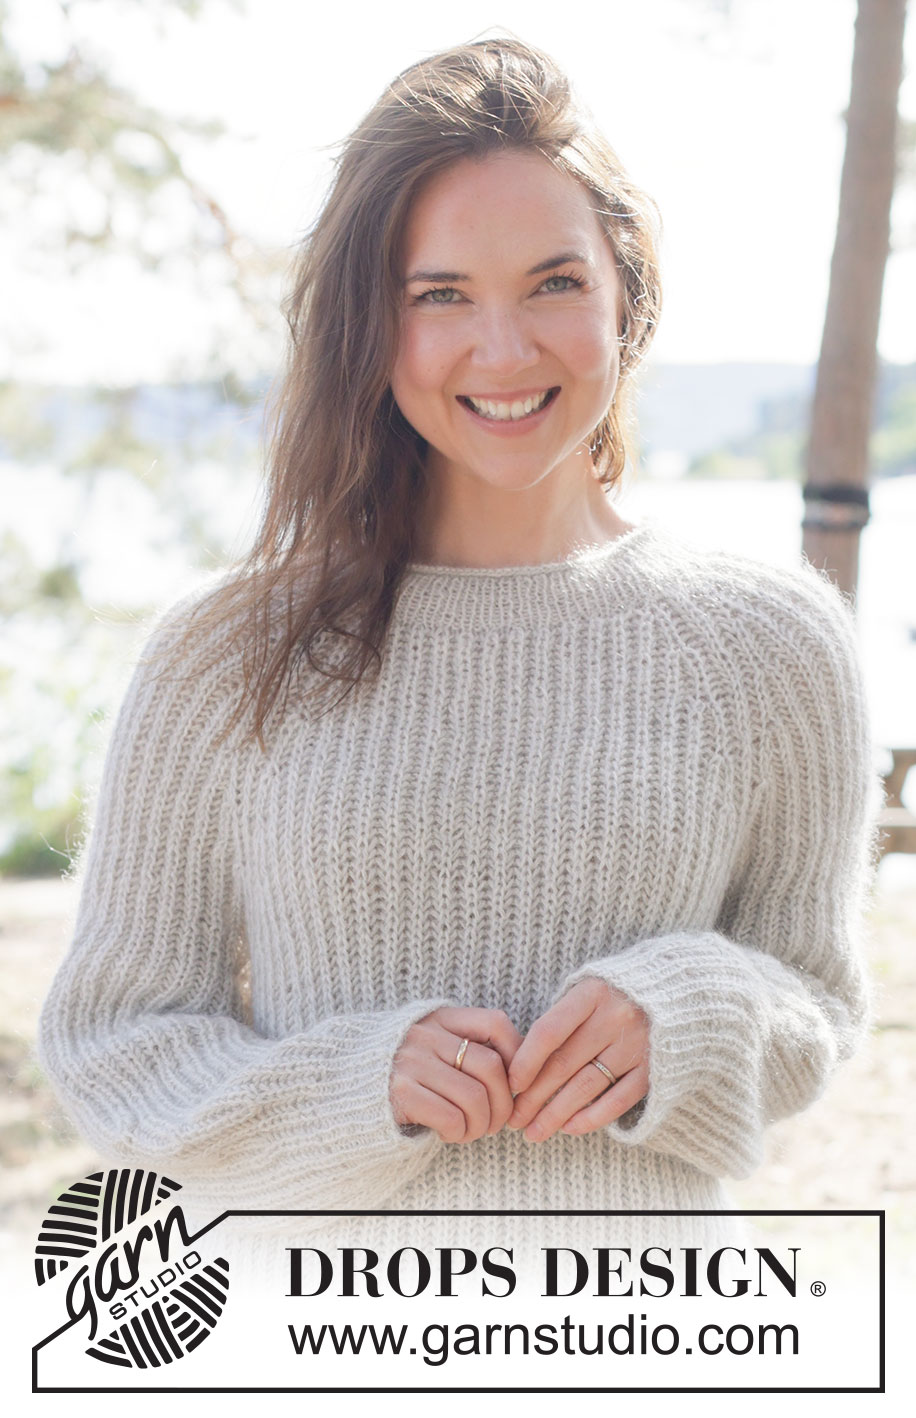
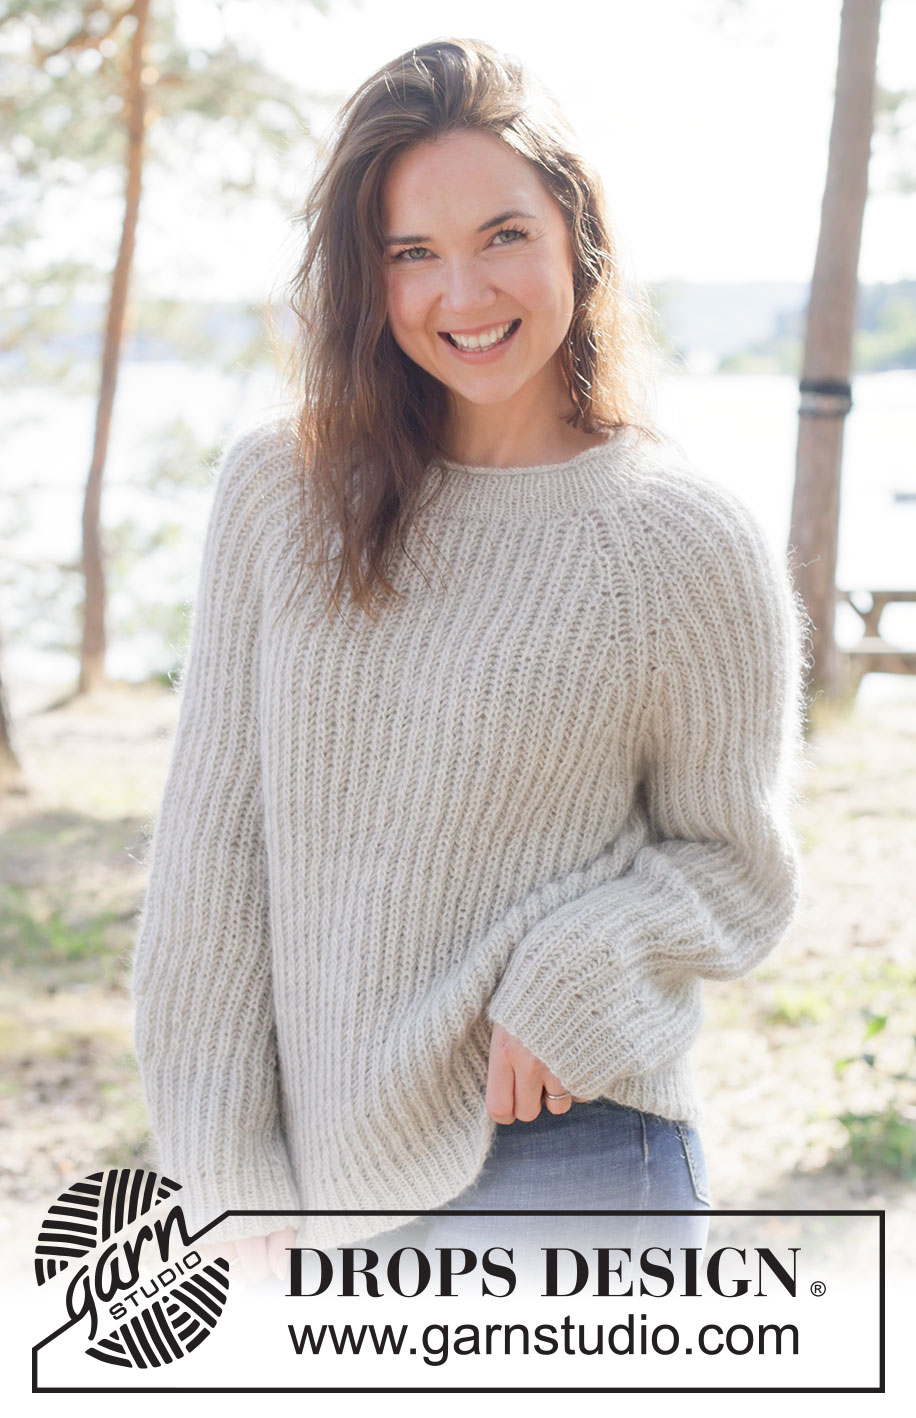
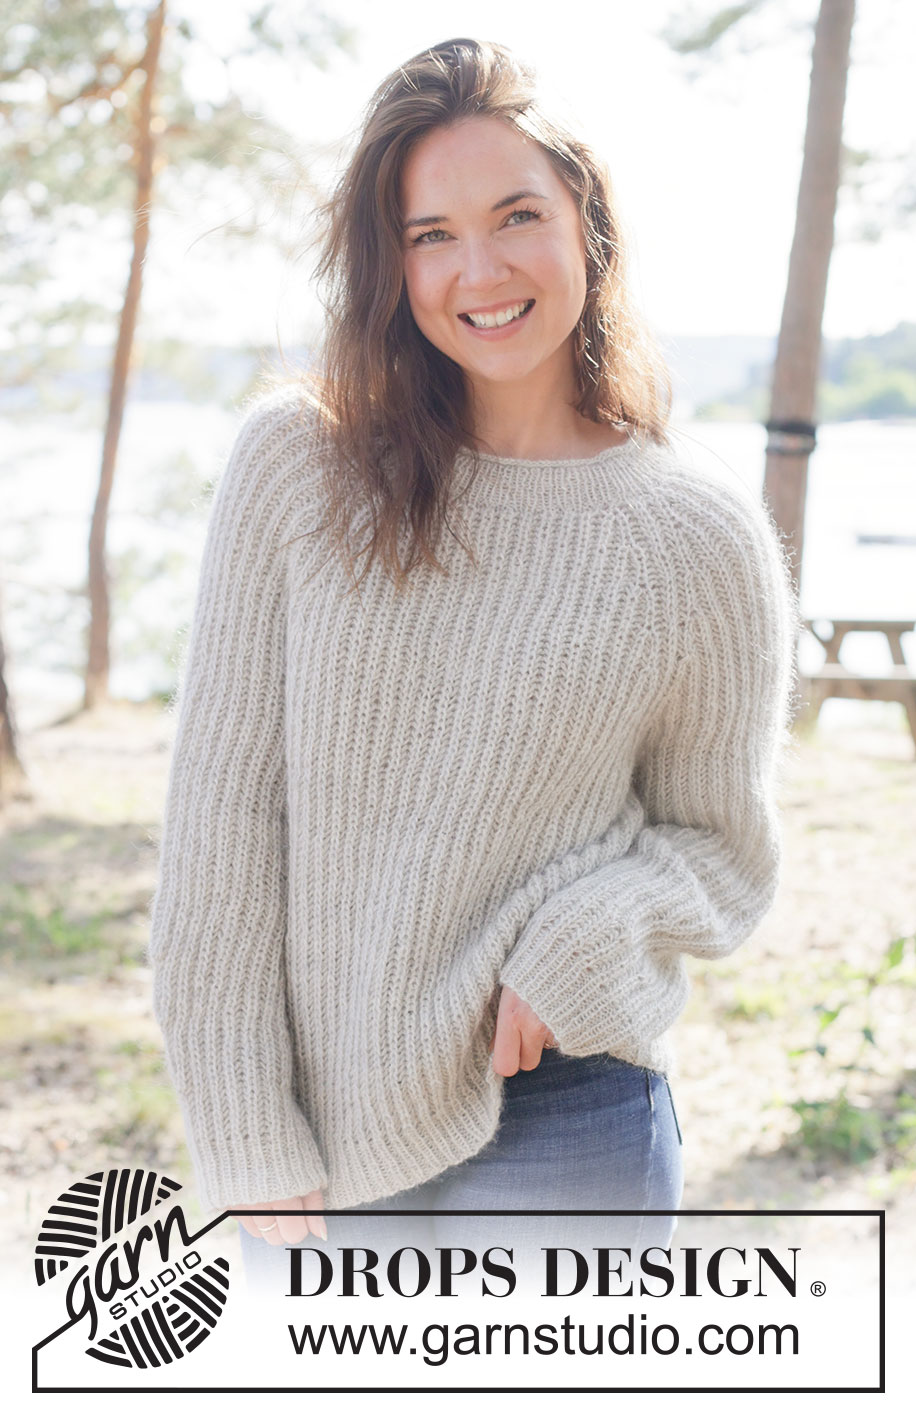
Knitted jumper in DROPS Alpaca and DROPS Kid-Silk. The piece is worked top down with raglan and English rib. Sizes XS - XXXL.
DROPS 263-3 |
||||||||||
|
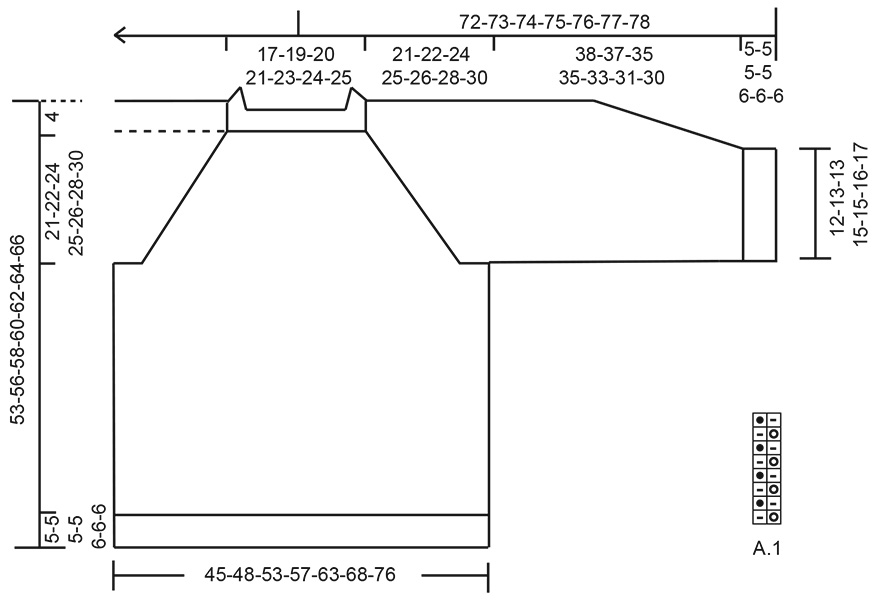
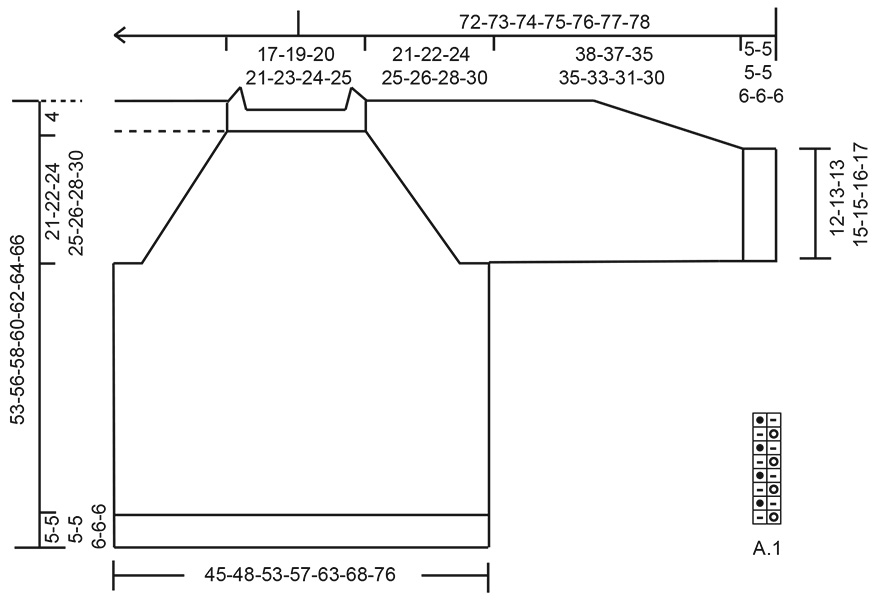
------------------------------------------------------- EXPLANATIONS FOR THE PATTERN: ------------------------------------------------------- PATTERN: See diagram A.1. RAGLAN: Increase for raglan on each side of 3 raglan-stitches, i.e., increase in the knitted stitch + yarn-over before and after the 3 raglan-stitches with marker). There are always 3 English rib stitches on the raglan-line. Increase 2 stitches in the knitted stitch + yarn-over as follows: Knit together the knitted stitch + yarn-over but do not slip them off the left needle, make 1 yarn-over the right needle, knit together the same knitted stitch + yarn-over one more time, and slip them off the left needle (2 increased stitches). Work the new stitches into the English rib (A.1) but be aware that on the round after increasing, the purled stitches in the increases are purled without yarn-overs as the yarn-overs have not yet been worked. SLEEVE TIP: When knitting up stitches under the sleeve, you can get a small hole in the transition between stitches on the body and sleeve. This hole can be closed by picking up the strand between 2 stitches and working this strand twisted together with the first stitch between body and sleeve. DECREASE TIP (on top of sleeve): Decrease 4 stitches on top of sleeve. All decreases are worked on a round where the knitted stitches and yarn-overs are knitted together! DECREASE 2 STITCHES TOWARDS THE LEFT: Work until 4 stitches remain before the stitch with the marker in. Slip the next knitted stitch + yarn-over onto the right needle as if to knit together, knit together the next 2 stitches (i.e., 1 purled stitch + knitted stitch + yarn-over), pass the slipped stitch + yarn-over over the knitted together stitches (2 decreased stitches). DECREASE 2 STITCHES TOWARDS THE RIGHT: Work 1 stitch after the stitch with the marker in. Slip the first knitted stitch + yarn-over onto the right needle as if to knit together, purl 1, pass the slipped stitch + yarn-over over the purled stitch, slip the stitch back onto the left needle, pass the next knitted stitch + yarn-over over the replaced stitch, slip the remaining stitch onto the right needle (2 decreased stitches). ------------------------------------------------------- START THE PIECE HERE: ------------------------------------------------------- JUMPER – SHORT OVERVIEW OF THE PIECE: The pattern uses both long and short needles; start with the length which fits the number of stitches and change when necessary. The neck and yoke are worked in the round with circular needle, top down and from the right back shoulder. When the yoke is finished, it is divided for the body and sleeves and the body continued in the round, while the sleeves wait. The sleeves are worked top down, in the round. If there is a «0» in your chosen size, skip the information and go straight to the next instruction. NECK: Cast on 92-100-106-110-114-120-126 stitches with circular needle size 3 mm, 1 strand DROPS Alpaca and 1 strand DROPS Kid-Silk. Knit 3 rounds. Then work rib in the round (knit 1, purl 1) for 4-4-4-4-5-5-5 cm. Knit 1 round and decrease 16-20-22-22-22-24-26 stitches evenly on the round = 76-80-84-88-92-96-100 stitches. The round begins on the right back shoulder. Insert 1 marker after the first 28-30-31-33-33-34-35 stitches (approx. mid-front). The piece is now measured from here. YOKE: Insert 8 markers, without working the stitches, on each side of 3 stitches (raglan-stitches), increases for raglan are worked on each side of the raglan-stitches. The markers are inserted between stitches. The raglan-stitches are worked in English rib (A.1), as are all the other stitches. Insert marker-1 at the beginning of the round, count 3 stitches (= raglan-stitches), insert marker-2 before the next stitch, count 11-13-13-13-13-13-13 stitches (= sleeve), insert marker-3 before the next stitch, count 3 stitches (= raglan-stitches), insert marker-4 before the next stitch, count 21-21-23-25-27-29-31 stitches (= front piece), insert marker-5 before the next stitch, count 3 stitches (= raglan-stitches), insert marker-6 before the next stitch, count 11-13-13-13-13-13-13 stitches (= sleeve), insert marker-7 before the next stitch, count 3 stitches (= raglan-stitches), insert marker-8 before the next stitch, there are 21-21-23-25-27-29-31 stitches left after the last marker (= back piece). Change to circular needle size 4.5 mm. Work the next round as follows: * Purl 1, make 1 yarn-over, slip 1 stitch purl-wise*, work from *-* to end of round. Work PATTERN A.1 – read explanation above, and begin increasing for RAGLAN on round-1 of the pattern, increasing on each side of the raglan-stitches – read explanation above for how to increase. NOTE: At the beginning of the round increase after marker-2 and at the end of the round before marker-1. Continue A.1 and repeat the increases every 10th-8th-8th-8th-6th-6th-6th round (i.e., every 5th-4th-4th-4th-3rd-3rd-3rd round with visible English rib stitches), on each side of the 3 raglan-stitches a total of 7-7-7-8-9-9-10 times (16 increased stitches per increase-round) = 188-192-196-216-236-240-260 stitches. There are 39-41-41-45-49-49-53 stitches for each sleeve and 55-55-57-63-69-71-77 stitches for front/back piece . Remember to maintain the knitting tension. The increases now continue but no further increases on the sleeves. Increase after markers 4 and 8 and before markers 5 and 1, 1-2-3-3-3-4-5more times (= 8 increased stitches per increase-round) every 10th-8th-8th-8th-6th-6th-6th round as before. A total of 8-9-10-11-12-13-15 increases in height on the front and back pieces and 7-7-7-8-9-9-10 increases in height on the sleeves = 196-208-220-240-260-272-300 stitches. Continue the pattern without further increases until the piece measures 21-22-24-25-26-28-30 cm from the marker mid-front. Now divide for the body and sleeves. DIVIDE FOR BODY AND SLEEVES: Work the first 3 stitches as before (raglan-stitches which belong to the back piece), place the next 39-41-41-45-49-49-53 stitches on a stitch holder/thread for the sleeve, cast on 9-9-11-11-13-15-17 stitches (mid-under the sleeve), work 59-63-69-75-81-87-97 stitches as before (= front piece), place the next 39-41-41-45-49-49-53 stitches on a stitch holder/thread for the sleeve, cast on 9-9-11-11-13-15-17 stitches (mid-under the sleeve), work the last 56-60-66-72-78-84-94 stitches as before (= rest of back piece). The body and sleeves are finished separately. BODY: = 136-144-160-172-188-204-228 stitches. Continue A.1 until the piece measures 44-47-49-51-52-54-56 cm from the marker mid-front, with the last round a round where knitted stitches and yarn-overs are knitted together. Change to circular needle size 3 mm. Work rib as follows: Knit the knitted stitch, purl 1 in yarn-over, purl 1 in purled stitch (= knit 1, purl 2) = 204-216-240-258-282-306-342 stitches. When the rib measures 5-5-5-5-6-6-6 cm cast off slightly loosely with rib. The jumper measures approx. 49-52-54-56-58-60-62 cm from the marker mid-front and 53-56-58-60-62-64-66 cm from top of shoulder. SLEEVES: Place the 39-41-41-45-49-49-53 sleeve-stitches from one stitch holder/thread on circular needle size 4.5 mm and knit up 1 stitch in each of the 9-9-11-11-13-15-17 stitches cast on under the sleeve, starting in the middle stitch and knitting up the first 5-5-6-6-7-8-9 stitches – read SLEEVE TIP, then work across the sleeve-stitches as before and finish by knitting up the remaining 4-4-5-5-6-7-8 stitches under the sleeve = 48-50-52-56-62-64-70 stitches. Insert a marker-thread in the middle of the 9-9-11-11-13-15-17 stitches under the sleeve- the round starts by the marker-thread – work the new stitches mid under sleeve in A.1 on first round. Work A.1 in the round as before - AT THE SAME TIME, when the sleeve measures 23-22-20-20-18-16-12 cm from the division, insert 1 marker in the middle stitch on top of the sleeve (a knitted stitch). Decrease now 4 stitches on mid top on sleeve as follows/ Work A.1 in the round and decrease on top of sleeve - read DECREASE TIP . Decrease like this every 18th-18th-18th-18th-14th-14th-14th round (i.e., each 9th-9th-9th-9th-7th-7th-7th round with visible English rib stitches) a total of 3-3-3-3-4-4-5 times = 36-38-40-44-46-48-50 stitches. Continue working until the sleeve measures 38-37-35-35-33-31-30 cm from the division, with the last round a round where knitted stitches and yarn-overs are knitted together. Change to double pointed needles size 3 mm. Work rib as follows: Knit the knitted stitch, purl 1 in yarn-over, purl 1 in purled stitch (= knit 1, purl 2) = 54-57-60-66-69-72-75 stitches. When the rib measures 5-5-5-5-6-6-6 cm, cast off slightly loosely with rib. The sleeve measures approx. 43-42-40-40-39-37-36 cm from the division. |
||||||||||
Diagram explanations |
||||||||||
|
||||||||||
 |
||||||||||
 |
||||||||||
Have you finished this pattern?Tag your pictures with #dropspattern #casuallinessweater or submit them to the #dropsfan gallery. Do you need help with this pattern?You'll find 17 tutorial videos, a Comments/Questions area and more by visiting the pattern on garnstudio.com. © 1982-2026 DROPS Design A/S. We reserve all rights. This document, including all its sub-sections, has copyrights. Read more about what you can do with our patterns at the bottom of each pattern on our site. |
||||||||||






With over 40 years in knitting and crochet design, DROPS Design offers one of the most extensive collections of free patterns on the internet - translated to 17 languages. As of today we count 333 catalogues and 12532 patterns translated into English (UK/cm). 12532
We work hard to bring you the best knitting and crochet have to offer, inspiration and advice as well as great quality yarns at incredible prices! Would you like to use our patterns for other than personal use? You can read what you are allowed to do in the Copyright text at the bottom of all our patterns. Happy crafting!
Post a comment to pattern DROPS 263-3
We would love to hear what you have to say about this pattern!
If you want to leave a question, please make sure you select the correct category in the form below, to speed up the answering process. Required fields are marked *.