
Popular categories
Looking for a yarn?


Comments / Questions (1)
![]() Sonja wrote:
Sonja wrote:
Hallo, Wie fange ich die Tasche an? Wird hier eine Luftmaschenkette als Start gehäkelt? Danke für eine Info wie die 1. Reihe beginnt VG
28.03.2026 - 16:14DROPS Design answered:
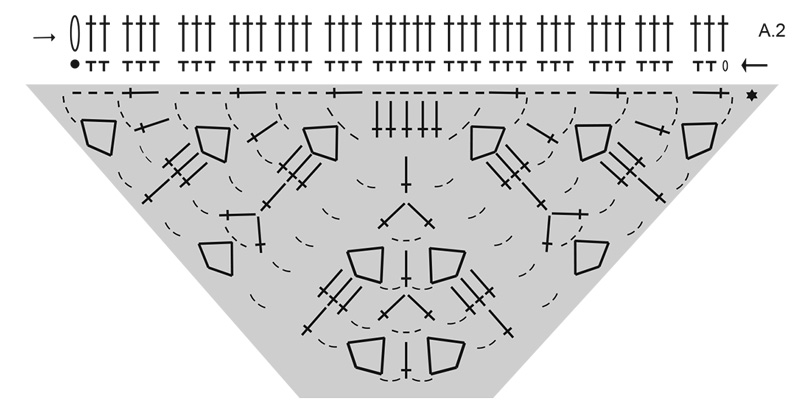
Liebe Sonja, die Tasche wird mit der Klappe angefangen, dann wenn A.2 fertig ist, wird man zuerst Stäbchen in die letzte Reihe der Klappe häkeln und dann 53 Luftmaschen häkeln = 93 Maschen + die 3 Lm am Rundenbeginn, die Runde schließen und weiter in der Runde häkeln. Viel Spaß beim Häkeln
07.04.2026 - 09:43
|
|||||||||||||||||||||||||||||||
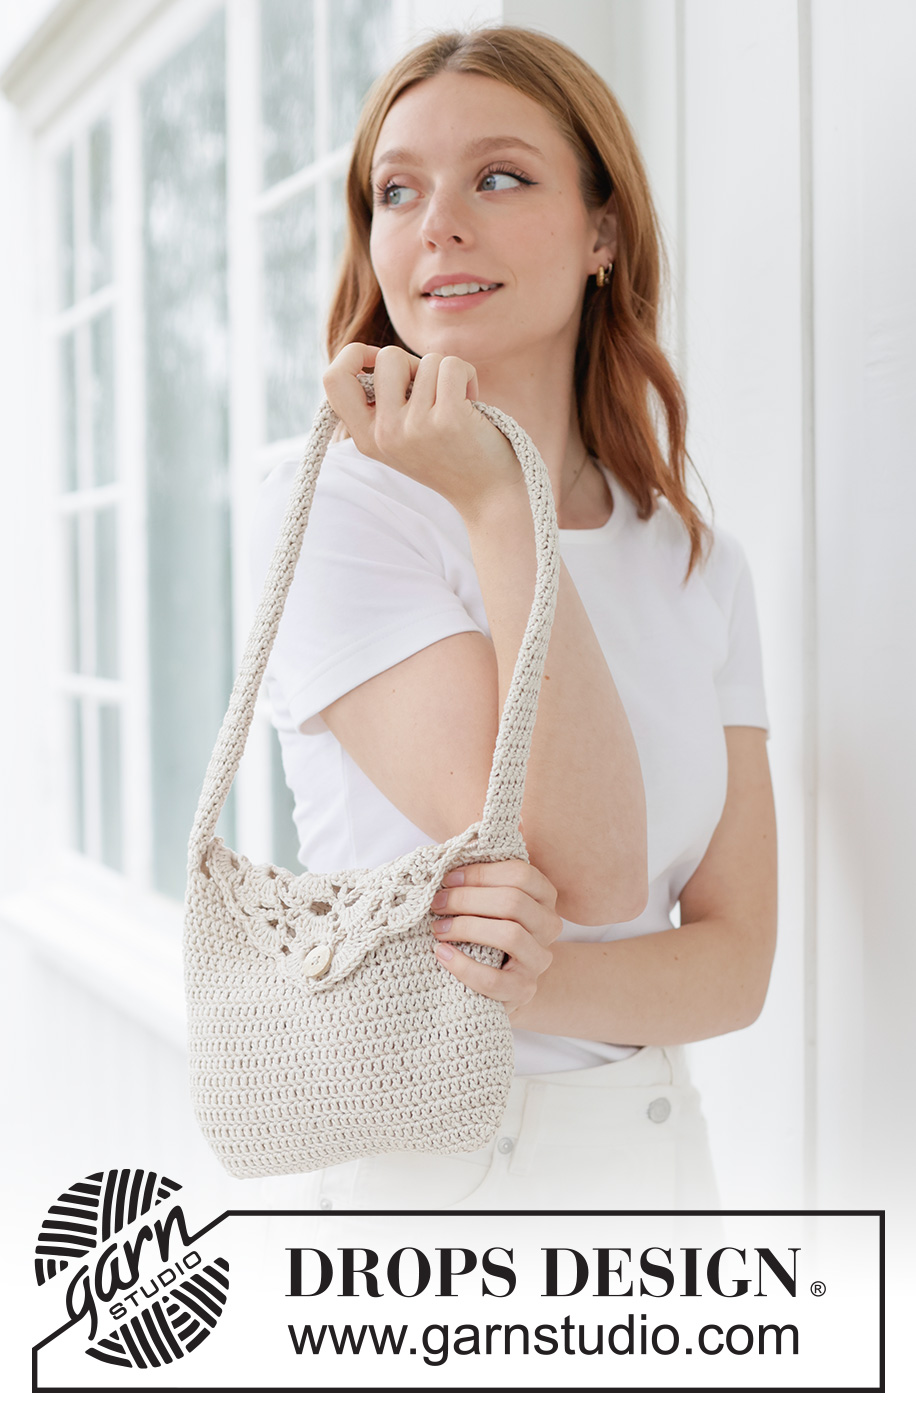
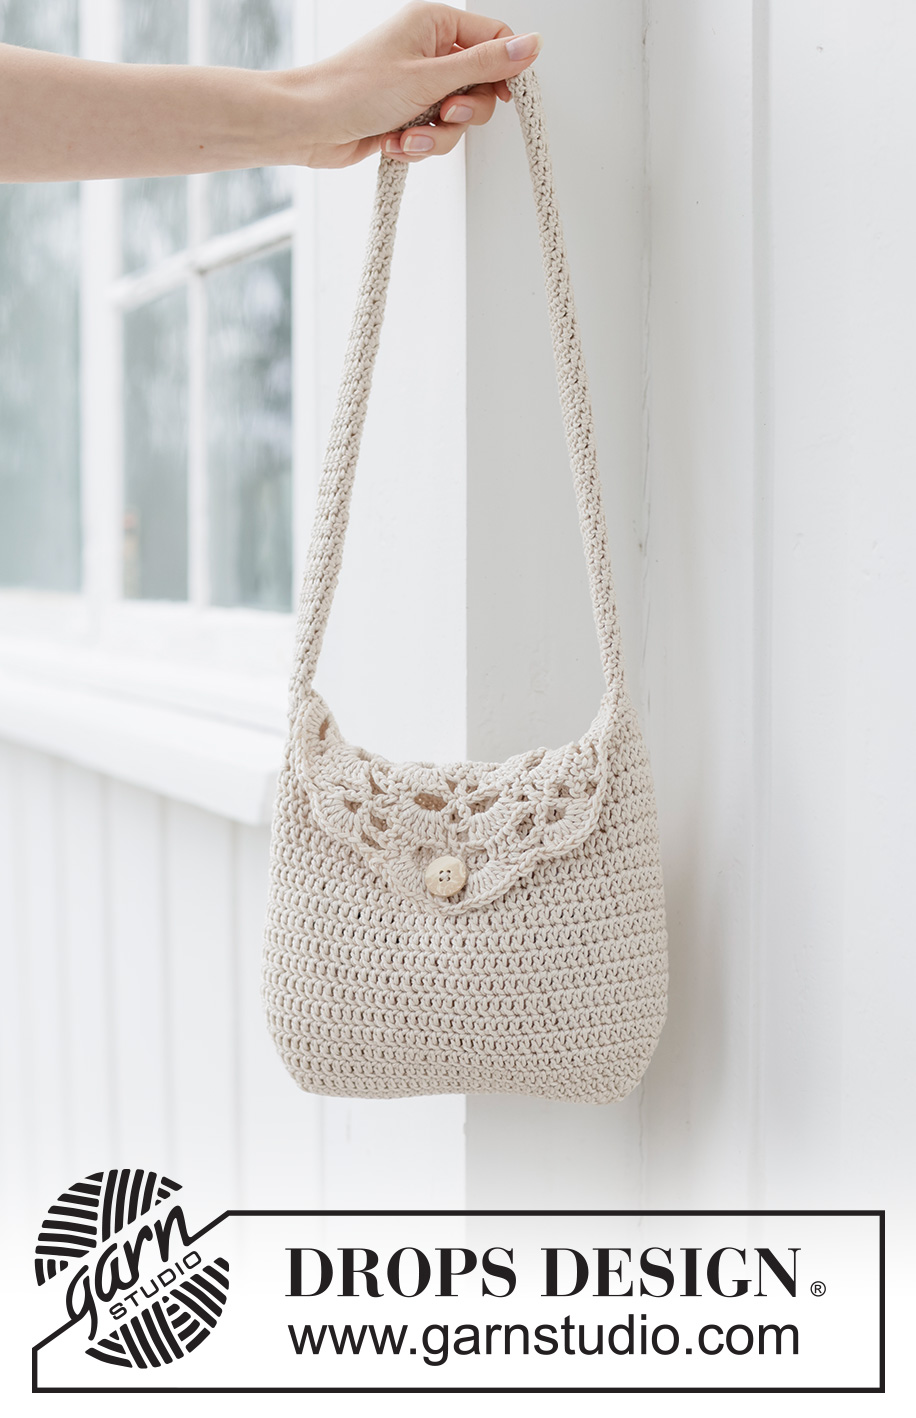
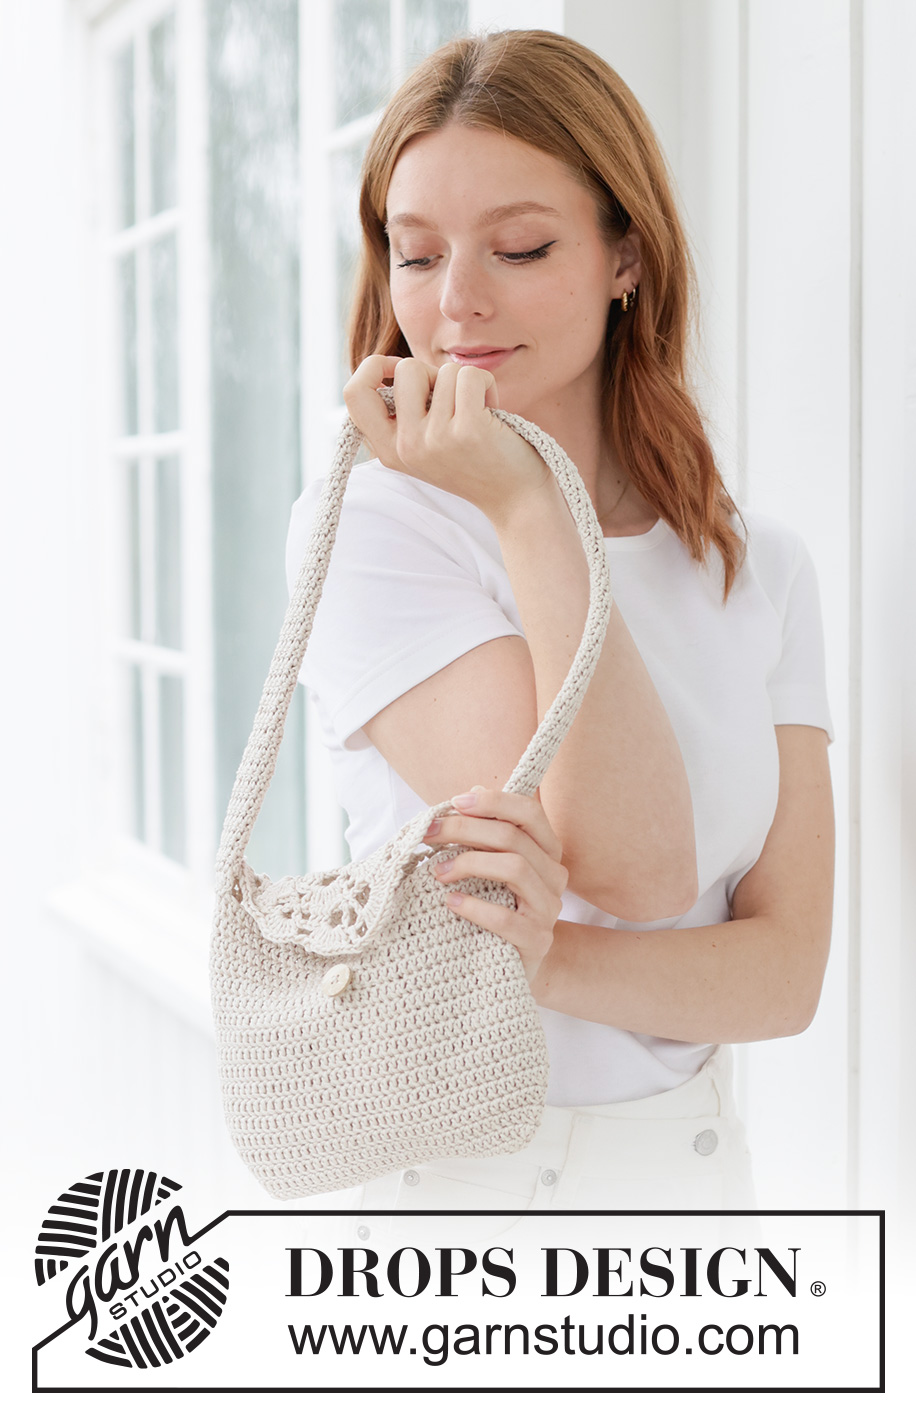
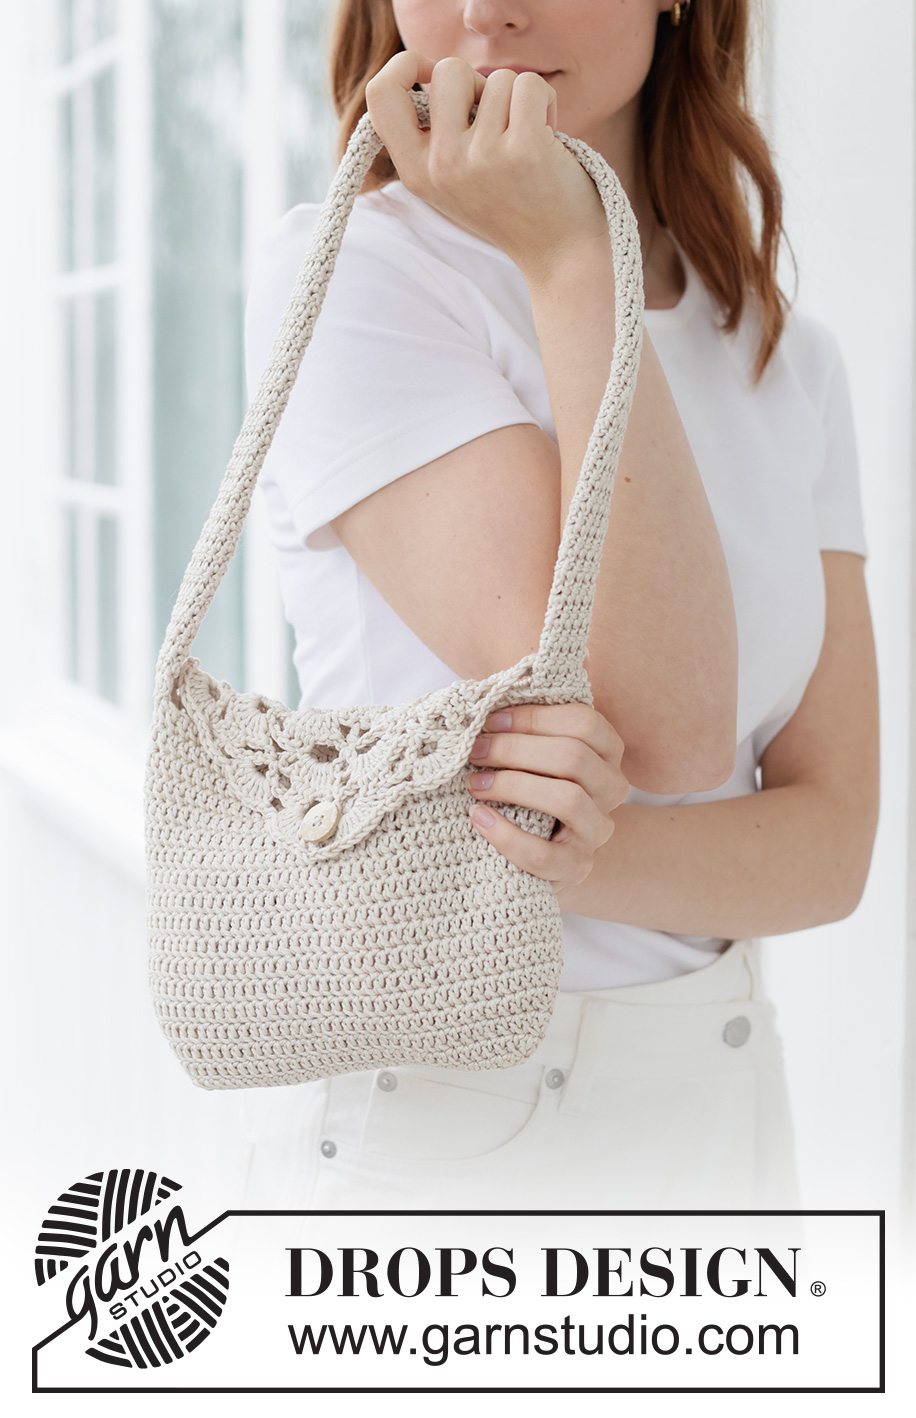
Treasure Keeper Bag#treasurekeeperbag |
|||||||||||||||||||||||||||||||
 |
 |
||||||||||||||||||||||||||||||
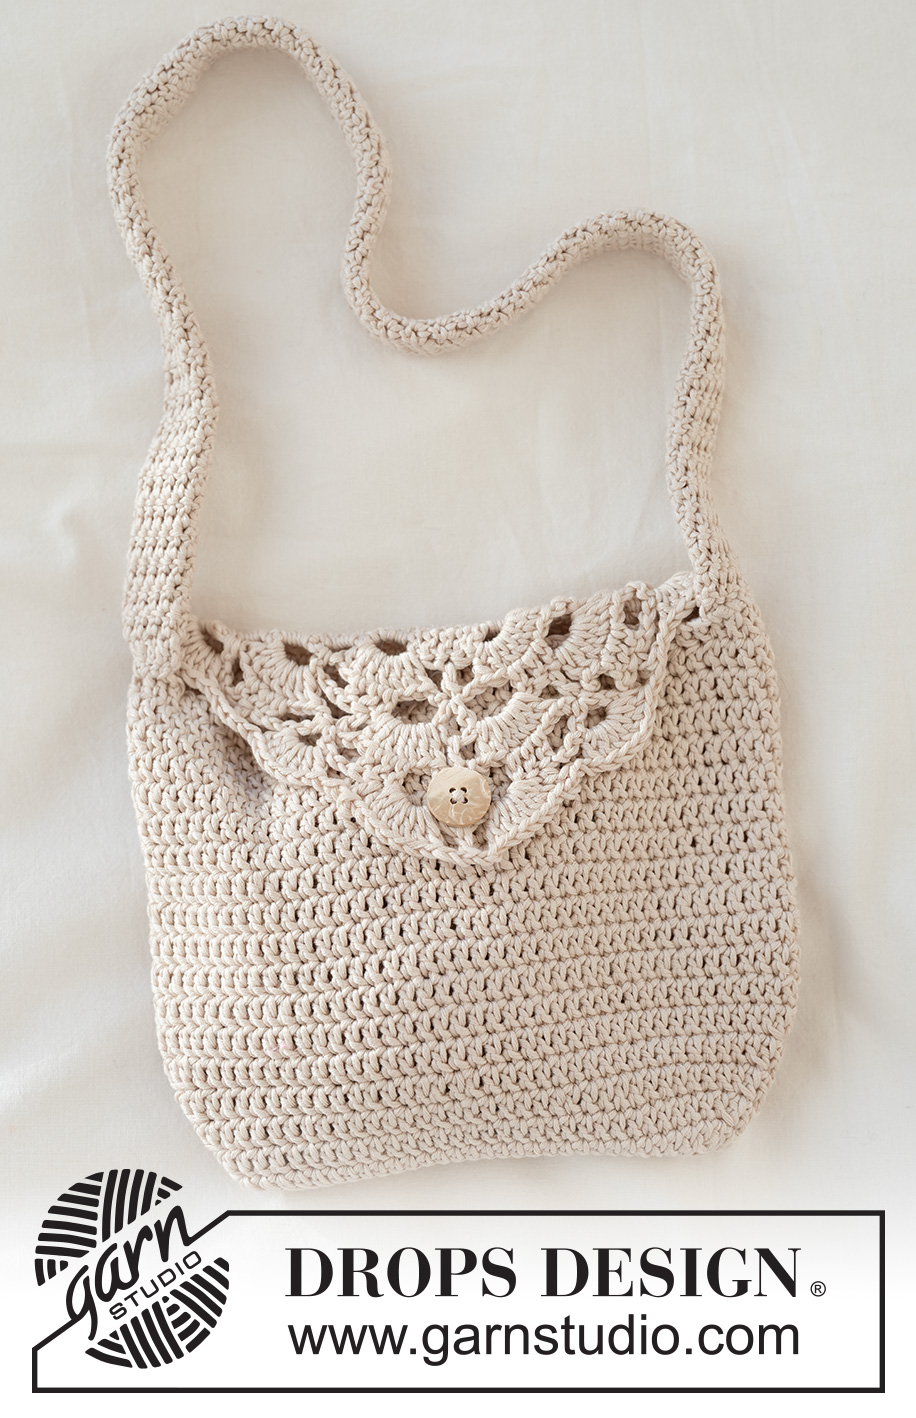
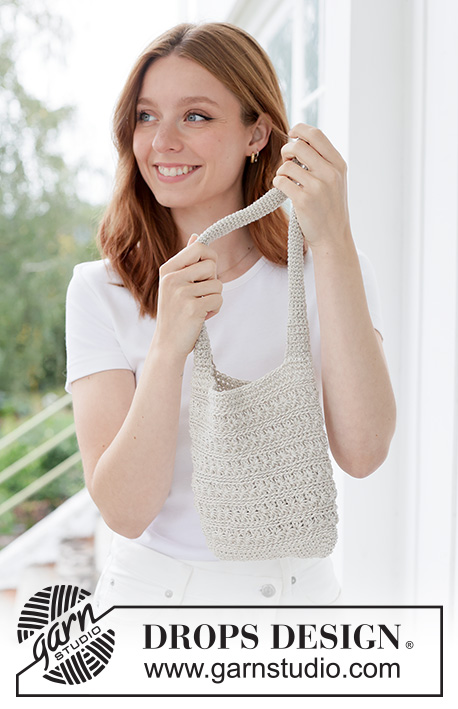
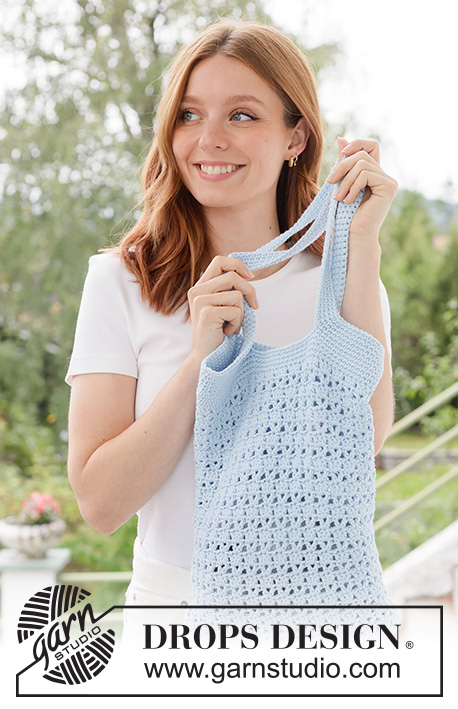
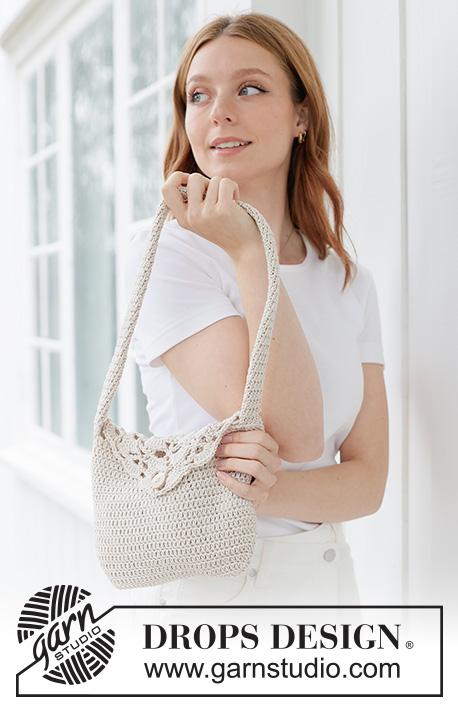
Crocheted small bag in DROPS Muskat. Piece is crocheted top down in treble crochets with fan pattern on the flap.
DROPS 265-11 |
|||||||||||||||||||||||||||||||
|
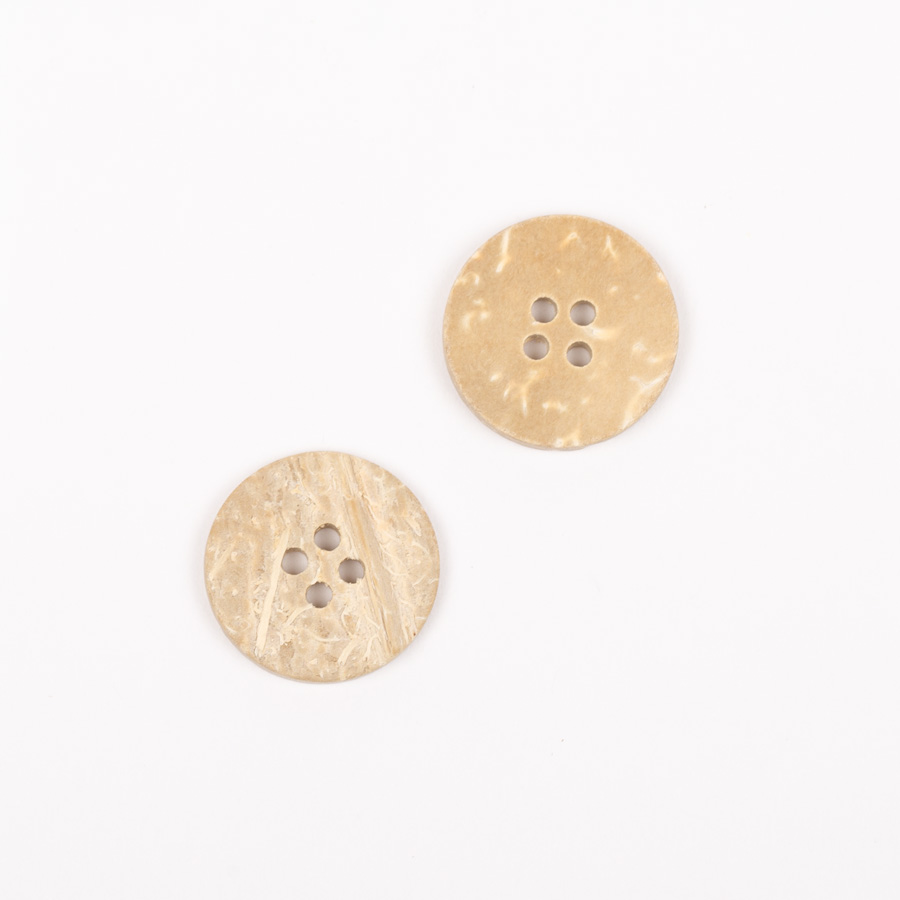
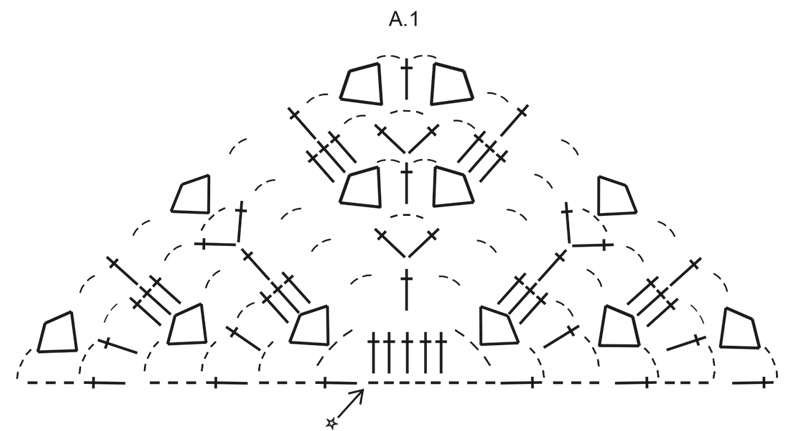
---------------------------------------------------------- EXPLANATION FOR THE PATTERN: ---------------------------------------------------------- PATTERN: See diagrams A.1 and A.2. CROCHET INFORMATION: When working in the round, replace 1st treble crochet with 3 chain stitches, finish round with 1 slip stitch in 3rd chain stitch. DECREASE TIP: Work 2 treble crochets together into 1 stitch as follows: *Make 1 yarn over, insert hook in next stitch, get yarn, make 1 yarn over and pull yarn through the 2 first loops on hook *, repeat from *-* 2 times in total (= 3 loops on hook), make 1 yarn over and pull yarn through all 3 loops on hook (= 1 stitch decreased). ---------------------------------------------------------- START THE PIECE HERE: ---------------------------------------------------------- BAG – SHORT OVERVIEW OF THE PIECE: First work piece back and forth according to diagram, this is the flap on the bag. Then work the bag in the round, top down. Work the strap in the round and fasten when finished. FLAP: Use crochet hook size 3.5 mm and DROPS Muskat - read PATTERN in explanation above and work diagram A.1. When diagram A.1 has been worked, continue as shown in diagram A.2, rotate the piece and work in the direction of the arrow. When diagram A.2 has been worked, the flap on bag is finished, do not cut the yarn - continue the bag from here as explained below. BAG: Read CROCHET INFORMATION in explanation above. Turn piece, work 1 treble crochet in every treble crochet from last row on flap (= 40 treble crochets + 3 chain stitches from beginning of round), work 53 loose chain stitches and work 1 slip stitch in 3rd chain stitch from beginning of round. There are 93 treble crochets + 3 chain stitches on round. ROUND 1: Work 1 treble crochet in every treble crochet and 1 treble crochet in every chain stitch = 93 treble crochets+ 3 chain stitches from beginning of round. ROUND 2: Work 1 treble crochet in every treble crochet. Remember to follow the crochet tension! Work as ROUND 2 onwards. When piece measures 13 cm from where piece were put together, insert 1 marker thread in each side of bag - place the bag flat so that the lid is flat and fasten 1 marker thread in each side so that there are 47 stitches on the front side and 47 stitches on the back side of bag. Now decrease on each side of marker threads – read DECREASE TIP and work as follows: * Work until 3 treble crochets remain before marker thread, work 2 treble crochets together, work 2 treble crochets (marker thread is between these 2 stitches), work 2 treble crochets together *, work from *-* 1 more time = 4 stitches decreased. Decrease like this on every round 5 times in total = 73 treble crochets + 3 chain stitches at the beginning of round - do not cut the yarn, now work the bag together as explained below. ASSEMBLY: Turn the piece inside out so that the bottom can be worked together from the inside of the bag. Fold the piece so that the bottom is flat, right side against right side and work as follows: Work 1 slip stitch in every stitch through both layers but work only in the 2 middle stitch loops (the stitch loops that are closest each other when the piece is folded - this is done to avoid a thick edge). When all stitches have been worked together, fasten off. Turn the bag with the right side out again. Sew a button onto the front of the bag - fasten so that the flap can be buttoned between the 2 treble crochets in next to last row in diagram A.1. HANDLE: Use hook size 3.5 mm and DROPS Muskat and work 14 chain stitches. Work 1 treble crochet in 4th chain stitch from hook (= 2 treble crochet) and work 1 treble crochet in each of the remaining chains stitches the rest of row = 12 treble crochets. Fold the piece to continue to work in the round from the right side in the first treble crochet on round. Work in the round in a spiral without finishing the rounds with 1 treble crochet in every treble crochet. Work until piece measures approx. 67 cm or desired length. Cut the yarn. Fold the strap so that it is flat and 6 stitches wide. Sew the ends of strap in each side of the bag. |
|||||||||||||||||||||||||||||||
Diagram explanations |
|||||||||||||||||||||||||||||||
|
|||||||||||||||||||||||||||||||
 |
|||||||||||||||||||||||||||||||
 |
|||||||||||||||||||||||||||||||
Have you finished this pattern?Tag your pictures with #dropspattern #treasurekeeperbag or submit them to the #dropsfan gallery. Do you need help with this pattern?You'll find 9 tutorial videos, a Comments/Questions area and more by visiting the pattern on garnstudio.com. © 1982-2026 DROPS Design A/S. We reserve all rights. This document, including all its sub-sections, has copyrights. Read more about what you can do with our patterns at the bottom of each pattern on our site. |
|||||||||||||||||||||||||||||||


With over 40 years in knitting and crochet design, DROPS Design offers one of the most extensive collections of free patterns on the internet - translated to 17 languages. As of today we count 325 catalogues and 12298 patterns translated into English (UK/cm). 12298
We work hard to bring you the best knitting and crochet have to offer, inspiration and advice as well as great quality yarns at incredible prices! Would you like to use our patterns for other than personal use? You can read what you are allowed to do in the Copyright text at the bottom of all our patterns. Happy crafting!
Post a comment to pattern DROPS 265-11
We would love to hear what you have to say about this pattern!
If you want to leave a question, please make sure you select the correct category in the form below, to speed up the answering process. Required fields are marked *.