
Popular categories
Looking for a yarn?




























Comments / Questions (50)
 Anna wrote:
How many stitches in between the wrap and turns? Are the decreases outside the flounce for the body, or inside the flounce? I have tried multiple ways and nothing looks like the picture. Please be more specific. I have bought your yarn and have both sides started and on hold. The back also is done. So I really do not want to frog this. Thank you in advance.
27.07.2026 - 00:14DROPS Design answered:
Hi Anna, The decreases are after/before the flounce-pattern (depending on which front piece you are working) and only on a full row where you work all the stitches (not a short row). The short rows are worked as described in Decrease Tip: *4 full rows, 2 short rows (just M1), 6 full rows , 2 short rows*, repeat from *-*. Regards, Drops Team.
27.07.2026 - 06:34
ANNA wrote:
Flounce…?
27.07.2026 - 00:08DROPS Design answered:
Hi again, If you check the comments at the bottom of the page, we have answered this question for you. The Drops Team has also been on holiday this month, so staff answering questions has been quite small, hence the delay in responding. Regards, Drops Team.
27.07.2026 - 06:36
Anna wrote:
Help with making the flounce please. It is lacking specifics.
26.07.2026 - 16:36DROPS Design answered:
Hi Anna, The flounces are worked according to M1a and M1b (depending on which front piece you are working). In addition, you need to work short rows as described under Short rows and further described in the text, and decrease as described under Decrease Tip, so the flounces lie neatly on the front pieces. Regards, Drops team.
26.07.2026 - 17:31
Marie wrote:
Can u explain how to make the flounce edge.
24.07.2026 - 13:27DROPS Design answered:
Hi Marie, The flounces are worked according to M1a and M1b (depending on which front piece you are working). In addition, you need to work short rows as described under Short rows and further described in the text, and decrease as described under Decrease Tip, so the flounces lie neatly on the front pieces. Regards, Drops team.
26.07.2026 - 17:57
Anna wrote:
This pattern does not give enough information on how to make the flounce with accurate short rows for wraps. Can you please explain with more clarity and accuracy, please.
21.07.2026 - 18:52DROPS Design answered:
Dear Anna, for short rows work 4 rows over all stitches on front piece, then 2 rows over A.1 only (do not work the other stitches), then work 6 sts over all stitches as before, then 2 rows over A.1 only (leave other stitches unworked); repeat these 14 rows all the way. When working all stitches, work them as before with pattern and M.1. You will find also more infos about diagrams here. Happy knitting!
11.08.2026 - 11:26
Anna Marie wrote:
How do you work the short rows for the Edging.
21.07.2026 - 17:33
Anna wrote:
How do you do the short rows on the flounce?
20.07.2026 - 22:36
 MajLis Olofsson wrote:
Hej! Stickar modell 119 -23 i Alpacka stl M - med lång ärm. Ärmkullens längd stämmer inte överens med ärmhålets längd på bak - och framstycke. Man ska ju sticka ihop 3 och 3 maskor på näst sista varvet på ärmen - går det att säga ungefär hur många maskor som är kvar att sticka ihop? Mvh MajLis O
11.10.2024 - 16:17DROPS Design answered:
Hej MajLis, når du begynder at tage ind har du ca 10 cm tilbage, du strikker 32 pinde på 10 cm, og tager ind i hver side 4+4+2+2 = 28 pinde tilbage. dvs 108m - 12 - 28 = ca 68 masker tilbage når du skal strikke maskerne sammen :)
16.10.2024 - 13:32
 Nathalie Margat wrote:
Bonjour, comment faire pour la bande fantaisie en rangs raccourcis. Je ne sais pas comment commencer. Merci
18.02.2021 - 21:26DROPS Design answered:
Bonjour Mme Margat, tricotez comme indiqué sous RANGS RACCOURCIS: tricotez 4 rangs sur toutes les mailles du devant = toutes celles sur l'aiguille (= comme avant, bordure comprise), puis tricotez 2 rangs de M.1 seulement (= les autres mailles restent sur l'aiguille sans être tricotées), puis tricotez 6 rangs sur toutes les mailles , et tricotez 2 rangs de M.1 - répétez ces 14 rangs = vous avez tricotez 14 rangs sur les mailles de M.1 mais seulement 10 rangs sur toutes les mailles du devant. Commencez ces rangs sur l'envers pour le devant gauche et sur l'endroit pour le devant droit. N'oubliez pas de diminuer pour l'encolure et l'emmanchure en même temps. Bon tricot!
19.02.2021 - 07:51
Nathalie Margat wrote:
Bonjour,pouvez vous m'expliquer comment faire pour les devant gauche et droite du modele 119-23 pour les rangs raccourcis faut il tricoter sur la bande point mousse, et pour l'echancrure..sur la grille m1a que représente les cadre noir et les barrées. Les jetés ce font il un après l autre. Merci
16.02.2021 - 10:28
|
|||||||||||||||||||
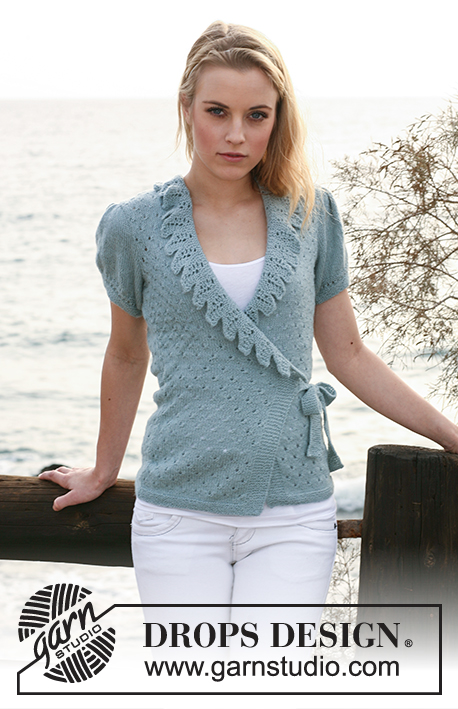
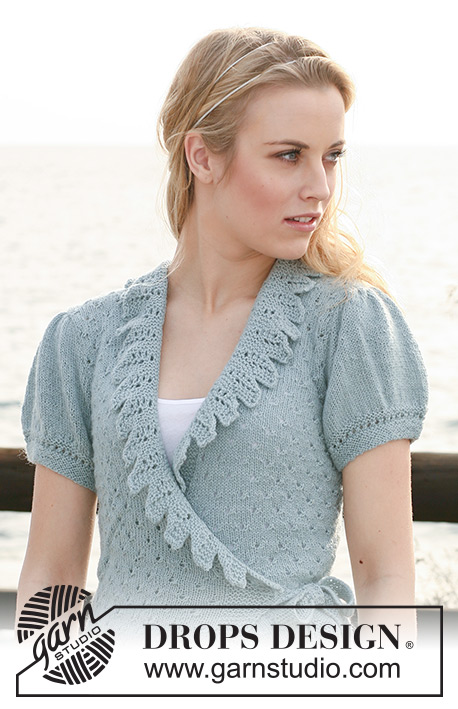
Queen of Ruffles#queenofrufflescardigan |
|||||||||||||||||||
 |
 |
||||||||||||||||||
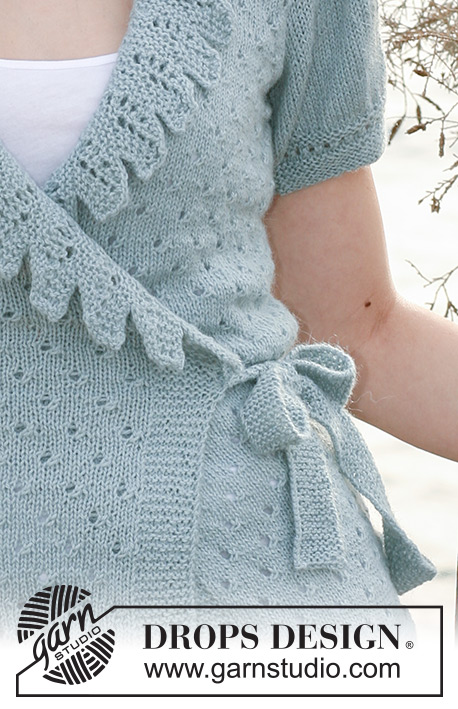
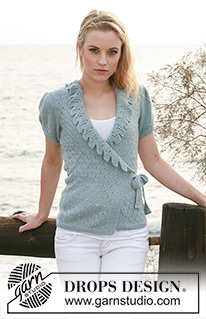
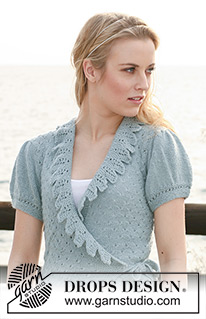
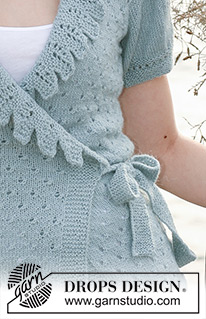
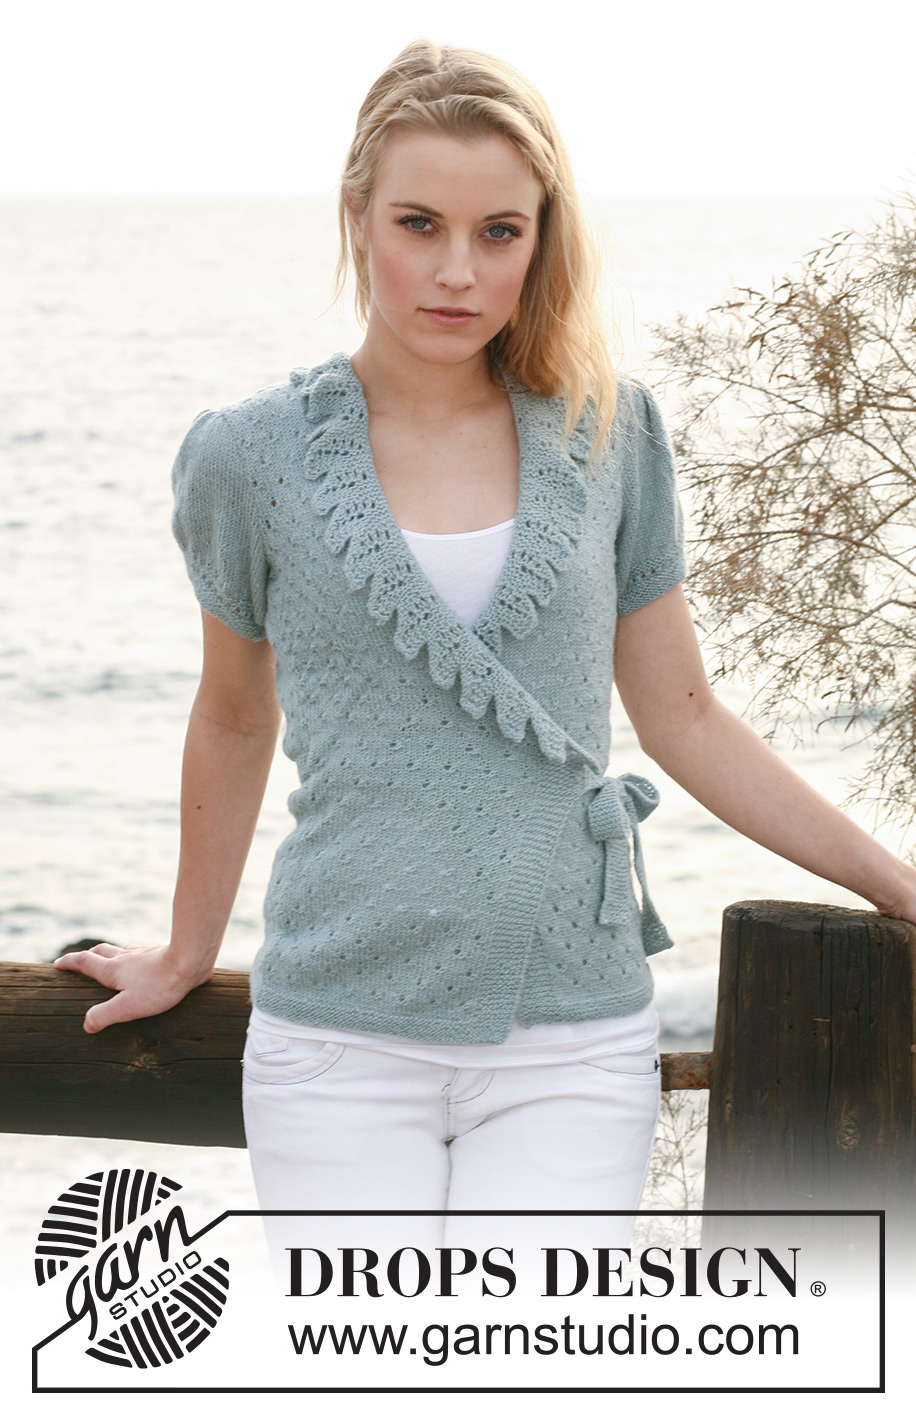
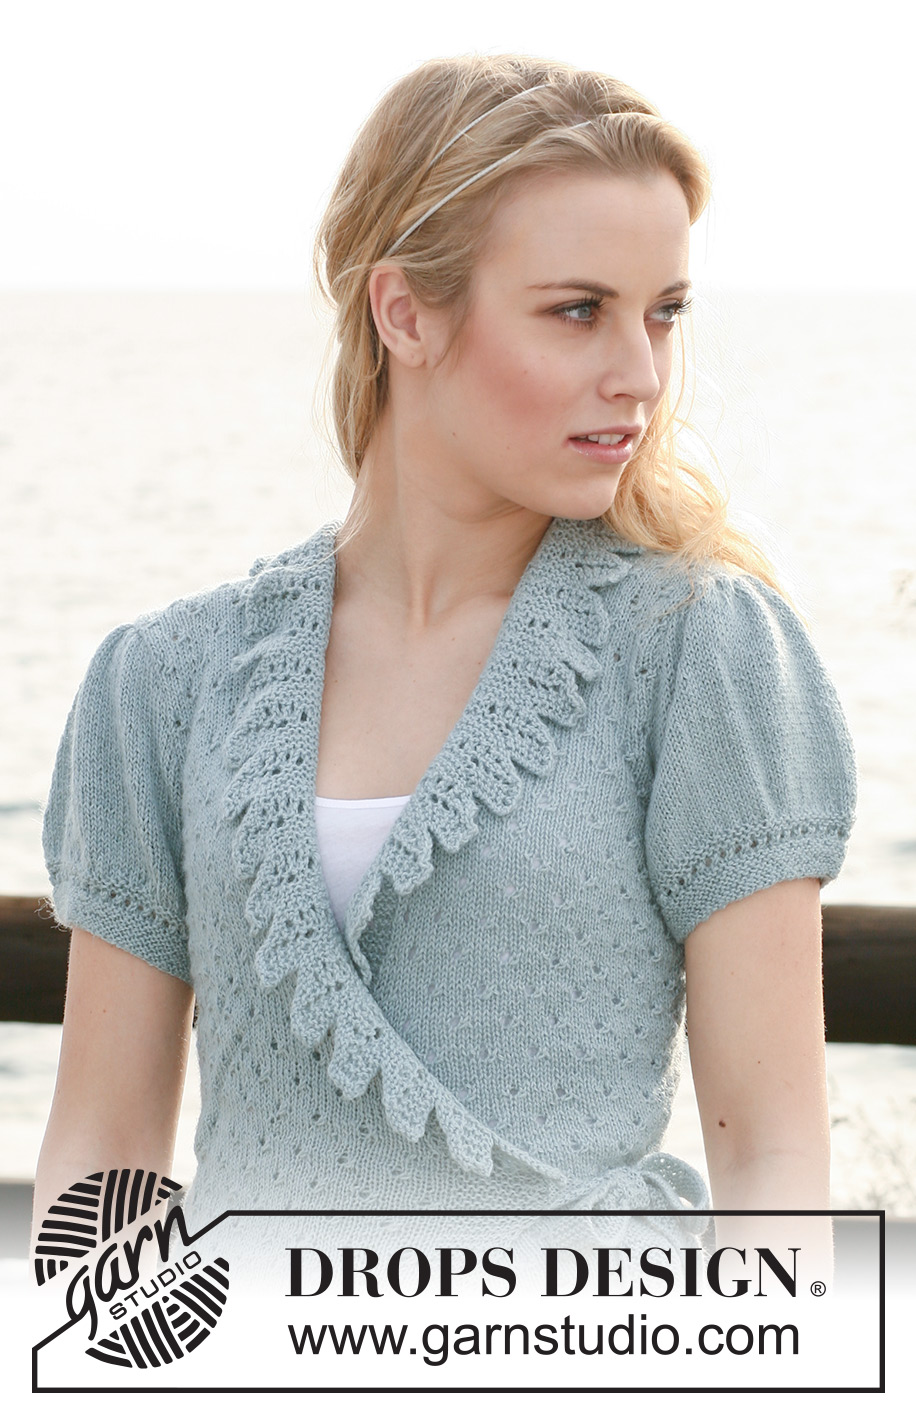
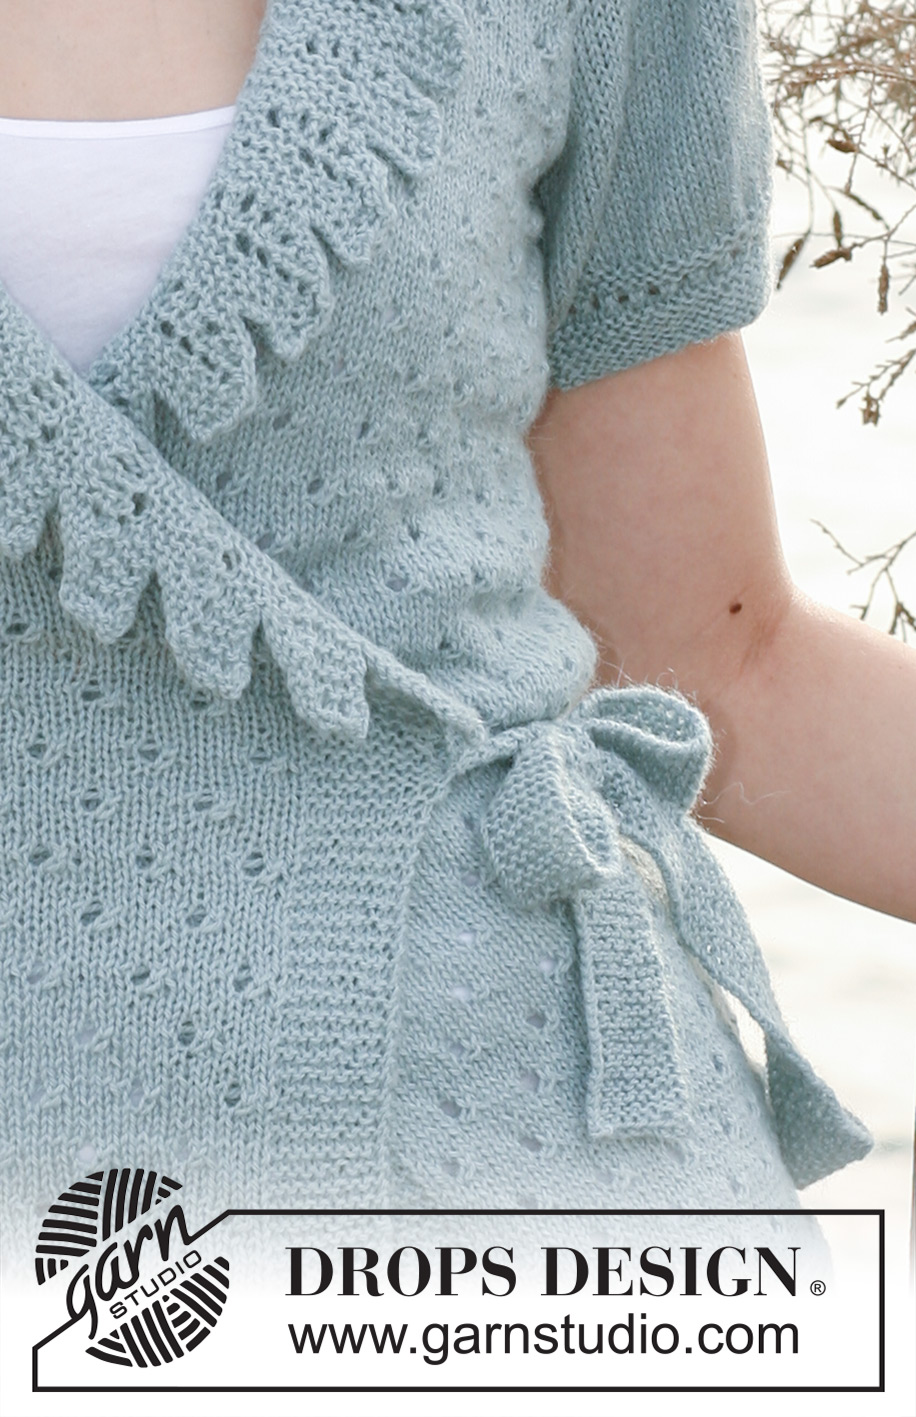
DROPS wrap-round jacket in ”Alpaca” with flounces along front pieces and short puff sleeves. Size: S to XXXL
DROPS 119-23 |
|||||||||||||||||||
|
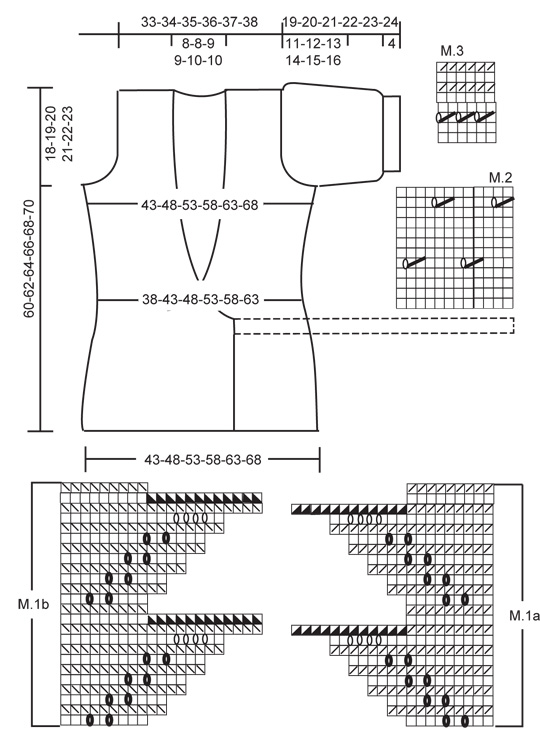
GARTER ST (back and forth on needle): K all rows. PATTERN: See diagrams M.1 to M.3 - Diagrams show the pattern from RS! DECREASING TIP (applies to the wrap-round): Make all dec from RS inside M.1 on a row worked on all sts. Dec as follows BEFORE M.1: K2 tog. Dec as follows AFTER M.1: slip 1 st as if to K, K1, psso. SHORTENED ROWS: Work extra rows on the flounce along the wrap-round edge on front piece in order to make it sit nicely. Do this as follows: * Work 4 rows on all sts on front piece, work 2 rows only on M.1, work 6 rows on all sts, work 2 rows only on M.1 *, repeat from *-*. -------------------------------------------------------- -------------------------------------------------------- BACK PIECE: Worked back and forth on needle. LOOSELY cast on 104-116-128-140-152-164 sts (includes 1 edge st each side) on needle size 2.5 mm with Alpaca. Work 8 rows GARTER ST – see above! Change to needle size 3 mm. Continue in M.2 with 1 edge st each side in garter st (first row = RS). When piece measures 4-5-6-7-8-9 cm dec 1 st each side, and repeat the dec on every 2.5 cm a total of 6 times (work sts not fitting into M.2 in stocking st) = 92-104-116-128-140-152 sts. When piece measures 21-22-23-24-25-26 cm inc 1 st each side, and repeat the inc on every 3 cm a total of 6 times (incorporate inc sts in M.2 as you go along) = 104-116-128-140-152-164 sts. When piece measures 42-43-44-45-46-47 cm cast off for armhole each side at the beg of every row: 4 sts 1-1-1-1-2-2 times, 3 sts 0-1-2-3-3-4 times, 2 sts 2-3-4-5-5-6 times and 1 st 4-4-4-4-5-5 times = 80-82-84-86-88-90 sts left on needle. Continue in M.2 – work sts not fitting into M.2 in stocking st. When piece measures 58-60-62-64-66-68 cm work 2 rows garter st on the middle 22-22-24-24-26-26 sts (work remaining sts as before), and then cast off the middle 20-20-22-22-24-24 sts for neck and complete each shoulder (= 30-31-31-32-32-33 sts) separately. Continue in M.2 with 1 garter st towards neck until piece measures 60-62-64-66-68-70 cm, cast off. LEFT FRONT PIECE: Worked back and forth on needle. LOOSELY cast on 64-70-76-82-88-94 sts (includes 1 edge st at the side) on needle size 2.5 mm with Alpaca. Work 8 rows garter st. Change to needle size 3 mm and continue as follows from the side (first row = RS): 1 edge st in garter st, M.2 on 54-60-66-72-78-84 sts and 9 garter sts towards mid front. READ ALL OF THE FOLLOWING SECTION BEFORE CONTINUING! DEC AT THE SIDE: When piece measures 4-5-6-7-8-9 cm dec 1 st 6 times at the side as described for back piece. PATTERN: When piece measures 20-21-22-23-24-25 cm continue as follows (from RS): 1 edge st in garter st, M.2 until 9 sts remain, work M.1a on these 9 sts – at the same time on row 2 beg working SHORTENED ROWS – see above! DEC ON WRAP ROUND: At the same time as beg M.1a on the 9 sts towards mid front dec 1 st on next row from RS – SEE DECREASING TIP, and repeat the dec on every other row a total of 4-4-4-4-5-5 times, then on every 4th row 4-4-5-5-5-5 times and then on every 6th row 5-5-5-5-5-5 times. INC AT THE SIDE: When piece measures 21-22-23-24-25-26 cm inc at the side as described for back piece. ARMHOLE: When piece measures 42-43-44-45-46-47 cm cast off for armhole at the side as described for back piece. When all dec and inc are complete there are 1 edge st + 29-30-30-31-31-32 sts of M.2 + M.1a (varies from 9-21 sts) left on needle. When piece measures 60-62-64-66-68-70 cm cast off 30-31-31-32-32-33 sts for shoulder = sts in M.1a left on needle for collar. To make collar sit nicely on neckline on back piece continue in M.1a on these sts as follows (first row = RS): 1 row on all sts, * 2 rows on all sts except the 3 first sts (i.e. towards shoulder), 2 rows on all sts *, repeat from *-* until collar measures approx 5-5-5.5-5.5-6-6 cm along the shorter side (adjust to a full repeat), slip sts on a stitch holder. TIE STRING: Pick up 8 sts on needle size 2.5 mm along garter sts on front piece just before the dec on wrap round beg. Work garter st for approx 75-80-85-90-95-100 cm, cast off. RIGHT FRONT PIECE: Like left front piece, but mirrored, i.e. when piece measures 20-21-22-23-24-25 cm continue as follows (from RS): M.1b on the first 9 sts, M.2 on 54-60-66-72-78-84 sts and 1 edge st in garter st. NOTE: Beg working shortened rows on the same row as beg M.1b. First row on collar = WS. Work garter st on tie string for approx 35-40-40-45-50-50 cm. SLEEVE: Worked back and forth on needle. LOOSELY cast on 68-72-76-80-84-88 sts (includes 1 edge st each side) on needle size 2.5 mm with Alpaca. Work 12 rows garter st, and then M.3 (first row = RS). After M.3 change to needle size 3 mm and work next row as follows (from RS): K1, 1 YO, * K2, 1 YO *, repeat from *-*, finish with K1 = 102-108-114-120-126-132 sts. P 1 row from WS, P YO into back of loop to avoid a hole. Continue in stocking st. When piece measures 8 cm (for all sizes) cast off for sleeve cap each side at the beg of every row: 4 sts 1 time and 2 sts 1 time, then 1 st each side until piece measures 18-19-20-21-22-23 cm. On next row from RS K3 tog across the row and cast off in P sts from WS. ASSEMBLY: Sew shoulder seams. Sew collar tog mid back, edge to edge and sew collar to neckline on back piece – sew edge to edge to avoid a chunky seam. Set in sleeves and sew sleeve and side seams inside 1 edge st – leave an opening in seam on the right side approx 18-19-20-21-22-23 cm from bottom edge and 2 cm from the top and use this hole for tie string |
|||||||||||||||||||
Diagram explanations |
|||||||||||||||||||
|
|||||||||||||||||||
 |
|||||||||||||||||||
Have you finished this pattern?Tag your pictures with #dropspattern #queenofrufflescardigan or submit them to the #dropsfan gallery. Do you need help with this pattern?You'll find 10 tutorial videos, a Comments/Questions area and more by visiting the pattern on garnstudio.com. © 1982-2026 DROPS Design A/S. We reserve all rights. This document, including all its sub-sections, has copyrights. Read more about what you can do with our patterns at the bottom of each pattern on our site. |
|||||||||||||||||||






With over 40 years in knitting and crochet design, DROPS Design offers one of the most extensive collections of free patterns on the internet - translated to 17 languages. As of today we count 333 catalogues and 12525 patterns translated into English (UK/cm). 12525
We work hard to bring you the best knitting and crochet have to offer, inspiration and advice as well as great quality yarns at incredible prices! Would you like to use our patterns for other than personal use? You can read what you are allowed to do in the Copyright text at the bottom of all our patterns. Happy crafting!
Post a comment to pattern DROPS 119-23
We would love to hear what you have to say about this pattern!
If you want to leave a question, please make sure you select the correct category in the form below, to speed up the answering process. Required fields are marked *.