
Popular categories
Looking for a yarn?





























Comments / Questions (6)
 Sabine Schmitz wrote:
Am unteren Rand - kann man auch die Zunahmen weglassen und einfach die Arbeit mit 2 re/2li über 3 cm beenden?
18.10.2026 - 00:09DROPS Design answered:
Liebe Frau Schmitze, wenn Sie nicht zunehmen, wird das Bündchen die Arbeit zusammenziehen, um das zu vermeiden, wird man hier vor Bündchen zunehmen. Viel Spaß beim Stricken!
19.10.2026 - 10:50
Sabine wrote:
Könnte man auch bei dem Poncho hazy sky poncho für den unteren Rand keine Maschen mehr zunehmen sondern einfach 3 cm 2 rechts 2 links stricken und dann abketten?
18.10.2026 - 00:07DROPS Design answered:
Liebe Sabine, man braucht mehr Maschen für das Bündchen mit den kleineren Nadeln als für Glattrechts mit den grösseren Nadeln, wenn Sie vor dem Bündchen nicht zunehmen, dann wird das Bündchen die Arbeit zusammenziehen. Viel Spaß beim Stricken!
19.10.2026 - 10:49
Sabine wrote:
Ich bräuchte die Antwort dringend
12.10.2026 - 13:38DROPS Design answered:
Siehe unten :)
13.10.2026 - 08:33
Sabine wrote:
D.h. Wenn ich 2 Umschläge nebeneinander auf der Nadel habe, kann ich aber den Umschlag vor dem Markierer nicht so stricken wie es von Ihnen beschrieben ist - sondern müsste in das hinter der Nadel liegende maschenglied einstechen bei beiden Umschlägen, richtig?
12.10.2026 - 12:02DROPS Design answered:
Liebe Sabine, es wird nie 2 Umschläge nebeneindander sein, die Markierer sind zwischen 2 Maschen eingesetzt und die Zunahmen entstehen vor oder/und nach diese 2 Maschen mit dem Markierer dazwischen. Viel Spaß beim Strikcen!
13.10.2026 - 08:18
Sabine wrote:
Bei dem hazy sky poncho habe ich zu den Zunahmen in der vorderen und hinteren Mitte eine Frage. Beidseitig vom Markierer würde ja bedeuten 2 Umschläge genau nebeneinander. Nur der Markierer ist in der Mitte. Bei mir entsteht dann ein Loch bei der Runde darüber.
11.10.2026 - 22:17DROPS Design answered:
Liebe Sabine, die Zunahmen werden entweder 1 Masche vor dem Markierer oder nach 1 Masche nach dem Markierer bearbeitet, so wenn Sie 1 Masche beidseitig von den Markierern stricken sollen sind es 2 Maschen (mit dem Markierer inzwischen) beidseitig von den Umschläge. Viel Spaß beim Stricken!
12.10.2026 - 09:49
 Jenni wrote:
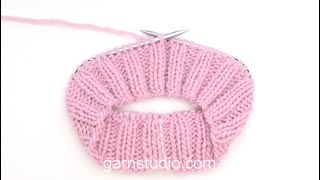
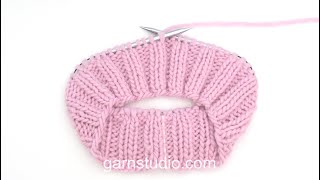
Tällä ohjeella käännetty kaulus on nurja puoli ulospäin, eli 2o 3n. Kuvassa näyttää eriltä?
19.09.2026 - 16:00DROPS Design answered:
Hei, kuvassa näkyy 2 oikean silmukan raitoja, joiden välissä on 3 nurjaa silmukkaa.
21.09.2026 - 18:54
|
|
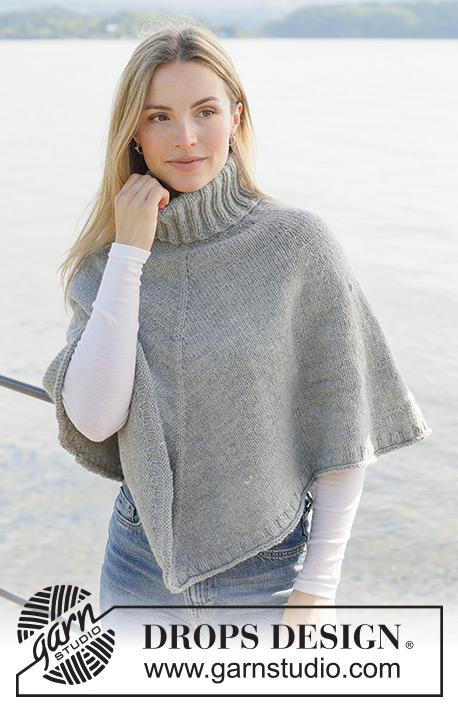
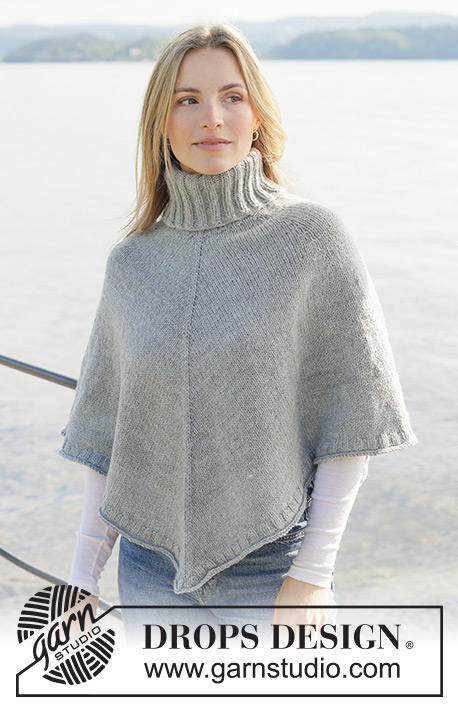
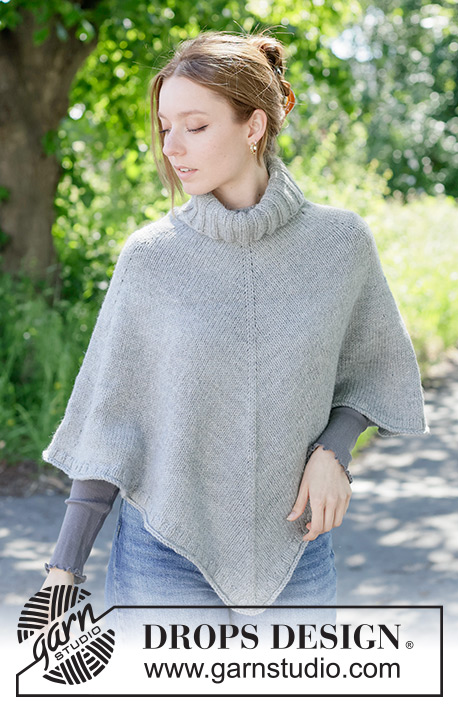
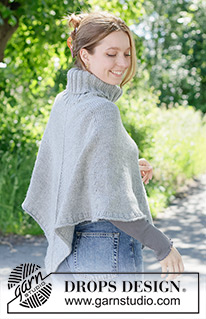
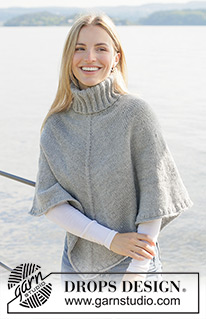
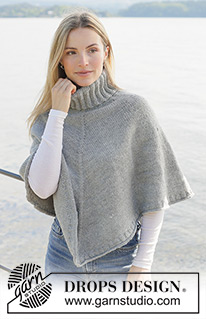
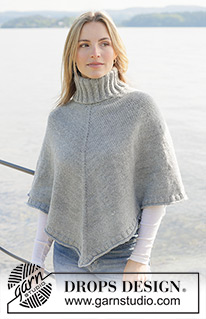
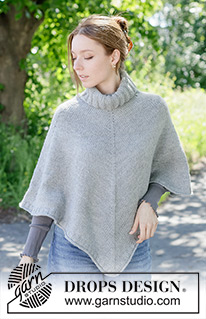
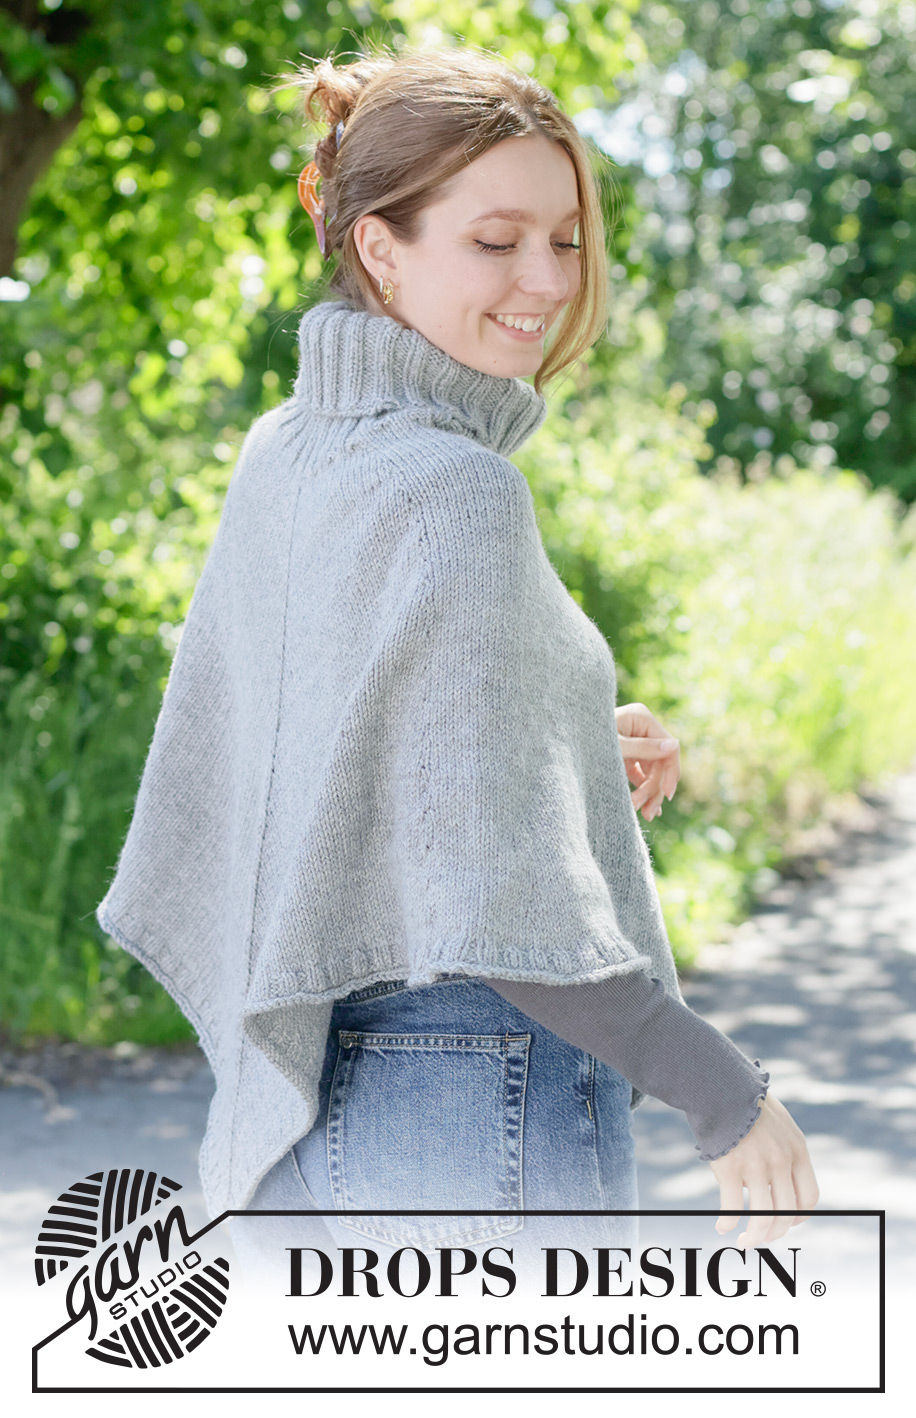
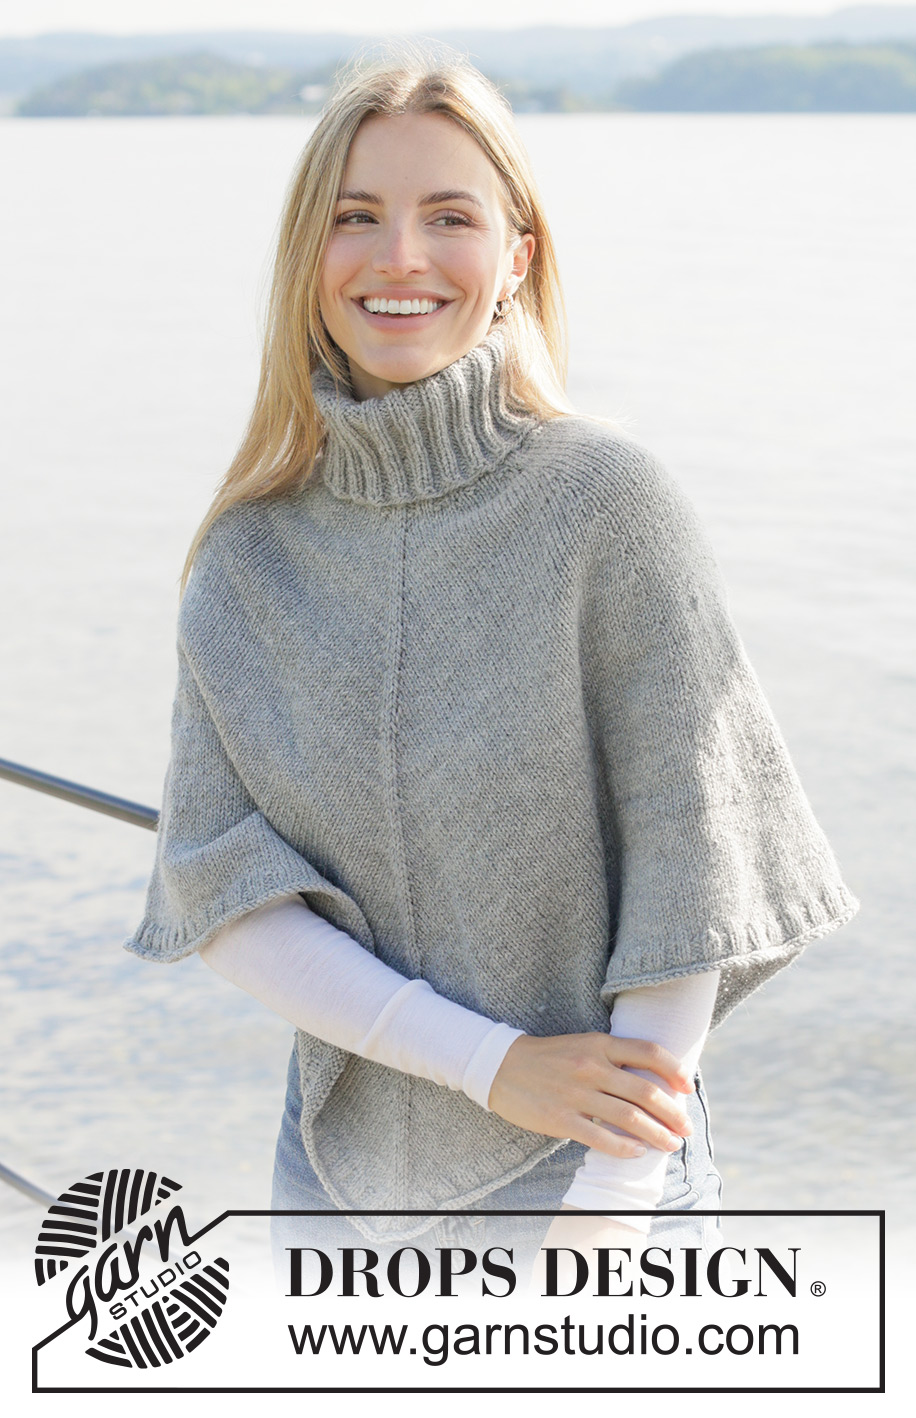
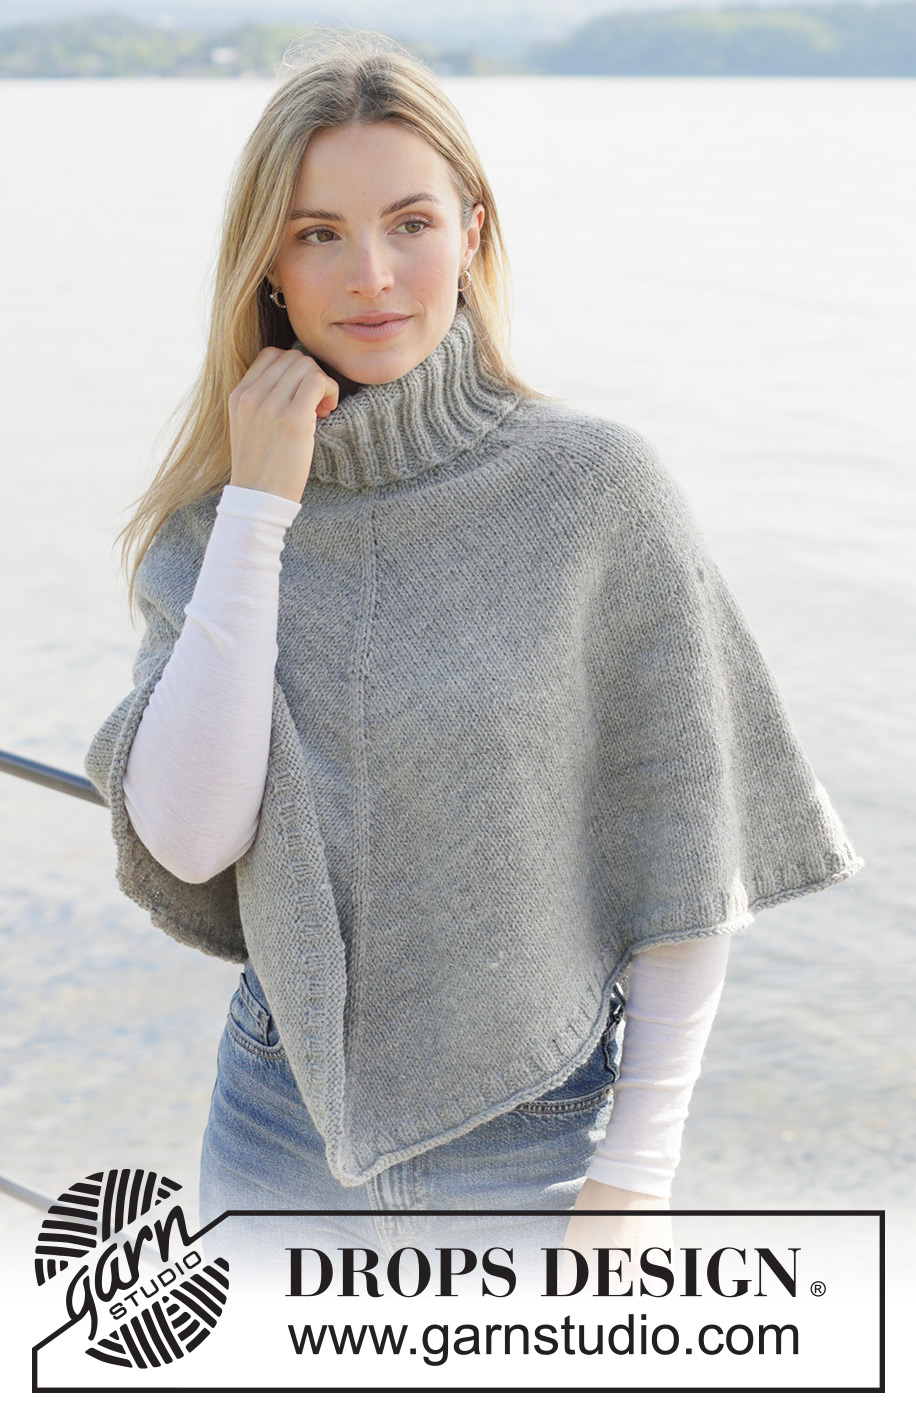
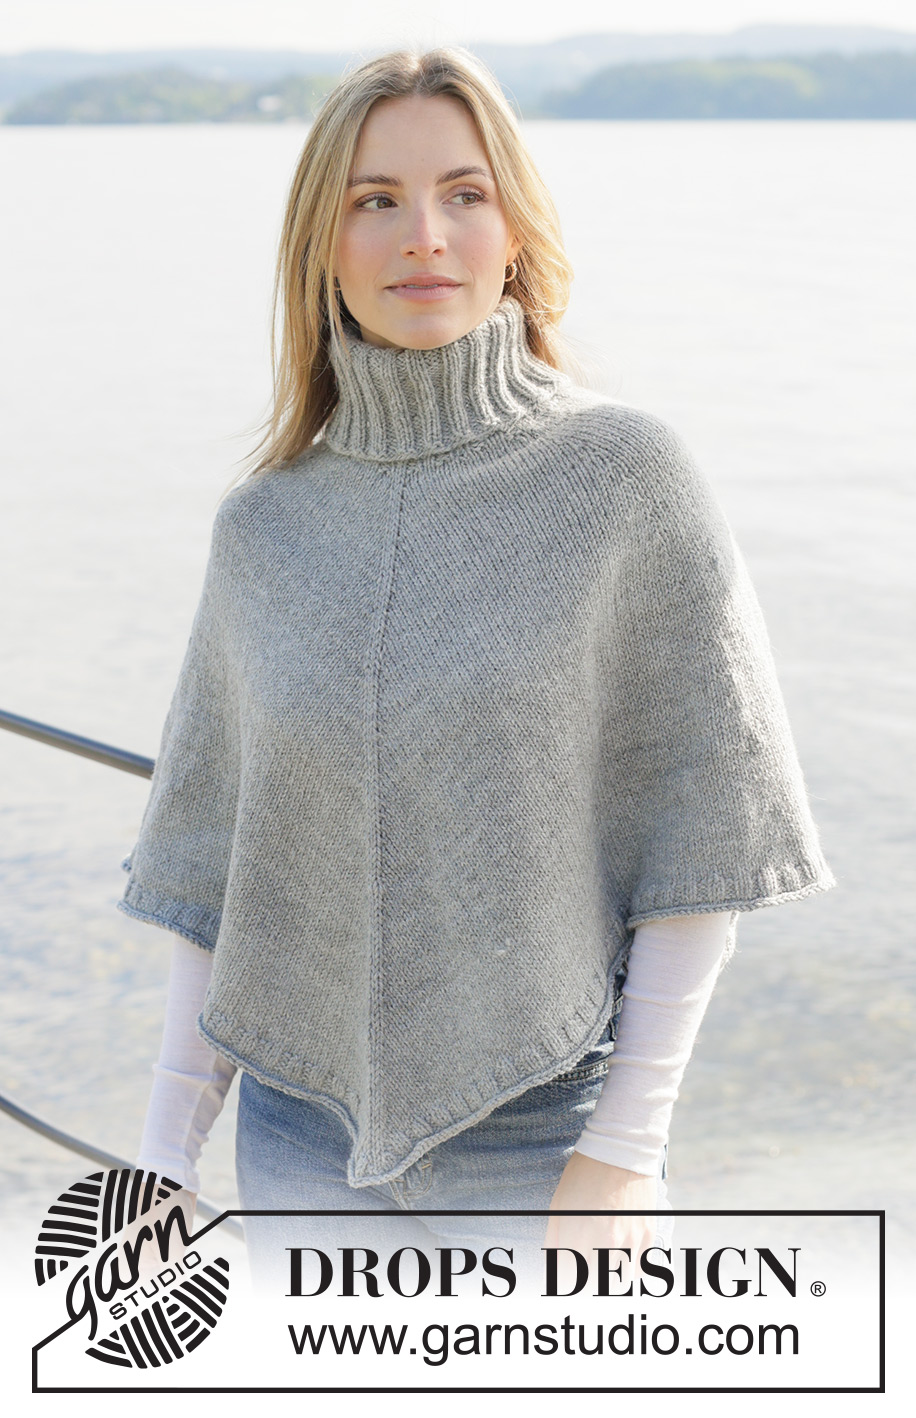
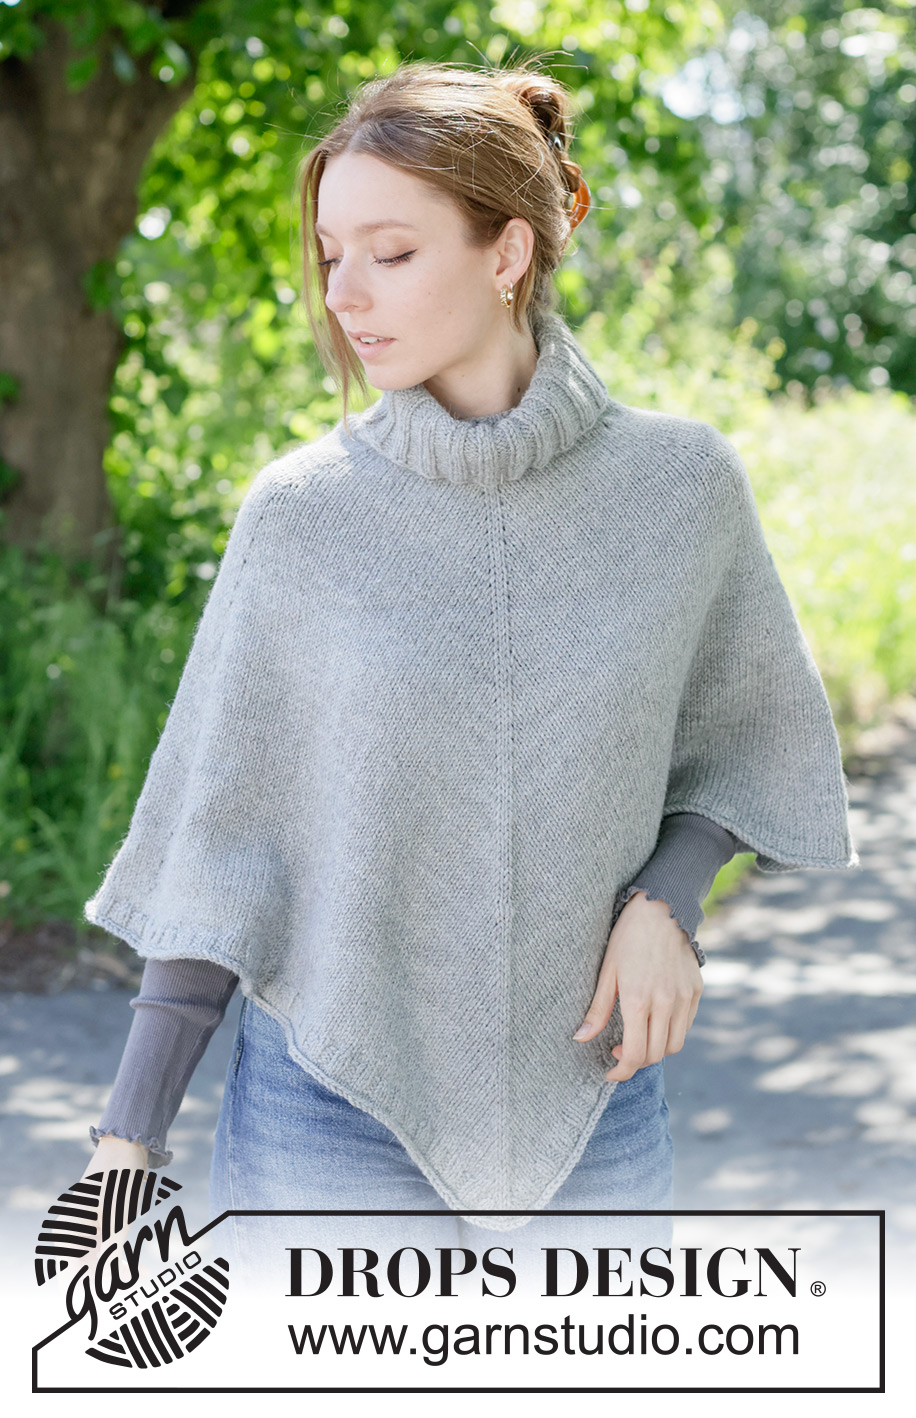
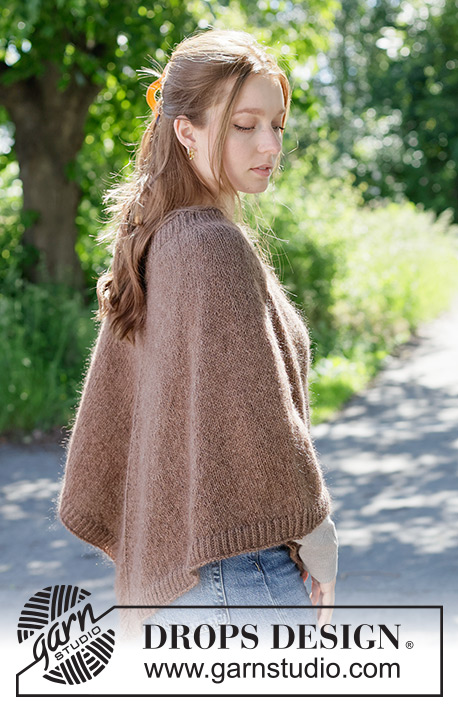
Hazy Sky Poncho#hazyskyponcho |
|
 |
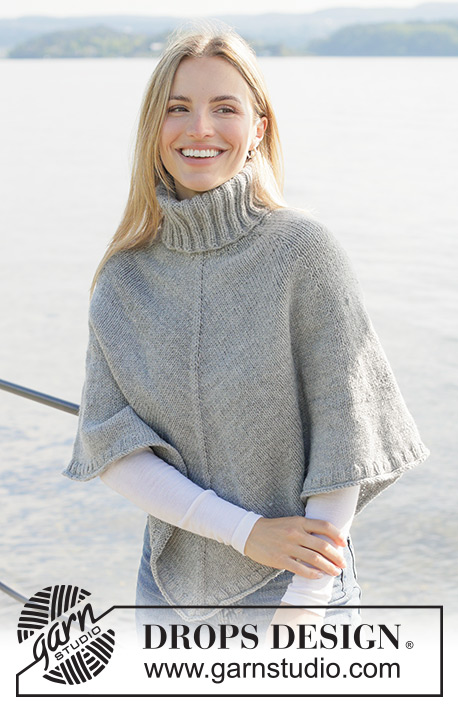 |
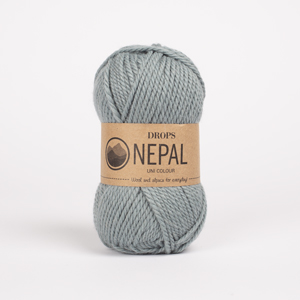
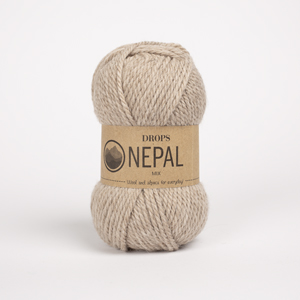
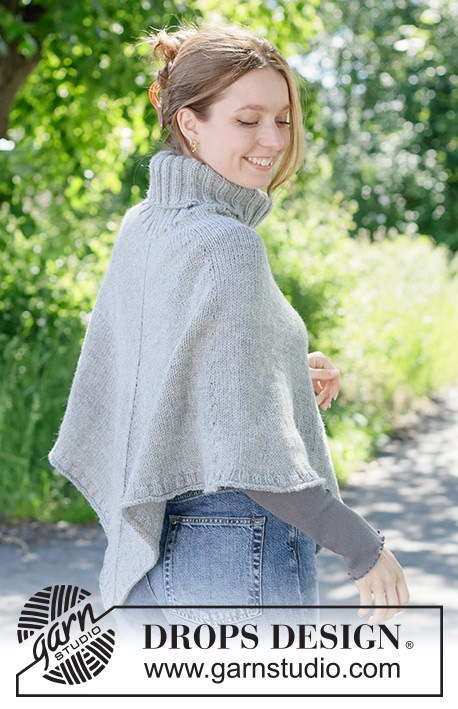
Knitted poncho in DROPS Nepal. Piece is knitted top down in stocking stitch with high collar. Size XS – XXXL.
DROPS 271-28 |
|
|
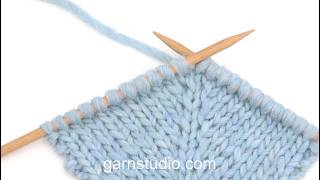
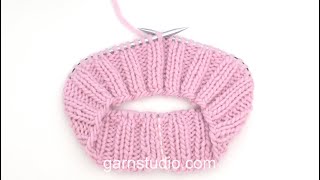
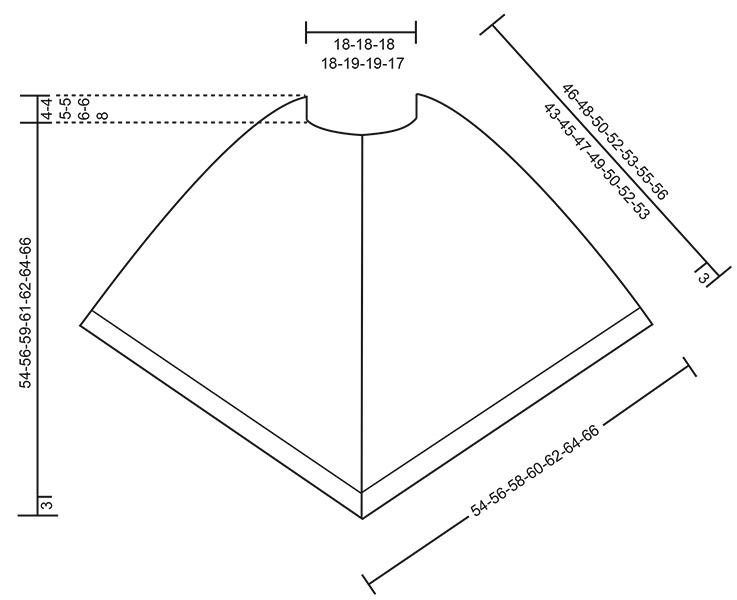
---------------------------------------------------------- EXPLANATION FOR THE PATTERN: ---------------------------------------------------------- INCREASE TIP-1: Increase 1 stitch by making 1 yarn over. On next round work yarn overs as explained below: BEFORE MARKER (= twist yarn over towards the right): Move yarn over from left needle to right needle purlwise, slip yarn over back on left needle by inserting left needle from behind in yarn over (yarn over is now twisted). Knit yarn over in loop in front of needle - to avoid holes. Work the new stitches in stocking stitch. AFTER MARKER (= twist yarn over towards the left): Knit yarn overs in loop behind the needle - to avoid holes. Work the new stitches in stocking stitch. INCREASE TIP-2: Increase 1 stitch by making 1 yarn over. On next round knit/purl yarn over twisted to avoid holes. ---------------------------------------------------------- START THE PIECE HERE: ---------------------------------------------------------- PONCHO - SHORT OVERVIEW OF THE PIECE: In this pattern needles of different length have been used, begin with fitting length for number of stitches and switch as needed. Work piece in the round on circular needle from right shoulder at the back and work top down with increases. If 0 stitches are given for the chosen size, it means that you skip the information and jump to next information. HIGH COLLAR: Cast on 110-110-120-120-130-130-140 stitches on circular needle size 5 mm with DROPS Nepal. Switch to circular needle size 4 mm and knit 1 round. Then work rib in the round (= knit 3 and purl 2). Beginning of round is at right shoulder at the back. When rib measures 7-7-8-8-8-9-9 cm decrease 1 stitch in every other section with 3 knit stitches (decrease by knitting 2 together at the beginning of every other section with knit stitches, i.e. decrease evenly 11-11-12-12-13-13-14 stitches in total) = 99-99-108-108-117-117-126 stitches. When rib measures 14-14-16-16-16-18-18 cm, decrease the remaining sections with 3 knit stitches to 2 knit stitches = 88-88-96-96-104-104-112 stitches. Continue rib (= knit 2 and purl 2) until neck measures 22-22-24-24-24-26-26 cm. YOKE: Continue with circular needle size 5 mm. Now insert 6 markers in the piece without working the stitches, insert 4 of the markers on each side of shoulder stitches and 2 of the markers between 2 knit stitches mid front and mid back as explained below. Insert 1st marker before first stitch, count 14-14-18-18-22-22-26 stitches (= shoulder), insert 2nd marker before next stitch, count 15 stitches (= right side front), Insert 3rd marker before next stitch (= mid front - this marker is between 2 knit stitches from rib in the neck), count 15 stitches (= left side front), insert 4th marker in next stitch, count 14-14-18-18-22-22-26 stitches (= shoulder), insert 5th marker before next stitch, count 15 stitches (= left side back), insert 6th marker before next stitch (= mid back - this marker is between 2 knit stitches from rib in the neck), 15 stitches remain on round (= right side back). Work in stocking stitch in the round and increase at the markers as explained below. Remember to follow the knitting tension! NOTE! Increase for each shoulder and mid front/mid back is different so please read both sections below before continuing and read INCREASE TIP-1 on how to increase. SHOULDER: Increase AFTER 2nd marker, BEFORE 4th marker, AFTER 5th marker and BEFORE 1st marker on round (= 4 stitches increased), i.e. increase on each side of each shoulder. Increase like this every other round 2-2-2-2-2-3-3 times, every 4th round 11 times, every 6th round 4 times and then every 8th round 2-2-2-3-3-4-4 times. 19-19-19-20-20-22-22 increases have been done in total on each side of each shoulder. MID FRONT/MID BACK: Increase on each side of 3rd and 6th marker (= 4 stitches increased). Increase like this every other round 47-50-52-54-55-57-58 times in total, or until desired measurements. When all increases are done, piece measures approx. 43-45-47-49-50-52-53 cm after rib in the neck - measures in knitting direction (= stitch direction) = 352-364-380-392-404-420-432 stitches on row. Now work an edge as explained below. EDGE: Switch to circular needle size 4 mm and work 4 rounds rib (= knit 2 and purl 2) while AT THE SAME TIME increasing 80-84-84-88-92-92-96 stitches evenly on 1st round – read INCREASE TIP-2 and distribute the increases evenly between mid front and mid back – rib should fit 2 knit and 2 purl the entire round and the 2 knit stitches from mid front/mid back should continue down in rib, increase in addition 1 stitch on each side of 3rd and 6th marker as before (on every round) = 448-464-480-496-512-528-544 stitches. Knit 2 rounds over all stitches. Use circular needle size 5 mm and cast off by knitting somewhat loosely. Entire poncho measures approx. 54-56-59-61-62-64-66 cm measured along mid front after rib in the neck Fold the neck double. |
|
 |
|
Have you finished this pattern?Tag your pictures with #dropspattern #hazyskyponcho or submit them to the #dropsfan gallery. Do you need help with this pattern?You'll find 15 tutorial videos, a Comments/Questions area and more by visiting the pattern on garnstudio.com. © 1982-2026 DROPS Design A/S. We reserve all rights. This document, including all its sub-sections, has copyrights. Read more about what you can do with our patterns at the bottom of each pattern on our site. |
|






With over 40 years in knitting and crochet design, DROPS Design offers one of the most extensive collections of free patterns on the internet - translated to 17 languages. As of today we count 333 catalogues and 12532 patterns translated into English (UK/cm). 12532
We work hard to bring you the best knitting and crochet have to offer, inspiration and advice as well as great quality yarns at incredible prices! Would you like to use our patterns for other than personal use? You can read what you are allowed to do in the Copyright text at the bottom of all our patterns. Happy crafting!
Post a comment to pattern DROPS 271-28
We would love to hear what you have to say about this pattern!
If you want to leave a question, please make sure you select the correct category in the form below, to speed up the answering process. Required fields are marked *.