
Popular categories
Looking for a yarn?


Comments / Questions (7)
![]() Tina wrote:
Tina wrote:
Jag är totalt en nybörjare som försöker mig på detta. Jag kan virka mormorsrutor så lite med stolpar och luftmaskor samt sm kan jag. Jag förstår inte mönster beskrivningen. Jag har läst i kommenteraren här också och förstår nu tack vare Gunilla hur jag skall börja botten på väskan. Men hur många varv skall jag göra så som ni har beskrivit för Gunilla? Jag skulle önska mer en sådan beskrivning som ni angivit till Gunilla i kommentarerna för hela beskrivningen.
05.02.2025 - 14:40DROPS Design answered:
Hej Tina, hvis du vil prøve at virka en väska steg för steg enligt en video, så du får hjälp hela vägen, så titta här: Video - Virkade Väskor :)
12.02.2025 - 10:56
![]() Dumont wrote:
Dumont wrote:
Bonjour Très compliqué à comprendre pour moi. Le diagrammes montrent 8 rangs et le A2 il y a augmentation des brides ???? Serait-il possible d'avoir une explication beaucoup plus détaillée ? Je vous en remercie
18.09.2024 - 18:22DROPS Design answered:
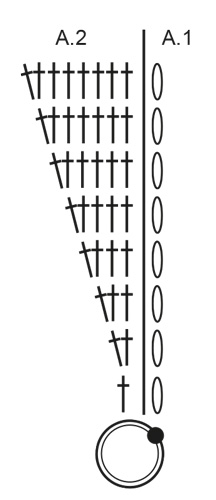
Bonjour Mme Dumont, lisez les diagrammes à partir du point noir sur le cercle et de droite à gauche: vous commencez par A.1 (- 3 ml), puis répétez 12 fois A.2 (soit 12 x 1 bride au 1er tour, 12 x 2 brides = 24 brides au 2ème tour et ainsi de suite), à la fin de A.2, vous avez 8 brides dans chaque A.2 x 12 fois soit 96 brides. Augmentez dans A.2 comme indiqué dans le diagramme, autrement dit en crochetant 2 brides dans la dernière bride de chaque A.2. Bon crochet!
19.09.2024 - 09:16
![]() Csilla wrote:
Csilla wrote:
Üdvözlöm! Szuper, alapvetően egyszerű minta, viszont találtam egy zavaró hibát: a TÁSKA leírásánál a MEGJEGYZÉS résznél "Innen minden körben 48 erp-t és közöttük 1-1 lsz-t horgolunk, minden körben." Helyesen a lsz helyett láncszemívet kéne írni, mert nem 1 láncszemről, hanem 3 láncszemről van szó, ami kiadja a láncszemívet.
15.04.2024 - 11:07DROPS Design answered:
Kedves Csilla! Köszönjük, javítottuk. További sikeres kézimunkázást!
16.04.2024 - 22:51
![]() Gunilla wrote:
Gunilla wrote:
Försöker virka nätkasse modell 342 men förstår inte mönstret till botten. Hur gör man? Mvh/Gunilla
08.04.2024 - 16:35DROPS Design answered:
Hej Gunilla, du starter med luftmaskeringen, så hækler du de 3 lm for at komme op i højde og nu hækler du 12 stolper, på næste varv hækler du 3 lm for at komme op i højde og nu hækler du 24 stolper, således lægger du til 12 nye stolper for hvert varv :)
09.04.2024 - 11:29
![]() Co wrote:
Co wrote:
Bonjour, Je suis désolée mais j\'ai beau lire et relire l\'explication, je ne comprends pas ce qu\'il faut exactement faire pour A1 et A2. Pouvez-vous expliquer autrement, svp ? Je vous en remercie.
22.08.2023 - 19:41DROPS Design answered:
Bonjour Co, le diagramme A.1 montre simplement comment commencer (- 3 mailles en l'air) et terminer (1 maille coulée dans la 3ème de ces mailles en l'air) les tours, autrement dit, vous allez crocheter ainsi: A.1 (=3 ml), répétez ensuite 12 fois A.2 (= 12 fois 1 bride dans le rond de mailles en l'air), terminez par 1 mc dans la 3ème ml (A.1), et continuez ainsi. Bon crochet!
23.08.2023 - 07:58
![]() Tina Hesselager wrote:
Tina Hesselager wrote:
Når jeg følger diagrammet- hvis jeg læser det rigtigt, får jeg en spids skåleformet bund. Jeg læser diagrammet på den måde, at første omgang efter ringen med de 4 lm hækles således: 3 lm (erstatter 1.stm), stm hele vejen rund i ringen, svarende til antal stm i ringen: det vil sige 3 stm. Men allerede her krøller arbejdet sig sammen. Hvor mange stm hækles på det, der er arbejdets 1.omg? Næste omgang: 2 stm i hver af forrige omg.´s stm? Mvh Tina
11.05.2023 - 12:36
![]() Pilar wrote:
Pilar wrote:
Cuantos puntos altos deben hacerse en la primera vuelta para empezar hacer la base del bolso? Cuantos puntos deben haber en la segunda vuelta?, y en la tercera? Cuantas vueltas en total deben haber en la base del bolso? Gracias
28.09.2022 - 22:29DROPS Design answered:
Hola Pilar, para la primera fila tienes: 3 puntos de cadeneta (el inicio de la labor) + 12 puntos altos. En la segunda fila, trabajas el doble de puntos en A.2: tienes 3 puntos de cadeneta + 24 puntos altos. En cada vuelta aumentas 1 punto en cada A.2, por eso siempre vas a tener 12 puntos más en cada vuelta de la base del bolso (p.e en la tercera fila tienes 3 puntos de cadeneta + 36 puntos altos). Cuando termines A.2, deberías tener 96 puntos altos.
03.10.2022 - 00:03
|
||||||||||
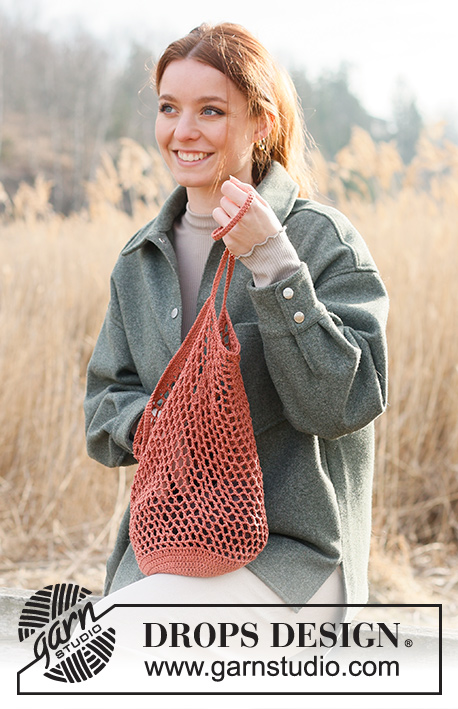
Open Market#openmarketbag |
||||||||||
 |
 |
|||||||||
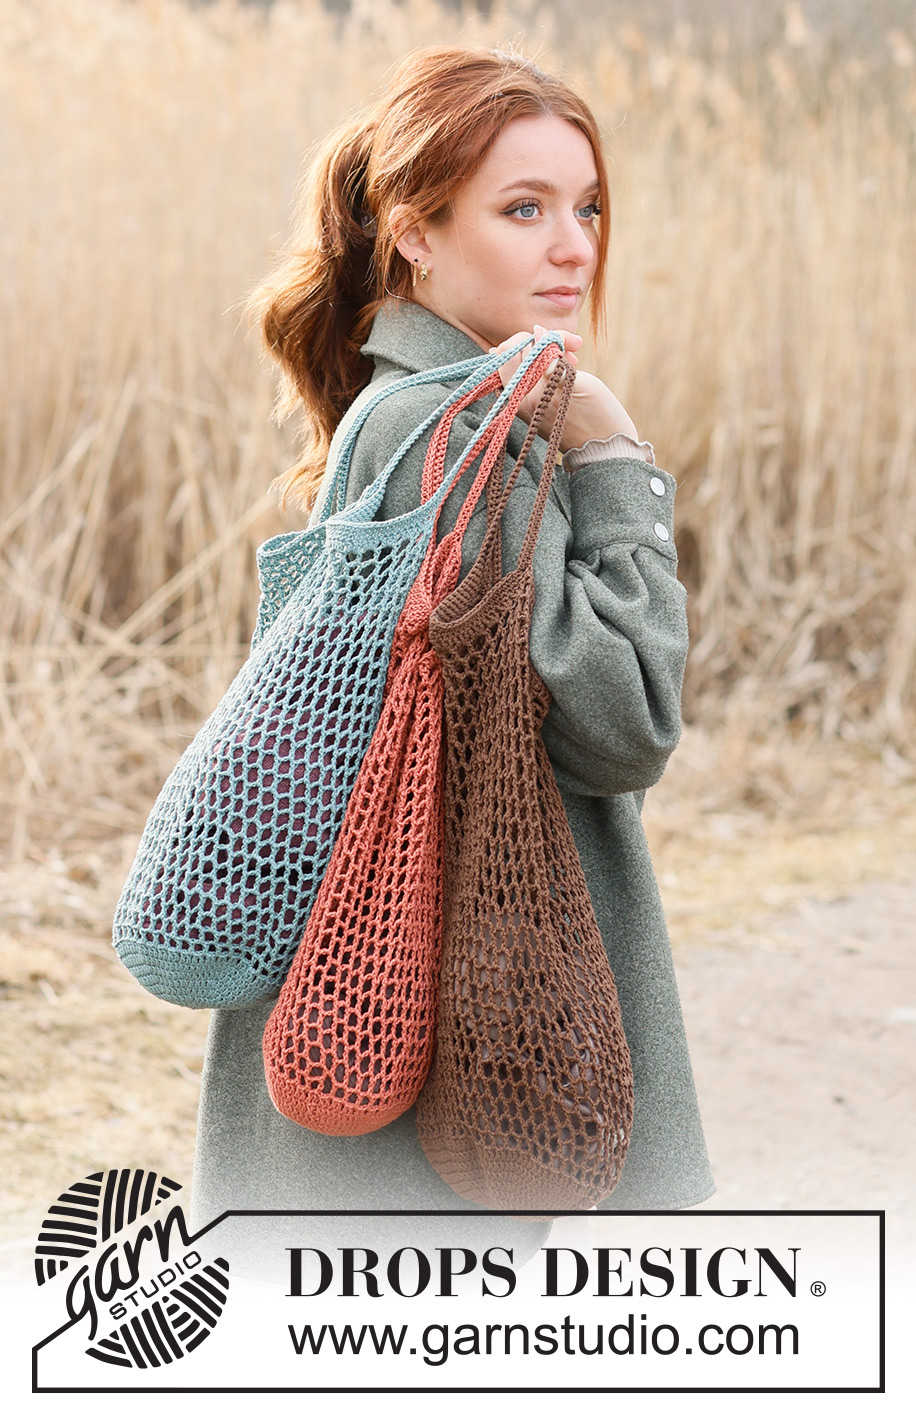
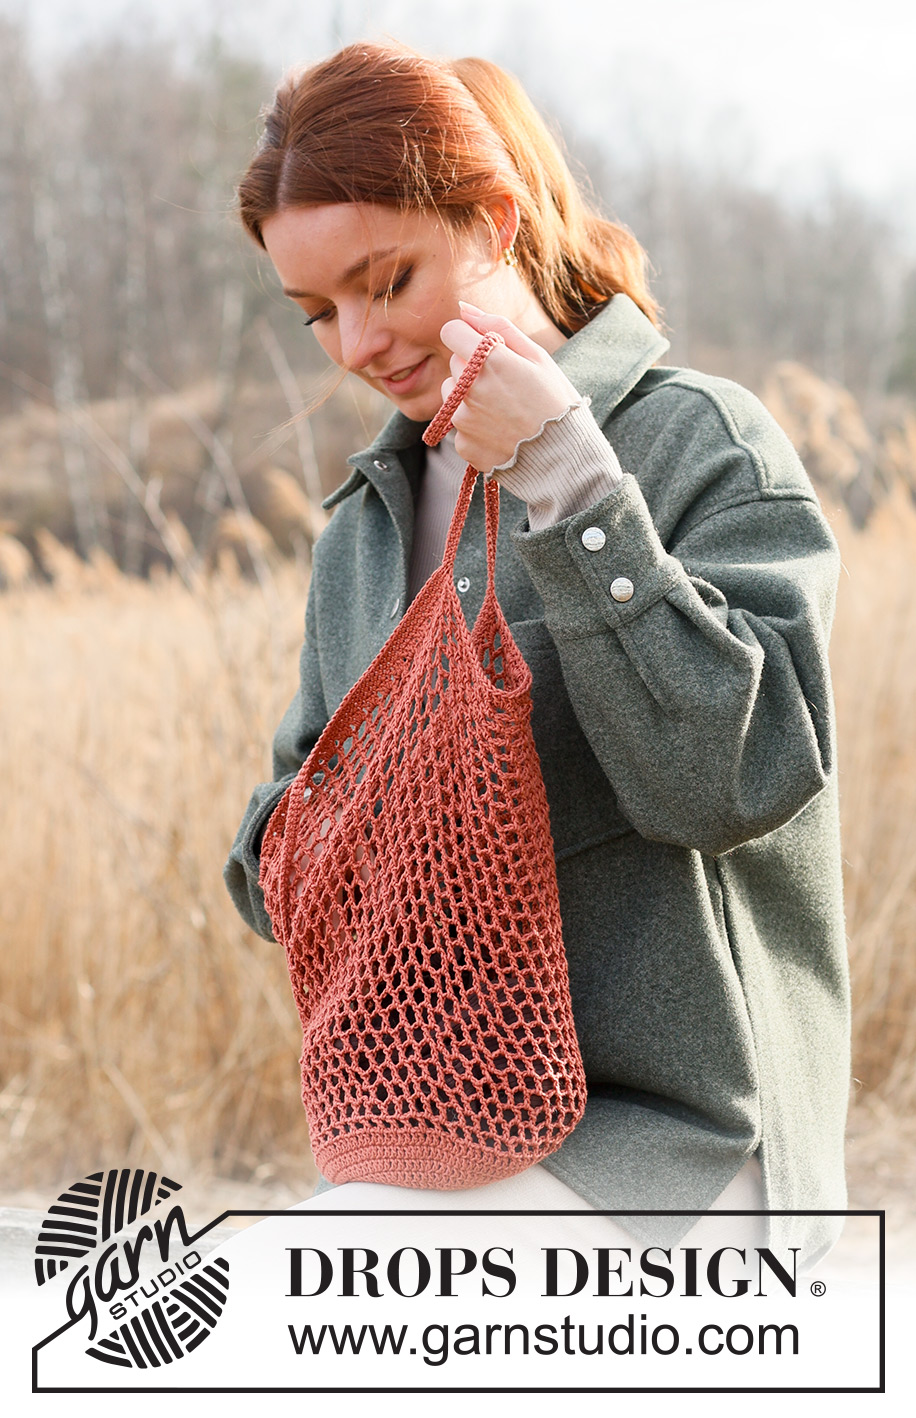
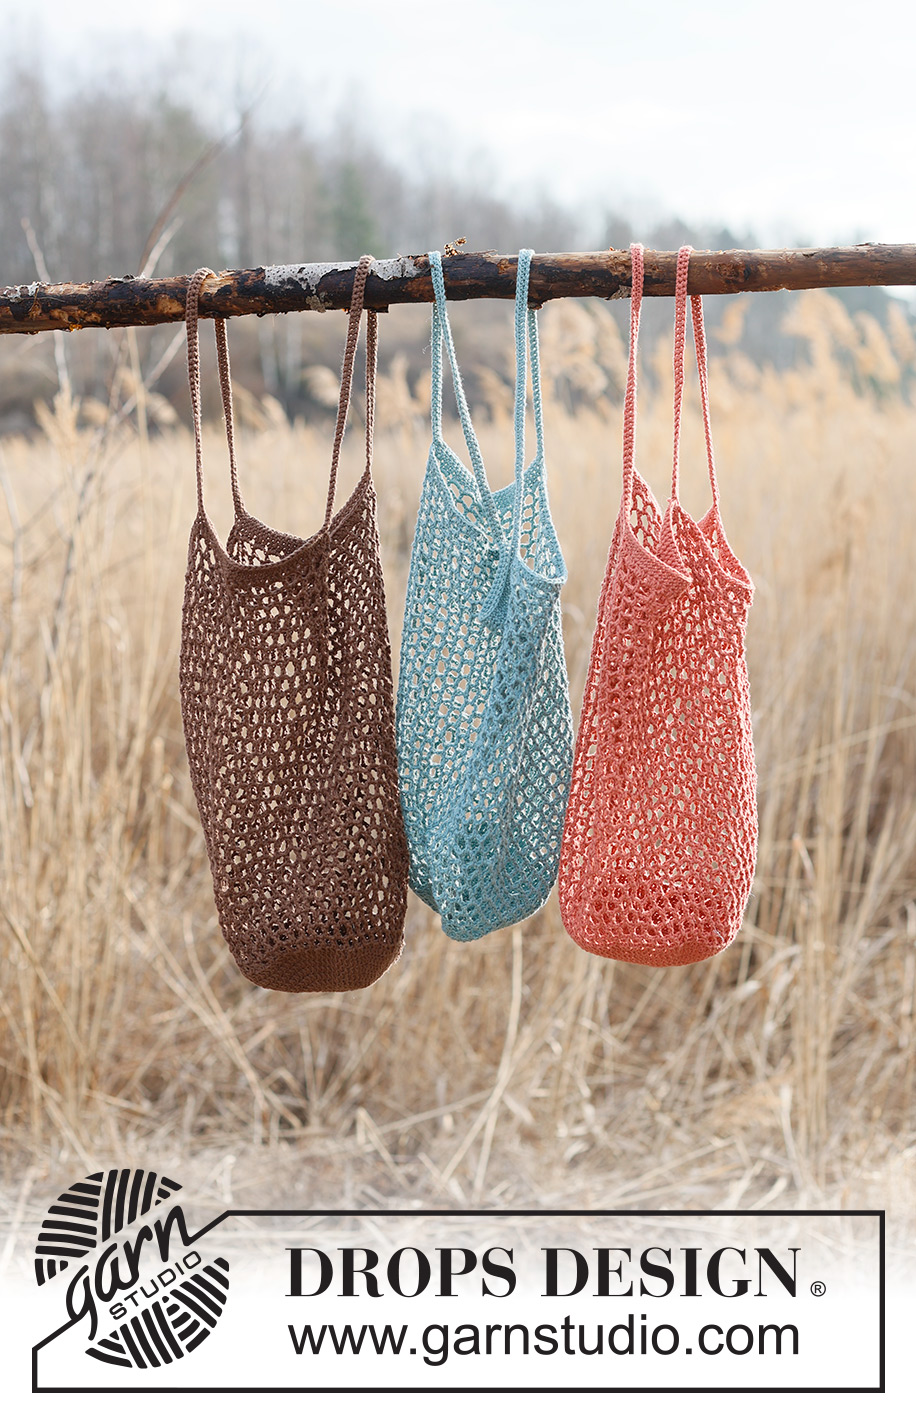
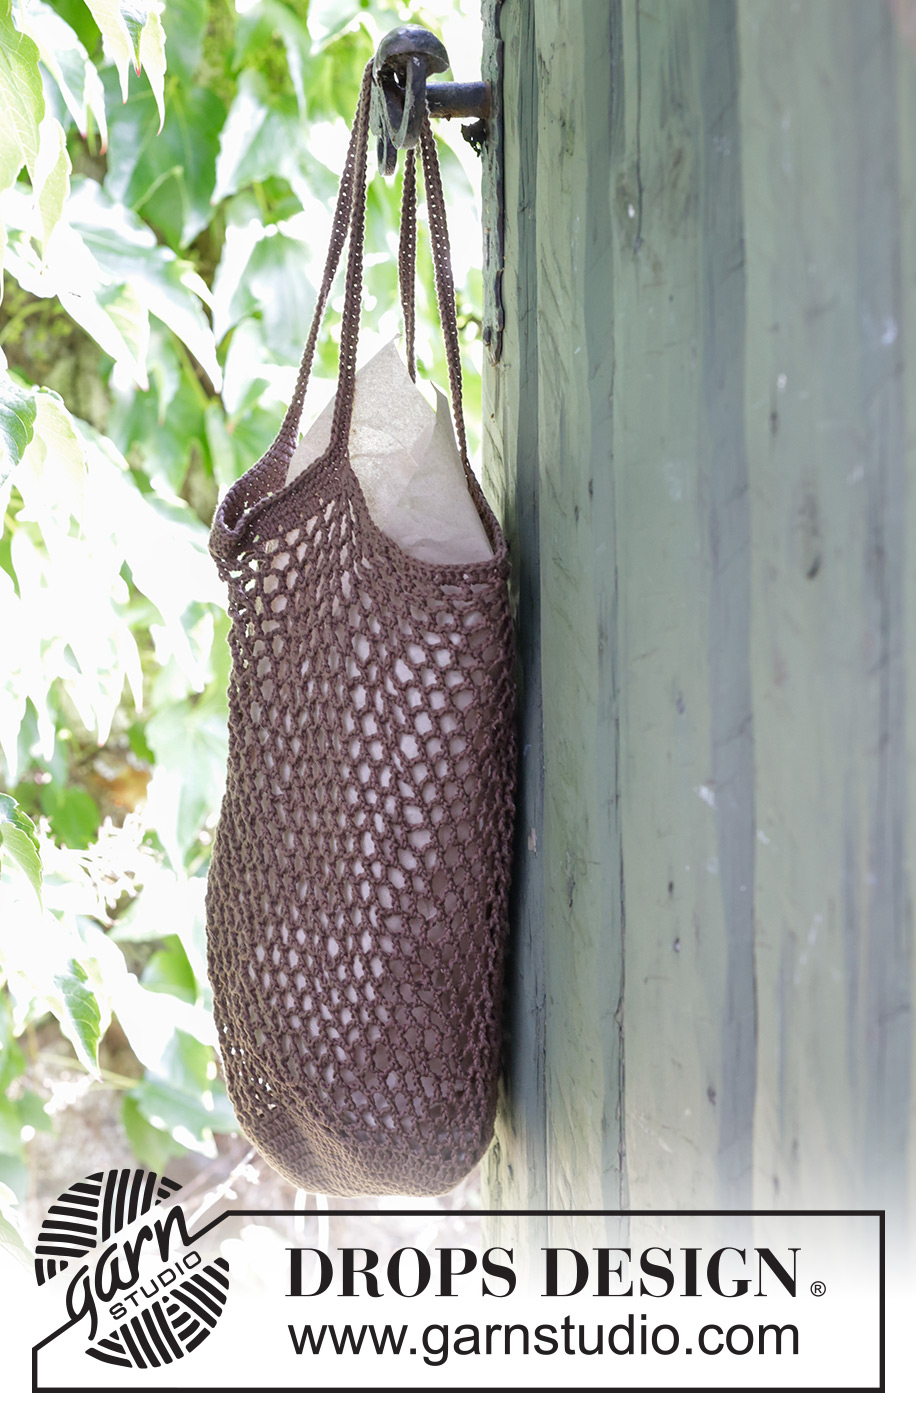
Crocheted bag / shopping net in DROPS Safran. The piece is worked bottom up.
DROPS 234-1 |
||||||||||
|
------------------------------------------------------- EXPLANATIONS FOR THE PATTERN: ------------------------------------------------------- PATTERN: See diagrams A.1 and A.2. CHAIN STITCH: If you work outermost on the hook the chain stitch will often be too tight; 1 chain stitch should be as long as 1 treble crochet is wide. ------------------------------------------------------- START THE PIECE HERE: ------------------------------------------------------- BAG – SHORT OVERVIEW OF THE PIECE: The piece is worked in the round, bottom up. BAG: Use crochet hook size 3 mm and DROPS Safran. Work 4 chain stitches and form them into a ring with 1 slip stitch in the first chain stitch. Work in the round as follows: Work A.1 (shows how the rounds begin and end), then A.2 12 times on the round. When A.1 and A.2 have been completed there are 96 stitches; the bottom is finished. REMEMBER THE CROCHET TENSION! Insert 1 marker thread to measure from. Continue as follows: ROUND 1: Work 3 chain stitches (replaces the first treble crochet), 1 treble crochet in the first treble crochet, 1 chain stitch, * 1 treble crochet in each of the next 2 treble crochets, 1 chain stitch *, work from *-* to the end of the round, finish with 1 slip stitch in the 3rd chain stitch. There are 96 treble crochets and 48 chain stitches. ROUND 2: Work 5 chain stitches (replaces the first treble crochet and 1 chain-space), skip forward to the first chain stitch from the previous round, work 1 treble crochet around the chain stitch, * 2 chain stitches, 1 treble crochet around the next chain stitch *, work from *-* until there are 2 treble crochets left, work 2 chain stitches and 1 treble crochet around the 5 chain stitches at the beginning of the round (this is the first treble crochet on the next round). NOTE! Round 3 is now worked without stopping at the end of the round. Insert 1 marker in the first treble crochet to mark the beginning of the round. From now on there are 48 treble crochets with 1 chain-space between each one on each round. Work as follows: ROUND 3: Work 2 chain stitches, 1 treble crochet around the next chain-space. * 3 chain stitches, 1 treble crochet around the next chain-space *, work from *-* until the piece measures 28 cm from the marker thread. Finish the last round with 2 chain stitches – work round 4. EDGE WITH STRAPS: ROUND 4: Work 3 treble crochets around each chain-space until there is 1 chain-space left, work 1 half-treble crochet, 1 double crochet and 1 slip stitch around this chain-space, finish with 1 slip stitch in the next treble crochet. There are 144 stitches – do not cut the strand, the straps are worked from here. ROUND 5: Work 1 chain stitch, 1 double crochet in each of the next 35 stitches, 84 chain stitches (strap), skip 36 stitches, work 1 double crochet in each of the next 36 stitches, 84 chain stitches (strap), skip 36 stitches and finish with 1 slip stitch in the first chain stitch at the beginning of the round. ROUND 6: Work 1 chain stitch, * 1 double crochet in each stitch as far as the strap, 1 double crochet in each chain stitch on the strap *, work from *-* 1 more time and finish with 1 slip stitch in the first chain stitch at the beginning of the round. ROUND 7: Work 1 chain stitch, 1 double crochet in each stitch to the end of the round and 1 slip stitch in the first chain stitch at the beginning of the round. Cut and fasten the strand. |
||||||||||
Diagram explanations |
||||||||||
|
||||||||||
 |
||||||||||
Have you finished this pattern?Tag your pictures with #dropspattern #openmarketbag or submit them to the #dropsfan gallery. Do you need help with this pattern?You'll find 11 tutorial videos, a Comments/Questions area and more by visiting the pattern on garnstudio.com. © 1982-2026 DROPS Design A/S. We reserve all rights. This document, including all its sub-sections, has copyrights. Read more about what you can do with our patterns at the bottom of each pattern on our site. |
||||||||||


With over 40 years in knitting and crochet design, DROPS Design offers one of the most extensive collections of free patterns on the internet - translated to 17 languages. As of today we count 324 catalogues and 12290 patterns translated into English (UK/cm). 12290
We work hard to bring you the best knitting and crochet have to offer, inspiration and advice as well as great quality yarns at incredible prices! Would you like to use our patterns for other than personal use? You can read what you are allowed to do in the Copyright text at the bottom of all our patterns. Happy crafting!
Post a comment to pattern DROPS 234-1
We would love to hear what you have to say about this pattern!
If you want to leave a question, please make sure you select the correct category in the form below, to speed up the answering process. Required fields are marked *.