
Popular categories
Looking for a yarn?


Comments / Questions (11)
![]() Sophie M wrote:
Sophie M wrote:
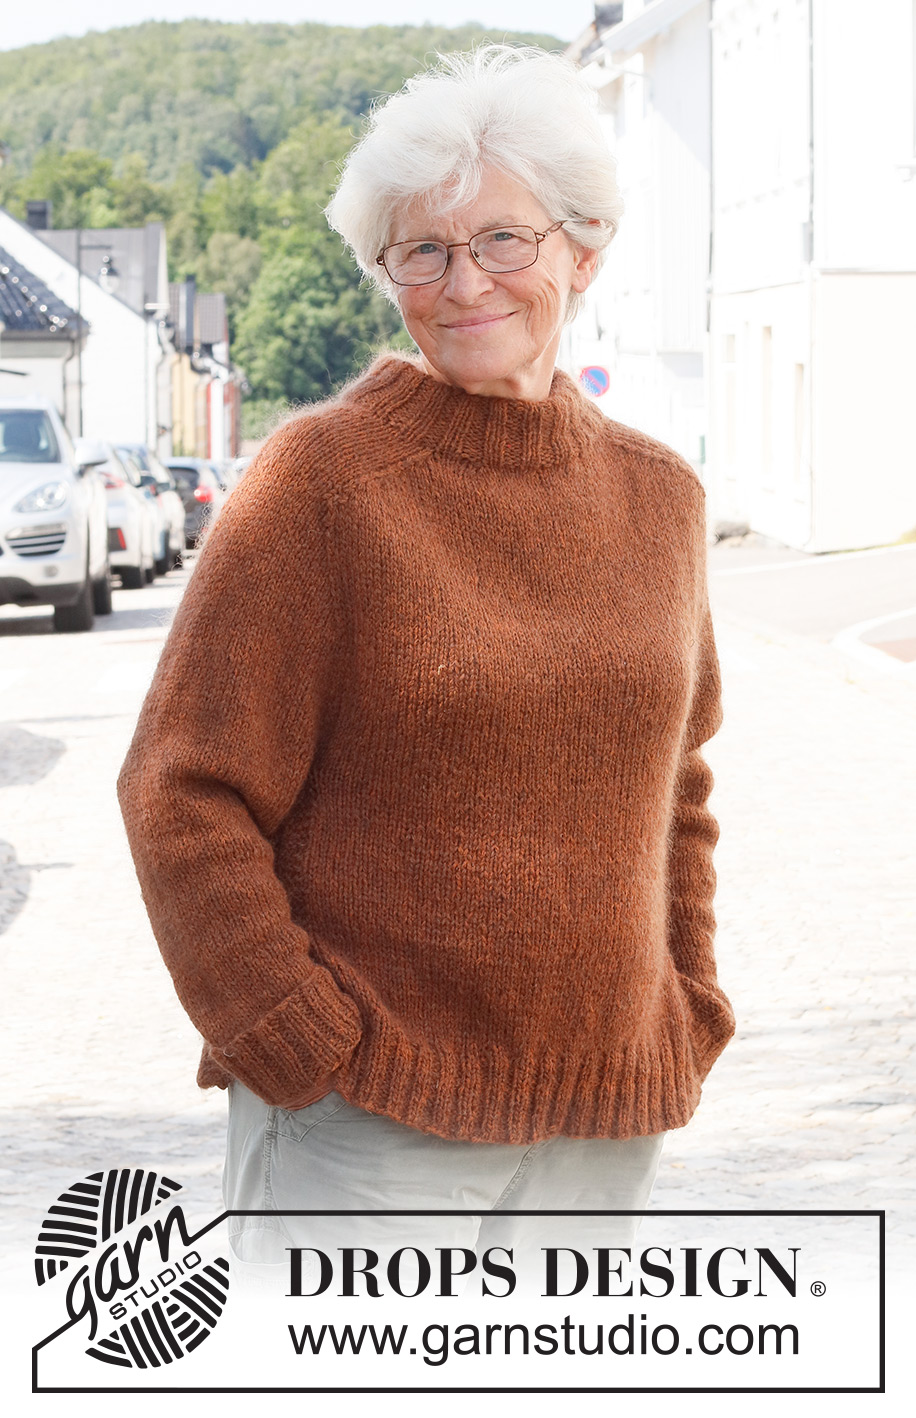
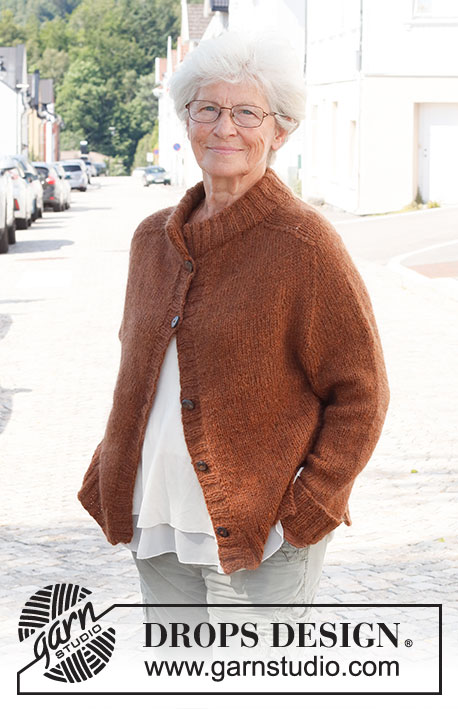
Hi! I was just wondering what size the older lady in the cover image is wearing? Thanks :)
15.11.2024 - 08:40DROPS Design answered:
Dear Sophie, our models usually wear an M size. Happy knitting!
17.11.2024 - 19:40
![]() Fatima Kane wrote:
Fatima Kane wrote:
Thank you very much
09.10.2024 - 12:38
![]() Fatima Kane wrote:
Fatima Kane wrote:
My trouble is : If I start to count , which way shall I go? Left or rigth? Shall I begin on the back or on the sleeve? After puting all the pieces on the circular needles , only the sleeves are supposed to get decreases? The fact is that as I´m doing the 2nd and the 4th marker get placed on the back or on the front piece. Thanks
08.10.2024 - 12:42DROPS Design answered:
Dear Mrs Kane, when working yoke, place the stitches on the same circular needle as explained, ie starting with back piece, so that the first stitches to count are the first stitches on back piece; this means sleeve will start some stitches (2 to 11 sts) on back piece and not with the same number of sts as sleeves themselves. you then first decrease on sleeve (4 sts every decrease round), then decrease body only (8 sts on every decrease round). Decrease before/after the marker as explained to decrease on the right place. Happy knitting!
09.10.2024 - 07:38
![]() Fatima Kane wrote:
Fatima Kane wrote:
Olá. estou a tricotar o tamanho XL . Coloco na agulha circular 90 (costas), 62(manga), 90(frente), 62 (manga), por esta ordem. Onde começo a contar para colocar o marcador 1, o marcador 2, o marcador 3 e o marcador 4? Os 2 e 3 ficam-me nas costas e nas frentes... Ora as diminuições só devem ser nas mangas. Verdade? sei que tem respondido a este tipo de dúvidas mas não entendo. Obrigada
07.10.2024 - 20:13DROPS Design answered:
Bom dia, Todos os marcadores são colocados entre 2 malhas, ou seja, a partir do início da carreira, conta 6 malhas, depois, coloca o 1.º marcador antes da 7.ª malha, conta, agora, 78 malhas, coloca o 2.º marcador antes da 79.ªmalha, conta 74 malhas, coloca o 3.º marcador antes da 75.ª malha, conta 78 malhas, coloca o 4.º marcador antes da 79.ªmalha, E ficam 68 malhas até ao fim da carreira. Quanto às diminuições, elas vão ser feitas dos 2 lados de cada marcador para formar o raglan e, por isso, são feitas tanto nos lados das costas, frente e mangas. Bons tricôs!
08.10.2024 - 10:01
![]() ELENA MARIA BELLONI wrote:
ELENA MARIA BELLONI wrote:
Non ho ricevuto risposta
21.02.2024 - 13:57DROPS Design answered:
Buonasera Elena, abbiamo risposto alla sua richiesta. Buon lavoro!
25.02.2024 - 21:46
![]() ELENA MARIA BELLONI wrote:
ELENA MARIA BELLONI wrote:
Buongiorno. avrei bosogno di capire a pag. 5 . diminuzioni per la manica. dopo le diminuzioni delle 2 maglie dopo i segnapunti 2 e 4 e prima dei segnapunti 3 e 1 viene effettuata una diminuzion prima dei segnapunti 2 e 4 e dopo i segnapunti 3 e 1 di un punto. così facendo 'però diminuisco sul davanti e sul dietro e non solo sulle maniche. è corretto? quindi viene indicato si diminuisce solo sulle maniche in modo errato..
12.02.2024 - 16:30DROPS Design answered:
Buonasera Elena, grazie per la segnalazione: abbiamo corretto il testo. Le diminuzioni per le maniche sono DOPO i segnapunti 2 e 4 e PRIMA dei segnapunti 3 e 1. Buon lavoro!
25.02.2024 - 21:46
![]() Julia wrote:
Julia wrote:
Ich verstehe nicht, wo man bei der Passe anfängt zu zählen, um die Markierer zu setzen. Ich habe auf der Rundstricknadel von links nach rechts den rechten Ärmel, das Vorderteil, den linken Ärmel, das Rückenteil - wie komme ich dann mit + 78 Maschen auf das Rückenteil?
22.02.2022 - 10:43DROPS Design answered:
Liebe Julia, die 1. Markierung wird in die Maschen vom Rückenteil gezählt, diese 4 Maschen vor der Markierung gehören zu der Ärmel. Dann haben Sie 70 M für das Rückenteil (= 78 M minus 4 x 2 Ärmel); dann haben Sie 60 M für die Ärmel (= 52 M + 4 M vom Rückenteil + 4 M vom Vorderteil) usw. Viel Spaß beim stricken!
22.02.2022 - 13:16
![]() Moniqueferet wrote:
Moniqueferet wrote:
Bonjour, Oui bien entendu c’est ce que j’avais fait… Jj’ai remonté toutes les mailles sur la circulaire…. Mais je ne vais pas arriver à terminer le pull car sincèrement je ne comprends pas les explications…. Je vais faire a mon idée. Dommage
20.01.2022 - 08:47DROPS Design answered:
Bonjour Mme Feret, quelle partie ne comprenez-vous pas? À quel moment des explications? Quelle taille, etc... N'hésitez pas à poser votre question ici ou bien contactez votre magasin pour toute assistance complémentaire, ou même demandez de l'aide à d'autres tricoteuses via notre DROPS Workshop. Bon tricot!
20.01.2022 - 09:50
![]() Ina Andersen wrote:
Ina Andersen wrote:
Model 228-26 Jeg har store problemer med at få indtagningerne til ærmet til at passe med markeringerne. I opskriften står, at masketal på for-og bagstykke forbliver det samme, men allerede ved første indtagning EFTER 2. markering reduceres på bagstykket iht forklaring og markeringer. Har pillet op flere gange og forsøgt at genlæse flere gange. Vil være glad for hjælp og forklaring. Tak. Hilsen Ina
10.01.2022 - 20:53DROPS Design answered:
Hej Ina, maskerne mellem mærke 1 og 4 er højre ærme og maskerne mellem mærke 2 og 3 er venstre ærme. Det vil sige at når du tager ind efter 4. og før 1. mærke så tager du ind på højre ærme (når tøjet er på) og når du tager ind efter 2. og før 3.mærke tager du ind på venstre ærme. God fornøjelse!
17.01.2022 - 10:52
![]() Momodelapierreco wrote:
Momodelapierreco wrote:
Je trouve les explications pour les diminutions et les augmentations quasi incompréhensibles… pourquoi ne pas donner un nombre de rgs ? Au lieu de cm?
10.01.2022 - 15:30DROPS Design answered:
Bonjour Momodelapierreco, mesurez sur votre échantillon votre nombre de rangs correspondant aux hauteurs en cm indiquées et vous saurez alors tous les combiens de rangs vous devrez augmenter. Bon tricot!
10.01.2022 - 16:25
|
|
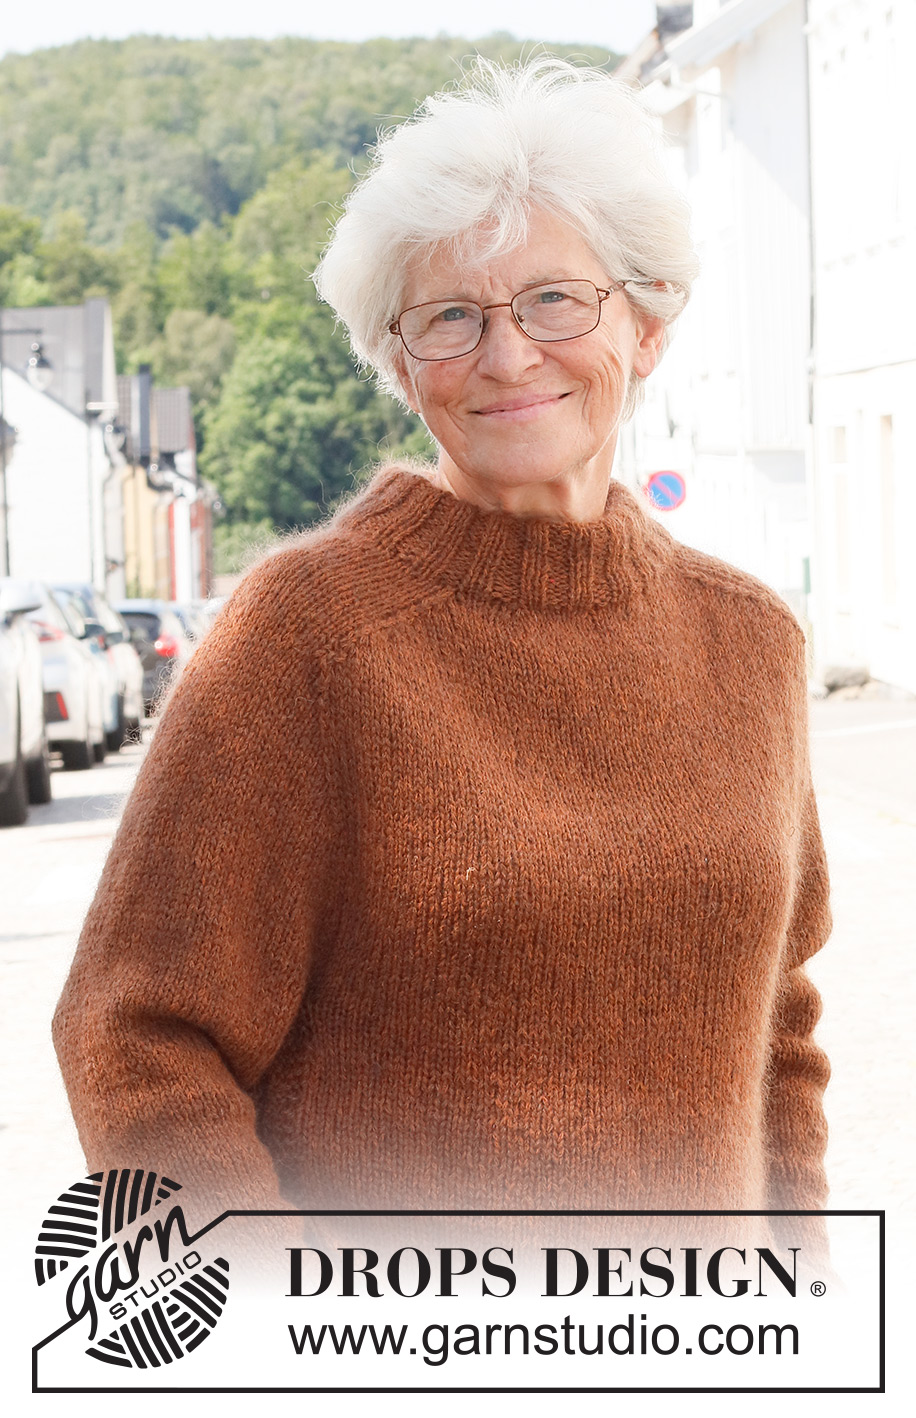
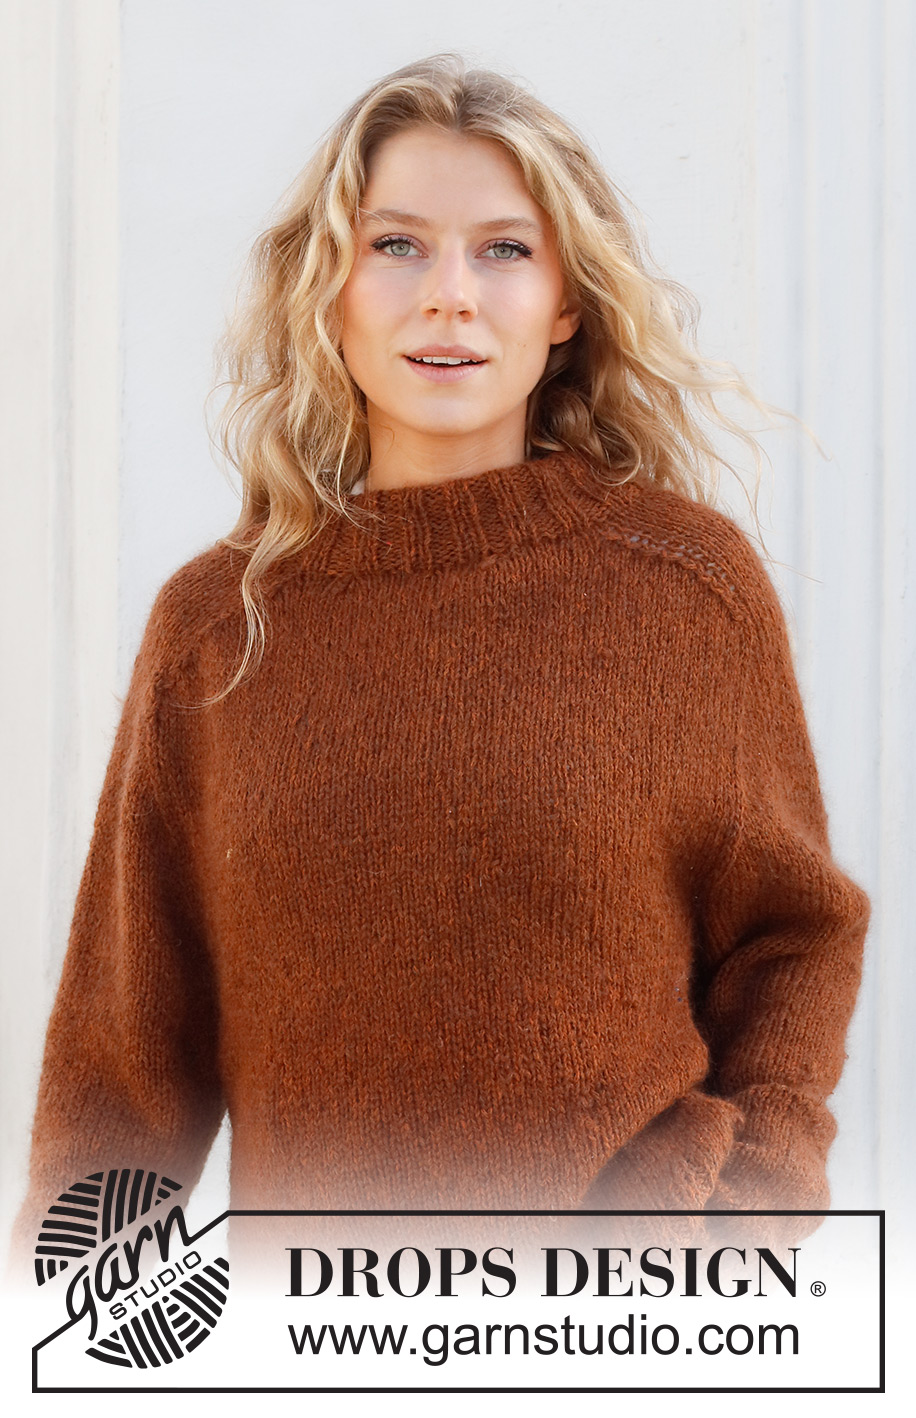
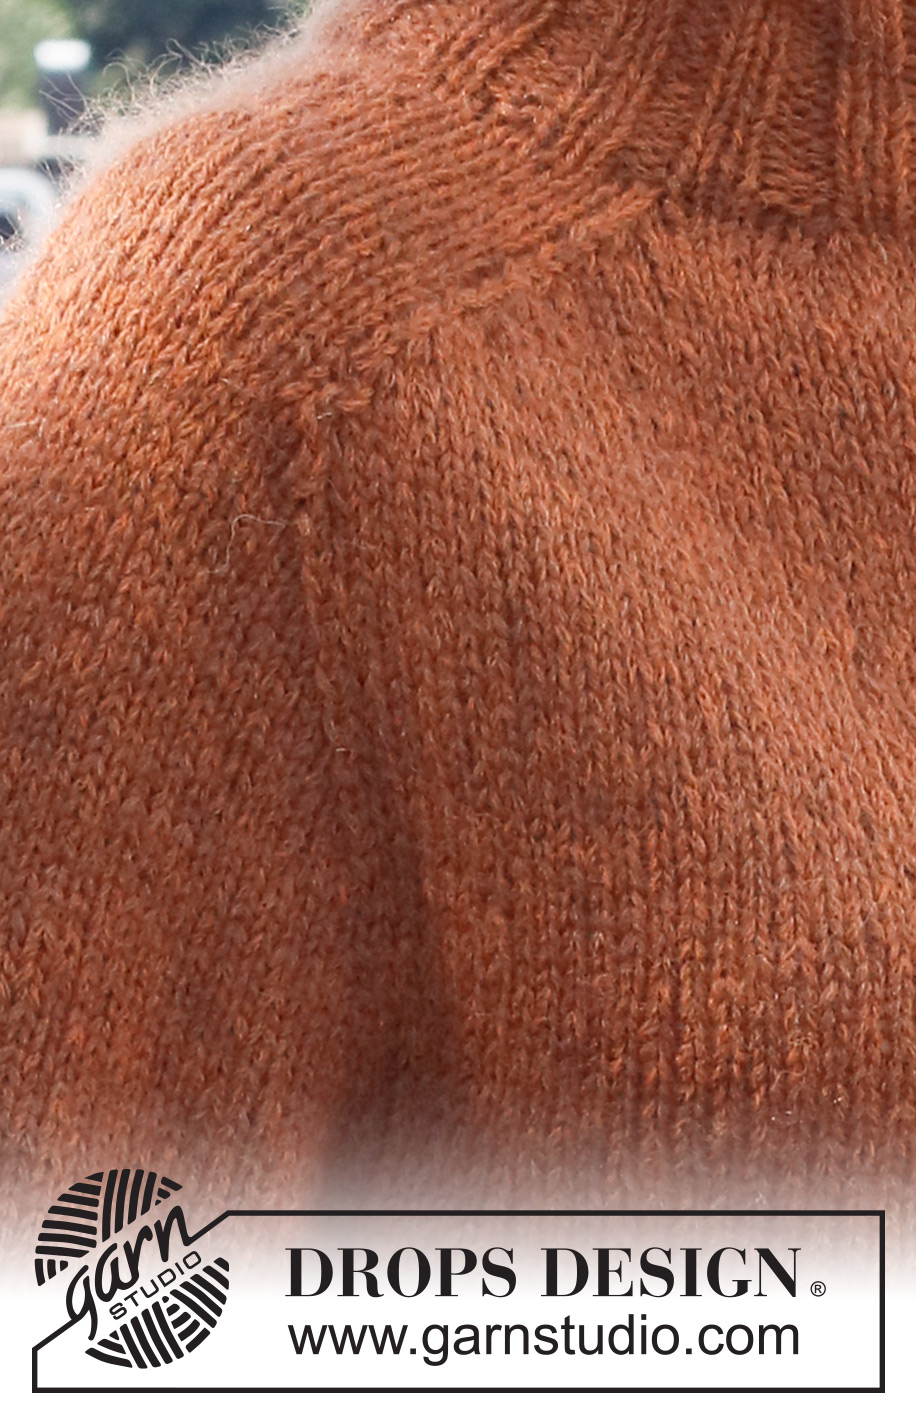
Toffee Apple Sweater#toffeeapplesweater |
|
 |
 |
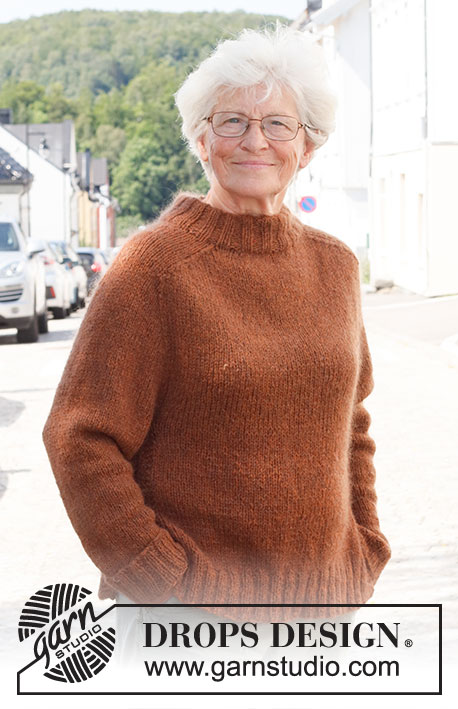
Knitted jumper in DROPS Sky and DROPS Kid-Silk. The piece is worked with saddle shoulders, double neck, split and ribbed edges. Sizes S - XXXL.
DROPS 228-26 |
|
|
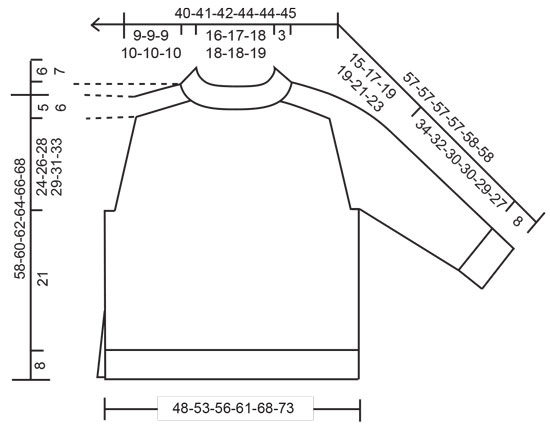
------------------------------------------------------- EXPLANATIONS FOR THE PATTERN: ------------------------------------------------------- RIDGE/GARTER STITCH (worked back and forth): Knit all rows. 1 ridge = knit 2 rows. DECREASE TIP-1 (evenly spaced): To work out how to decrease evenly, count the total number of stitches on needle (e.g. 94 stitches) minus the edge stitches (e.g. 8 stitches) and divide the remaining stitches by the number of decreases to be made (e.g. 18) = 4.8. In this example decrease by knitting together approx. each 4th and 5th stitch. Do not decrease the edge stitches DECREASE TIP-2 (for sleeves and shoulders): BEFORE MARKER: Work until there are 3 stitches left before the marker, knit 3 together (= 2 stitches decreased). AFTER MARKER: Slip 1 stitch as if to knit, knit 2 together and pass the slipped stitch over the knitted together stitches (2 stitches decreased). DECREASE TIP-3 (for sleeves): BEFORE MARKER: Work until there are 2 stitches left before the marker, knit 2 together (1 stitch decreased). AFTER MARKER: Slip 1 stitch as if to knit, knit 1 and pass the slipped stitch over the knitted stitch (1 stitch decreased). INCREASE TIP (for sides of sleeves): All increases are worked from the right side. Increase 1 stitch on the inside of the 1 edge stitch in garter stitch and 1 stocking stitch by making 1 yarn over. On the next row purl the yarn over twisted to avoid a hole. Then work the new stitch in stocking stitch. KNITTING TIP: If the knitting tension is wrong it will affect the yoke measurements. If you work too loosely/tightly the garment will be too long/short. If the piece is too short, work extra rounds before decreasing. CASTING-OFF TIP: To avoid the cast-off edge being tight you can cast off with a larger size needle. If the edge is still tight, make 1 yarn over after approx. each 4th stitch at the same time as casting off; the yarn overs are cast off as normal stitches. ------------------------------------------------------- START THE PIECE HERE: ------------------------------------------------------- JUMPER – SHORT OVERVIEW OF THE PIECE: The front and back pieces are worked separately, back and forth and bottom up as far as the armholes. The sleeves are worked back and forth and placed on the same circular needle as the front and back pieces. The yoke is worked in the round. Decreases are worked for the saddle shoulders and the neck is worked in rib. Then the piece is sewn together to finish. FRONT PIECE: Cast on 94-106-114-122-134-146 stitches with circular needle size 4.5 mm and 1 strand of each quality (= 2 strands). Purl 1 row from the wrong side. Then work as follows from the right side: 4 edge stitches in GARTER STITCH – read description above, * knit 2, purl 2 *, work from *-* until there are 6 stitches left, knit 2 and 4 edge stitches in garter stitches. Continue this rib back and forth for 8 cm. Knit 1 row from the right side where you decrease 18-22-24-24-26-30 stitches evenly spaced – read DECREASE TIP-1 = 76-84-90-98-108-116 stitches. Change to circular needle size 5.5 mm and purl 1 row from the wrong side with 4 edge stitches in garter stitch on each side. Continue with stocking stitch and 4 edge stitches in garter stitch on each side. REMEMBER THE KNITTING TENSION! Work until the piece measures 29 cm – adjust so the next row is worked from the right side. There is approx. 29-31-33-35-37-39 cm left up to the shoulder. Cast off 3-3-4-4-5-5 stitches for the armholes at the beginning of the next 2 rows = 70-78-82-90-98-106 stitches. Cut the strand. Lay the piece to one side. BACK PIECE: Cast on the same number of stitches and work in the same way as the front piece. SLEEVES: Cast on 44-44-48-48-52-52 stitches with circular needle size 4.5 mm and 1 strand of each quality (= 2 strands). Purl 1 row from the wrong side. Then work as follows from the right side: 1 edge stitch in garter stitch, * knit 2, purl 2 *, work from *-* until there are 3 stitches left, knit 2 and 1 edge stitch in garter stitch. Continue this rib back and forth for 8 cm. Knit 1 row where you decrease 8-6-8-6-8-8 stitches evenly placed – remember DECREASE TIP-1 = 36-38-40-42-44-44 stitches. Change to circular needle size 5.5 mm and purl 1 row from the wrong side with 1 edge stitch in garter stitch on each side. Continue with stocking stitch and 1 edge stitch in garter stitch on each side. When the sleeve measures 10-10-9-10-13-10 cm, increase 1 stitch on each side – read INCREASE TIP. Increase like this every 3½-3-2½-2-1½-1½ cm a total of 9-10-12-14-15-16 times = 54-58-64-70-74-76 stitches. Continue working until the sleeve measures 42-40-38-38-37-35 cm – adjust so the next row is worked from the right side. There is approx. 24-26-28-29-31-33 cm left to finished length – try the sleeve on and work to desired length. Cast off 3-3-4-4-5-5 stitches for the armhole at the beginning of the next 2 rows = 48-52-56-62-64-66 stitches. Cut the strand. Lay the piece to one side. Work the other sleeve in the same way. YOKE: Place all the sections on circular needle size 5.5 mm (without working the stitches) as follows: Place the 70-78-82-90-98-106 stitches from the back piece on the needle, then 48-52-56-62-64-66 sleeve stitches, 70-78-82-90-98-106 stitches from the front piece and 48-52-56-62-64-66 sleeve stitches = 236-260-276-304-324-344 stitches. Insert 4 markers, without working the stitches and insert each between 2 stitches as follows. Marker 1: Count 2-4-5-6-9-11 stitches, insert the marker before the next stitch (part of the right sleeve). Marker 2: Count 66-70-72-78-80-84 stitches, insert the marker before the next stitch (back piece). Marker 3: Count 52-60-66-74-82-88 stitches, insert the marker before the next stitch (left sleeve). Marker 4: Count 66-70-72-78-80-84 stitches, insert the marker before the next stitch (front piece). There are 50-56-61-68-73-77 stitches left after marker 4 (these stitches are added to the first stitches before marker 1 = 52-60-66-74-82-88 stitches on the right sleeve). Allow the 4 markers to follow your work onwards; you decrease for the shoulders at each marker. Start after marker 1 and work stocking stitch in the round. AT THE SAME TIME, on the first round decrease for the sleeves as follows – read KNITTING TIP. SLEEVE-DECREASES: Decrease 8 stitches as follows: Decrease 2 stitches AFTER markers 2 and 4 and BEFORE markers 3 and 1 – read DECREASE TIP-2. You only decrease on the sleeves; the number of stitches on the front and back pieces remains the same. Decrease like this every 2nd round a total of 3-5-6-8-10-11 times = 212-220-228-240-244-256 stitches. Work 1 round without decreasing. On the next round decrease 4 stitches as follows: Decrease 1 stitch AFTER markers 2 and 4 and BEFORE markers 3 and 1 – les DECREASE TIP-3. Decreases only on the sleeves; the number of stitches on the front and back pieces remains the same. Decrease like this every 2nd round a total of 12-12-13-11-11-12 times = 164-172-176-196-200-208 stitches. After the last decrease the piece measures approx. 15-17-19-19-21-23 cm from where the sections were joined. Work 1 round without decreasing. SADDLE SHOULDER-DECREASES: On the next round decrease 8 stitches as follows: Decrease 2 stitches AFTER markers 1 and 3 and BEFORE markers 2 and 4 – read DECREASE TIP-2. You only decrease on the front and back pieces; the number of stitches on the sleeves remains the same. Decrease like this every 2nd round a total of 9-9-9-10-10-10 times = 92-100-104-116-120-128 stitches. After the last decrease the piece measures approx. 24-26-28-29-31-33 cm from where the sections were joined. Knit 1 round where you decrease 16-20-20-28-28-32 stitches evenly spaced – remember DECREASE TIP-1 = 76-80-84-88-92-96 stitches. DOUBLE NECK: Change to short circular needle size 4.5 mm and work rib (knit 2, purl 2) for 10-10-10-12-12-12 cm. Now increase all purl-2 to purl-3 = 95-100-105-110-115-120 stitches. Continue the new rib until the neck measures 13-13-13-15-15-15 cm (or to desired length). Cast off with knit over knit and purl over purl – read CASTING-OFF TIP. Fold the neck double to the inside and sew down. To avoid the neck being tight and rolling outwards, it is important that the seam is elastic. ASSEMBLY: Sew the sleeve seams in the outermost loop of the outermost stitch so the seam is flat (2 edge stitches in garter stitch visible along the seam). Sew the side seams, starting at the bottom of the armholes and working down, sewing in the outermost loop of the outermost stitch so the seam is flat. Leave a 15 cm split at the bottom (8 edge stitches in garter stitch visible along the seam). Sew together the openings under the sleeves. |
|
 |
|
Have you finished this pattern?Tag your pictures with #dropspattern #toffeeapplesweater or submit them to the #dropsfan gallery. Do you need help with this pattern?You'll find 25 tutorial videos, a Comments/Questions area and more by visiting the pattern on garnstudio.com. © 1982-2026 DROPS Design A/S. We reserve all rights. This document, including all its sub-sections, has copyrights. Read more about what you can do with our patterns at the bottom of each pattern on our site. |
|


With over 40 years in knitting and crochet design, DROPS Design offers one of the most extensive collections of free patterns on the internet - translated to 17 languages. As of today we count 324 catalogues and 12290 patterns translated into English (UK/cm). 12290
We work hard to bring you the best knitting and crochet have to offer, inspiration and advice as well as great quality yarns at incredible prices! Would you like to use our patterns for other than personal use? You can read what you are allowed to do in the Copyright text at the bottom of all our patterns. Happy crafting!
Post a comment to pattern DROPS 228-26
We would love to hear what you have to say about this pattern!
If you want to leave a question, please make sure you select the correct category in the form below, to speed up the answering process. Required fields are marked *.