
Popular categories
Looking for a yarn?


Comments / Questions (27)
![]() Eleonora wrote:
Eleonora wrote:
A CSÍKOK utáni bekezdésben, az 1.sorban, mikor 8 szemet kell szaporítani, az elején a jelölőktől 2sima szemmel arrébb kell szaporitani, a hátán meg csak az egyik oldalán 2 szemmel arrébb a jelölőtől, a másikon meg közvetlen a jelölő mellett, az rendben van? Szerintem nem. Valahogy sehogy sem akart szépre csinálni, már vagy 3x visszabontottam, de most rájöttem erre az asszimmetriára, szóval megint bontok....
02.04.2026 - 19:13
![]() Lena Eriksson wrote:
Lena Eriksson wrote:
Det saknas beskrivning till framstycket. Även beskrivningen till bakstycket verkar sakna en hel del. Önskar snabbt svar då jag är ivrig att komma vidare. Vänliga hälsningar Lena
12.03.2026 - 17:11DROPS Design answered:
Hej Lena. Beskrivningen för framstycket kommer efter axlarna (det har bara ingen egen rubrik), se gärna denna video för att få en översikt på hur man gör när man stickar ett europeiskt ok. Mvh DROPS Design
13.03.2026 - 07:26
![]() Neea wrote:
Neea wrote:
Ennen työn jakamista etu/takakappaleisiin ja hihoihin lisätään kappaleisiin silmukoita. Kerroksen alussa lisättäessä etukappaleeseen tulee siis kokoajan enemmän silmukoita ennen hihan alkua. Eli kerroksen aloitus on seuraavaksi 3 silmukan päässä hihasta, sitten neljän, sitten viiden jne.. Siirtyykö siten tuo raidoitus/värinvaihto kohta mukana vai pidetäänkö se tuolla 2 silmukan päässä hihasta?
09.03.2026 - 08:46DROPS Design answered:
Hei, värinvaihdot tehdään aina 2 silmukan päässä hihasta.
12.03.2026 - 13:21
![]() Catherine wrote:
Catherine wrote:
Es ist mir nicht gelungen, den Streifenanfang inmitten von aufzunehmenden Maschen sauber hinzukriegen, zumal sich das Garn sehr gerne trennt. Ich habe ihn also 4 Maschen nach linkem Aermelmarkierer verlegt, nun sieht die Sache viel besser aus! Mit besten Grüssen aus der Westschweiz.
09.01.2026 - 12:26
![]() Helena wrote:
Helena wrote:
Asi nejméně po deseti přečtení, možná jsem pochopila, tak zatím děkuji
18.08.2025 - 21:48DROPS Design answered:
Dobrý den, Heleno, věřím, že už je vše v pořádku a pletení postupuje :-), kdyby přesto bylo potřeba něco upřesnit, neváhejte a napište. Hodně zdaru! Hana
19.08.2025 - 12:36
![]() Helena wrote:
Helena wrote:
Dobrý den, také mám problém jako Belinda. Upletla jsem zadní díl a náramenice, a koukám, že nevím jak dál, návodu nerozumím. Jak vytvořím spojení? Za pomoc budu velice ráda, předem Vám děkuji a přeji hezký den
18.08.2025 - 21:13DROPS Design answered:
Dobrý den Heleno, každý náš návod je doprovázen video-ukázkami - podívejte se třeba zde. Hodně zdaru!
19.08.2025 - 17:22
![]() Belinda wrote:
Belinda wrote:
Heb de rechter en linker schouder gemaakt maar weet niet goed hoe ik voorhanden en achtetpanden samen op de naald zet
20.07.2025 - 14:37
![]() Lina wrote:
Lina wrote:
Olkapään viimeisillä kerroksilla lisätään 2s, ja viimeisellä nurjalla kerroksella kavennetaan pois toinen juuri lisätty silmukka. Mitä tarkoitusta tuo lisäys-vähennys palvelee ?
17.07.2025 - 14:26DROPS Design answered:
Hei, nämä lisäykset ja 1 silmukan kavennus tehdään, jotta pääntiestä tulisi oikean muotoinen.
24.07.2025 - 17:04
![]() Susi wrote:
Susi wrote:
Frage noch einmal nach, siehe meinen Kommentar unten. Bin sicher, daß hier die Größenangaben verschoben sind. Größe L ist eigentlich M, dann stimmen die Maße. Sonst ist es viel zu breit. Bitte nochmal überprüfen, das Shirt beginnt mit XS und nicht mit S, daher könnte es eine Verschiebung der Größen gegeben haben.
01.07.2025 - 12:31DROPS Design answered:
Liebe Susi, die Maßnahmen stimmen hier, der Pullover ist nur etwas "oversized", aber wie immer können Sie Ihre Größe direkt aus der Maßskizze prüfen und so wählen - hier lesen Sie mehr. Viel Spaß beim Stricken!
01.07.2025 - 13:32
![]() Anne wrote:
Anne wrote:
Hei! Ang ERMER: «Strikk glattstrikk og striper (…) til ermet måler 11-10-9-7-7-6 cm fra delingen»; skal det være motsatt, dvs strikk til 6-7-7-9-10-11 cm fra delingen (under ermet)? Jeg strikker str XS og tenker ermet blir for langt om det strikkes 11 cm; 6 cm virker riktigere?
03.06.2025 - 09:22DROPS Design answered:
Hei Anne. Nei, det er riktig slik det står. Men ønsker du ermet kortere kan du fint stoppe etter ønsket mål. Og det som er det fine med å strikke overfra og ned, du kan prøve underveis og få akkurrat den lengden du ønsker :) mvh DROPS Design
10.06.2025 - 10:35
|
|
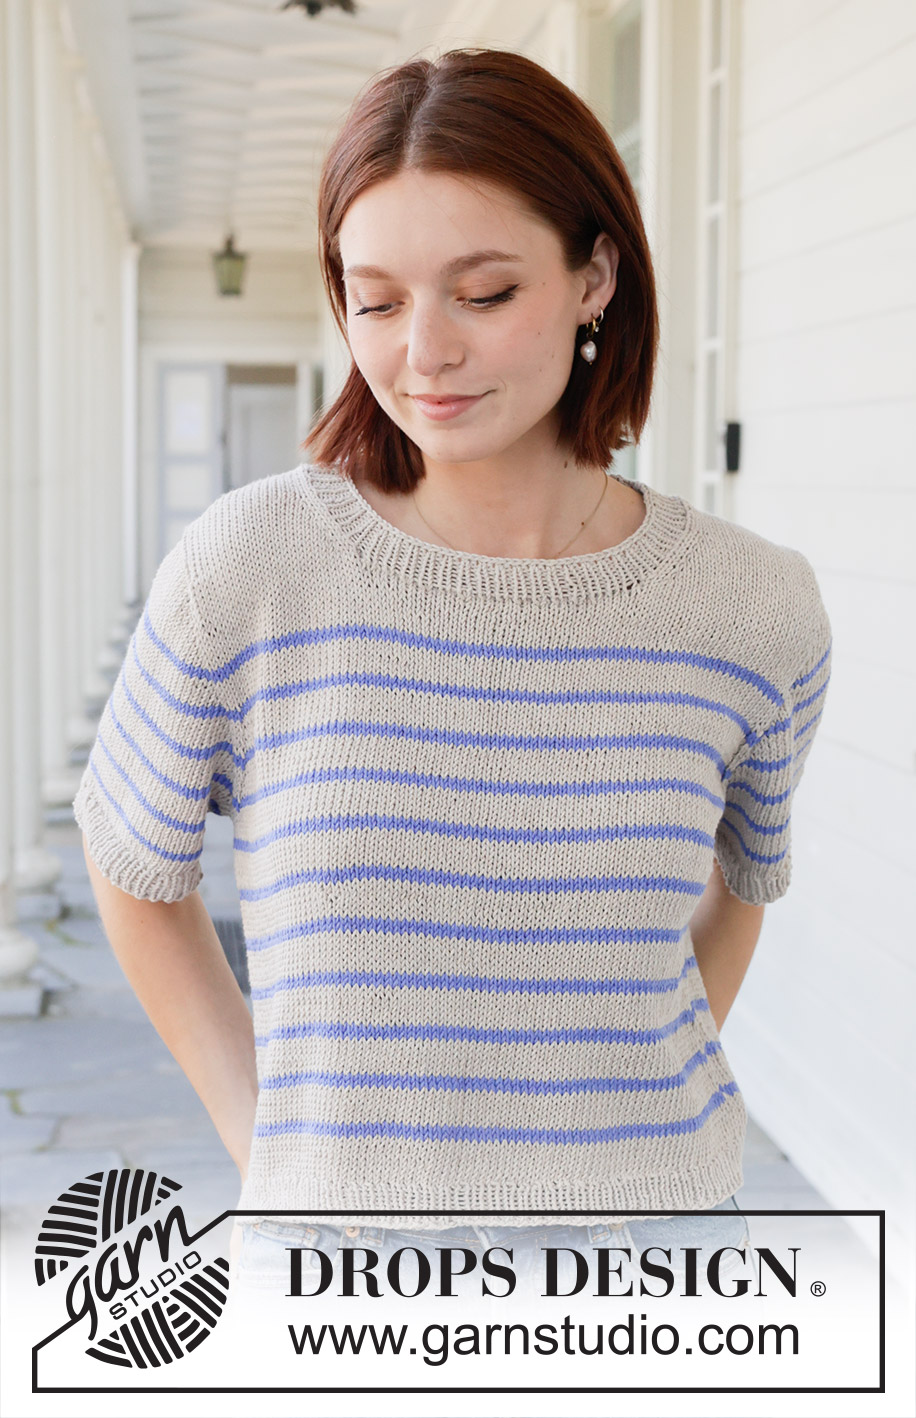
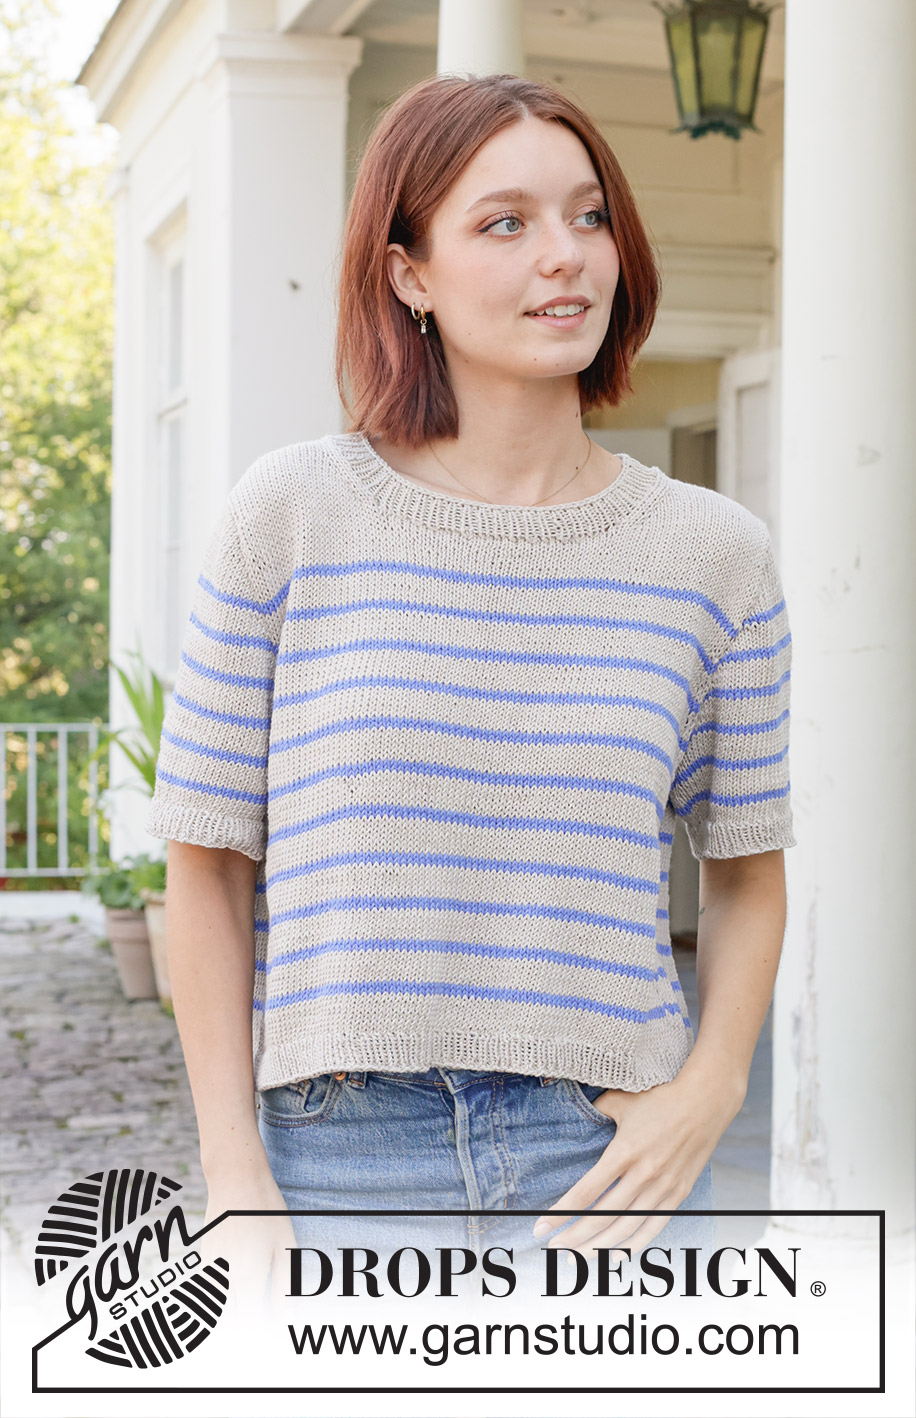
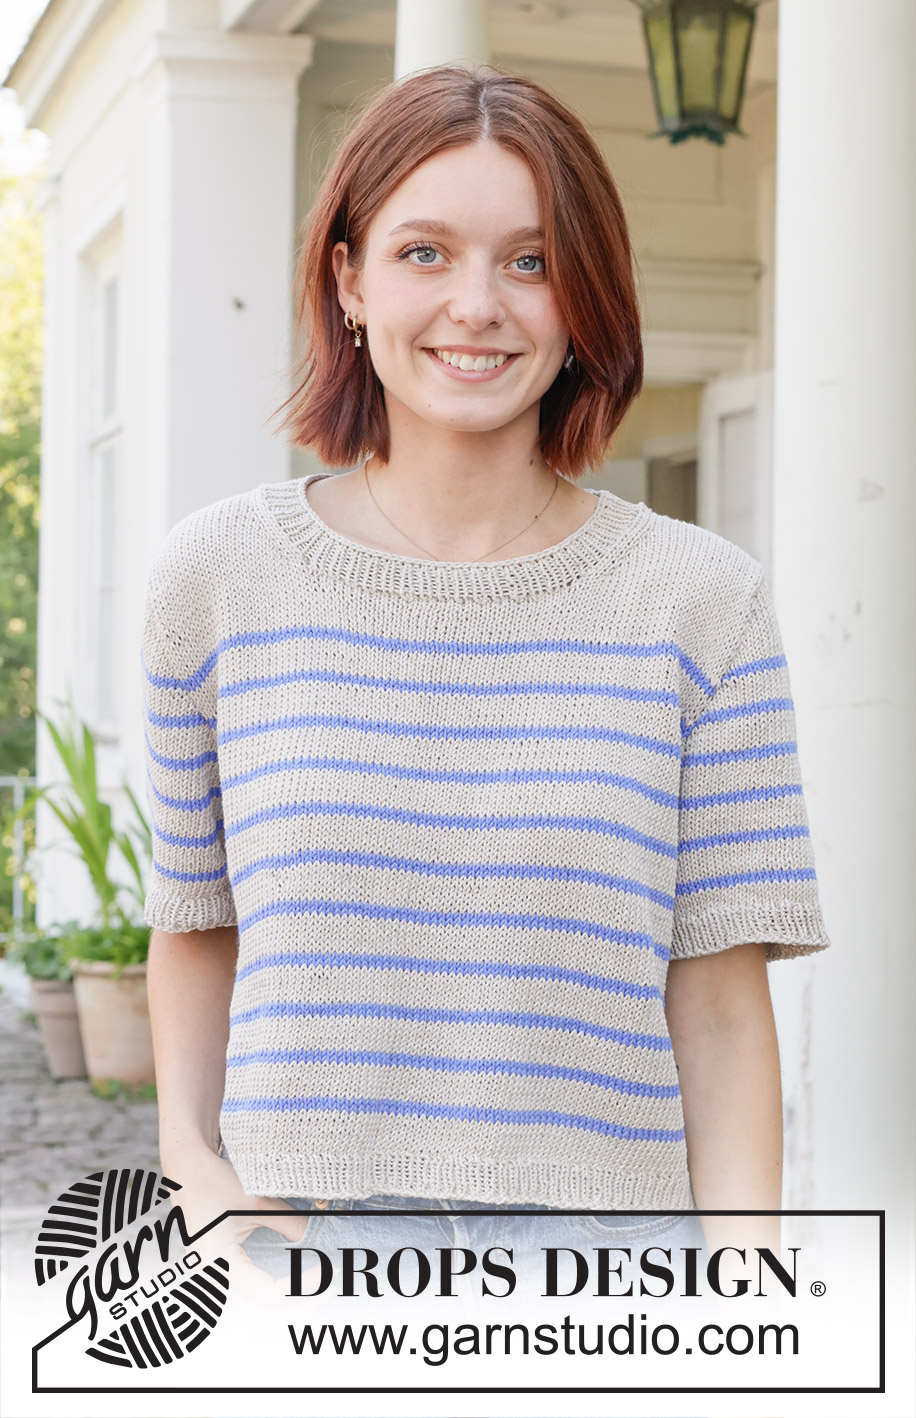
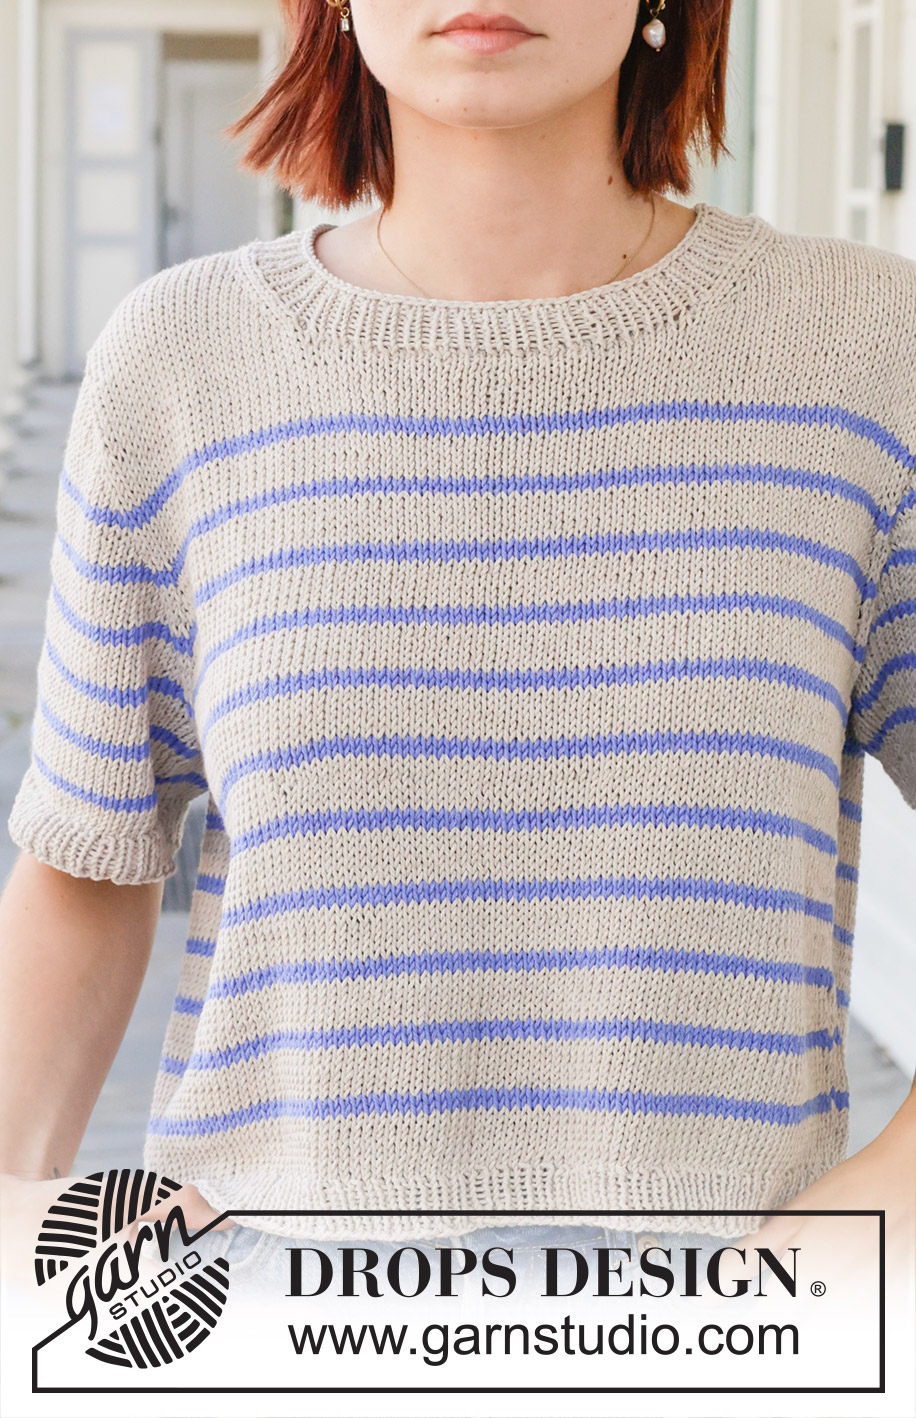
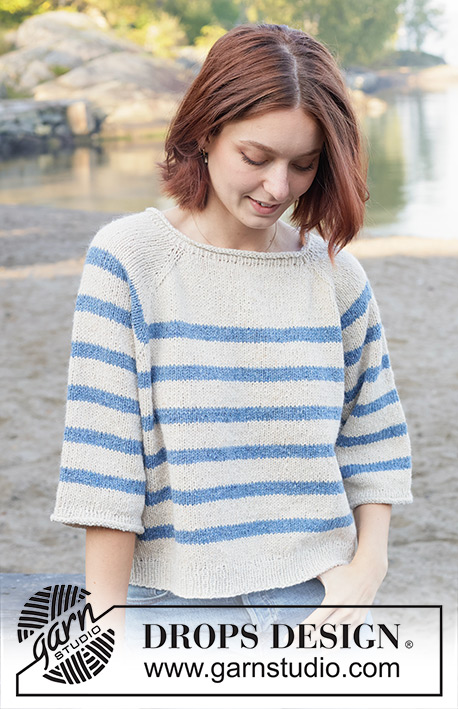
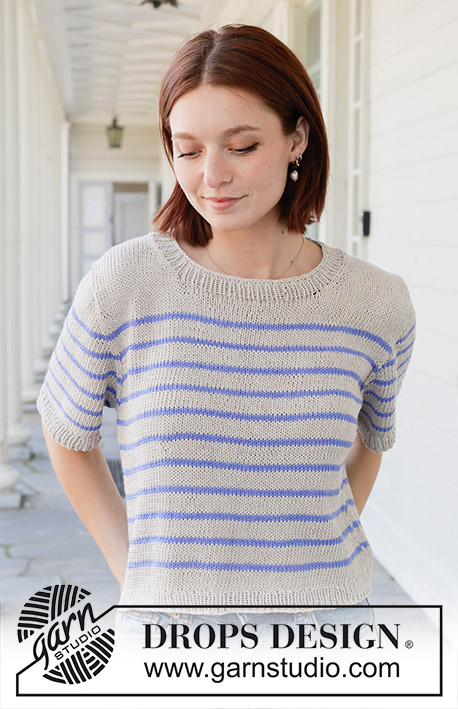
Nautical Nights Top#nauticalnightstop |
|
 |
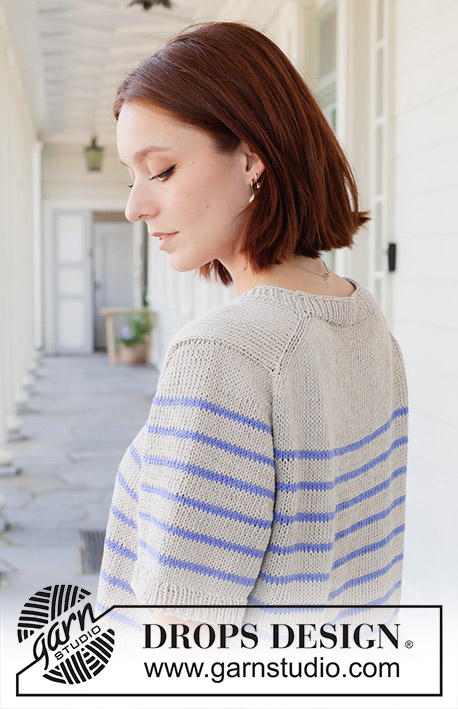 |
Knitted jumper in DROPS Cotton Light or DROPS Daisy. Piece is knitted top down with stripes, European yoke and short sleeves. Size XS – XXL.
DROPS 259-2 |
|
|
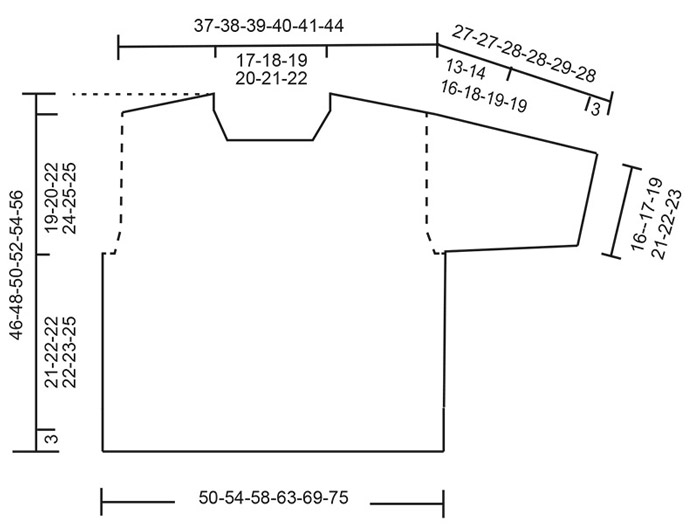
---------------------------------------------------------- EXPLANATION FOR THE PATTERN: ---------------------------------------------------------- INCREASE TIP-1: INCREASE 1 STITCH TOWARDS THE LEFT - from RIGHT SIDE: Use left needle to pick up yarn between 2 stitches from row below, pick up yarn from the front and knit in the stitch loop that is on the back of the needle. INCREASE 1 STITCH TOWARDS THE RIGHT - from RIGHT SIDE: Use left needle to pick up yarn between 2 stitches from row below, pick up yarn from the back and knit in the stitch loop that is on the front side of the needle. . INCREASE TIP-2: INCREASE 1 STITCH TOWARDS THE RIGHT - from WRONG SIDE: Use left needle to pick up yarn between 2 stitches from row below, pick up yarn from the back and purl in the stitch loop that is on the front side of the needle. INCREASE 1 STITCH TOWARDS THE LEFT - from WRONG SIDE: Use left needle to pick up yarn between 2 stitches from row below, pick up yarn from the front and purl in the stitch loop that is on the back side of the needle. STRIPES: Work as follows: 6 rounds with colour light beige / colour marzipan, 2 rounds with colour blue bonnet / colour cobalt blue. KNITTING TIP (applies to stripes when working in the round): To get a nicer transition at the beginning and end of round when working stripes, work as follows: Switch to new colour and work 1 round. Work first stitch on next round as follows: Lift the stitch under first stitch on left needle (lift the stitch in back loop) and slip this stitch on left needle. Then knit this stitch together with next stitch on left needle. This way the transition will be less visible. SLEEVE TIP: When picking up stitches mid under sleeve, there will be a small hole in the transition between stitches on body and sleeves. The holes can be closed by picking up the strand between two stitches - work this strand twisted together with the first stitch between body and sleeve so that the holes closes. ---------------------------------------------------------- START THE PIECE HERE: ---------------------------------------------------------- JUMPER - SHORT OVERVIEW OF THE PIECE: In this pattern needles of different length have been used, begin with fitting length for number of stitches and switch as needed. First work piece back and forth on circular needle. Begin by casting on stitches in the back of neck. Then work back piece downwards while AT THE SAME TIME increasing in each side of piece until number of stitches for shoulder width is reached. Back piece has a slight diagonal shoulder. Now put back piece aside and work the beginning of front piece. Front piece is first worked in 2 parts. Begin by picking up stitches along one shoulder from back piece, work and increase towards the neck. Repeat on the other shoulder. Now pick up stitches along the sides on front pieces, and slip stitches from back piece back on needle. Work yoke back and forth until all increases for neck are done. Cast on new stitches for neck mid front and work in the round over all stitches. Increase stitches for yoke. First increase on sleeves only, then increase on both sleeves and front/back pieces. When yoke is done, divide piece for body and sleeves. Work body downwards in the round on circular needle while putting the sleeves aside. Then work sleeves downwards in the round on needle. Finish by picking up stitches around the neck and work a neck edge in the round. BACK PIECE: Work piece back and forth on circular needle. Cast on 38-40-42-44-46-48 stitches on circular needle size 4 mm with DROPS Cotton Light colour light beige or DROPS Daisy in colour marzipan. ROW 1 (= wrong side): Purl all stitches. ROW 2 (= right side): Read INCREASE TIP-1 and knit 3, increase 1 stitch towards the left, knit until 3 stitches remain, increase 1 stitch towards the right, knit 3. ROW 3 (= wrong side): Read INCREASE TIP-2 and purl 3, increase 1 stitch towards the right, purl until 3 stitches remain, increase 1 stitch towards the left, purl 3. Remember to follow the knitting tension! AFTER 3RD ROW: Work 2nd and 3rd ROW 10-10-10-10-10-11 times in total (= 20-20-20-20-20-22 rows have been worked), after increase there are = 78-80-82-84-86-92 stitches on needle. Cut the yarn, slip stitches on a thread or an stitch holder. RIGHT SHOULDER: Find right shoulder on back piece as follows: Place back piece flat with right side up, place back piece so that stitches on thread/stitch holder is towards you, right side of piece = right shoulder. Now pick up stitches along right diagonal shoulder on back piece - begin from right side at the armhole and pick up stitches in towards the neck as follows, use colour light beige/colour marzipan: Pick up 1 stitch in every worked row inside outermost stitch = 20-20-20-20-20-22 stitches. All length measurements on front piece are done from pick up edge. Work in stocking stitch ( work first row as follows from wrong side). When piece measures 9 cm, increase stitches towards the neck as follows: ROW 1 (= right side): Work until 3 stitches remain, increase towards the right, knit 3 – remember INCREASE TIP-1. ROW 2 (= wrong side): Purl all stitches. Work 1st and 2nd ROW 2 times in total (= 4 rows have been worked) = 22-22-22-22-22-24 stitches. At the end of last row from wrong side, purl the last 2 stitches together = 21-21-21-21-21-23 stitches. Cut the yarn, slip stitches on a thread or stitch holder, now work left front piece along the left shoulder as explained below. LEFT SHOULDER: Pick up stitches along left diagonal shoulder on back piece - begin from right side at the neck and pick up stitches out towards armhole as follows, use colour light beige/colour marzipan: Pick up 1 stitch in every worked row inside outermost stitch = 20-20-20-20-20-22 stitches. All length measurements on front piece are done from pick up edge. Work in stocking stitch ( work first row as follows from wrong side). When piece measures 9 cm, increase stitches towards the neck as follows: ROW 1 (= right side): Remember INCREASE TIP-1 and knit 3, increase 1 stitch towards the left, work the rest of row. ROW 2 (= wrong side): Purl all stitches. Work 1st and 2nd ROW 2 times in total (= 4 rows have been worked) = 22-22-22-22-22-24 stitches. At the beginning of last row from wrong side, purl the first 2 stitches twisted together = 21-21-21-21-21-23 stitches. Then slip front pieces and back piece together, and pick up stitches for sleeve cap, work as explained below. ROW 1: Work from right side with stitches from left front piece: knit 3, increase towards the left, knit the remaining stitches on left front piece, insert 1 marker here, pick up 24 stitches along the side of left front piece (= stitches for sleeve, stitches picked up inside outermost stitch), insert 1 marker, knit the first 2 stitches from back piece together ( = 1 stitch decreased), knit until 2 stitches remain on back piece, slip 1 stitch of the needle, knit 1, pass slipped stitch over (= 1 stitch decreased), insert 1 marker, pick up 24 stitches along the side on right front piece (= stitches for sleeve, pick up stitches inside outermost stitch), insert 1 marker, slip stitches from right front piece back on left needle, knit until 3 stitches remain, increase towards the right, work the last 3 stitches = 168-170-172-174-176-186 stitches. ROW 2: Purl all stitches. ROW 3: Knit 3, increase towards the left, knit until first marker, move marker on to right needle, increase towards the left, knit 24, increase towards the right, move marker on to right needle, knit until next marker, move marker on to right needle, increase towards the left, knit 24, increase towards the right, move marker on to right needle, knit until 3 stitches remain, increase towards the right, knit 3 = 174-176-178-180-182-192 stitches. Increases towards mid front are now done. ROW 4: Purl all stitches. ROW 5: Knit until first marker, move marker on to right needle, increase towards the left, knit 26, increase towards the right, move marker on to right needle, knit until next marker, move marker on to right needle, increase towards the left, knit 26, increase towards the right, move marker on to right needle, knit the rest of row, then cast on 30-32-34-36-38-40 new stitches for neck at the end of row = 208-212-216-220-224-236 stitches on needle. Now work piece in the round - NOTE - work also stripes, read section about stripes below. ROUND 1: Knit all stitches. ROUND 2: Knit all stitches and increase 1 stitch in each side of each sleeve as before – remember INCREASE TIP-1, number of stitches on each sleeve increase, number of stitches on front piece and back piece stays the same. Work these 2 rounds 5-4-5-5-2-1 time (you have increased 7-6-7-7-4-3 times in total on sleeves = 38-36-38-38-32-30 stitches on each sleeve and 76-78-80-82-84-90 stitches on front piece/back piece) = 228-228-236-240-232-240 stitches. Knit 1 round. STRIPES: When piece measures 3 cm from where stitches were cast on mid front for neck, begin STRIPES - read explanation above. NOTE! Beginning of round is now in the left side of neck at the front, but to make the colour change as invisible as possible, the beginning of round is moved. Thus work until 2 stitches before sleeve begins before working stripes, beginning of round is now before the last 2 stitches on front piece. Read KNITTING TIP. Work next round as follows: ROUND 1: Increase towards the right, knit 2 (= the last 2 stitches on front piece), move marker on to right needle, increase towards the left, knit the 38-36-38-38-32-30 stitches on sleeve, increase towards the right, move marker on to right needle, knit 2, increase towards the left, knit 72-74-76-78-80-86 stitches on back piece, increase towards the right, knit 2, move marker on to right needle, increase towards the left, knit the 38-36-38-38-32-30 stitches on sleeve, increase towards the right, knit 2, increase towards the left, work the rest of round (=2 stitches increased in every transition between body and sleeve = 8 stitches increased in total). ROUND 2: Knit all stitches. Repeat these 2 rounds until you have increased 11-13-15-18-22-25 times on both body and sleeves. You have increased 18-19-22-25-26-28 times in total on sleeves = 316-332-356-384-408-440 stitches. Piece now measures approx. 13-14-16-18-19-19 cm measured in the middle of sleeve from where stitches were knitted up. When the jumper is folded double at the shoulder, piece measures approx. 19-20-22-24-25-25 cm at the edge along the armhole. Work 2 stitches, round now begins between front piece and left sleeve. Now divide yoke for body and sleeves. DIVIDING FOR BODY AND SLEEVES: AT THE SAME TIME as next round is worked divide yoke for body and sleeves as follows: Slip the first 60-62-68-74-76-80 stitches on a thread for sleeve, cast on 8-10-12-14-16-18 new stitches on needle (= in the side mid under sleeve), knit the next 98-104-110-118-128-140 stitches (= back piece), slip the next 60-62-68-74-76-80 stitches on a thread for sleeve, cast on 8-10-12-14-16-18 new stitches on needle (= in the side mid under sleeve), knit the last 98-104-110-118-128-140 stitches (= front piece). Finish body and sleeves separately. BODY: = 212-228-244-264-288-316 stitches. Work in stocking stitch and stripes in the round until piece measures 21-22-22-22-23-25 cm, measured from where new stitches were cast on under sleeve, finish with at least 6 rounds with colour light beige/colour marzipan. Switch to circular needles size 3 mm, work rib (= knit 1/purl 1) while AT THE SAME TIME increasing 22-22-24-26-28-32 stitches evenly on 1st round = 234-250-268-290-316-348 stitches. When rib measures 3 cm cast off. Jumper measures approx. 46-48-50-52-54-56 cm. SLEEVES: Slip 60-62-68-74-76-80 sleeve stitches from one thread on to circular needle size 4 mm and pick in addition up 1 stitch in each of the 8-10-12-14-16-18 stitches cast on under sleeve - read SLEEVE TIP = 68-72-80-88-92-98 stitches. Work stocking stitch and stripes in the round on needle until sleeve measures 11-10-9-7-7-6 cm from division, finish with at least 6 rounds with colour light beige/colour marzipan. Switch to double pointed needles size 3 mm and work rib (= knit 1/purl 1) while AT THE SAME TIME increasing 6-8-8-8-10-10 stitches evenly on 1st round = 74-80-88-96-102-108 stitches. When rib measures 3 cm cast off. Sleeve measures approx. 27-27-28-28-29-28 cm from shoulder. NECK EDGE: Begin from right side at one shoulder line and pick up approx. 104 to 126 stitches around the neck on circular needle size 3 mm with colour light beige/colour marzipan. Work rib (= knit 1/purl 1) for 3 cm. Cast off by knitting. |
|
 |
|
Have you finished this pattern?Tag your pictures with #dropspattern #nauticalnightstop or submit them to the #dropsfan gallery. Do you need help with this pattern?You'll find 30 tutorial videos, a Comments/Questions area and more by visiting the pattern on garnstudio.com. © 1982-2026 DROPS Design A/S. We reserve all rights. This document, including all its sub-sections, has copyrights. Read more about what you can do with our patterns at the bottom of each pattern on our site. |
|


With over 40 years in knitting and crochet design, DROPS Design offers one of the most extensive collections of free patterns on the internet - translated to 17 languages. As of today we count 325 catalogues and 12298 patterns translated into English (UK/cm). 12298
We work hard to bring you the best knitting and crochet have to offer, inspiration and advice as well as great quality yarns at incredible prices! Would you like to use our patterns for other than personal use? You can read what you are allowed to do in the Copyright text at the bottom of all our patterns. Happy crafting!
Post a comment to pattern DROPS 259-2
We would love to hear what you have to say about this pattern!
If you want to leave a question, please make sure you select the correct category in the form below, to speed up the answering process. Required fields are marked *.