
Categorías populares
¿Buscas un hilo?
















Comentarios / Preguntas (104)
 Virginia escribió:
Buongiorno, per il modello 173-1 ,non mi è chiaro nel fare il campione c'è scritto 18 m alte x10,5righe,cosa vuol dire10,5 righe?grazie
07.09.2026 - 09:18DROPS Design respondió:
Buongiorno Virginia, significa che il 10 cm, dovrà avere 18 maglie alte in orizzontale e 10,5 righe in verticale. Buon lavoro!
26.09.2026 - 10:13
 Siv Undseth Arvesen escribió:
Hei, takknemlig for litt hjelp. Hvor mange rader med mørk grå skal det være i starten før diagram A.1 starter. Jeg får ikke bilde av vesken og diagrammet til å stemme overens? Har jeg oversett en del av oppskriften?
07.08.2026 - 09:21DROPS Design respondió:
Hei Siv, Du hekler 2 omganger med Mørk Grå, som vist i A.1. Hilsen Drops Team.
09.08.2026 - 06:56
Bie escribió:
Hei. Siste omgang i A1 økes antall masker til 120. Deretter, når oppskriften går over til A2, så gjentas mønsteret med fire rapporter à 29 masker, altså 116 masker totalt. Noe som skjedde nå når jeg startet første runde i A2 - det er fire masker for mye igjen på omgangen så mønsteret går ikke opp. Er det noen rettelser her? Må det justeres ned jevnt ila første omgang i A2 til 116? Takk for svar.
07.07.2026 - 21:47DROPS Design respondió:
Hei Bie, A.2 er 30 masker i bredden, slik at det går opp på omgangen. Hilsen Drops Team.
08.07.2026 - 06:52
 Mascha Grips escribió:
Hallo liebes Drops Team, bitte meine Anfrage löschen/ignorieren. Ich habe tatsächlich eine Masche übersehen und die Rapporte sind jetzt stimmig.
21.12.2025 - 21:20
Mascha Grips escribió:
Hallo, ich hätte eine Frage bzgl. Diagramm A2, Runde 11. Durch die Zunahmen bis Runde 11 sind es 120 Maschen. Bei dem viermaligen Rapport ergeben sich aber insgesamt nur 116 Maschen, also habe ich 4 Maschen zuviel. Was übersehe ich hier?
21.12.2025 - 20:50DROPS Design respondió:
Liebe Mascha, der Rapport A.2 besteht aus 30 Maschen und geht daher genau in den 120 Maschen auf. Viel Spaß beim Häkeln!
24.02.2026 - 22:00
 Anna Davidson escribió:
I Just love this pattern. I have made several . Just wanted to say thank you for sharing it ☺️
16.12.2025 - 05:11
Inge escribió:
Hallo, wunderschöne Tasche, aber die abgebildete Tasche ist niemals mit Nepal und Nadelstärke 3,5 gearbeitet worden. Meine ist ein Täschchen geworden, und ich ans schon mit Nagel Nr. 4,gehäkelt.
16.09.2025 - 13:55
Rachel escribió:
What color do I do the the ch3 at the beginning of the row? Is that my first stitch according to the chart or do I do the ch3 and then the next stitch is my first for that row? How does that work when switching colors from row to row….for example…row 4 or row 6. The row prior ends in a darker color so when I start the next row…what color is my ch 3?
25.08.2025 - 00:41DROPS Design respondió:
Dear Rachel, the ch3 at the beginning of the round count as the first dc. So you need to work them in the colour of the first square in the chart. You work in the round so you simply change colours in the last dc of the round as explained in the "COLOR PATTERN (worked in the round)" tip above, working the ch3 as the 1st dc, all in the same colour. If you need to change colours in the next stitch after the ch3, work the first 2 in their corresponding colour and work the 3rd chain stitch in the new colour. Happy crochetting!
27.08.2025 - 00:00
Rachel Dew escribió:
I need clarification. At what row do I start the A.1 pattern? When do I transition to A.2? Where is the instructions for the bottom of the bag when it changes from the dark to light and then has the small dark marks/arrows? Is there a video that shows this or explains it better?
22.08.2025 - 06:47DROPS Design respondió:
Dear Rachel, A.1 and A.2 are the colour patterns. For the first 10 rounds of the bag you work A.1 12 times on the round, working the stitches as in the written instructions while you check the colour changes in the chart. Then, after round 10, start round 11 with A.2, working only dc, without increases. Happy crochetting!
25.08.2025 - 01:53
 María Bañuelos escribió:
Muy bonita bolsa
04.05.2025 - 18:33
|
|||||||
Santa Fe#santafebag |
|||||||
|
|
|||||||
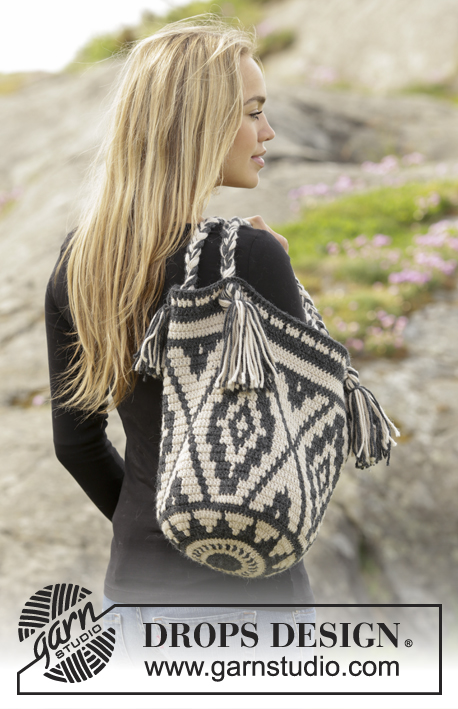
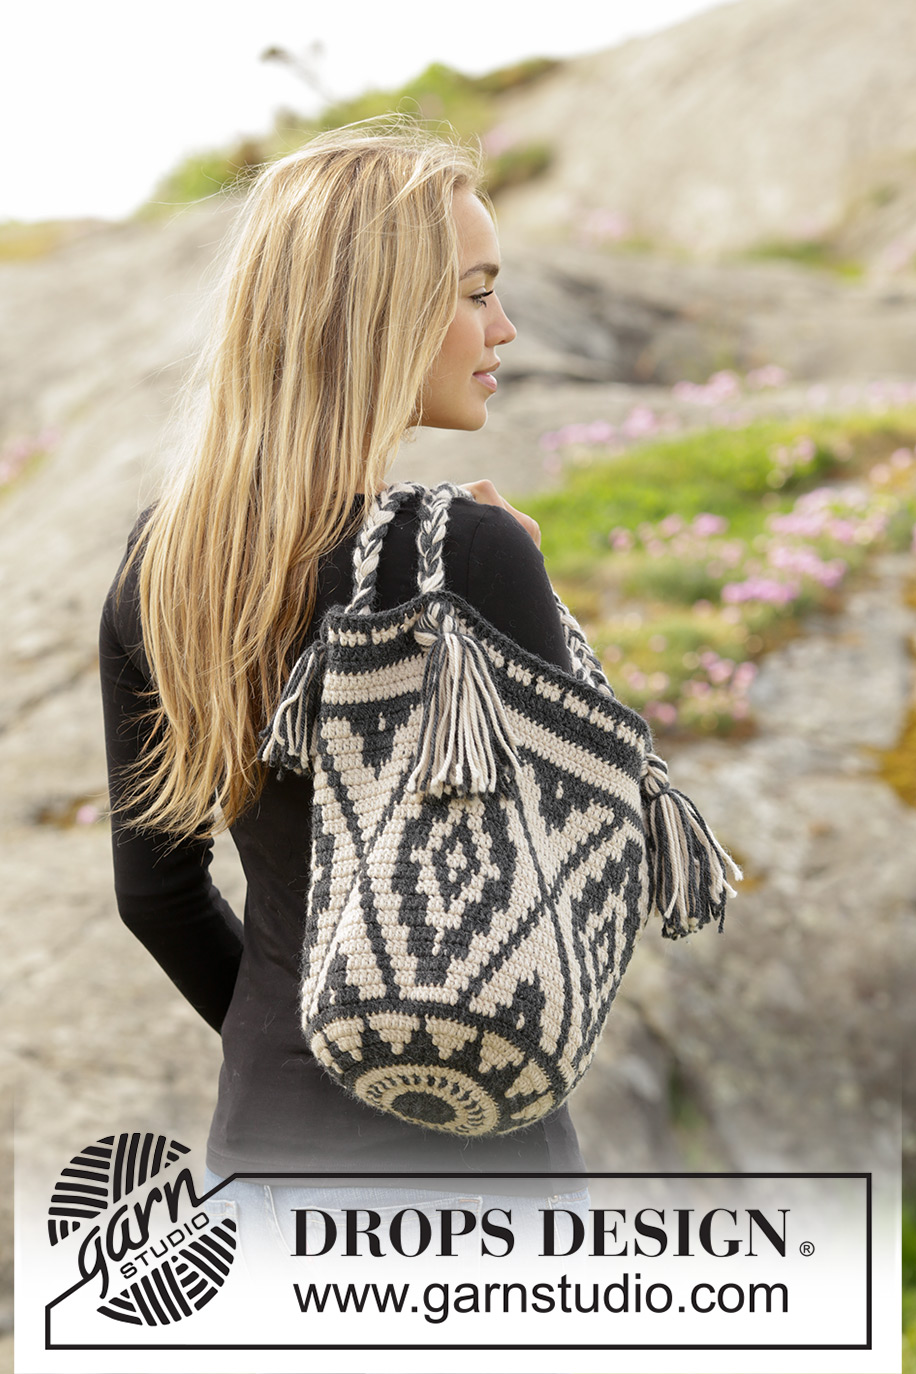
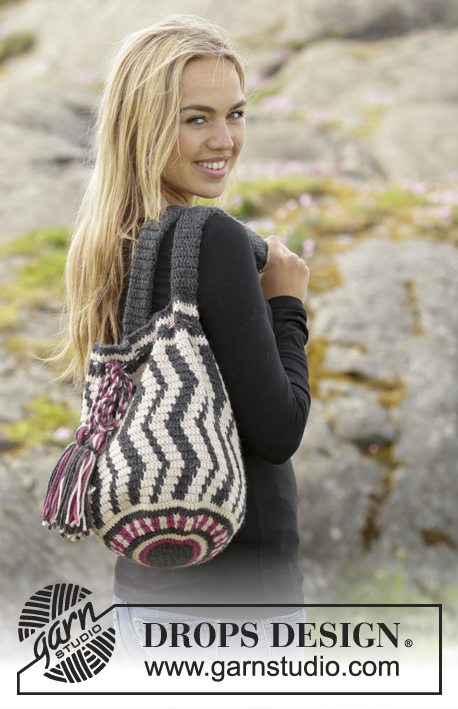
Bolso a ganchillo DROPS con patrón de colores en ”Nepal”.
DROPS 173-1 |
|||||||
|
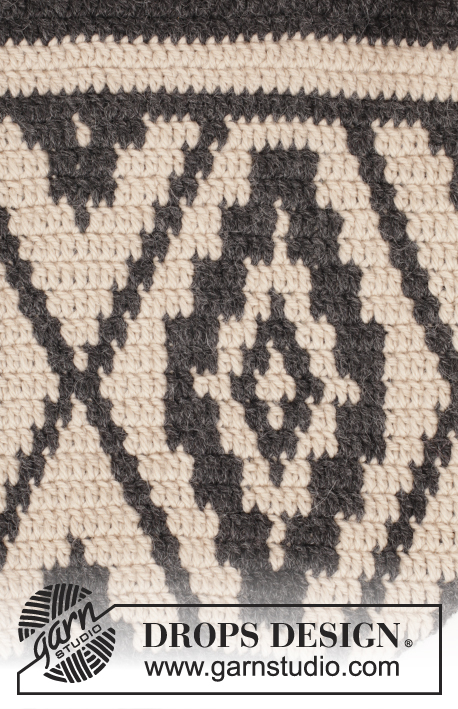
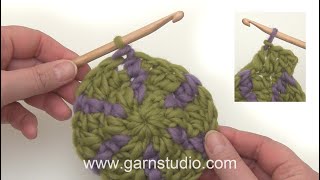
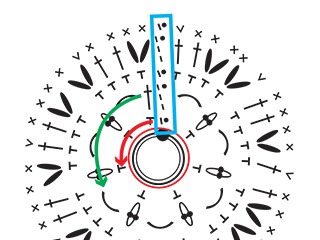
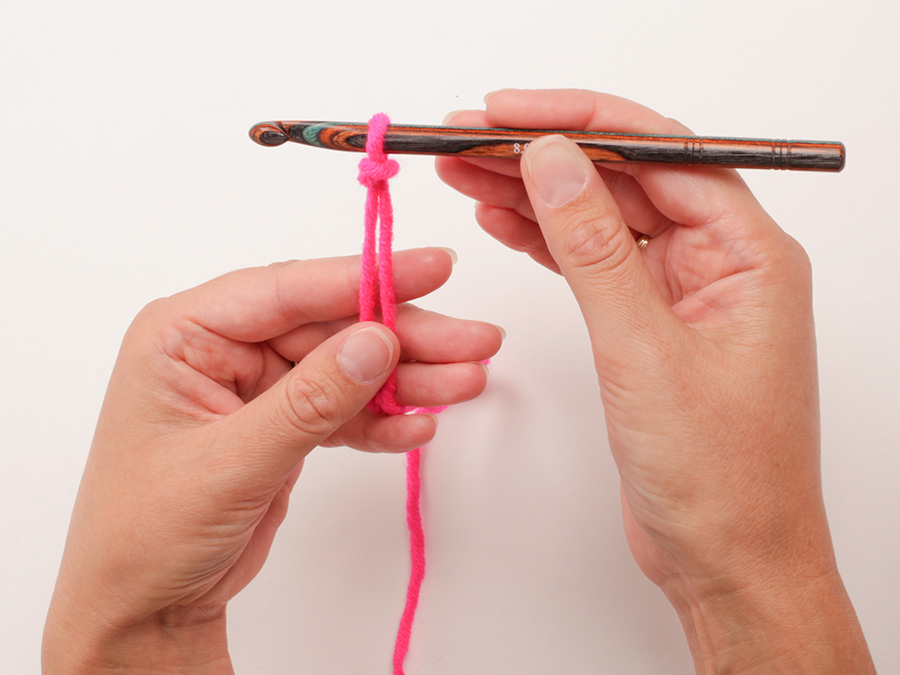
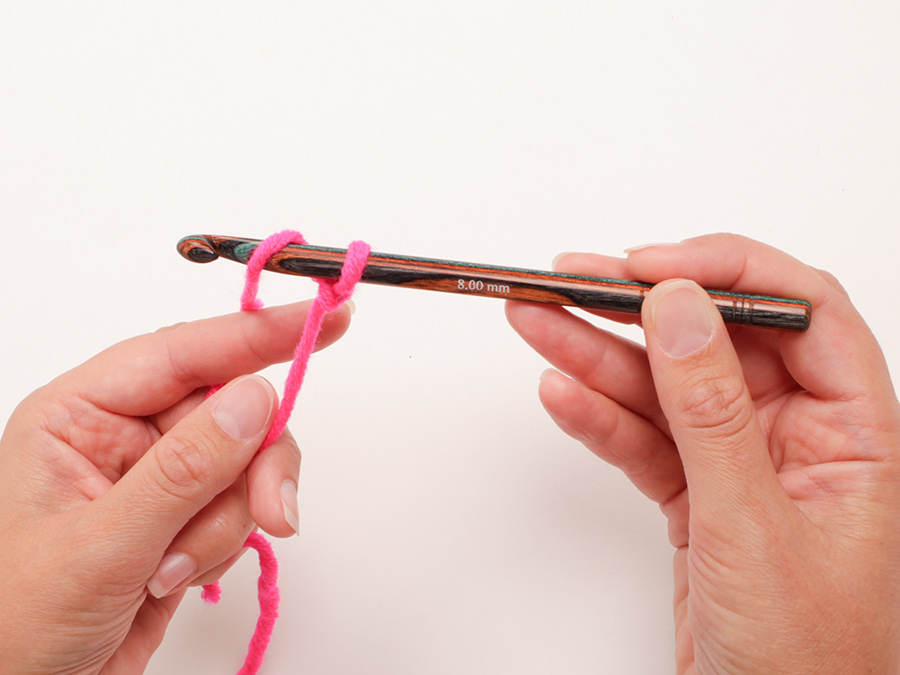
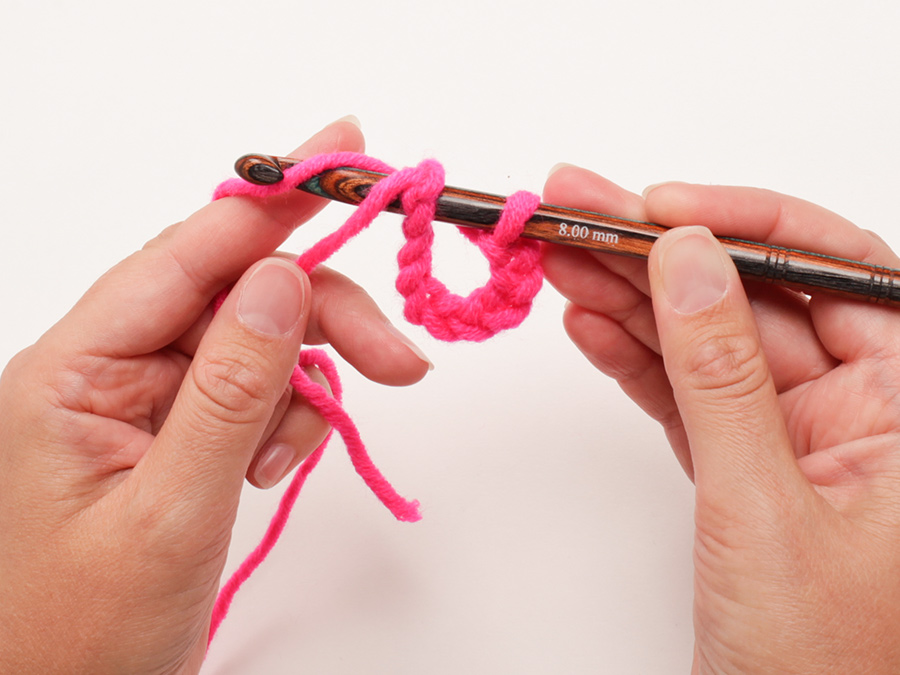
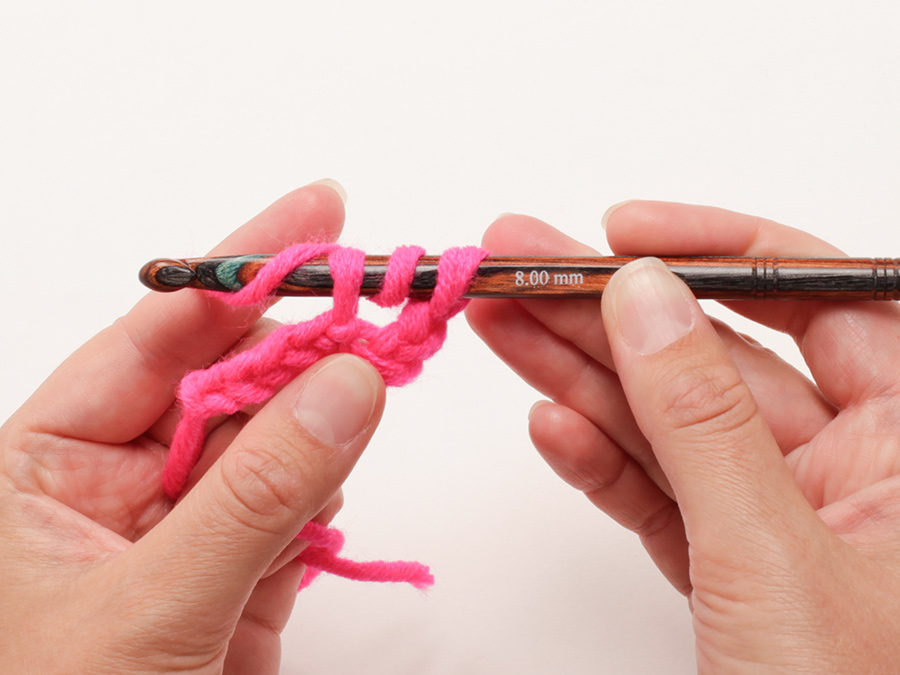
PATRÓN: Ver los diagramas A.1 y A.2. Los diagramas muestran los colores del patrón. 1 cuadrado = 1 p.a. PATRÓN DE COLORES (se trabaja en redondo): Cuando se cambia de color trabajar como sigue: Trabajar el último p.a. con el 1er color, pero sin hacer la última lazada, cambiar al sig color y trabajar la última lazada con este color, ahora trabajar el sig p.a. Cuando se trabaja con dos colores colocar los hilos del color que no se trabaja sobre los pts de la vta anterior, trabajar alrededor de los hilos de modo que queden escondidos y sigan la vta. TIP PARA LA REALIZACIÓN DEL TRABAJO: Sustituir el primer p.a. al inicio de cada vta por 3 p.de cad, finalizar la vta con 1 p.e. en el tercer p.de cad. -- -- -- -- -- -- -- -- -- -- -- -- -- -- -- -- -- -- -- -- -- -- -- -- -- -- -- -- BOLSO: Se trabaja en redondo. Trabajar 5 p.de cad con gris oscuro y ganchillo tamaño 3.5 mm y formar un anillo con 1 p.e. en el primer p.de cad. Ahora trabajar en redondo y según el diagrama A.1 (trabajar 12 repeticiones de A.1 en el ancho) - LEER PATRÓN DE COLORES. VUELTA 1: Trabajar 12 p.a. dentro del anillo - leer TIP PARA LA REALIZACIÓN DEL TRABAJO VUELTA 2: Trabajar 2 p.a. en cada p.a. = 24 p.a. VUELTA 3: Trabajar *1 p.a. en el 1er p.a., 2 p.a. en el sig p.a.*, repetir de * a * la vta entera = 36 p.a. VUELTA 4: Trabajar *1 p.a. en cada uno de los primeros 2 p.a., 2 p.a. en el sig p.a.*, repetir de * a * la vta entera = 48 p.a. RECUERDE MANTENER LA MISMA TENSIÓN DEL TEJIDO. VUELTA 5-10: Continuar con los aum y el patrón como antes, es decir en cada vta trabajar 1 p.a. más entre los aum = 120 p.a. VUELTA 11: Continuar trabajando en redondo pero sin aum y trabajar según el diagrama A.2 (= 4 repeticiones en el ancho). En la vta con flechas trabajar como sigue: *1 p.a. en cada uno de los primeros/siguientes 3 p.a., 1 p.de cad, saltar 1 p.a.*, repetir de * a *. Continuar hasta completar A.2, asegurar el hilo. ASAS: Cortar 18 hilos de cada color de 120 cm cada uno = 36 hilos. Colocarlos juntos y hacer un nudo flojo, dejar aprox 12 cm después del nudo. Repartirlos en tres grupos de 12 hilos cada uno. Hacer una trenza de aprox 68 cm de largo. Dividir todos los hilos ahora en dos grupos. Pasar las 2 mitades a través del bolso por la vta con agujeros y con una separación de 3 p.a., tomar el nudo del inicio de la trenza y asegurarlo al lado opuesto del bolso del mismo modo. Trabajar otra trenza de la misma manera - ver foto. |
|||||||
Explicaciones del diagrama |
|||||||
|
|||||||
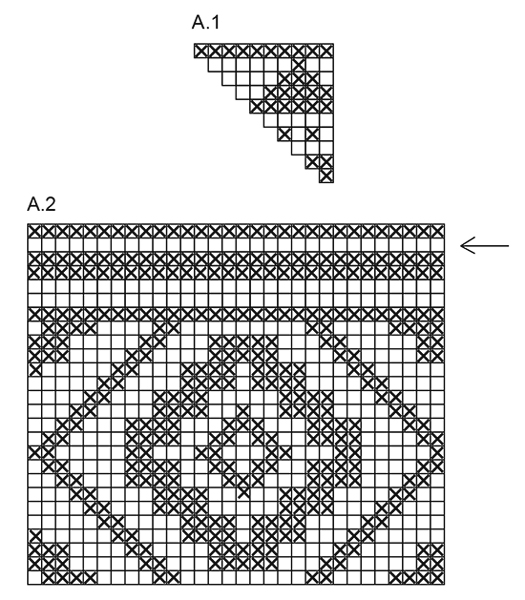 |
|||||||
¿Terminaste este patrón?Entonces, etiqueta tus fotos con #dropspattern #santafebag o envíalas a la galería #dropsfan. ¿Necesitas ayuda con este patrón?Encontrarás 7 videos tutoriales, un espacio para comentarios/preguntas y más visitando la página del patrón en garnstudio.com © 1982-2026 DROPS Design A/S. Todos los derechos reservados. Este documento, incluyendo todas sus sub-secciones, está protegido por los derechos de autor (copyright). Lee más acerca de lo que puedes hacer con nuestros patrones en la parte de abajo de cada patrón de nuestro sitio. |
|||||||

Con más de 40 años en el diseño de modelos de punto y de ganchillo, DROPS Design ofrece una de las más vastas colecciones de patrones gratuitos en el internet - traducidos en 17 idiomas. Al día de hoy, contamos con 333 catálogos y 12549 patrones - de los cuales 12052 están traducidos en español.
Nosotros trabajamos con mucho esmero para brindarte lo mejor que las labores de punto y ganchillo tienen para ofrecer,inspiración y consejos, así como hilos de magnífica calidad a precios increíbles! Te gustaría usar nuestros patrones para otro fin además del uso personal? Puedes leer acerca de lo que estás permitida a hacer en el texto de Copyright en la parte de abajo de todos nuestros patrones. Felices labores!
Escribe un comentario sobre DROPS 173-1
¡Nos encantaría saber qué piensas acerca de este patrón!
Si quieres escribir una pregunta referente al patrón, por favor asegúrate de elegir la categoría correcta en el formulario debajo, para acelerar el proceso de respuesta. Los campos obligatorios están marcados con un *.