
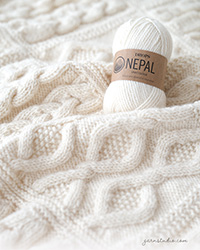
Looking for a yarn?


Comments / Questions (5)
![]() Kathryn Dickson wrote:
Kathryn Dickson wrote:
I am wondering if there is a misprint in the pattern? When knitting the Body, the pattern says to "continue stockinette stitch in the round for a further 6 3/4 " for the largest size. Should it be 9 3/4"? Otherwise it seems very short. (Shorter than the smaller sizes). Also, can the sleeves be worked in the round, rather than back and forth? Thanks for your help!
14.03.2025 - 15:53DROPS Design answered:
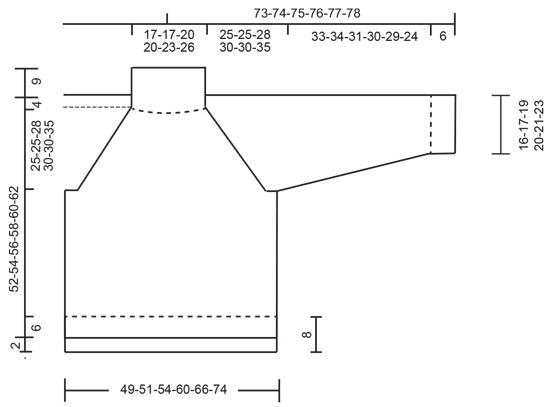
Dear Kathryn, the pattern is correct; the yoke is much longer in the largest size than the other sizes (5cm longer than the previous size) so, when you need to work the body in stocking stitch until the bottom rib, the number of necessary cm for the full length is shorter than in other sizes (3cm less than the previous size, but it's still 2 cm longer overall). You can check that the total measurements are correct and match the size schematic. The sleeve can be worked in the round; it's worked back and forth for confort, since the needles and yarn used are large, but you can perfectly work it in the round if you prefer that. Happy knitting!
16.03.2025 - 18:45
![]() Sylvie McDuff wrote:
Sylvie McDuff wrote:
Bonjour, je commence à tricoter, j'aimerais faire le pull Red Embers Sweater, j'aimerais avoir une petite idée de la grandeur qu je dois prendre comme je suis débutante ça m,aiderait beaucoup.
20.02.2025 - 23:05DROPS Design answered:
Bonjour Mme McDuff, mesurez un vêtement similaire que vous avez et dont vous aimez la forme et comparez ces mesures à celles du schéma en bas de page, c'est la méthode la plus simple pour trouver la taille correspondante. Retrouvez plus d'infos ici. Bon tricot!
21.02.2025 - 08:46
![]() Monica Johansson wrote:
Monica Johansson wrote:
Förstår inte minskningen på ärmen, kan ni förtydliga det för mig?
27.01.2025 - 11:08DROPS Design answered:
Hej Monica. Du börjar minskningen när arbetet mäter det antal cm som står i beskrivningen för din storlek. Första minskningen görs på höger sida av arbetet genom att sticka 2 rm tillsammans, nästa minskning görs sedan på vänster sida av arbetet och så fortsätter du göra minskningen så växelvis på höger och vänster sida enligt beskrivningen. Mvh DROPS Design
28.01.2025 - 08:30
![]() Pernille wrote:
Pernille wrote:
Hej, jeg har købt air drops til denne opskrift og bruger også rundpin nr 15, men halsen virker så løs? hvordan løser jeg dette problem
01.10.2024 - 10:36DROPS Design answered:
Hei Pernille, Du kan begynne med å legge opp færre masker og strikke halsen, før du øker til bærestykke, eller bruke en størrelse mindre rundpinne til halsen. God fornøyelse!
24.10.2024 - 10:33
![]() Bernie Courtney wrote:
Bernie Courtney wrote:
It says size 15 needles, does that mean 15mm or is it referring to US sizing or something else?
09.05.2024 - 10:12DROPS Design answered:
Dear Mrs Courtney, you need here needle size 15 mm - read more about tension here. Happy knitting!
10.05.2024 - 08:35
|
|
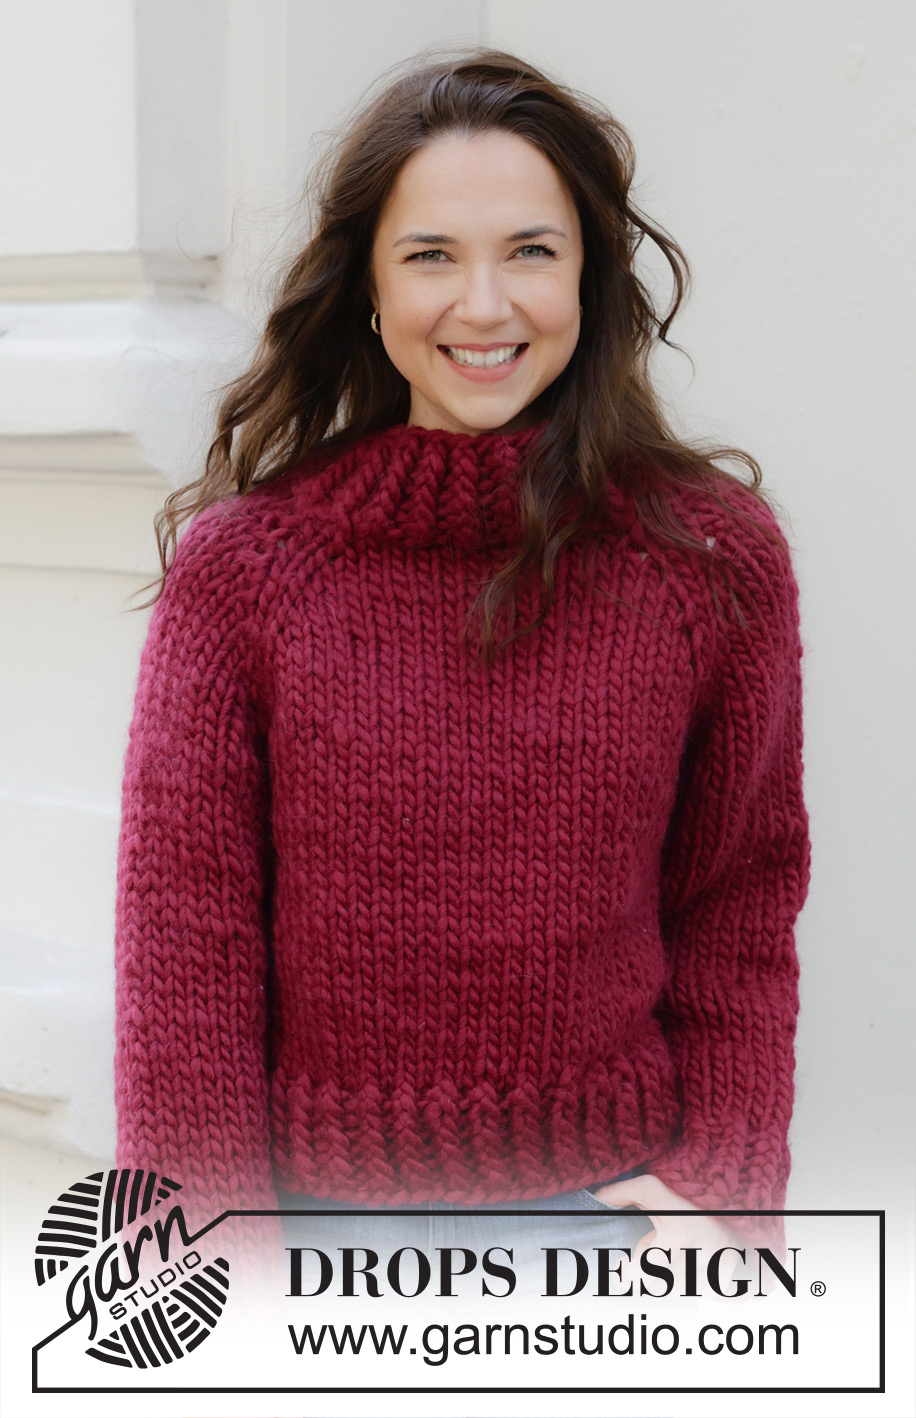
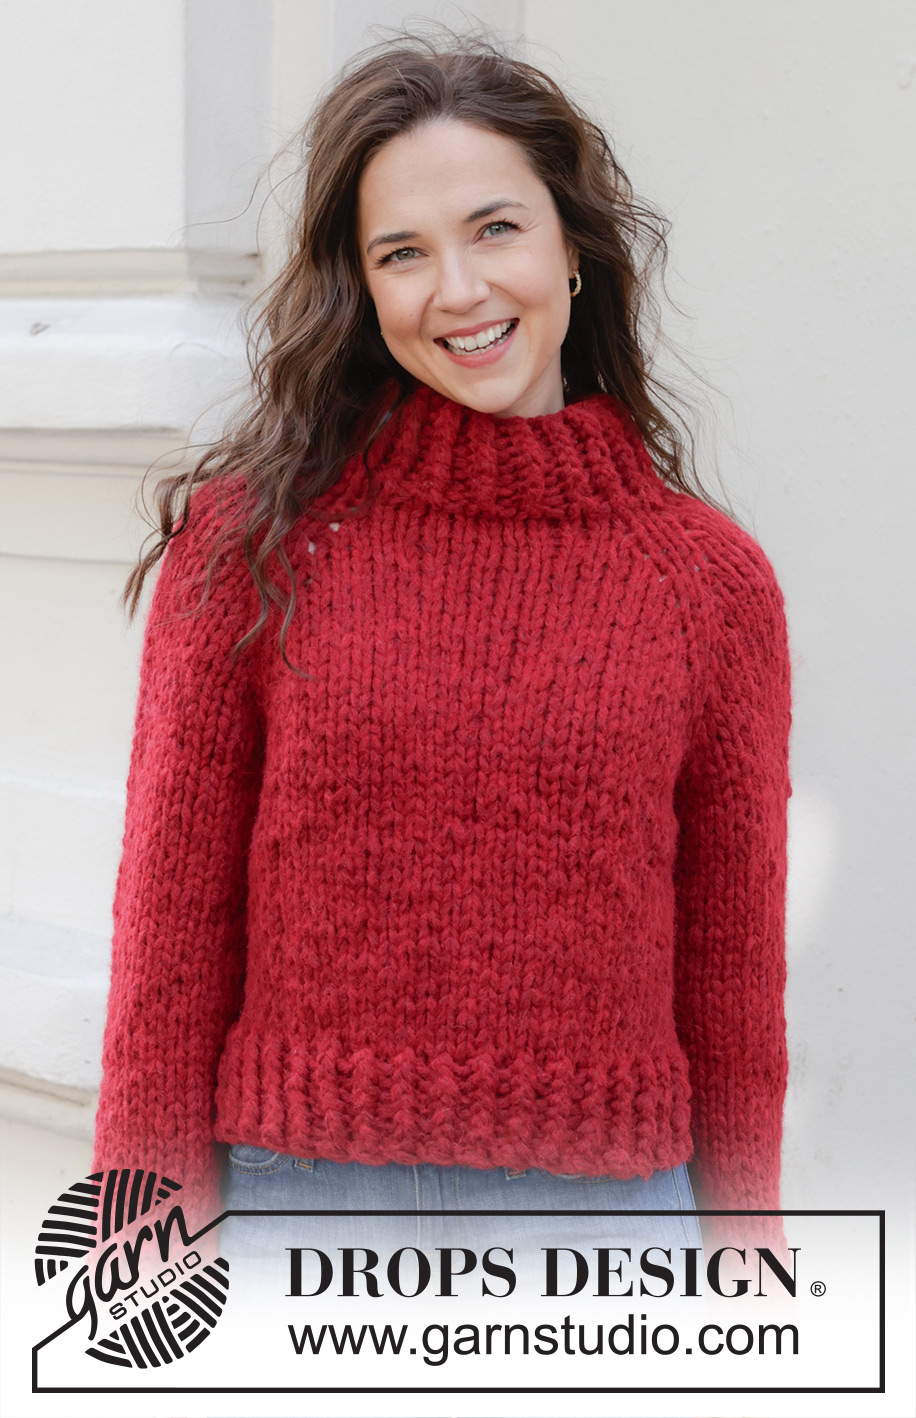
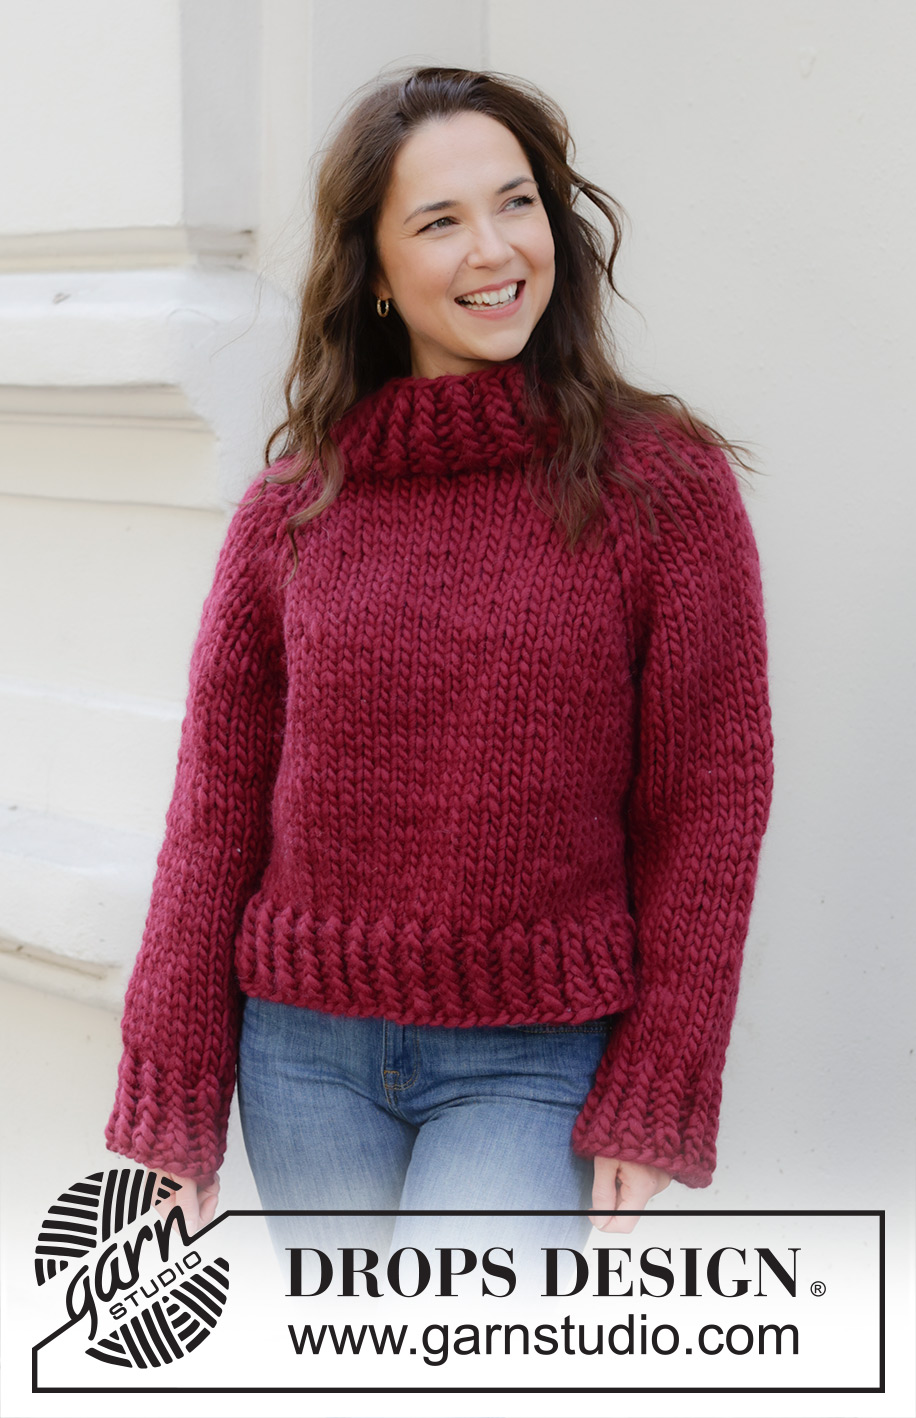
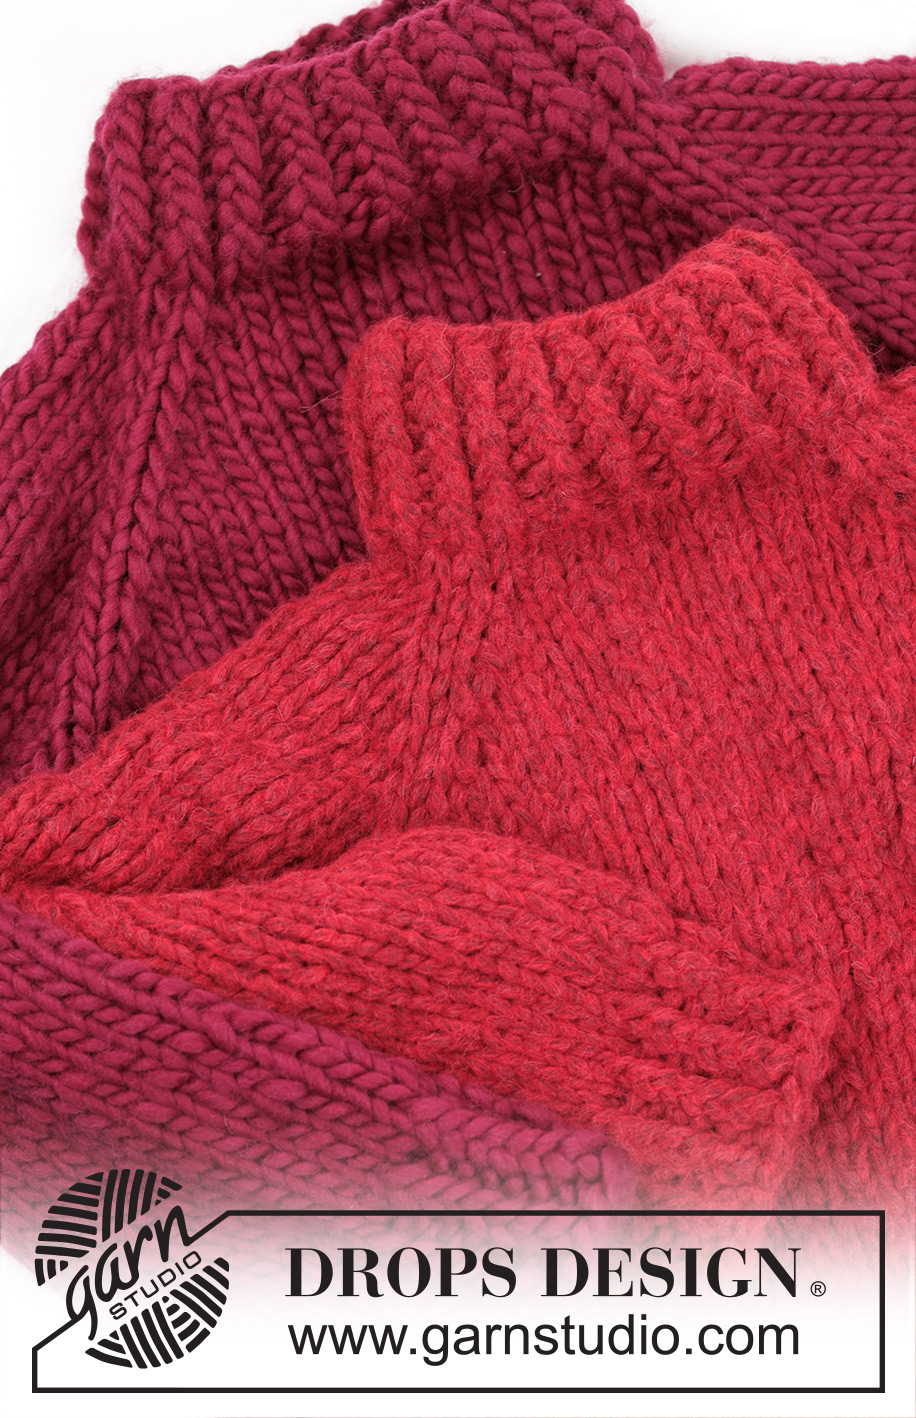
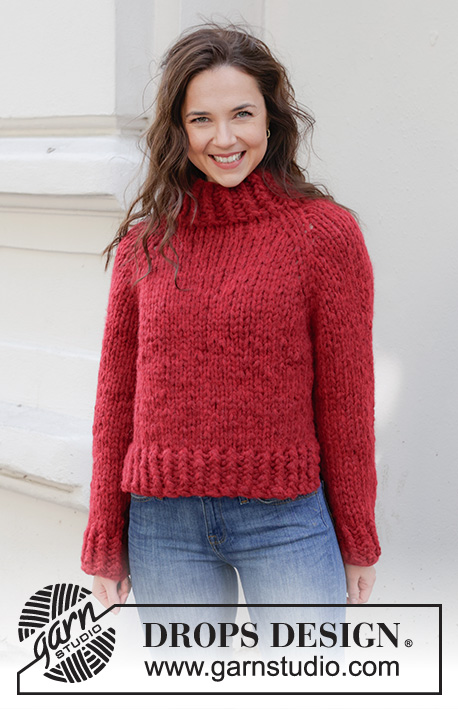
Red Embers Sweater#redemberssweater |
|
 |
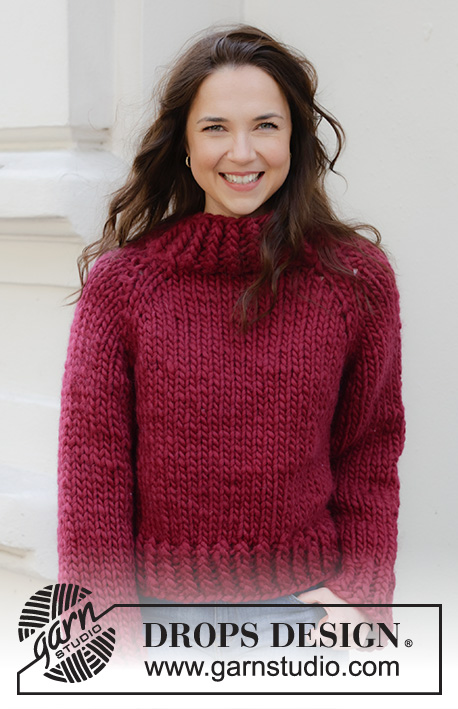 |
Knitted jumper in 1 strand DROPS Polaris or 4 strands DROPS Air. The piece is worked top down with raglan. Sizes S - XXXL.
DROPS 245-30 |
|
|
------------------------------------------------------- EXPLANATIONS FOR THE PATTERN: ------------------------------------------------------- CHANGING STRANDS (when working with Polaris): When changing balls of Polaris, divide the final 15 cm of the old strand in two, cut off one of the two halves. Do the same with the new strand. Lay the first and last 15 cm over each other to give normal yarn thickness and continue working – the join will now be invisible. DECREASE TIP-1 (for yoke): After the marker-thread: Slip 1 stitch knit-wise, knit 1 and pass the slipped stitch over the knitted stitch. Before the marker-thread: Knit 2 together. DECREASE TIP-2 (for sleeves): NOTE: So the decreases are alternately on the right and left of the piece, decrease alternately at the beginning and end of the decrease-row by knitting 2 together from the right side or purling 2 together from the wrong side. MAGIC LOOP: When using a circular needle (with a long flexible wire) which is too long for the number of stitches, work as follows: Push the stitches to the middle of the wire and divide the stitches in two, pull the wire out through the stitches. Push the two sets of stitches to either end of the needle, making sure the stitches do not twist. The yarn is on the back needle and work the stitches on the front needle (pull the back needle out a little before you begin). When the stitches on the front needle are worked, turn and work the other set of stitches in the same way. Continue in the round like this, always pulling the needle with the yarn out a little before beginning. RAGLAN: Increase for raglan on each side of each marker-thread (8 increased stitches on the round). Start 1 stitch before the marker-thread, make 1 yarn over, knit 2 (marker-thread sits between these 2 stitches), make 1 yarn over. On the next round work the yarn overs as follows: BEFORE MARKER-THREAD: Slip the yarn over off the left the needle and replace it the other way around (insert the left needle through from behind when replacing it), knit the front loop (the stitch twists to the right). No hole. AFTER MARKER-THREAD: Knit the back loop (the stitch twists to the left). No hole. GARTER STITCH (worked back and forth): Knit all rows. 1 ridge = knit 2 rows. ------------------------------------------------------- START THE PIECE HERE: ------------------------------------------------------- JUMPER - SHORT OVERVIEW OF THE PIECE: The neck and yoke are worked in the round with circular needle from the back left shoulder, top down. The yoke is divided for the body and sleeves and the body continued in the round with circular needle as far as the split in each side, then finished back and forth with circular needle. The sleeves are worked back and forth with circular needle. Read CHANGING STRANDS (when working with Polaris). NECK: Cast on 40-40-44-44-48-52 stitches with circular needle size 15 mm and 1 strand DROPS Polaris or 4 strands DROPS Air. Read MAGIC LOOP in the explanations above. Work rib in the round (knit 1 twisted, purl 1) for 9 cm. Insert 1 marker; the yoke is measured from here. YOKE: Insert 4 marker-threads, without working the stitches as follows: Insert marker-thread 1 at the beginning of the round, marker-thread 2 after 14-14-16-16-18-20 stitches (back piece), marker-thread 3 after the next 6 stitches (sleeve), marker-thread 4 after the next 14-14-16-16-18-20 stitches (front piece), there are 6 stitches left to marker-thread 1 (sleeve). Knit 1 round and decrease 1 stitch on each side of all 4 marker-threads – read DECREASE TIP-1 = 32-32-36-36-40-44 stitches. Work stocking stitch, AT THE SAME TIME on the first round, begin to increase for RAGLAN – read description above. Increase like this every 2nd round 8-10-10-11-12-14 times = 96-112-116-124-136-156 stitches. REMEMBER THE KNITTING TENSION! The increases for raglan in sizes M, L, XXL and XXXL are finished. In sizes S and XL increase for raglan on the front and back pieces 1 more time (do not increase on the sleeves); 4 increased stitches = 100-112-116-128-136-156 stitches. Continue the stocking stitch without further increases until the yoke measures 25-25-28-30-30-35 cm from the marker. Divide for the body and sleeves as follows: Knit 30-32-34-38-40-46 (back piece), place the next 20-24-24-26-28-32 stitches on a thread for the sleeve, cast on 4-4-4-4-6-6 stitches under the sleeve, knit 30-32-34-38-40-46 (front piece), place the next 20-24-24-26-28-32 stitches on a thread for the sleeve, cast on 4-4-4-4-6-6 stitches under the sleeve. The body and sleeves are finished separately. The piece is now measured from here. BODY: = 68-72-76-84-92-104 stitches. Insert 1 marker-thread in the middle of the cast-on stitches under each sleeve (2-2-2-2-3-3 stitches on each side of the marker-thread), there are 34-36-38-42-46-52 stitches on both the front and back pieces. Continue stocking stitch in the round for a further 17-19-18-18-20-17 cm. Divide at one marker-thread, work the back piece then place these 34-36-38-42-46-52 stitches on a stitch holder. FRONT PIECE: Work rib back and forth over the 34-36-38-42-46-52 stitches as follows from the right side: 2 GARTER STITCHES – read description above, * knit 1 twisted, purl 1 *, work from *-* AT THE SAME TIME increase 1 stitch, work until there are 3 stitches remaining, knit 1 twisted and 2 garter stitches = 35-37-39-43-47-53 stitches. Work as follows from the wrong side: 2 garter stitches, * purl 1 twisted, knit 1 *, work from *-* until there are 3 stitches left, purl 1 twisted and 2 garter stitches. Continue this rib for 6 cm. Loosely cast off with rib. The jumper measures approx. 52-54-56-58-60-62 cm from the shoulder and down the front piece. BACK PIECE: Place the back-piece stitches on the needle. Work rib and increase in the same way as on the front piece until the rib measures 8 cm (2 cm longer than on the front piece). The jumper measures approx. 54-56-58-60-62-64 cm from the shoulder and down the back piece. SLEEVES: The sleeves are worked back and forth, then sewn together. Place the 20-24-24-26-28-32 stitches from one thread back on circular needle size 15 mm. Cast on 2-2-2-2-3-3 stitches on each side = 24-28-28-30-34-38 stitches. Work stocking stitch back and forth over all stitches. When the sleeve measures 4-4-2-4-4-2 cm, decrease 1 stitch on the right-hand side - read DECREASE TIP-2. Decrease alternately on the right and left-hand side every 12th-6th-12th-12th-4th-2nd row 2-4-2-2-4-6 times (= 1-2-1-1-2-3 times on each side) = 22-24-26-28-30-32 stitches. Work until the sleeve measures 33-34-31-30-29-24 cm. Now work rib as follows: From the right side: * Purl 1, knit 1 twisted *, work from *-* to end of row. From wrong side: * Purl 1 twisted, knit 1 *, work from *-* to end of row. Work this rib for 6 cm. Loosely cast off with rib. The sleeve measures 39-40-37-36-35-30 cm. Work the other sleeve in the same way. ASSEMBLY: Sew the sleeve seams in the outermost loop of the outermost stitch so the seam is flat. Sew together the opening under each sleeve. |
|
|
|
Have you finished this pattern?Tag your pictures with #dropspattern #redemberssweater or submit them to the #dropsfan gallery. Do you need help with this pattern?You'll find 32 tutorial videos, a Comments/Questions area and more by visiting the pattern on garnstudio.com. © 1982-2025 DROPS Design A/S. We reserve all rights. This document, including all its sub-sections, has copyrights. Read more about what you can do with our patterns at the bottom of each pattern on our site. |
|
With over 40 years in knitting and crochet design, DROPS Design offers one of the most extensive collections of free patterns on the internet - translated to 17 languages. As of today we count 319 catalogues and 11923 patterns translated into English (UK/cm).
We work hard to bring you the best knitting and crochet have to offer, inspiration and advice as well as great quality yarns at incredible prices! Would you like to use our patterns for other than personal use? You can read what you are allowed to do in the Copyright text at the bottom of all our patterns. Happy crafting!
Post a comment to pattern DROPS 245-30
We would love to hear what you have to say about this pattern!
If you want to leave a question, please make sure you select the correct category in the form below, to speed up the answering process. Required fields are marked *.