
Popular categories
Looking for a yarn?


Comments / Questions (16)
![]() Charlotte Hållén Johansson wrote:
Charlotte Hållén Johansson wrote:
Hej, det enklaste är nog om jag kan skicka en bild. Det syns ju först när man kommer till de vita kryssen. Men det är redan från start. Som sagt så sa "Yll och Tyll" att de får likadant, även på tröja, så det måste vara något vi inte fattar =) Det är som att när man kommer runt så är man en maska för högt upp, svårt att förklara. Jag väntar på godkännande i er Facebook-grupp, kan lägga en bild där när jag blir insläppt. Charlotte
17.09.2021 - 09:38DROPS Design answered:
Hej Charlotte. Så bra, då kan du säkert få hjälp där. Om det är precis vid övergången till nytt varv som du får ett hack, så har vi en video som visar hur man kan undvika detta här. Mvh DROPS Design
17.09.2021 - 12:30
![]() Charlotte Hållén Johansson wrote:
Charlotte Hållén Johansson wrote:
Hej, jag har problem med mönstret, det blir förskjutet hela tiden. Jag har stickat om samma vante 4 gånger. När jag frågade i butiken där jag köpte mönstret så sa det att det är så med DROPS mönster. Det var samma med tröjor de stickade. Men det här låter ju väldigt konstigt? Kan jag skicka en bild till er för att få hjälp? Tack på förhand!
17.09.2021 - 07:33DROPS Design answered:
Hej Charlotte. Mönstret ska inte bli förskjutet, så jag vet inte riktigt varför det blir så för dig. Är det redan i början av diagrammet du får problem eller när blir det så? Mvh DROPS Design
17.09.2021 - 09:24
![]() Sara wrote:
Sara wrote:
Jag förstår inte instruktionen.... ska man inte sticka någon resår på vanten? Det är ju resår på bilden men i instruktionen står det bara slätstickning? Är lite förvirrad, kommer inte igång
18.02.2021 - 13:47DROPS Design answered:
Hej Sara, nej disse vanter har ingen resår, du starter der hvor der står VENSTRE VANTE, så får du den lille takkede kant som du ser øverst på vanterne :)
18.02.2021 - 15:10
![]() Gertraud wrote:
Gertraud wrote:
Muss ich da keinen Daumenkeil machen? Und nur die 6 Maschen stilllegen?
25.01.2021 - 15:30DROPS Design answered:
Liebe Gertraud, ja genau, es ist keinen Daumenkeil für dieses Modell, die Maschen werden zuerst mit einer Hilfsfaden gestrickt (siehe dieses Video z.B.) und dann weiter wie zuvor gestrickt. Ganz am Ende wird diesen Faden herausgezogen, die Maschen auf der Nadel nehmen und dann Daumen wird einzeln gestrickt. Viel Spaß beim stricken!
25.01.2021 - 16:17
![]() Alicia wrote:
Alicia wrote:
¡Resuelto el misterio en cuanto me puse a hacerlo! Gracias.
05.11.2020 - 20:29
![]() Alicia wrote:
Alicia wrote:
No entiendo cómo levantando un punto a cada lado del pulgar se pasa de tener 6 puntos a 14. No termino de entender cómo hacer el pulgar. Muchas gracias.
03.11.2020 - 11:28
|
|||||||
North Star Set#northstarset |
|||||||
 |
 |
||||||
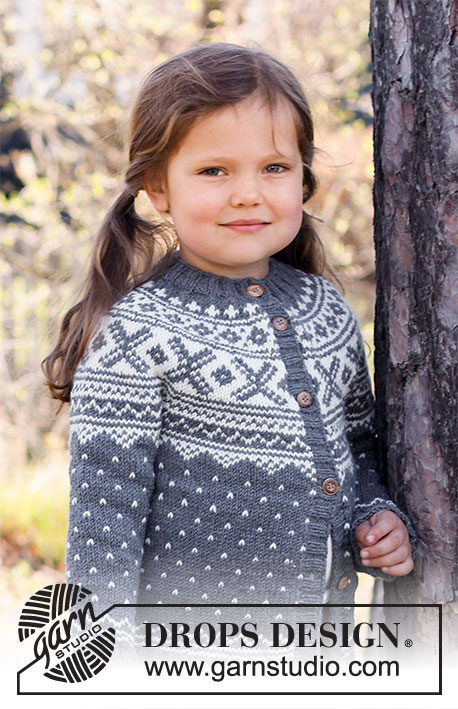
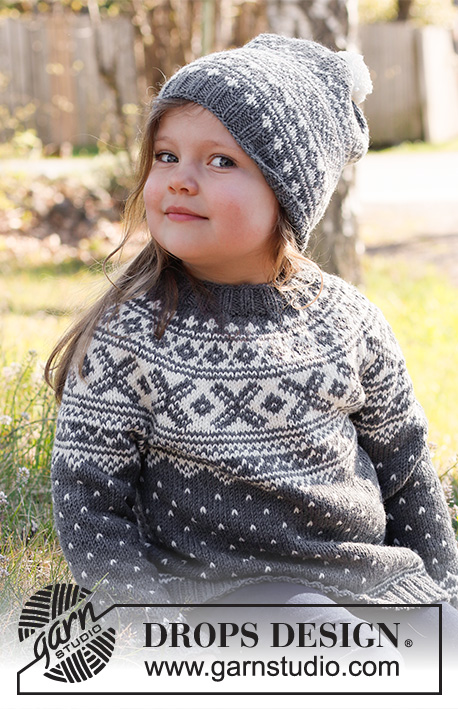
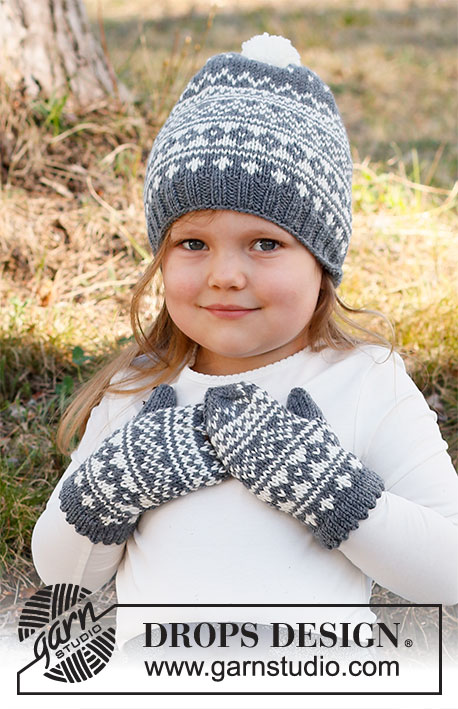
Knitted hat and mittens for children in DROPS Merino Extra Fine. The whole set is worked with Nordic pattern. Sizes 2 – 12 years.
DROPS Children 37-3 |
|||||||
|
------------------------------------------------------- EXPLANATIONS FOR THE PATTERN: ------------------------------------------------------- PATTERN: Hat and mittens: See diagrams A.1 and A.2. The whole pattern is worked in stocking stitch. KNITTING TIP-1: To avoid the garment losing its elasticity when working the pattern, it is important the strands at the back are not tight. Increase a needle size when working pattern if this is a problem. KNITTING TIP-2 (for mittens): The length you work before the start of the thumb-opening can be adjusted by working more or fewer rounds before marking the opening. DECREASE TIP-1 (for top of hat): Work until there are 2 stitches left before the marker, knit 2 together (= 1 stitch decreased). DECREASE TIP-2 (for top of mitten): Start 3 stitches before the marker thread, knit 2 together, knit 2 (marker thread sits between these 2 stitches), slip 1 stitch as if to knit, knit 1 and pass the slipped stitch over the knitted stitch (= 2 stitches decreased at the marker thread). DECREASE TIP-3 (for thumb): Start 2 stitches before the marker thread, knit 2 together, marker thread, slip 1 stitch as if to knit, knit 1 and pass the slipped stitch over the knitted stitch (= 2 stitches decreased). ------------------------------------------------------- START THE PIECE HERE: ------------------------------------------------------- HAT – SHORT OVERVIEW OF THE PIECE: The piece is worked in the round with short circular needle, bottom up. Change to double pointed needles when necessary. HAT: Cast on 96-100-104-108 stitches with short circular needle size 3 mm and medium grey. Knit 1 round, then work rib in the round (= knit 2 / purl 2) for 3 cm. Change to short circular needle size 3.5 mm. Read KNITTING TIP-1 and work A.1 in the round (= 24-25-26-27 repeats of 4 stitches). REMEMBER THE KNITTING TENSION! When A.1 has been completed, work A.2 (= 24-25-26-27 repeats of 4 stitches). Work until the piece measures 17-18-18-19 cm and at the same time decrease 1-0-2-0 stitches evenly on the last round = 95-100-102-108 stitches. Insert 5-5-6-6 markers in the piece with 19-20-17-18 stitches between each marker. Work stocking stitch with medium grey. AT THE SAME TIME on the next round decrease 1 stitch before each marker - read DECREASE TIP-1 = 5-5-6-6 stitches decreased. Decrease like this every 2nd round a total of 3-2-5-3 times and then every round a total of 4-6-3-7 times = 60-60-54-48 stitches left. Work 3 rounds of stocking stitch where all stitches are knitted together 2 and 2 on all 3 rounds = 8-8-7-6 stitches left. Cut the strand, pull it through the remaining stitches, tighten and fasten well. The hat measures approx. 21-22-23-24 cm from the top down. ASSEMBLY: Make a pom pom using off-white and approx. 4 cm in diameter. Fasten to top of hat. ------------------------------------------------------- MITTENS – SHORT OVERVIEW OF THE PIECE: The piece is worked in the round with double pointed needles, bottom up. LEFT MITTEN: Cast on 28-32-36-40 stitches with double pointed needles size 3.5 mm and medium grey. Work 6 rounds of stocking stitch for the lining. The next round is worked as follows: * Knit 2 together, 1 yarn over *, work from *-* to end of round (= folding edge). The piece is now measured from this folding edge! Work 6 rounds of stocking stitch with medium grey. REMEMBER THE KNITTING TENSION! Read KNITTING TIP-1 and work A.1 in the round (= 7-8-9-10 repeats of 4 stitches). When A.1 has been completed, work A.2. Then repeat A.2 in height to finished length. AT THE SAME TIME when the piece measures approx. 6-8-9-10 cm from the folding edge, work a marker for the thumb-opening as follows – read KNITTING TIP-2: Work 6-8-9-11 stitches in pattern as before, cut the strand. Work 6-6-7-7 stitches in stocking stitch for the thumb-opening using a colour which stands out from the rest of the piece, then work the remaining 16-18-20-22 stitches in pattern as before. Continue the pattern as before over all stitches until the piece measures 12-14-15-18 cm from the folding edge (you have worked 6-6-6-8 cm from the thumb-opening). There is now approx. 2-2-3-3 cm to finished length; try the mitten on and work to desired length. Insert 1 marker thread at the beginning of the round and 1 marker thread after 14-16-18-20 stitches. Work stocking stitch in the round with medium grey. AT THE SAME TIME on the first round decrease on each side of the 2 marker threads – read DECREASE TIP-2 (= 4 stitches decreased). Decrease like this every round a total of 6-7-8-9 times = 4 stitches left. Cut the strand, pull it through the remaining stitches, tighten and fasten well. The mitten measures approx. 14-16-18-21 cm from the top down to the folding edge. THUMB: Remove the coloured strand used for the 6-6-7-7 stitches in the thumb-opening. Divide these stitches onto double pointed needles size 3.5 mm and knit up 1 stitch on each side of the thumb using medium grey = 14-14-16-16 stitches. Work stocking stitch in the round with medium grey. When the thumb measures approx. 3-3½-4-4½ cm, insert 1 marker thread on each side of the thumb. There is now approx. 1 cm to finished length; try the mitten on and work to desired thumb-length. On the next round decrease on each side of both marker threads – read DECREASE TIP-3 (= 4 stitches decreased). Decrease like this every round a total of 2 times = 6-6-8-8 stitches left. Cut the strand, pull it through the remaining stitches, tighten and fasten well. RIGHT MITTEN: Cast on 28-32-36-40 stitches with double pointed needles size 3.5 mm and medium grey. Work 6 rounds of stocking stitch for the lining. The next round is worked as follows: * Knit 2 together, 1 yarn over *, work from *-* to end of round (= folding edge). The piece is now measured from this folding edge! Work 6 rounds of stocking stitch with medium grey. Remember KNITTING TIP-1 and work A.1 in the round (= 7-8-9-10 repeats of 4 stitches). When A.1 has been completed, work A.2. Then repeat A.2 in height to finished length. AT THE SAME TIME when the piece measures approx. 6-8-9-10 cm from the folding edge, work a marker for the thumb-opening as follows – remember KNITTING TIP-2: Work 16-18-20-22 stitches in pattern as before, 6-6-7-7 stitches in stocking stitch for the thumb-opening, using a colour which stands out from the rest of the piece, then work the remaining 6-8-9-11 stitches in pattern as before. Continue the pattern as before over all stitches until the piece measures 12-14-15-18 cm from the folding edge (you have worked 6-6-6-8 cm from the thumb-opening; match the left mitten). Insert 1 marker thread at the beginning of the round and 1 marker thread after 14-16-18-20 stitches. Work stocking stitch in the round with medium grey. AT THE SAME TIME on the first round decrease on each side of the 2 marker threads – remember DECREASE TIP-2 (= 4 stitches decreased). Decrease like this every round a total of 6-7-8-9 times = 4 stitches left. Cut the strand, pull it through the remaining stitches, tighten and fasten well. The mitten measures approx. 14-16-18-21 cm from the top down to the folding edge. THUMB: Work the thumb in the same way as on the left mitten. ASSEMBLY: Fold the lining to the wrong side and sew down with small neat stitches. |
|||||||
Diagram explanations |
|||||||
|
|||||||
 |
|||||||
Have you finished this pattern?Tag your pictures with #dropspattern #northstarset or submit them to the #dropsfan gallery. Do you need help with this pattern?You'll find 18 tutorial videos, a Comments/Questions area and more by visiting the pattern on garnstudio.com. © 1982-2026 DROPS Design A/S. We reserve all rights. This document, including all its sub-sections, has copyrights. Read more about what you can do with our patterns at the bottom of each pattern on our site. |
|||||||


With over 40 years in knitting and crochet design, DROPS Design offers one of the most extensive collections of free patterns on the internet - translated to 17 languages. As of today we count 325 catalogues and 12298 patterns translated into English (UK/cm).
We work hard to bring you the best knitting and crochet have to offer, inspiration and advice as well as great quality yarns at incredible prices! Would you like to use our patterns for other than personal use? You can read what you are allowed to do in the Copyright text at the bottom of all our patterns. Happy crafting!
Post a comment to pattern DROPS Children 37-3
We would love to hear what you have to say about this pattern!
If you want to leave a question, please make sure you select the correct category in the form below, to speed up the answering process. Required fields are marked *.