Comments / Questions (38)
![]() Martha wrote:
Martha wrote:
Har strikket dette ferdig med brushed alpaca silk+ drops air. Står man skal ha 75g med brushed alpaca, dvs 3 nøster. Jeg har nå et helt nøste + en tredjedel igjen. Irriterende å sitte igjen med godt over et nøste igjen, da kunne jeg spart meg det. Strikker normal strikkefasthet, så det har ikke noe med det å gjøre.
12.11.2025 - 20:51
![]() Gouny wrote:
Gouny wrote:
Quelle est la profondeur de Cette capuche ?
10.11.2025 - 12:27DROPS Design answered:
Bonjour Mme Gourny, avec 11 m = 10 cm, les 89-91 mailles de la capuche feront environ 40-41 cm en haut, posée à plat et les 101-103 m après les augmentations, environ 46-47 cm posée à plat (en double dans les 2 cas). Bon tricot!
11.11.2025 - 16:02
![]() Pernille wrote:
Pernille wrote:
Vil det fungere å bytte ut riller/glattstrikk med perlestrikk på alt, eller skal det føyes sammen eller økes på noe vis som gjør at det vil bli feil?
04.11.2025 - 20:40DROPS Design answered:
Hei Pernille, Perlestrikk er litt strammere en glattstrikk, men oppskriften er for en vid hette-skjerf, så det burde gå bra. Hilsen Drops Team.
05.11.2025 - 06:45
![]() Lydia wrote:
Lydia wrote:
Hello! I'm wanting to make this for a friend of mine in a chocolate brown colour. Would it still work if I used B + C yarn?
03.11.2025 - 15:46DROPS Design answered:
Hi Lydia, B + C will be a thinner mix than C + C, so you will need to adjust stitch counts and row numbers. It would be easier to replace your B yarn with a chocolate coloured C yarn, then you can work the pattern as written. Regards, Drops Team.
04.11.2025 - 06:59
![]() Augusta wrote:
Augusta wrote:
Hej. Behøver man og strikke denne sammen med DROPS Brushed Alpaca Silk? Kan man ikke strikke den kun i DROPS Air? Med venlig hilsen Augusta
03.11.2025 - 04:42DROPS Design answered:
Hei Augusta. Jo, men da må du bruke 2 tråder DROPS Air. Men husk å få den oppgitte strikkefastheten i oppskriften. mvh DROPS Design
03.11.2025 - 10:52
![]() Ineke IJzermans wrote:
Ineke IJzermans wrote:
Zet 2 steken op, op de rechter naald, zet deze 2 steken op de linker naald met de draad 2 steken verderop op de linker naald, * 1 recht, brei de volgende 2 steken gedraaid recht samen, zet de 2 steken van de rechter naald terug op de linker naald *, brei van *-* tot er 16 steken over zijn Ik brei met gewone naalden (geen rondbrei) en begrijp deze beschrijving niet goed. Kan ik ook gewoon afkanten.
26.10.2025 - 16:39DROPS Design answered:
Dag Ineke,
Jazeker, je kan ook gewoon afkanten. Als het goed is, zit er ook een video bij het patroon waarin afkanten in punnikrand wordt uitgelegd.
28.10.2025 - 20:36
![]() Mallet wrote:
Mallet wrote:
Merci beaucoup mais une de mes petites filles est allergique à la laine et le voudrait en coton est-ce possible ? Au niveau laine pour la deuxième petit fille que me conseillez-vous pour le réaliser ?
07.10.2025 - 13:17DROPS Design answered:
Bonjour Mme Mallet, utilisez notre convertisseur pour voir toutes les alternatives possibles et les quantités correspondantes. Bon tricot!
07.10.2025 - 17:00
![]() Christianne Favreau wrote:
Christianne Favreau wrote:
Bonjour. je veux tricoter ce modèle mais avec Des broches ordinaires mais comment? Y a-t-il un patron existant? SVP j’aimerais le tricoter pouf ma petite fille de 19 ans Merci
06.10.2025 - 16:30DROPS Design answered:
Bonjour Mme Favreau, vous pouvez tricoter ce modèle sur aiguilles droites, vos mailles seront juste plus serrées. Retrouvez ici comment adapter un modèle sur aiguilles droites. Bon tricot!
08.10.2025 - 07:56
![]() Isabell wrote:
Isabell wrote:
Jag gjorde den större storleken och det gick åt garnmängden till den mindre storleken, så felräknat brukar det inte vara på små projekt, att man köper 6 nystan fast det går åt 4…
13.09.2025 - 07:22DROPS Design answered:
Hei Isabell. Iflg vår veiing av plagget, utregninger og oppskriftens strikkefasthet ligger garnmengden akkurat på grensen, det er derfor valgt å ha nok garn enn akkurat for lite. mvh DROPS Design
29.09.2025 - 08:56
![]() Sam wrote:
Sam wrote:
Hello, I don't understand this sentence: "Cast off at the same time as the first and last 2 stitches are knitted together." This regards 3 stitches when we are supposed to have 7 left. Could you please specify how to cast off each stitch, or should we knit all seven together? Thank you!
16.03.2025 - 08:40DROPS Design answered:
Dear Sam, when you have 7 stitches remaining you cast off the scarf. Knit the first 2 stitches together and cast off the remaining stitch, cast off 3 stitches as normal, knit the last 2 stitches together and cast it off as well. Happy knitting!
16.03.2025 - 22:59
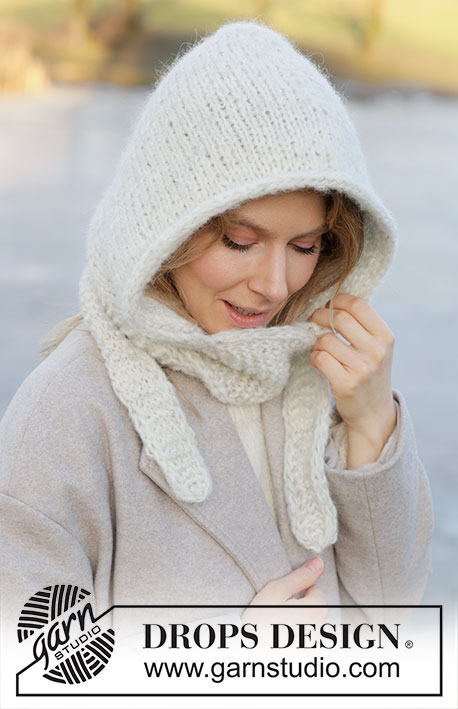
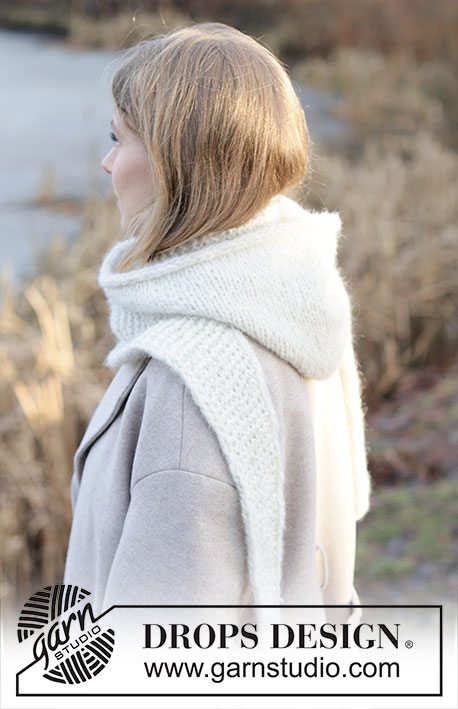
Snowflake Hood#snowflakehood |
|||||||
 |
 |
||||||
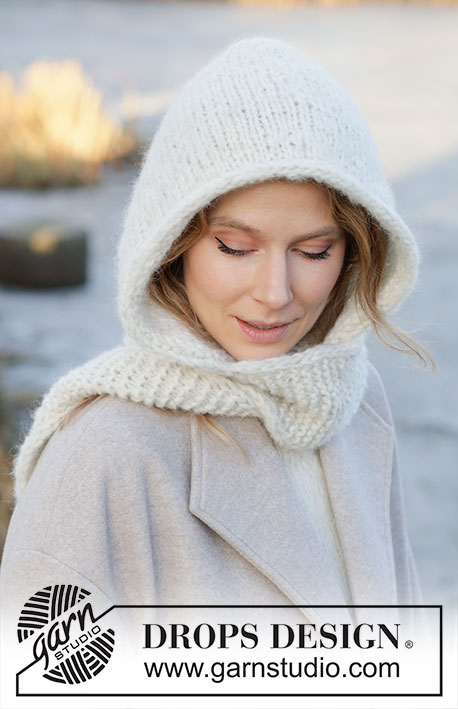
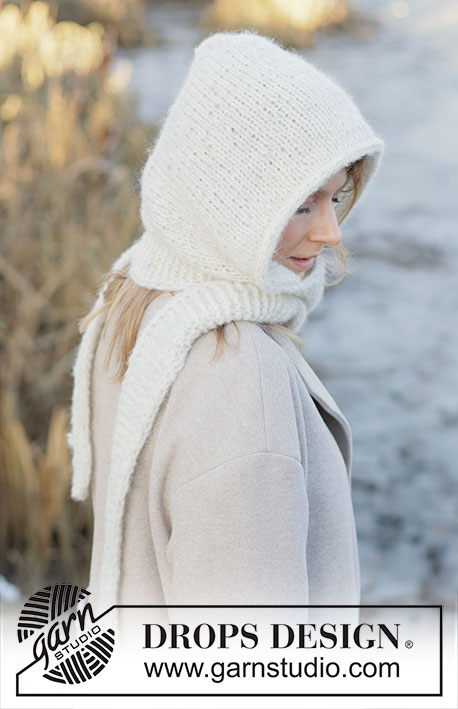
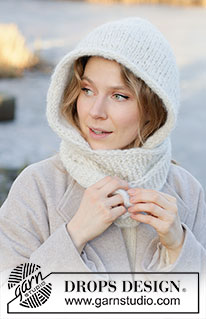
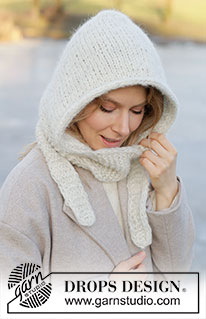
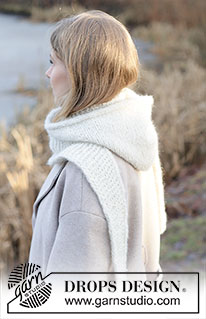
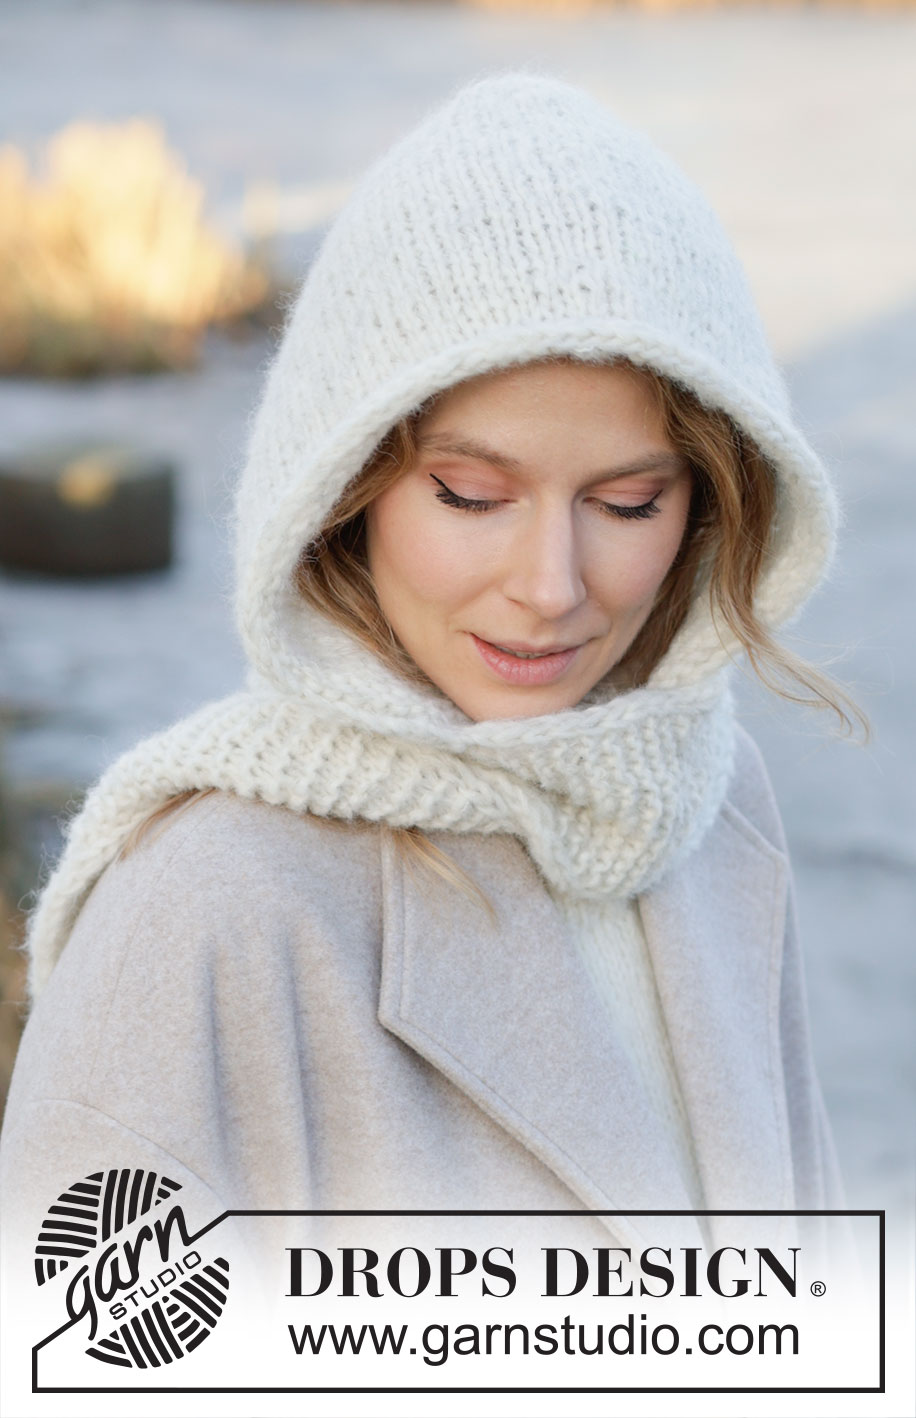
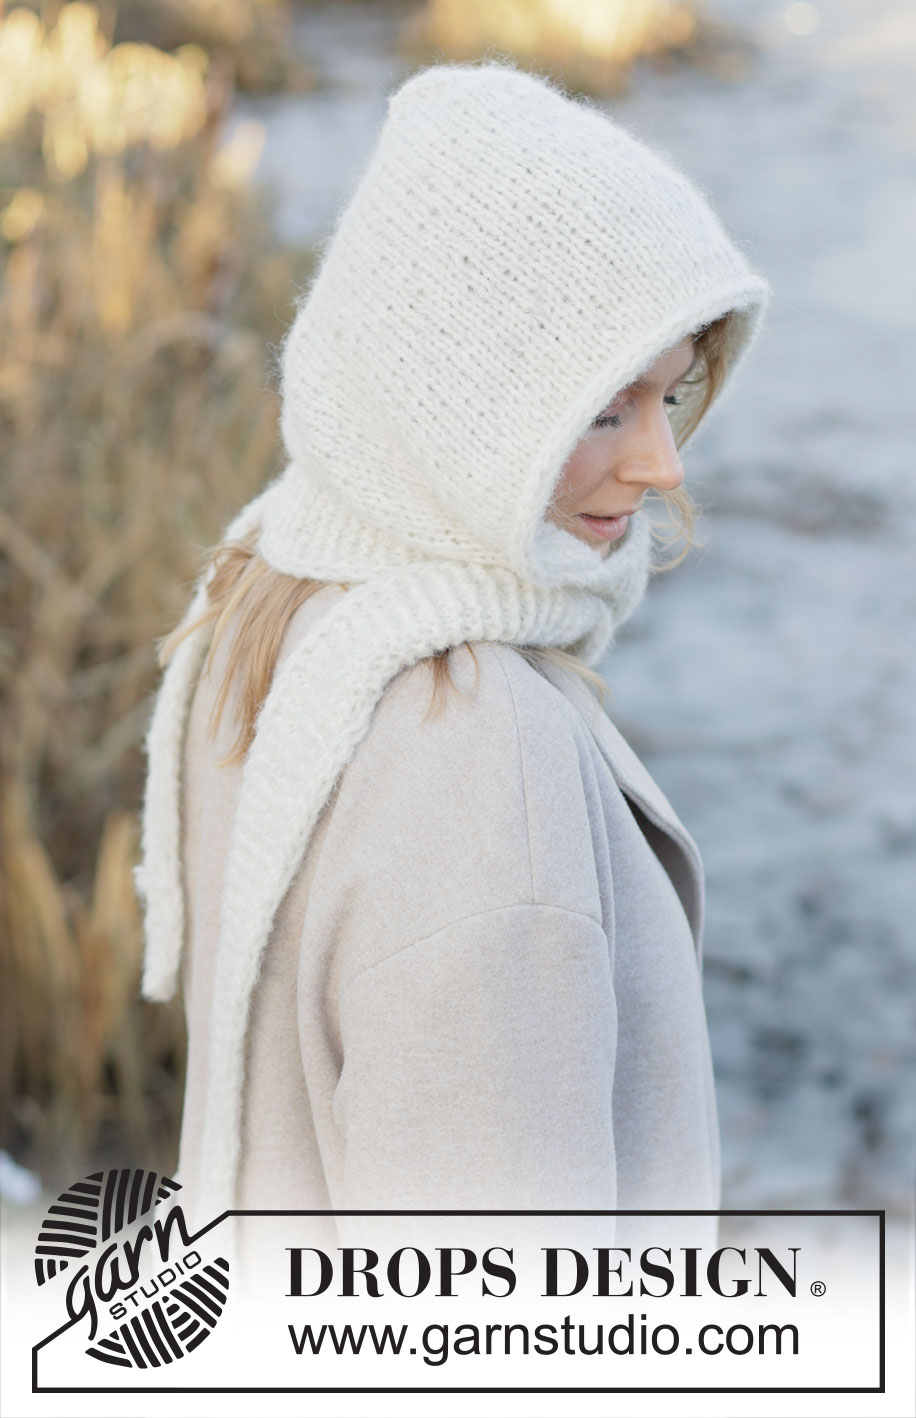
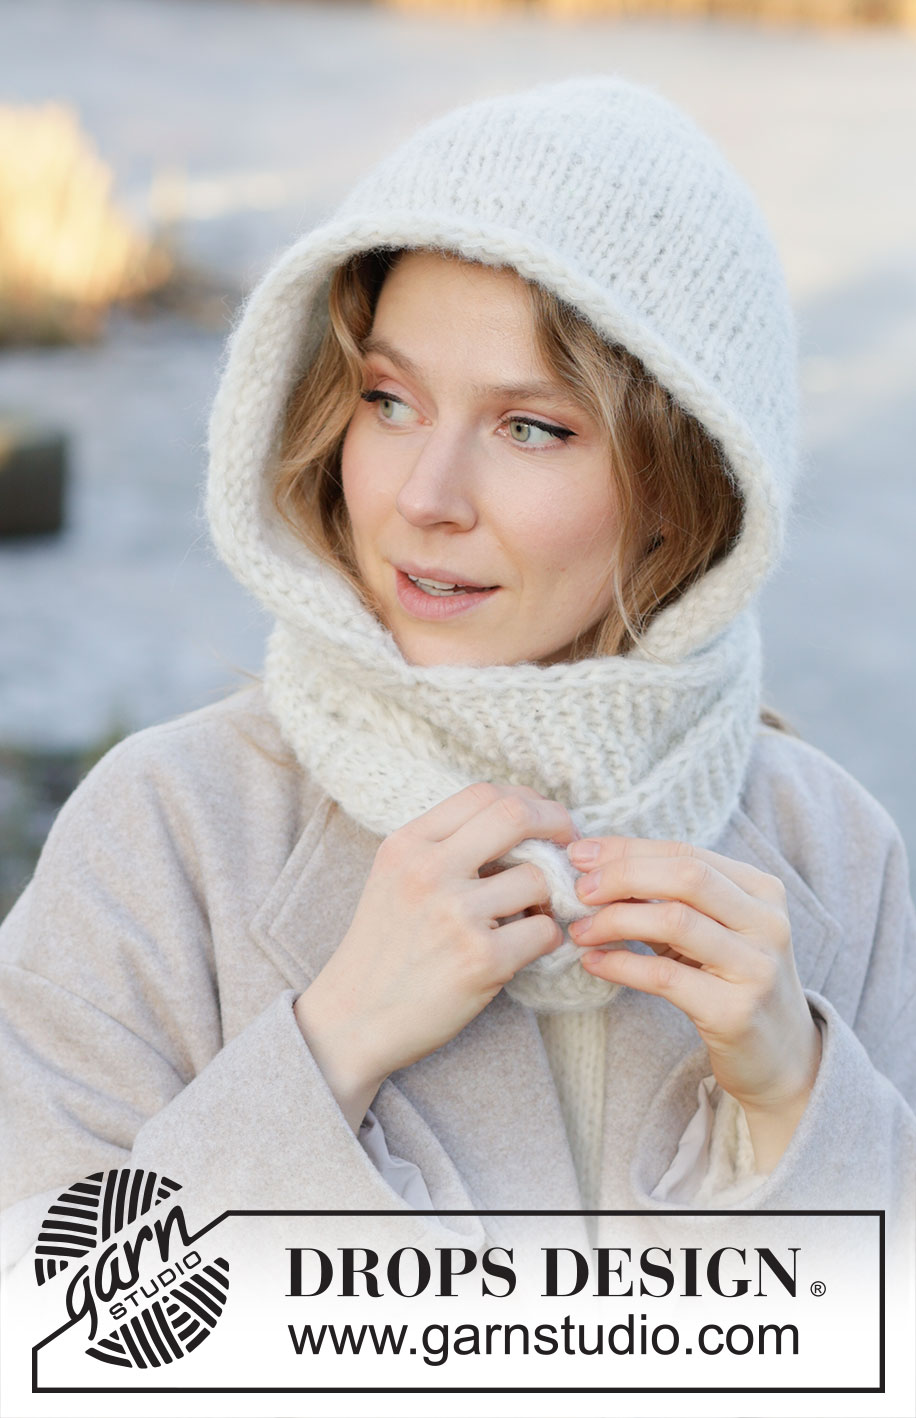
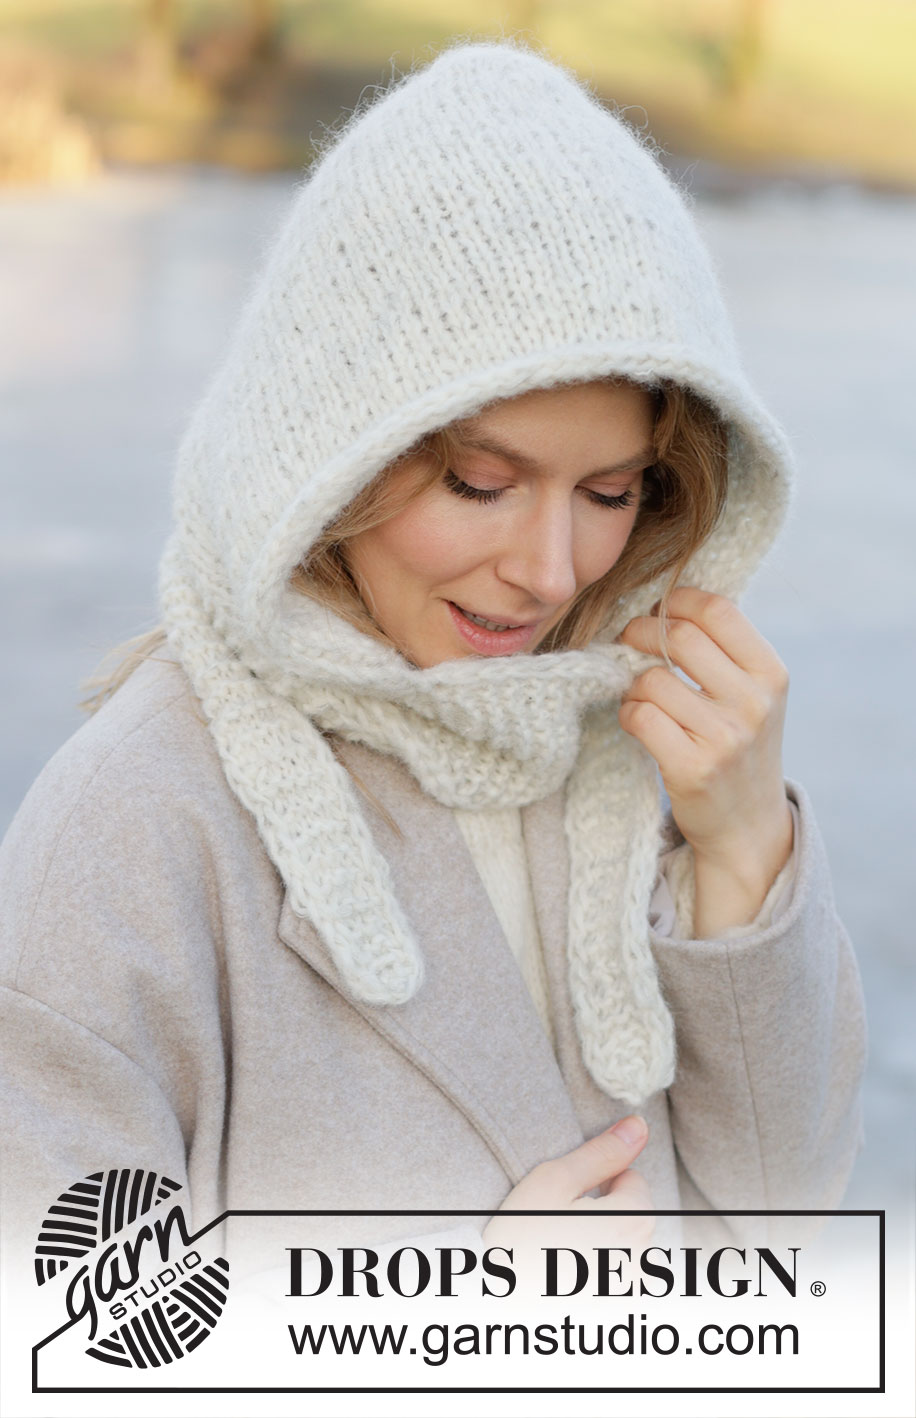
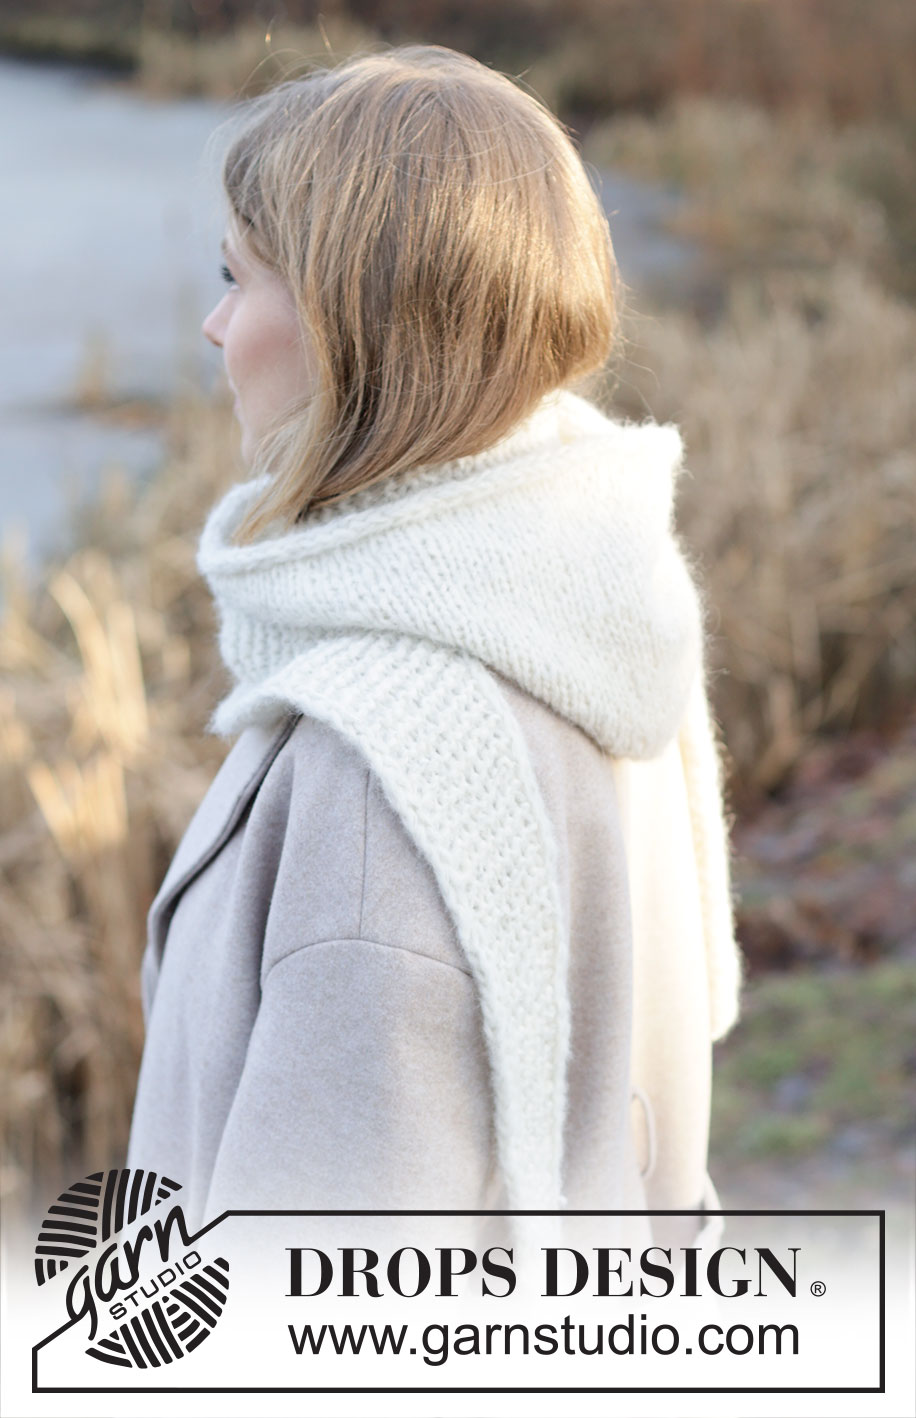
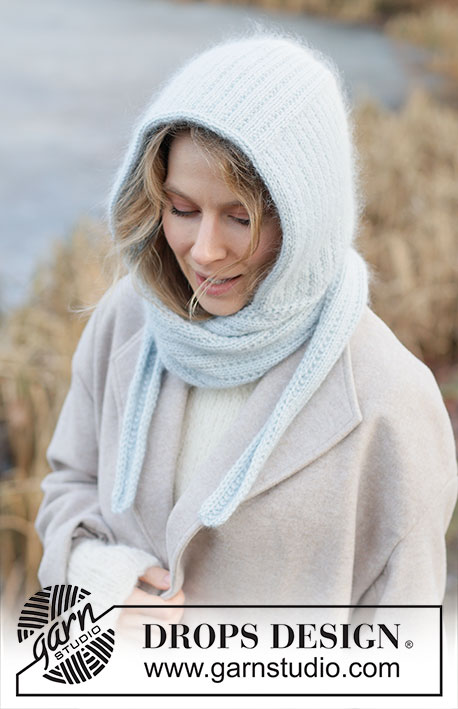
Knitted hooded scarf in DROPS Air and DROPS Brushed Alpaca Silk. The piece is worked with stocking stitch, garter stitch and I-cord. Sizes S - XL.
DROPS 253-60 |
|||||||
|
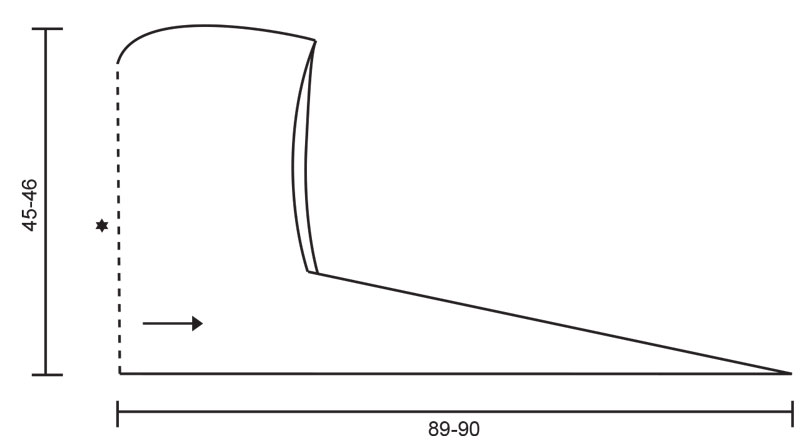
------------------------------------------------------- EXPLANATIONS FOR THE PATTERN: ------------------------------------------------------- GARTER STITCH (worked back and forth): Knit all rows, from both the right and wrong side. 1 ridge in height = knit 2 rows. INCREASE TIP: All increases are worked from the right side! Work as far as the marker-stitch, increase 1 stitch towards the right, knit the marker-stitch, increase 1 stitch towards the left. Then work the new stitches in stocking stitch. INCREASE ONE STITCH TOWARDS THE LEFT (from right side): Use the left needle to pick up the strand between 2 stitches from the previous row, pick up strand from the front and knit through the back loop. INCREASE ONE STITCH TOWARDS THE RIGHT (from right side): Use the left needle to pick up the strand between 2 stitches from the previous row, pick up strand from the back and knit through the front loop. I-CORD (= 2 stitches): BEGINNING OF ROW: Slip 1 stitch purl-wise with strand in front, knit 1. END OF ROW: Work until there are 2 stitches left on the row, slip 1 stitch purl-wise with strand in front, knit 1. Work like this from both the right and wrong side. ------------------------------------------------------- START THE PIECE HERE: ------------------------------------------------------- HOODED SCARF - SHORT OVERVIEW OF THE PIECE: The piece is worked back and forth with circular needle from mid-back. When the hood is finished, stitches are cast off for the face-opening and each section is finished separately. HOODED SCARF: Cast on 89-91 stitches with circular needle size 8 mm, 1 strand DROPS Air and 1 strand DROPS Brushed Alpaca Silk (2 strands). Work the first row from the wrong side as follows: 2 stitches I-CORD – read description above, work 14 GARTER STITCHES (= 16 scarf-stitches), purl 57-59 and insert 1 marker in the middle purled stitch (= 57-59 hood-stitches), work 14 garter stitches and 2 stitches I-cord (= 16 scarf-stitches) = 89-91 stitches. Continue with I-cord, garter stitch and stocking stitch. AT THE SAME TIME increase for the hood on each side of the marker-stitch on the next row – read INCREASE TIP. Increase like this every 2nd row (each row from the right side) a total of 6-6 times = 101-103 stitches. There are 16 scarf stitches each side and 69-71 hood-stitches. Continue with I-cord, garter stitch and stocking stitch until the piece measures 26-27 cm from the cast-on edge. Now cast off for the face-opening in the hood, working the next row from the right side as follows: 2 stitches I-cord, 14 garter stitches, place these 16 stitches on a thread (= 16 stitches for the right scarf). Do not cut the strand, work I-cord cast off across the next 69-71 stitches as follows: Cast on 2 stitches on the right needle, slip these 2 stitches onto the left needle with the strand 2 stitches in on the left needle, * knit 1, knit the next 2 stitches twisted together, slip the 2 stitches from the right needle back onto the left needle *, work from *-* until there are 16 stitches left on the left needle + 2 stitches on the right needle (= 18 stitches for the left scarf), work 14 garter stitches and 2 stitches I-cord. Continue working the left scarf as follows: LEFT SCARF: = 18 stitches. Turn and work back and forth across the 18 stitches as follows: 2 stitches I-cord, 14 garter stitches, 2 stitches I-cord. Work like this for 3 cm (approx. 7 rows). On the next row from the right side, begin decreasing as follows: Work 2 stitches I-cord, slip 1 stitch knit-wise, knit 1, pass the slipped stitch over the knitted stitch, work garter stitch until there are 2 stitches left, 2 stitches I-cord. Decrease like this every 6 cm (approx. every 14th row) a total of 11-11 times = 7-7 stitches. The scarf measures approx. 89-90 cm from the cast-on edge. Cast off at the same time as the first and last 2 stitches are knitted together. RIGHT SCARF: Place the 16 stitches from the thread back on the needle. In addition, pick up 2 stitches in the 2 cast-on stitches for the I-cord cast-off = 18 stitches. Work the first row from the wrong side as before. Continue back and forth as follows: 2 stitches I-cord, 14 garter stitches, 2 stitches I-cord. Work like this for 3 cm (approx. 7 rows). On the next row from the right side, begin decreasing as follows: Work 2 stitches I-cord, work garter stitch until there are 4 stitches left, knit 2 together, 2 stitches I-cord. Decrease like this every 6 cm (approx. every 14th row) a total of 11-11 times = 7-7 stitches. The scarf measures approx. 89-90 cm from the cast-on edge. Cast off at the same time as the first and last 2 stitches are knitted together. ASSEMBLY: Fold the cast-on edge double (mid-back) and sew with grafting stitches. |
|||||||
Diagram explanations |
|||||||
|
|||||||
 |
|||||||
Have you finished this pattern?Tag your pictures with #dropspattern #snowflakehood or submit them to the #dropsfan gallery. Do you need help with this pattern?You'll find 23 tutorial videos, a Comments/Questions area and more by visiting the pattern on garnstudio.com. © 1982-2026 DROPS Design A/S. We reserve all rights. This document, including all its sub-sections, has copyrights. Read more about what you can do with our patterns at the bottom of each pattern on our site. |
|||||||






Post a comment to pattern DROPS 253-60
We would love to hear what you have to say about this pattern!
If you want to leave a question, please make sure you select the correct category in the form below, to speed up the answering process. Required fields are marked *.