
Popular categories
Looking for a yarn?


Comments / Questions (2)
![]() Hdz wrote:
Hdz wrote:
Bonjour, Pourquoi reste t il 9 mailles à la fin au moment de l'ourlet ? J'ai fini en i cord mais je n'ai que 3 mailles finales. Me suis trompée quelque part ?
29.01.2026 - 08:58DROPS Design answered:
Bonjour Hdz, l'ourlet doit faire 9 mailles de large tout du long, vous allez tricoter ces 9 mailles en rabattant celles de l'ouverture de la cagoule ainsi, tous les rangs: tricotez les 8 premières mailles, puis tricotez la 9ème maille avec la maille suivante de celles relevée autour de l'ouverture de la cagoule, remettez ces 9 m sur l'aiguille gauche et répétez ce rang jusqu'à ce que toutes les mailles de la cagoule aient été tricotées ensemble avec les 9 m de l'ourlet. Retrouvez ici, en vidéo comment rabattre les mailles (avec 3 mailles pour la vidéo, 9 pour ce modèle). Bon tricot!
29.01.2026 - 10:27
![]() LARA wrote:
LARA wrote:
Bonjour, Est il possible de m'indiquer le métrage nécessaire pour une taille 3 ans et une taille 6 ans ? Merci
23.01.2026 - 15:51DROPS Design answered:
Bonjour Lara, vous pouvez calculer le métrage nécessaire pour chaque taille à la base de la quantité nécessaire pour ces tailles, retrouvez toutes les infos sur chaque laine sur leur nuancier. Bon tricot!
26.01.2026 - 07:47
|
||||
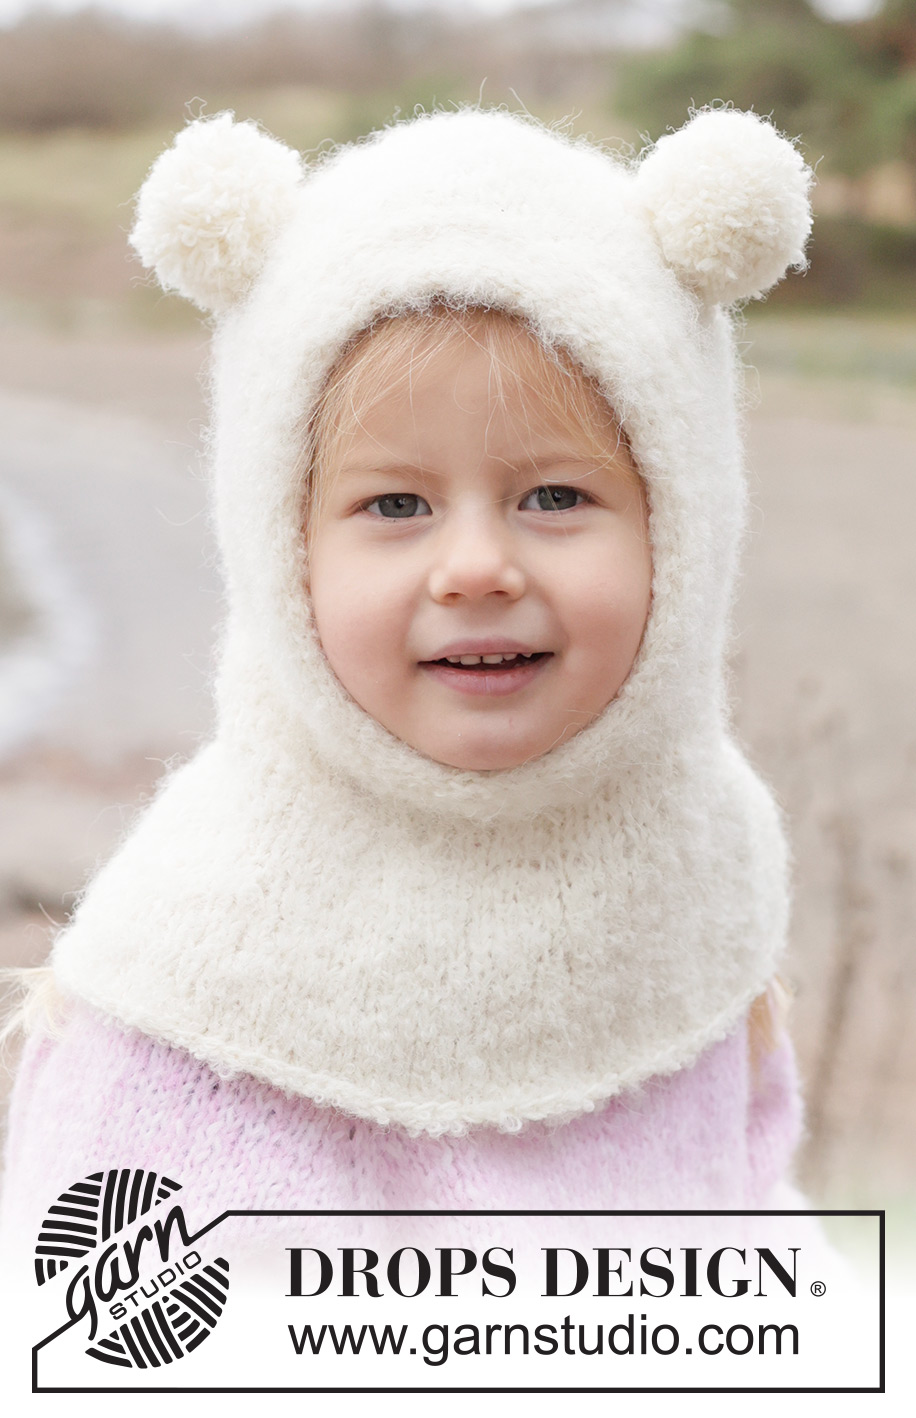
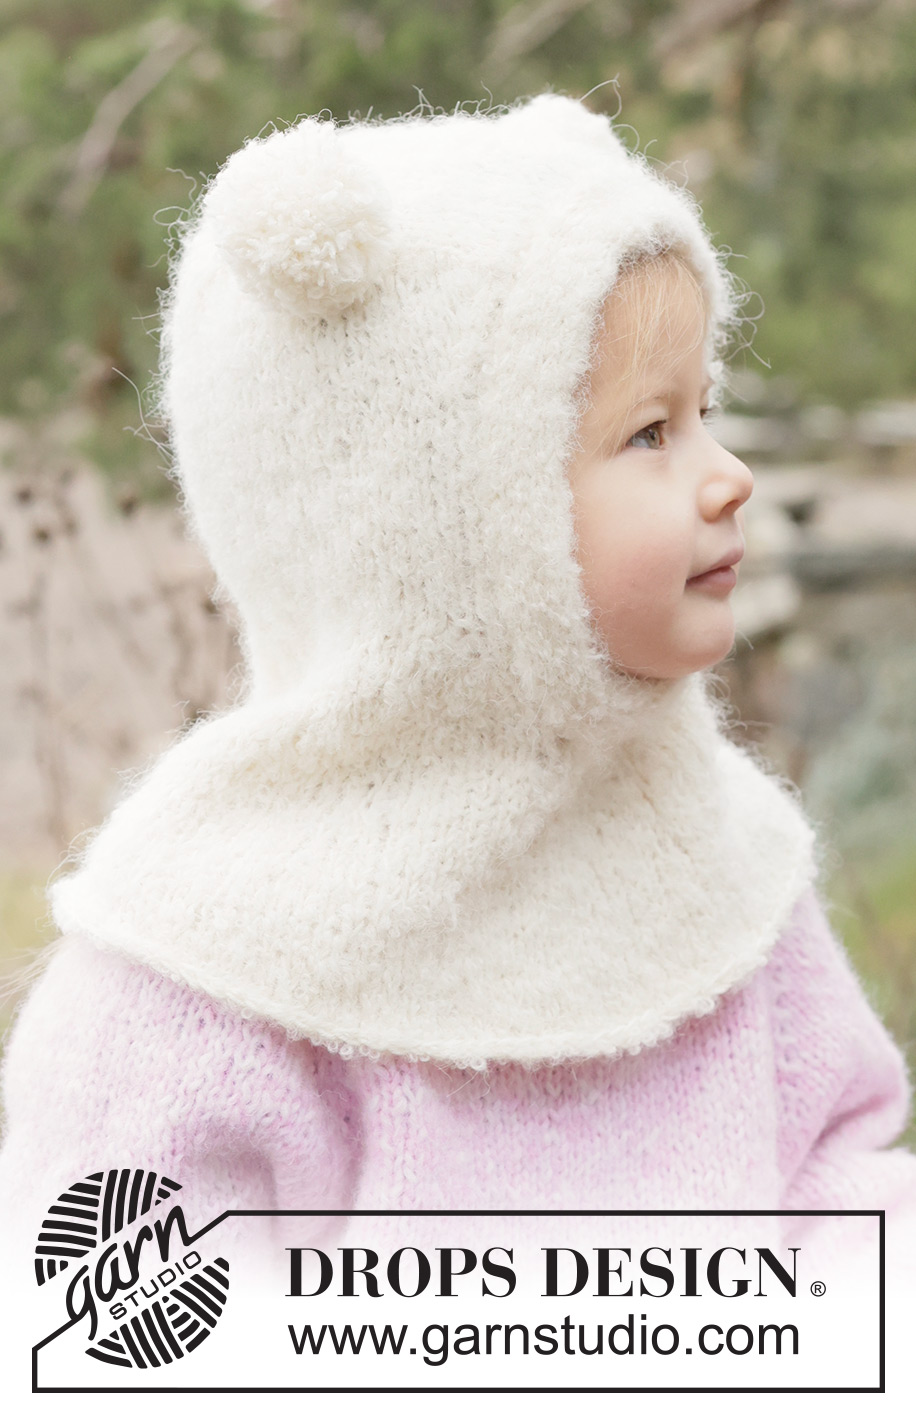
Snow Bear Balaclava#snowbearbalaclava |
||||
 |
 |
|||
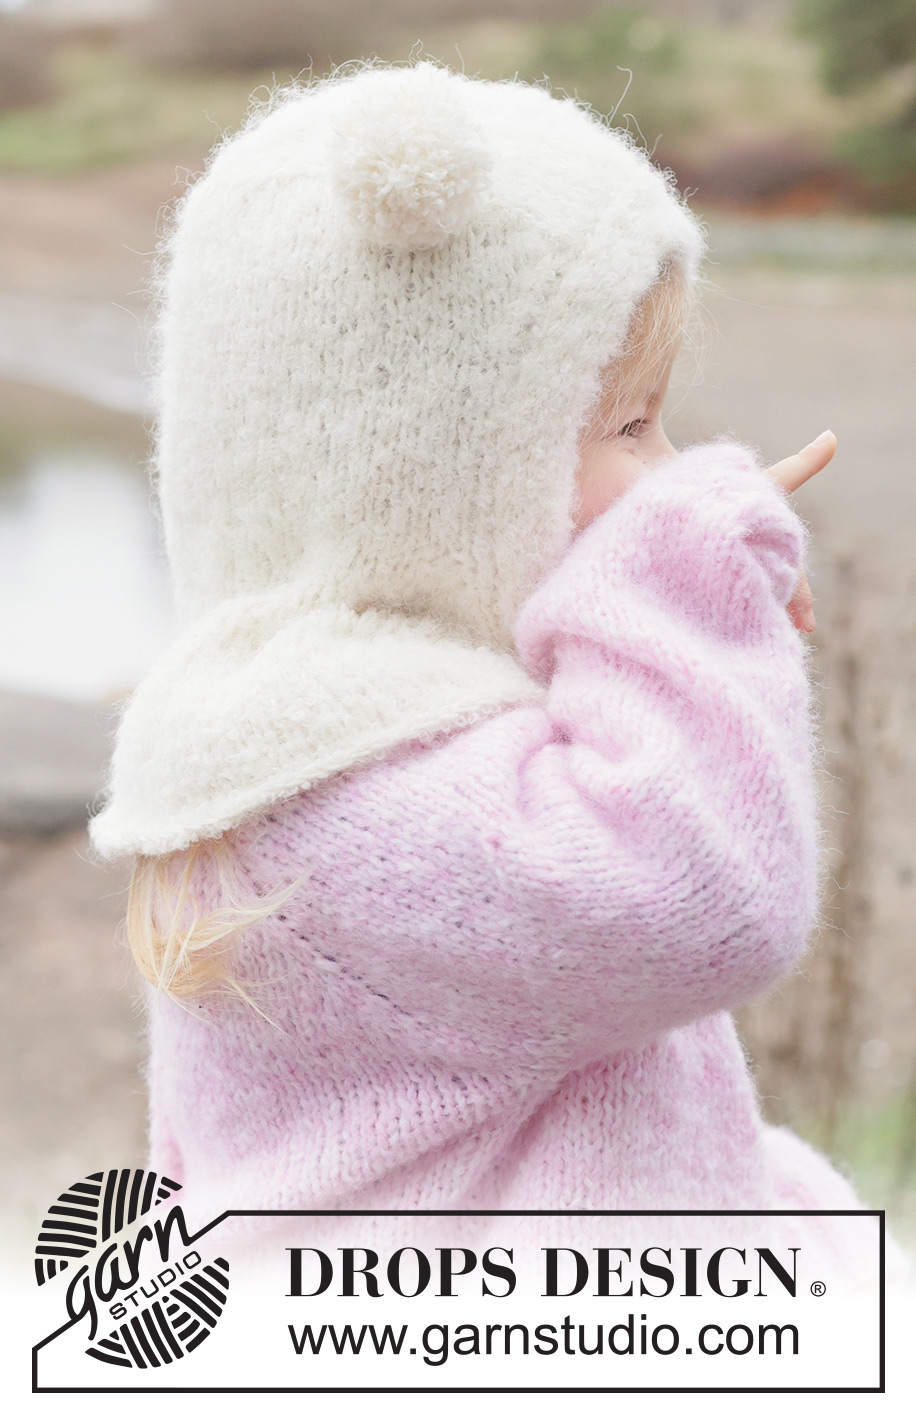
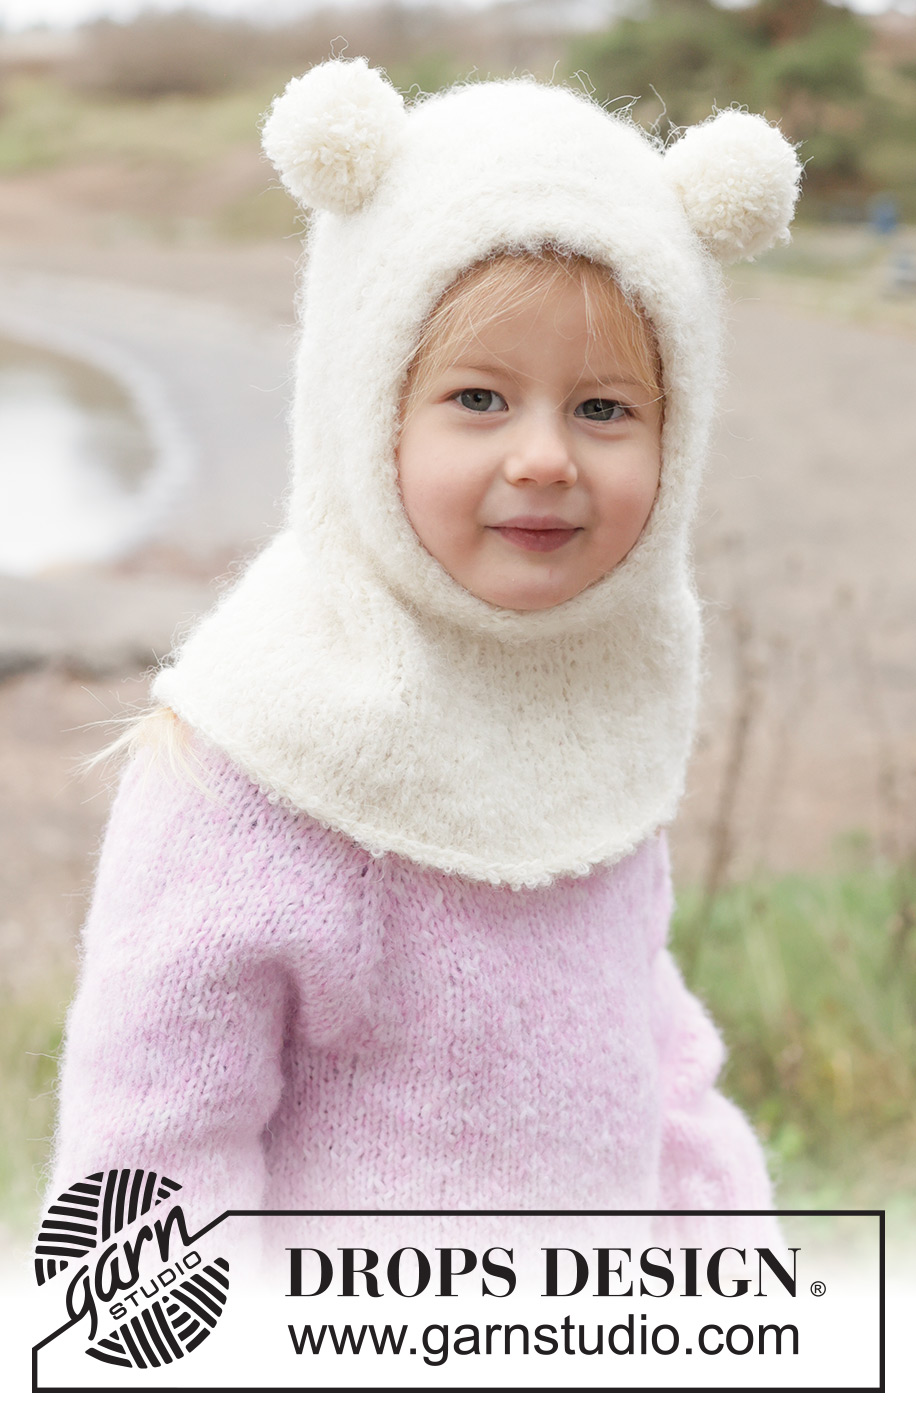
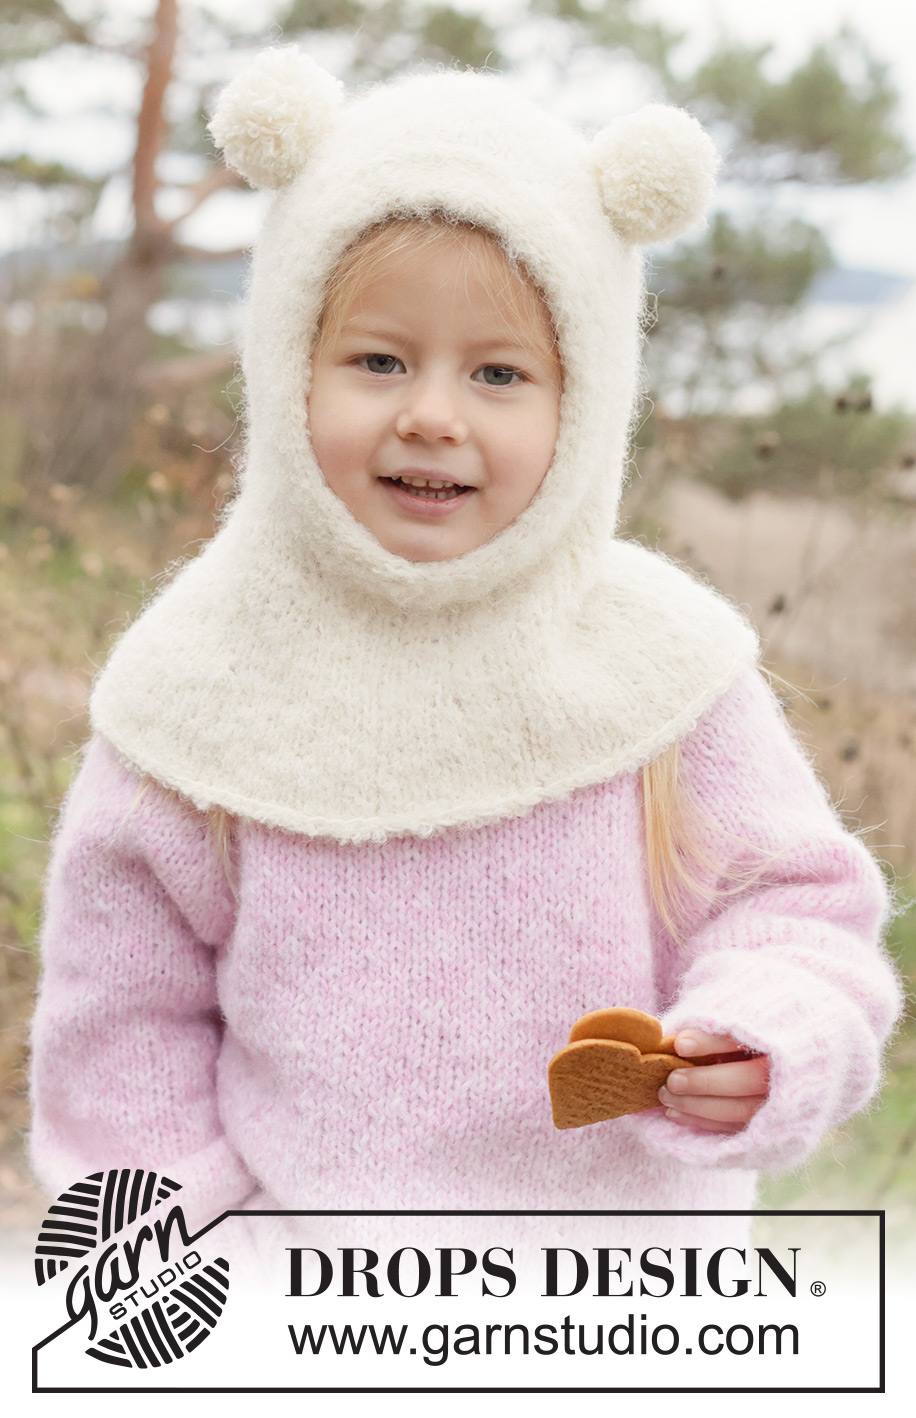
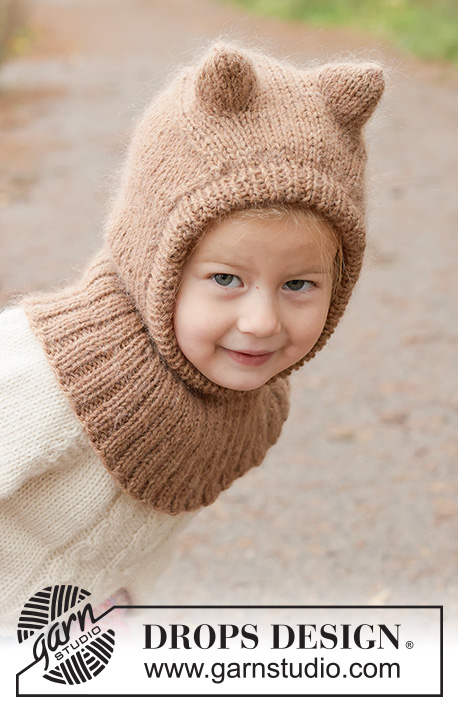
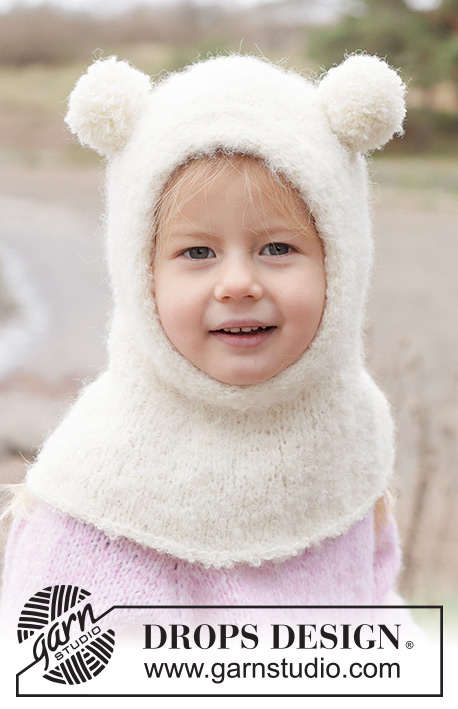
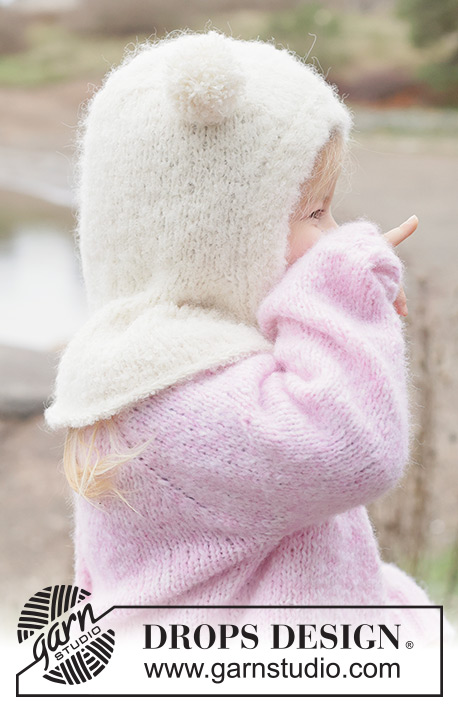
Knitted balaclava for children in DROPS Alpaca Bouclé and DROPS BabyMerino. The piece is worked in stocking stitch with I-cord. Sizes 2 - 14 years.
DROPS Children 50-12 |
||||
|
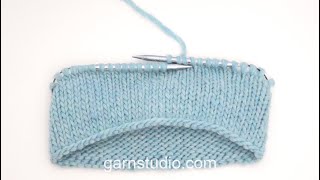
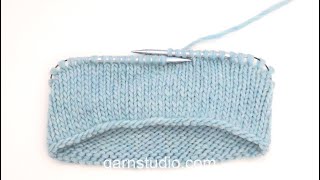
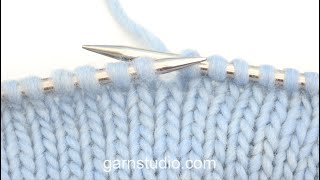
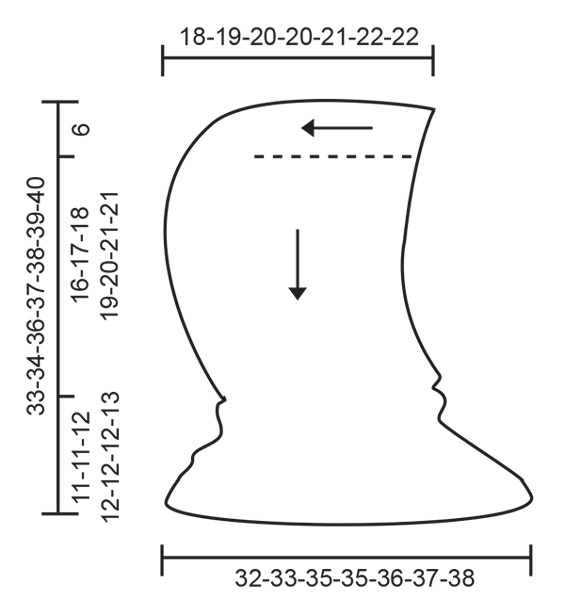
------------------------------------------------------- EXPLANATIONS FOR THE PATTERN: ------------------------------------------------------- INCREASE TIP: INCREASE 1 STITCH TOWARDS THE LEFT: Use left needle to pick up the strand between 2 stitches from the row below, pick up strand from the front and knit in the stitch loop that is on the back of the needle. INCREASE 1 STITCH TOWARDS THE RIGHT: Use left needle to pick up the strand between 2 stitches from the row below, pick up strand from the back and knit in the stitch loop that is on the front of the needle. I-CORD CAST OFF: Cast on 9 new stitches on the right needle (from the right side). Slip these 9 stitches onto the left needle so the strand is 9 stitches in on the needle and work from the right side without turning as follows: * Knit 8, knit 2 twisted together. Slip the 9 stitches on the right needle onto the left needle and tighten the strand *. Work from *-* until there are 9 stitches left. I-CORD: Work a tube of 2 stitches using double pointed needles as follows: Cast on 2 stitches. Knit the 2 stitches, * push the stitches to the right-hand end of the needle without turning, tighten the strand, knit the 2 stitches *, work from *-* to your desired length. ------------------------------------------------------- START THE PIECE HERE: ------------------------------------------------------- BALACLAVA - SHORT OVERVIEW OF THE PIECE: The hood is worked back and forth with circular needle, from mid-front across the forehead and backwards. Stitches are knitted up on each side and the piece is continued back and forth, downwards. When the hood is finished, stitches are cast on under the face-opening and the neck is finished in the round. Around the face-opening an I-cord casing is worked, then the I-cord which is threaded through the casing. 2 pom poms are worked to finish and fastened on each side of the top of the balaclava. BALACLAVA: Cast on 17-17-17-19-19-19-19 stitches with circular needle size 5.5 mm, 1 strand DROPS Alpaca Bouclé and 1 strand DROPS Baby Merino (= 2 strands). Cast-on edge = mid-front of forehead. Work stocking stitch back and forth for 12-13-14-14-15-15-16 cm. Cut the strand. This piece is mid-top of the hood. Now knit up stitches from the right side, inside the outermost stitch, on both sides as follows: Start from the corner of the cast-on edge and knit up 18-20-21-21-22-23-24 stitches along the right-hand side (when the cast-on edge is towards you, from the right side), knit the 17-17-17-19-19-19-19 stitches across the top of the balaclava, knit up 18-20-21-21-22-23-24 stitches along the left-hand side (when the cast-on edge is towards you, from the right side) = 53-57-59-61-63-65-67 stitches. The piece is now measured from here. ROW 1 (wrong side): Purl. ROW 2 (right side): Knit 1, slip 1 stitch, knit 1, pass the slipped stitch over the knitted stitch, knit until there are 3 stitches left, knit 2 together, knit 1 (= 2 decreased stitches). Work ROWS 1 and 2 a total of 2-3-3-3-3-3-3 times (4-6-6-6-6-6-6 rows worked) = 49-51-53-55-57-59-61 stitches Continue stocking stitch back and forth until the piece measures 12-13-14-15-16-17-17 cm from the knitted-up row. Insert 1 marker in the middle stitch on the row, with 24-25-26-27-28-29-30 stitches on each side of the marker-stitch. Now increase on each side and decrease mid-back each side of the marker-stitch as follows - read INCREASE TIP: ROW 1 (right side): Knit 2, increase 1 stitch towards the left, knit until there are 3 stitches left before the marker-stitch, knit 2 together, knit 3 (marker sits in the middle of these 3 stitches), slip 1 stitch, knit 1, pass the slipped stitch over the knitted stitch, knit until there are 2 stitches left on the row, increase 1 stitch towards the right, knit 2 (= 2 increased stitches and 2 decreased stitches) = 49-51-53-55-57-59-61 stitches. ROW 2 (wrong side): Purl. Work ROWS 1 and 2 a total of 4 times (8 rows worked) = 49-51-53-55-57-59-61 stitches. Work the next row from the right side as follows: Knit all stitches, then cast on 6-6-8-10-10-12-12 stitches at the end of the row = 55-57-61-65-67-71-73 stitches. The piece measures approx. 16-17-18-19-20-21-21 cm from the knitted-up row. Insert 1 marker. The piece is now measured from here. Work stocking stitch in the round for 1 cm. On the next round increase 6 stitches evenly spaced = 61-63-67-71-73-77-79 stitches. Continue working until the piece measures 3 cm from the marker. On the next round increase 9 stitches evenly spaced = 70-72-76-80-82-86-88 stitches. Continue working until the piece measures 6 cm from the marker. On the next round increase 12 stitches evenly spaced = 82-84-88-92-94-98-100 stitches. Continue working until the piece measures 9 cm from the marker. On the next round increase 16 stitches evenly spaced = 98-100-104-108-110-114-116 stitches. Continue working until the piece measures 11-11-12-12-12-12-13 cm from the marker. Cast off slightly loosely. CASING: Use circular needle size 5.5 mm and 1 strand of each quality (2 strands). Start from the right side in the middle of the cast-on stitches under the face-opening and knit up 84-88-92-96-100-104-104 stitches evenly around the face-opening. Continue in the round from the right side, working I-CORD CAST OFF – read explanation above. If you do not want a cord, the 9 stitches left on the needle can be sewn to 9 cast-on stitches at the beginning of the casing, using grafting stitch. If you would like a cord, cast off the last 9 stitches leaving an opening each end. CORD: Use double pointed needles size 5.5 mm and 1 strand of each quality (2 strands). Work an I-CORD– read explanation above. When the cord is 120 to 150 cm long, thread the strands through the 2 stitches and fasten. Thread the cord through the casing, from one end to the other. POM POMS: Using 1 strand of each quality (2 strands) make 2 pom poms, 5 cm in diameter. Fasten the pom poms to each side of the top of the balaclava - see photo. |
||||
Diagram explanations |
||||
|
||||
 |
||||
Have you finished this pattern?Tag your pictures with #dropspattern #snowbearbalaclava or submit them to the #dropsfan gallery. Do you need help with this pattern?You'll find 27 tutorial videos, a Comments/Questions area and more by visiting the pattern on garnstudio.com. © 1982-2026 DROPS Design A/S. We reserve all rights. This document, including all its sub-sections, has copyrights. Read more about what you can do with our patterns at the bottom of each pattern on our site. |
||||


With over 40 years in knitting and crochet design, DROPS Design offers one of the most extensive collections of free patterns on the internet - translated to 17 languages. As of today we count 324 catalogues and 12285 patterns translated into English (UK/cm). 12285
We work hard to bring you the best knitting and crochet have to offer, inspiration and advice as well as great quality yarns at incredible prices! Would you like to use our patterns for other than personal use? You can read what you are allowed to do in the Copyright text at the bottom of all our patterns. Happy crafting!
Post a comment to pattern DROPS Children 50-12
We would love to hear what you have to say about this pattern!
If you want to leave a question, please make sure you select the correct category in the form below, to speed up the answering process. Required fields are marked *.