
Looking for a yarn?


Comments / Questions (94)
![]() Marga wrote:
Marga wrote:
Hola. Me encanta este patrón pero las explicaciones no están claras. Lo intento una y otra vez y no me cuadran los puntos. Qué pena!!!
06.05.2025 - 12:25
![]() Linda wrote:
Linda wrote:
Vorrei sapere se c'è un tutorial del golfino n.148/13.. grazie
16.04.2023 - 08:02DROPS Design answered:
Buonasera Linda, il tutorial completo di questo modello non è disponibile, ma in fondo alla pagina può trovare dei video utili per le diverse tecniche. Buon lavoro!
17.04.2023 - 18:41
![]() Liane Van Der Donck wrote:
Liane Van Der Donck wrote:
Hallo, Is het mogelijk om de bolero korter te maken ? En zo ja, wat is de beste oplossing aub ? Dank u Liane
10.06.2022 - 21:27DROPS Design answered:
Dag Liane,
Vanwege de constructie is het lastiger om de bolero korter te maken in vergelijking met patronen met een voor en achterpand waarbij je de panden eenvoudig wat minder lang kan haken. Je zou hem in totaal wel kleiner kunnen maken door bijvoorbeeld een iets dunnere naald te gebruiken, maar dan wordt de bolero dus in zijn geheel kleiner.
10.06.2022 - 22:13
![]() Nelly Nabil wrote:
Nelly Nabil wrote:
Can you please explain to me the content of the brackets 8 chain in line 8 am I going to chain 8 or us it an explanation
25.01.2022 - 05:19DROPS Design answered:
Dear Mrs Nabil, which round are you thinking here? Can you tell us more? Thanks for your comprehension.
25.01.2022 - 09:54
![]() Maria Luisa Medina Gutiérrez wrote:
Maria Luisa Medina Gutiérrez wrote:
Por favor 🙏 necesito el esquema o gráfico del patrón ..me encanta y quiero hacerlo . No entiendo el escrito. Solo gráficos. Muchas gracias 😊
29.09.2021 - 10:57DROPS Design answered:
Hola Maria Luisa, este patrón no tiene gráfico, tiene solo las explicaciones escritas.
03.10.2021 - 23:12
![]() Stacy Lee wrote:
Stacy Lee wrote:
Absolutely loved making this pattern, I've just finished my 12 squared ready to weave in the ends and crochet together, I've had lots of comments at work about how pretty the squares are whilst working them up... can't wait to see the finished product, my mums even said this will definitely be going on the share pile as she's watched me make it... lovely pattern and easy to follow for the intermediate crocheters like me, thank you :) x
11.09.2021 - 17:45
![]() Maria Christina Abreu wrote:
Maria Christina Abreu wrote:
This is such a lovely bolero! It is really a "pink dream". I am working my third square and can't wait to see it finished! Thank you very much, Kathy, for sharing it with us! Best regards.
20.11.2020 - 20:43
![]() Ruthy Nov wrote:
Ruthy Nov wrote:
I like your models very much. It would be much easier to follow instructions of crochet if you had graphic charts. Is it very difficult to make charts? no need to read, only look at the chart. I'd appreciate that very much.
06.04.2020 - 14:58
![]() Stephanie wrote:
Stephanie wrote:
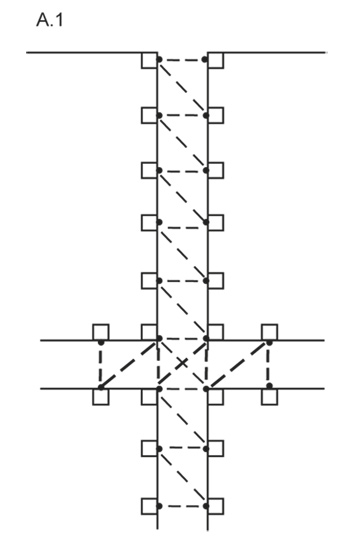
I would like to know what other yarns can you use? I tried the conversion but it couldn’t give me a substitution. Also, the diagram A.1 it’s not registering what I need to do at this point. Can you make it simple enough to understand? Would love to make as a Christmas gift.
30.11.2019 - 20:24DROPS Design answered:
Dear Stephanie, you can use any other yarn group A and work with 2 yarns group A or work with only 1 yarn group C - read more about alternatives here. This video shows how to work A.1 on another pattern, this means work here 2 or 3 chains as shown in diagram between each square and not 4/2 as in the video. Happy crocheting!
02.12.2019 - 09:42
![]() Rémy Marie wrote:
Rémy Marie wrote:
J'adore ce modèle ... je le réalise actuellement ! Pouvez vous m'expliquer pourquoi vous faites vos carrés en deux parties ? Vous arrêtez le travail après le rg 7 puis recommencer pour le rg 8 . Merci pour votre réponse Marie
03.02.2019 - 17:19DROPS Design answered:
Bonjour Marie, on coupe le fil à la fin du 7ème tour pour que le 8ème tour commence au bon endroit: on termine le 7ème tour par 1 mc dans la 1ère ml du début du tour, mais le 9ème tour va commencer par 1 ms dans la 1ère DB du pétale, on évite ainsi la surépaisseur des mailles coulées. Bon crochet!
04.02.2019 - 14:34
|
|||||||
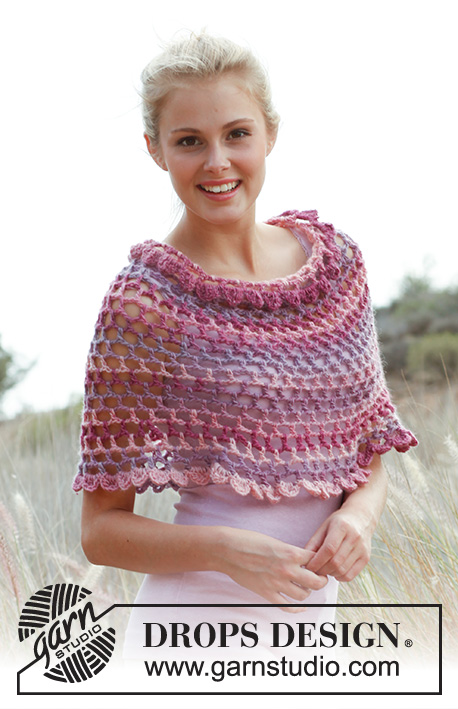
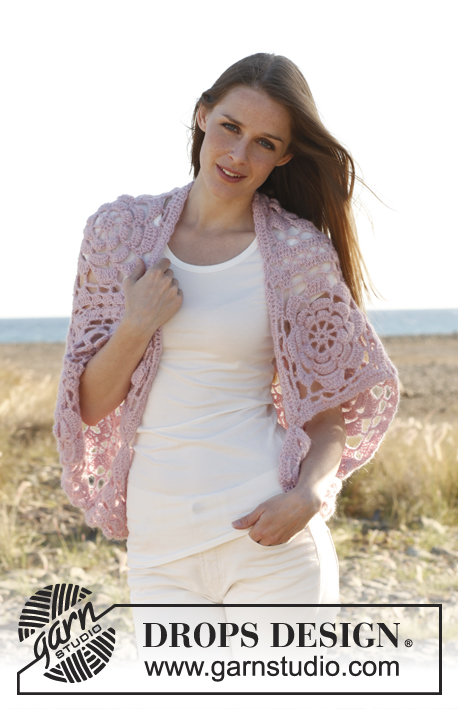
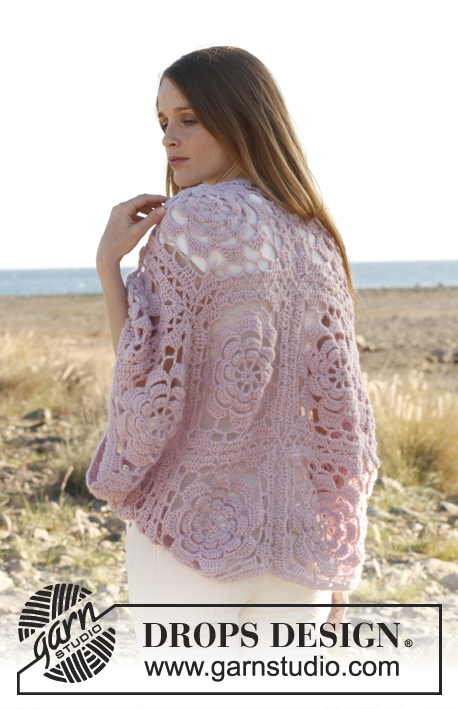
Pink Dream#pinkdreambolero |
|||||||
 |
 |
||||||
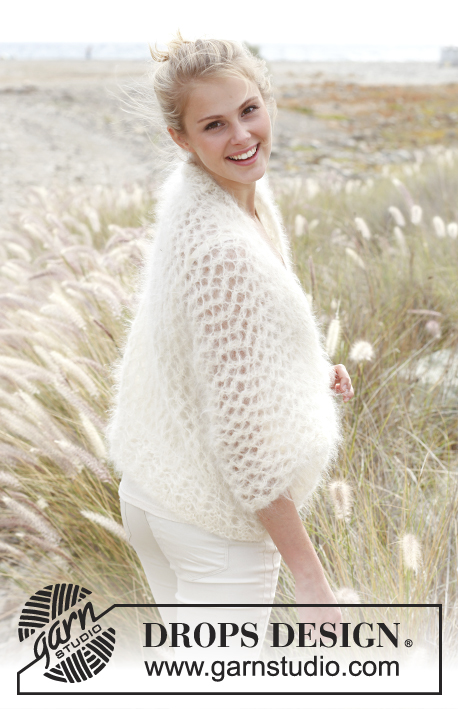
Crochet DROPS bolero in ”Alpaca” and ”Kid-Silk”.
DROPS 148-13 |
|||||||
|
CROCHET TIP: Replace first dc on every round/row with 3 ch. ---------------------------------------------------------- The bolero consists of 12 squares worked tog into a rectangle. SQUARE: Ch 4 on hook size 5 mm / H/8 with one strand of each yarn (= 2 strands) and form a ring with 1 sl st in first ch. ROUND 1: ch 1, 8 sc in ch-ring, finish with 1 sl st in first sc. ROUND 2: ch 6 (= 1 dc + 3 ch), * 1 dc in next sc, ch 3 *, repeat from *-* a total of 7 times and finish with 1 sl st in 3rd ch from beg of round = 8 dc with 3 ch between each. ROUND 3: ch 1, then work as follows in every ch-space: 1 sc, 1 hdc, 3 dc, 1 hdc and 1 sc, finish round with 1 sl st in ch from beg of round = 8 leaves. ROUND 4: ch 7, * 1 sc between the next 2 leaves, ch 6 *, repeat from *-* a total of 7 times, finish round with 1 sl st in 1st ch from beg of round = 8 ch-spaces. ROUND 5: ch 1, then work as follows in every ch-space: 1 sc, 1 hdc, 5 dc, 1 hdc and 1 sc, finish round with 1 sl st in ch from beg of round = 8 leaves. ROUND 6: ch 10 , * 1 sc between the next 2 leaves, ch 9 *, repeat from *-* a total of 7 times, finish round with 1 sl st in 1st ch from beg of round = 8 ch-spaces. ROUND 7: ch 1, then work as follows in every ch-space: 1 sc, 1 hdc, 1 dc, 5 tr, 1 dc, 1 hdc and 1 sc, finish round with 1 sl st in ch from beg of round = 8 leaves. Cut the yarn and pull it through st on hook. ROUND 8: Start with 1 sc in first tr on first leaf, ch 3 (= 1 dc), * 8 ch (= corner), skip 3 tr, 1 dc in last tr on same leaf, ch 5, 1 sc in first tr on next leaf, ch 5, skip 3 tr, 1 sc in last tr on same leaf, ch 5, 1 dc in first tr on next leaf *, repeat from *-* a total of 4 times but finish with 1 sl st in 3rd ch from beg of round (instead of 1 dc in 1st tr on next leaf). ROUND 9: 1 sl st in 8-ch-space, * 4 dc + ch 4 + 4 dc in ch-space in the corner, (4 ch, 1 dc in next ch-space), repeat from (-) a total of 3 times, ch 4 *, repeat from *-* a total of 4 times, finish with 1 sl st in first dc from beg of round. ROUND 10: 1 dc in each of the first 4 dc, * in ch-space in the corner work 3 dc + ch 2 + 3 dc, 1 dc in each of the next 4 dc, 4 dc in each of the next 4 ch-spaces, 1 dc in each of the next 4 dc *, repeat from *-* a total of 4 times, finish round with 1 sl st in first dc from beg of round. There are now 30 dc along each side and 2 ch in every corner. Cut the thread. Square measures approx. 23 x 23 cm / 9" x 9". Work a total of 12 squares. ASSEMBLY: First work the squares tog across and then along the sides with 4 squares in width and 3 rows vertically. Work squares tog as shown in A.1 CROCHET EDGE: Work a finishing edge around the entire rectangle on hook size 5 mm / H/8 with 1 strand of each yarn: 1 sc in first st, * ch 3, skip 2 sts, 1 sc in next st *, repeat from *-* the entire round and finish with 3 ch and 1 sl st in sc from beg of round. Fold the rectangle double across and fasten it with a few sts in each corner (through both layers). |
|||||||
Diagram explanations |
|||||||
|
|||||||
|
|||||||
Have you finished this pattern?Tag your pictures with #dropspattern #pinkdreambolero or submit them to the #dropsfan gallery. Do you need help with this pattern?You'll find 7 tutorial videos, a Comments/Questions area and more by visiting the pattern on garnstudio.com. © 1982-2025 DROPS Design A/S. We reserve all rights. This document, including all its sub-sections, has copyrights. Read more about what you can do with our patterns at the bottom of each pattern on our site. |
|||||||


With over 40 years in knitting and crochet design, DROPS Design offers one of the most extensive collections of free patterns on the internet - translated to 17 languages. As of today we count 314 catalogs and 11821 patterns - 11811 of which are translated into English (US/in).
We work hard to bring you the best knitting and crochet have to offer, inspiration and advice as well as great quality yarns at incredible prices! Would you like to use our patterns for other than personal use? You can read what you are allowed to do in the Copyright text at the bottom of all our patterns. Happy crafting!
Post a comment to pattern DROPS 148-13
We would love to hear what you have to say about this pattern!
If you want to leave a question, please make sure you select the correct category in the form below, to speed up the answering process. Required fields are marked *.