
Popular categories
Looking for a yarn?


Comments / Questions (60)
![]() Lone wrote:
Lone wrote:
Lekkert design. Venter i spenning på at denne blir lagt ut
02.01.2010 - 18:26
![]() Susan Holton wrote:
Susan Holton wrote:
I love this pattern along with so many of yours. Like that this is one piece and sleeves knitted in as you go. Can't wait for this one!
29.12.2009 - 04:07
![]() Jennifer wrote:
Jennifer wrote:
Really seems versatile, suitable for casual or evening wear.
22.12.2009 - 21:25
![]() Sonja wrote:
Sonja wrote:
Virker lun og lækker.
20.12.2009 - 20:48
![]() Sarah wrote:
Sarah wrote:
Jättefin!
20.12.2009 - 12:51Cynthia Darmanin wrote:
This is really sweet and soft and feminine. The ruched border is really original and eyecatching. Hope you post this pattern.
16.12.2009 - 08:30
![]() Ramona wrote:
Ramona wrote:
Gehört mit zu meinen Faforitten
14.12.2009 - 19:51
![]() Marie wrote:
Marie wrote:
Modèle charmant et certainement agréable à porter
12.12.2009 - 10:24
![]() Lotha wrote:
Lotha wrote:
Ziet er prachtig uit, behalve de mouwen, die vind ik niet zo mooi afgewerkt, ik zou er zelf nog een mooie boord of rand aan maken, of naar binnen vouwen en vastnaaien.
12.12.2009 - 00:52
![]() Nadja wrote:
Nadja wrote:
Sowohl für die sportliche als auch für die romatische Frau geeignet - und einfach schön!
10.12.2009 - 20:41
|
|
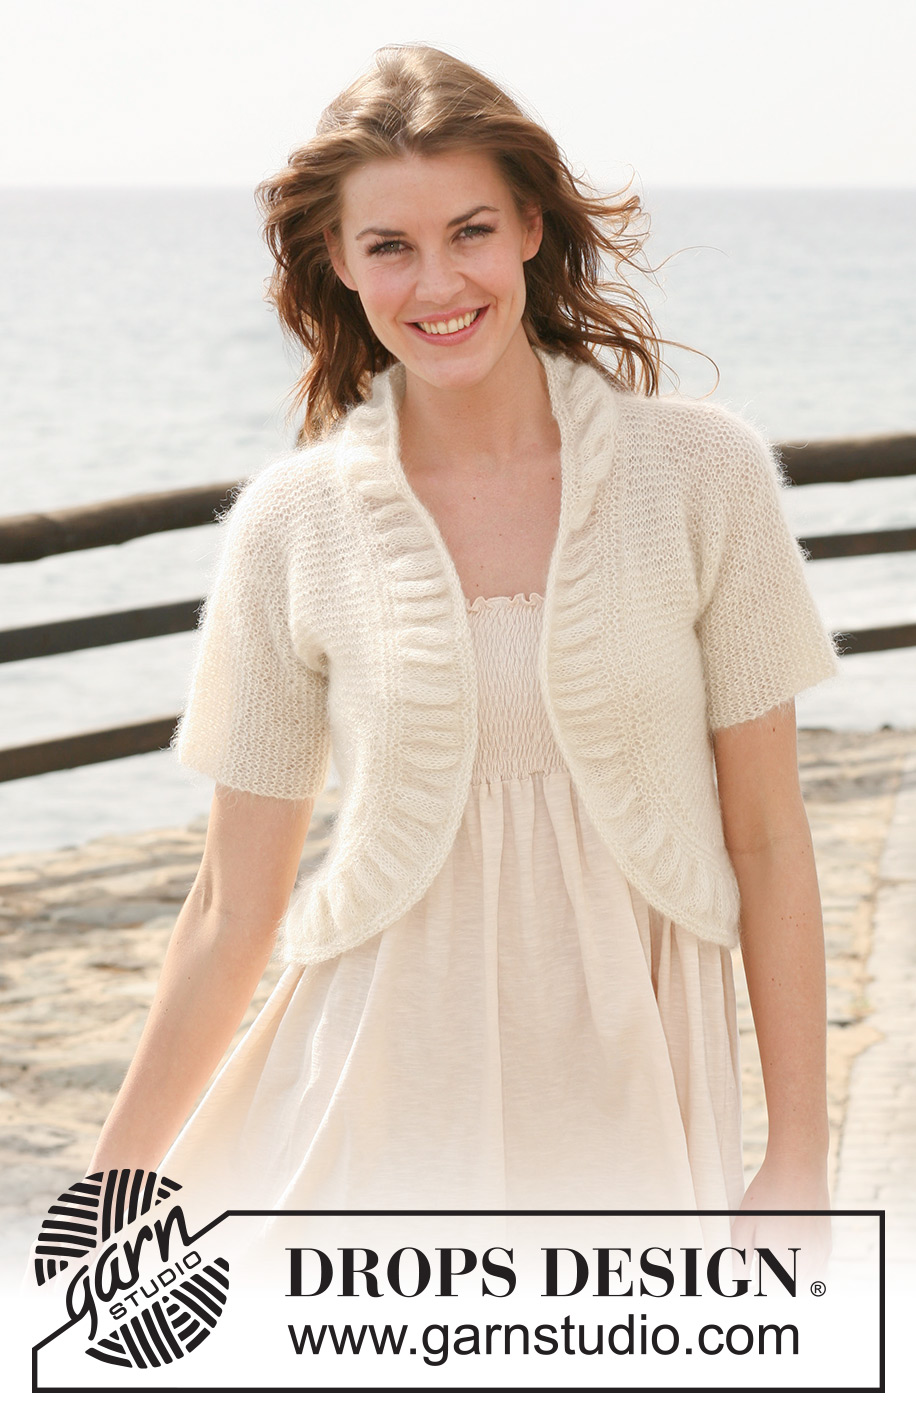
Meringue Perfection#meringueperfectionbolero |
|
 |
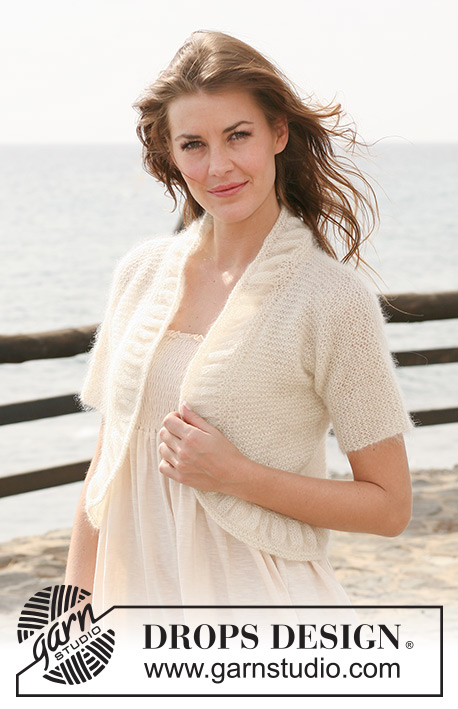 |
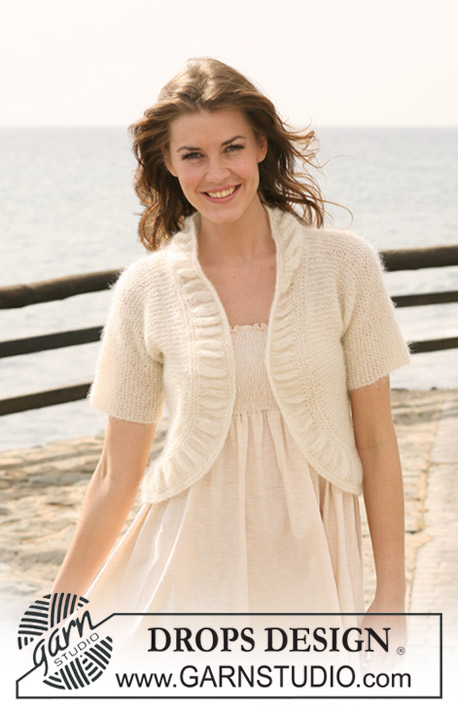
DROPS Bolero in 2 threads ”Kid-Silk” with shirred pattern round the opening. Size S - XXXL.
DROPS 119-18 |
|
|
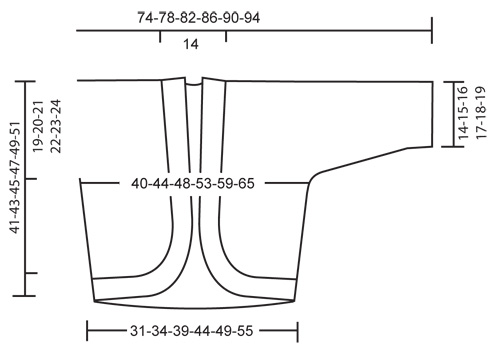
GARTER ST (back and forth on needle): K all rows. DECREASING TIP: Dec 1 st by K2 tog inside edge st. -------------------------------------------------------- -------------------------------------------------------- BOLERO: Work each front piece separately, inc sts for sleeves, slip both front pieces on the same circular needle, at the same time cast on new sts for neckline on back piece and work back piece from neck down. RIGHT FRONT PIECE: Worked back and forth on pointed needles. Cast on 4-5-6-9-13-16 sts (includes 1 edge st at the side) with 2 threads Kid-Silk on needle size 5 mm. READ ALL OF THE FOLLOWING SECTION BEFORE CONTINUING! INC AT FRONT: Work GARTER ST - see above – AT THE SAME TIME on row 2 cast on 1 new st at the end of row towards mid front (= shaped front piece), and repeat on every row a total of 6-8-12-13-15-15 times, then on every other row: 5-6-5-5-4-6 times and then on every 4th row: 4-3-3-3-3-3 times – after the last inc insert a marker in piece (to be used when working the border). REMEMBER THE KNITTING TENSION! INC AT THE SIDE: at the same time when piece measures 2 cm inc 1 st towards the side by K2 sts in the last but one st. Repeat the inc on every 1.5-1.5-1.5-2-2-2 cm a total of 8 times. When all inc are complete there are 27-30-34-38-43-48 sts on needle. INC FOR SLEEVE: When piece measures 15-16-17-18-19-20 cm cast on new sts for sleeve at the end of every row towards the side: 1 st 2-2-2-3-3-4 times, 2 sts 2-2-2-1-2-1 times, 4 sts 2-2-2-2-1-1 times, 6 sts 1 time for all sizes and 8 sts 1 time for all sizes (now make sure to tighten st on sleeve edge on every row). DEC FOR NECK: at the same time when piece measures 16-17-18-19-20-21 cm dec 1 st on neckline - SEE DECREASING TIP, and repeat the dec on every 3rd cm a total of 4 times. When all inc for sleeve and dec for neck are complete there are 51-54-58-61-64-68 sts on needle. Continue until piece measures 34-36-38-40-42-44 cm, insert a marker (= mid shoulder) and now MEASURE PIECE FROM HERE! Continue for 1 cm and put piece aside (make sure last row is worked from WS). LEFT FRONT PIECE: Like right front piece, but mirrored. BACK PIECE: In order to fit in all sts work piece back and forth on circular needle. Work sts from left front piece in on circular needle size 5 mm, cast on 24 new sts (= neckline on back piece) and work in sts from right front piece = 126-132-140-146-152-160 sts. Work garter st back and forth on circular needle until piece measures 14-15-16-17-18-19 cm (from marker on shoulder), now cast off sleeve sts - cast off loosely at the beg of every row each side: 8 sts 1 time for all sizes, 6 sts 1 time for all sizes, 4 sts 2-2-2-2-1-1 times, 2 sts 2-2-2-1-2-1 times and 1 st 2-2-2-3-3-4 times = 70-76-84-92-102-112 sts. When piece measures 21-23-25-24-26-28 cm dec 1 st each side – SEE DECREASING TIP, and repeat the dec on every 1.5-1.5-1.5-2-2-2 cm a total of 8 times = 54-60-68-76-86-96 sts. Continue until piece measures approx 34-36-38-40-42-44 cm (last row worked from WS) – fold piece double by shoulder and adjust length to front pieces. Work 6 rows garter st, remove 1 thread and work next rows as follows from RS: K 1 edge st, inc 2 sts in next st (i.e. 1 st becomes 3 sts) as follows: * K1, 1 YO, K1 *, repeat from *-* in sts across the row, K 1 edge st = 158-176-200-230-254-284 sts. Work 7 rows stocking st and work next row as follows from RS with 2 threads: K 1 edge st, then K3 tog across the row, K 1 edge st = 54-60-68-76-86-96 sts. K 3 rows and cast off. BORDER: Worked back and forth on circular needle size 5 mm with 2 threads. Beg at bottom of side on right front piece and pick up sts along front piece, round neckline and down along left front piece = approx 200 to 270 sts – make sure to pick up enough sts along front pieces from the side and up to markers. K 5 rows back and forth on needle. Remove 1 thread and work next row as follows: K 1 edge st, inc 2 sts in next st (i.e. 1 st becomes 3 sts) as follows: * K1, 1 YO, K1 *, repeat from *-* in sts across the row, K 1 edge st = approx 596 to 806 sts. Work 7 rows stocking st and work next row as follows from RS with 2 threads: K 1 edge st, then K2 tog across the row to after the marker on right front piece, now K3 tog across the row to marker on left front piece, then K2 tog across the row, K 1 edge st. K 3 rows on all sts and cast off LOOSELY. ASSEMBLY: Fold bolero double by shoulder = by markers. Sew side and sleeve seams inside 1 edge st. |
|
 |
|
Have you finished this pattern?Tag your pictures with #dropspattern #meringueperfectionbolero or submit them to the #dropsfan gallery. Do you need help with this pattern?You'll find 18 tutorial videos, a Comments/Questions area and more by visiting the pattern on garnstudio.com. © 1982-2026 DROPS Design A/S. We reserve all rights. This document, including all its sub-sections, has copyrights. Read more about what you can do with our patterns at the bottom of each pattern on our site. |
|


With over 40 years in knitting and crochet design, DROPS Design offers one of the most extensive collections of free patterns on the internet - translated to 17 languages. As of today we count 324 catalogues and 12260 patterns translated into English (UK/cm). 12260
We work hard to bring you the best knitting and crochet have to offer, inspiration and advice as well as great quality yarns at incredible prices! Would you like to use our patterns for other than personal use? You can read what you are allowed to do in the Copyright text at the bottom of all our patterns. Happy crafting!
Post a comment to pattern DROPS 119-18
We would love to hear what you have to say about this pattern!
If you want to leave a question, please make sure you select the correct category in the form below, to speed up the answering process. Required fields are marked *.