
Popular categories
Looking for a yarn?































Comments / Questions (1)
 Ella wrote:
Ich habe die Runden gestrickt,dann geht's in reihen weiter,nehme ich an. 4 M auf re N neu aufgen., dann auf li N geschoben und i-cord gestrickt, alle weiteren M re und die letzten 2 reM (später kraus) - jetzt soll ich "je 1 Masche aus den 4 Maschen, die am Anfang der Reihe angeschlagen wurden, auffassen " und dann insg. 8M zusätzlich auf den Nadeln haben.? Das verstehe ich nicht. Was soll ich mit diesen ersten 4 i-cord Maschen machen? Es steht nichts von einer weiteren Zunahme.
13.10.2026 - 16:31DROPS Design answered:
Liebe Ella, nach der Runde schlägt man 4 Maschen am Übergang zwischen Anfang/Ender der Runde an, diese 4 Maschen wieder auf die linke Nadel legen und diese 4 Maschen wie 4 I-CORD MASCHEN AM RAND: > AM ANFANG DER REIHE: stricken, dann alle Maschen stricken, dann 1 Masche in je die 4 I-cord Maschen am Anfang der Reihe auffassen = es sind insgesamt 8 Maschen mehr; wenden und jetzt in Hin- und Rückreihen glattrechts mit 4 I-Cord Maschen und 2 Krausrechte Maschen beidseitig stricken. Viel Spaß beim Stricken!
14.10.2026 - 06:54
|
|||||||
Chocolate Button Hat#chocolatebuttonhat |
|||||||
 |
 |
||||||
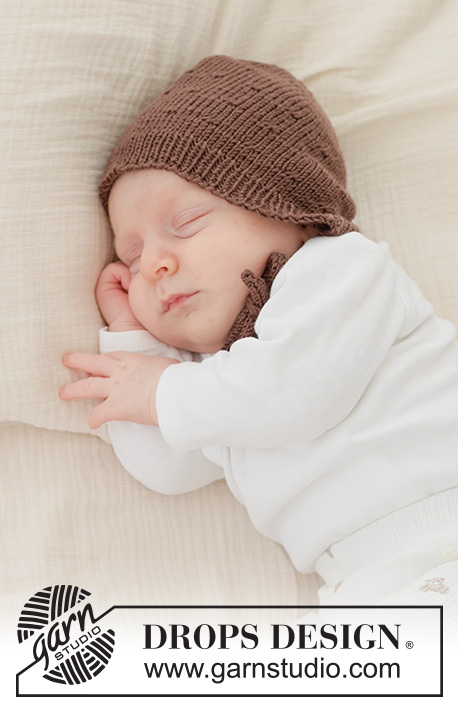
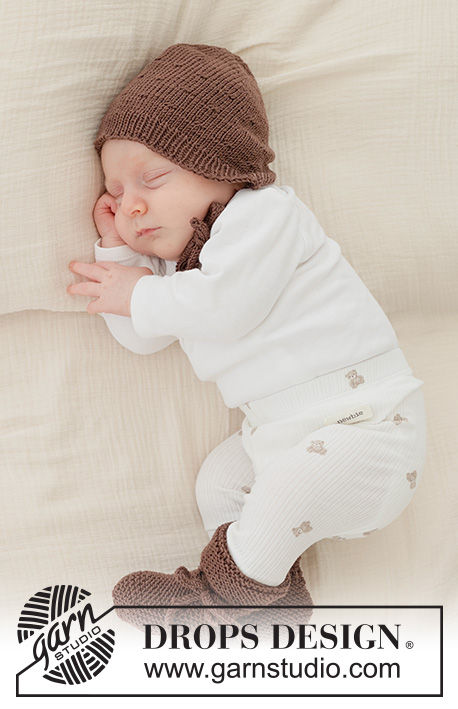
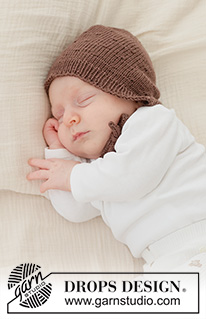
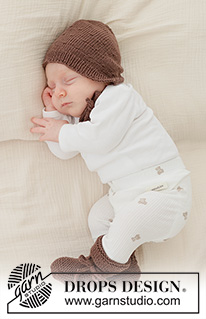
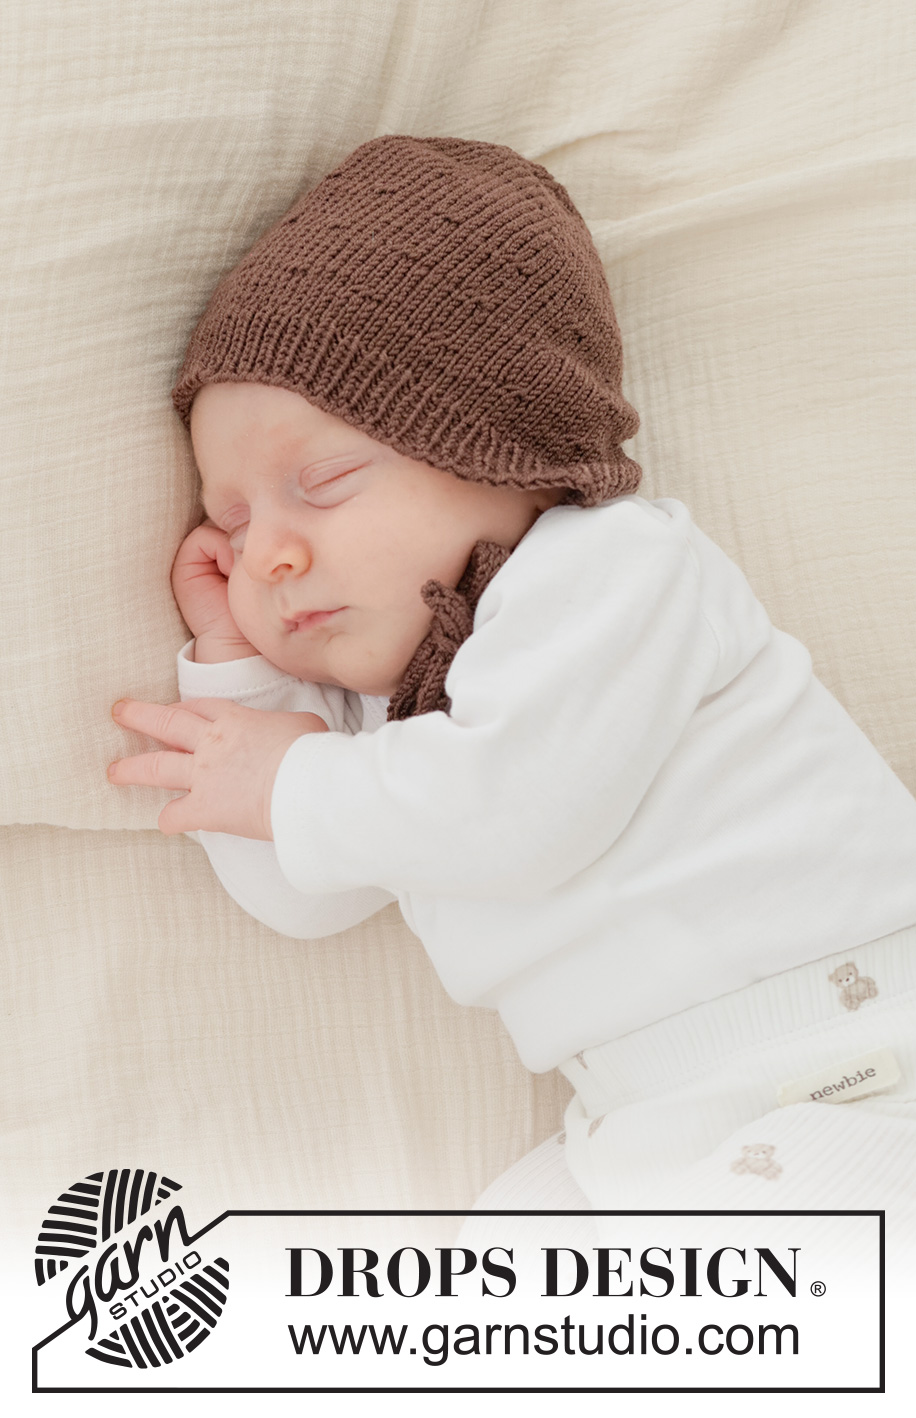
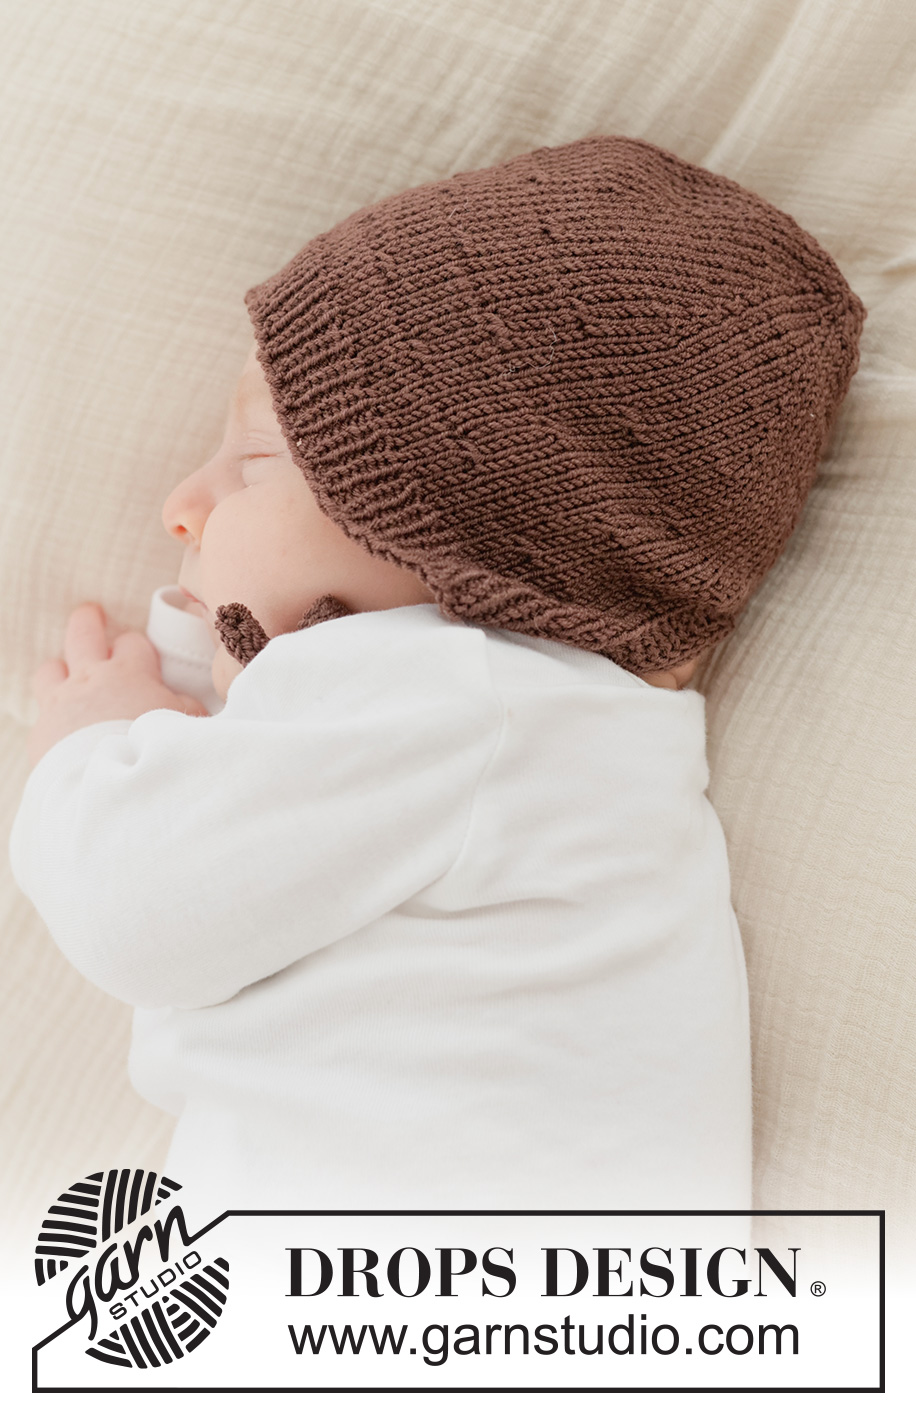
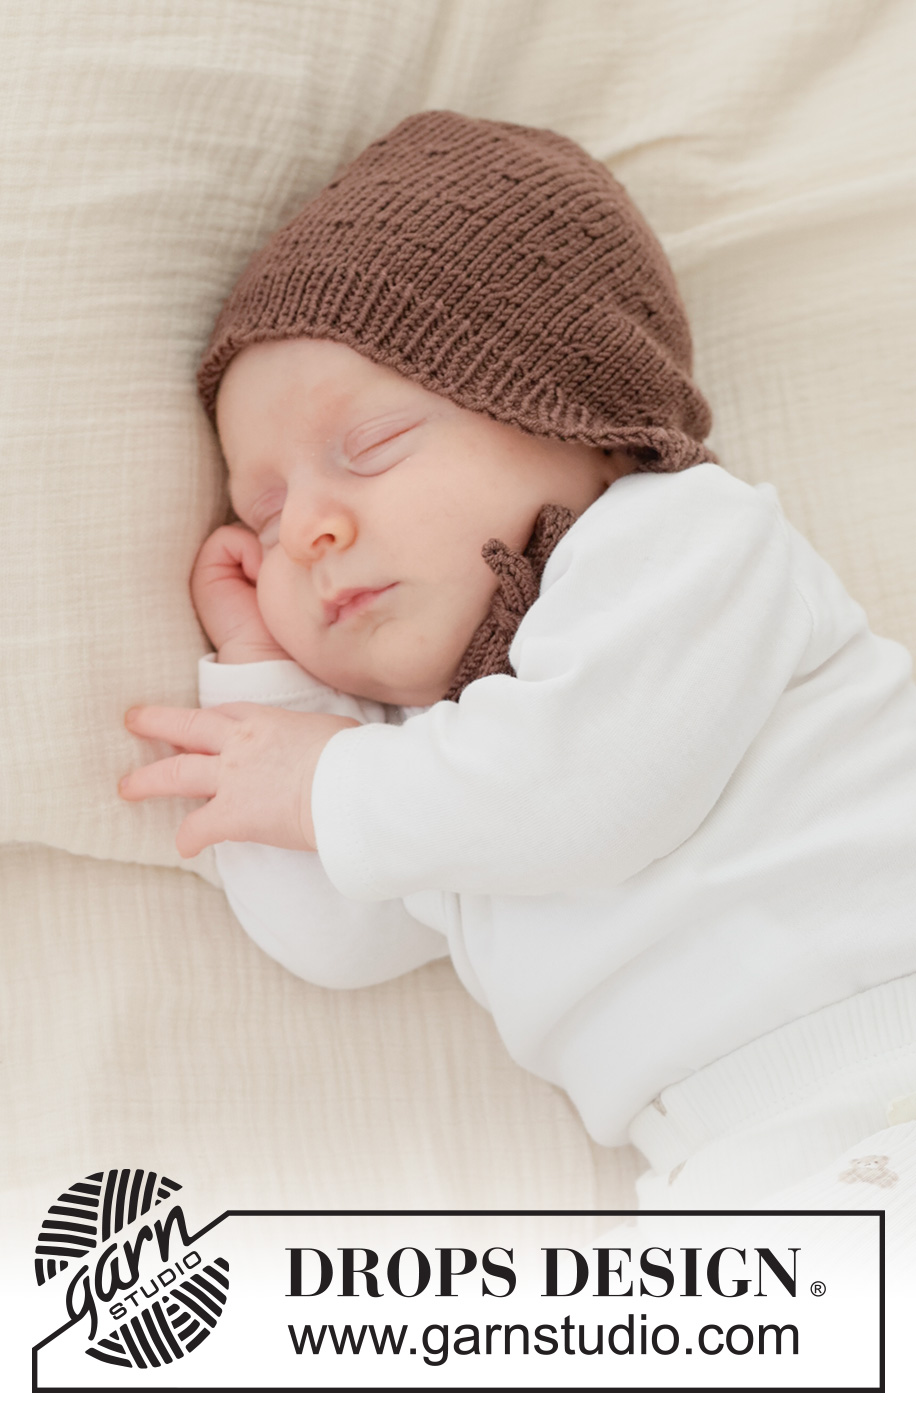
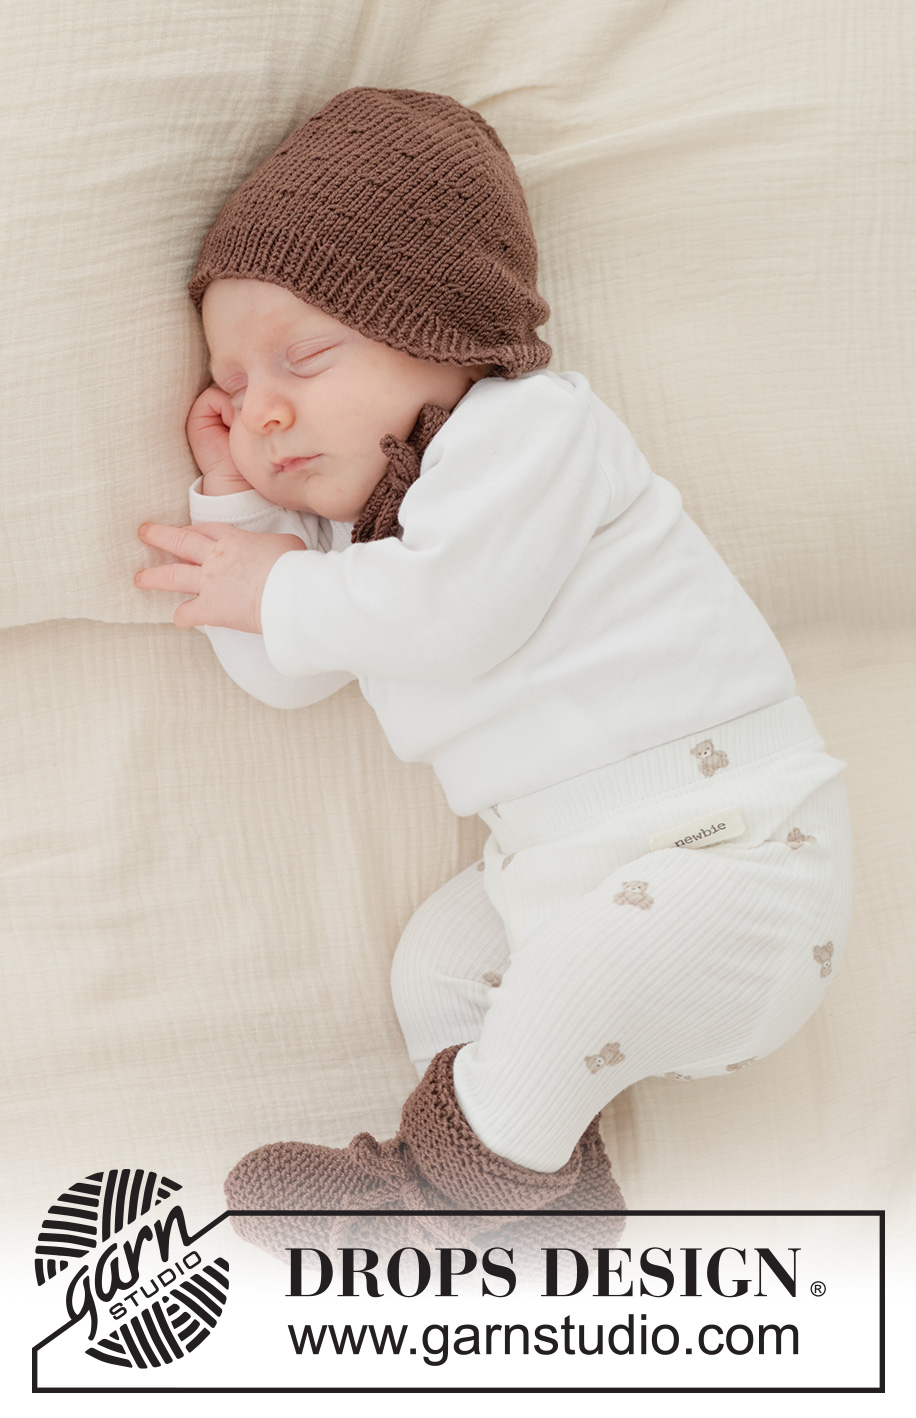
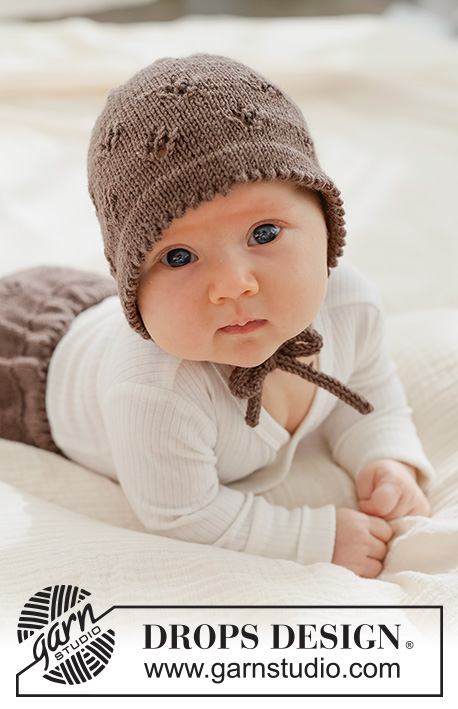
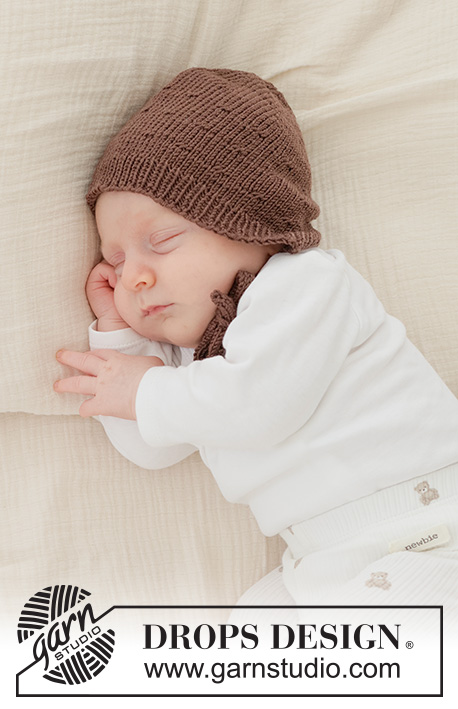
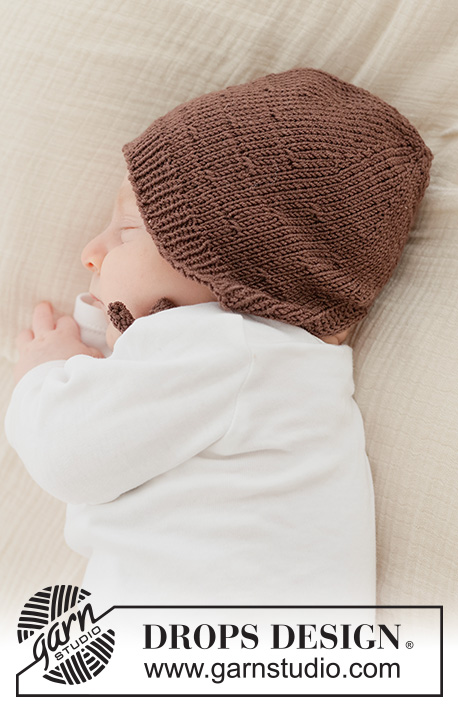
Knitted bonnet for baby and children in DROPS BabyMerino. Piece is knitted in stocking stitch with relief pattern and I-cord.
DROPS Baby 52-12 |
|||||||
|
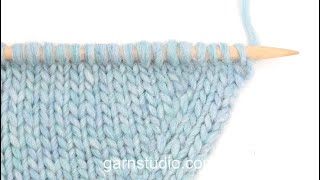
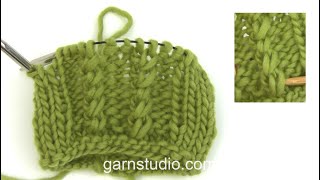
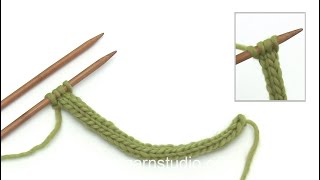
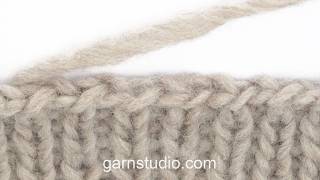
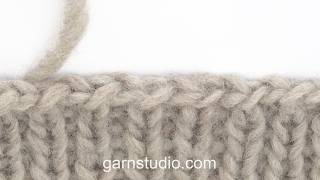
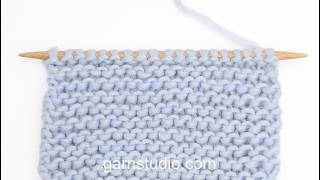
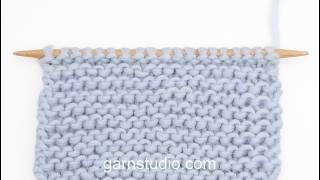
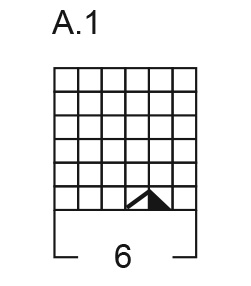
---------------------------------------------------------- EXPLANATION FOR THE PATTERN: ---------------------------------------------------------- 4 EDGE STITCHES I-CORD: BEGINNING OF ROW: Work edge stitches as follows (= 4 stitches): Slip 1 stitch purlwise with strand in front of piece, knit 1, slip 1 stitch purlwise with strand in front of piece, knit 1. END OF ROW: Work edge stitches as follows (= 4 stitches): Work until 4 stitches remain on row, slip 1 stitch purlwise with strand in front of piece, knit 1, slip 1 stitch purlwise with strand in front of piece, knit 1. Continue like this on right side and wrong side. GARTER STITCH: Knit on all rows, i.e. knit from right side and knit from wrong side. 1 ridge vertically = knit 2 rows. PATTERN: See diagram A.1. Diagrams show all rows in pattern seen from the right side. INCREASE TIP-1: INCREASE 1 STITCH TOWARDS THE LEFT- from RIGHT SIDE: Use left needle to pick up yarn between 2 stitches from row below, pick up yarn from the front and knit stitch in stitch loop behind the needle. INCREASE TIP-2: When increasing stitches evenly in transition for rib, it looks nicer if you increase where stitches are going to be purled onwards so that the stitches in stocking stitch will continue nicely into rib and is not affected. ---------------------------------------------------------- START THE PIECE HERE: ---------------------------------------------------------- BONNET - SHORT OVERVIEW OF THE PIECE: Begin by working a circle in the round, this circle is mid back of bonnet. Then work back and forth over all stitches facing forward on bonnet. When the rib is finished at the front of bonnet, work a tube tie over the first stitches in each side and cast off the remaining stitches. BONNET (back piece): Cast on 8 stitches with DROPS Baby Merino and distribute the stitches on 4 double pointed needles size 3 mm (work with the 5th needle). Work as follows: ROUND 1: Knit all stitches. ROUND 2: * Knit 1, increase 1 stitch towards the left – read INCREASE TIP-1 *, work from *-* the entire round = 16 stitches. ROUND 3: Knit all stitches. ROUND 4: Knit all stitches. ROUND 5: * Knit 2, increase 1 stitch towards the left – read INCREASE TIP-1 *, work from *-* the entire round = 24 stitches. ROUND 6: Knit all stitches. ROUND 7: Knit all stitches. ROUND 8: * Knit 3, increase 1 stitch towards the left – remember INCREASE TIP-1 *, work from *-* the entire round = 32 stitches. Continue like this and increase 8 stitches on every 3rd round (for every increase round there will be 1 stitch more between every increase) until there are 64-72-80-88-88-96 stitches on needle. Piece measures now approx. 6-7-8-9-9-10 cm from the middle and down. BONNET (on top of head): Begin at the beginning of round (= mid back of neck on bonnet), cast on 4 new stitches on right needle, slip these 4 stitches on to left needle and work as follows (working yarn is not pullet to the beginning of row): ROW 1 (= right side): Work 4 EDGE STITCHES I-CORD and 2 stitches in GARTER STITCH - read explanation above, knit until 2 stitch remain on needle, work 2 stitches in garter stitch, and then pick up 1 stitch in each of the 4 stitches cast on at the beginning of row = 72-80-88-96-96-104 stitches, turn piece. ROW 2 (= wrong side): Work 4 stitches I-cord, work 2 stitches in garter stitch, purl until 6 stitches remain, work 2 stitches in garter stitch and 4 edge stitches in I-cord. ROW 3 (= right side): Work 4 edge stitches I-cord, work 2 stitches in garter stitch, knit until 6 stitches remain, work 2 stitches in garter stitches and 4 edge stitches I-cord. ROW 4 (= wrong side): Work 4 edge stitches I-cord, 2 stitches in garter stitch, purl until 6 stitches remain, work 2 stitches in garter stitch and 4 edge stitches I-cord, AT THE SAME TIME on this row adjust number of stitches to 76-82-88-94-100-106 (do not increase/decrease over the 6 outermost stitches in each side). Now work PATTERN – see explanation above and work as follows: ROW 1 (= right side): Work 4 edge stitches I-cord, work 2 stitches in garter stitch, A.1 until 10 stitches remain on row, work the first 4 stitches in A.1, 2 stitches in garter stitches and 4 edge stitches I-cord. Continue pattern until piece measures 11-12-13-14-15-15½ cm, make sure to finish with at least 3 rows without cables, on last row increase 3-3-3-5-5-5 stitches evenly = 79-85-91-99-105-111 stitches. Work next row as follows from right side: 4 edge stitches I-cord, work 2 stitches in garter stitch, rib (= 1 knit and purl 1) until 6 stitches remain, work 2 stitches in garter stitches and 4 edge stitches I-cord. Continue rib back and forth like this for 2 cm. Bonnet now measures approx. 13-14-15-16-17-17½ cm from cast-on edge. Switch to circular needle size 2.5 mm, work 4 edge stitches I-cord as before, slip these stitches on 1 thread, then cast off with knit over knit and purl over purl in front of bonnet until 4 stitches remain on row – make sure that the cast-off edge is not too tight (this in front of bonnet and should be a nice finishing edge), work 4 edge stitches I-cord as before and cast on 1 new stitch on row = 5 stitches. Work tube tie as follows: * Move all stitches to the right side of needle without turning piece, tighten yarn and knit over all stitches *, repeat from *-* until tie measures 20 to 25 cm, cut the yarn and pull strand through the stitches, tighten yarn and fasten. Slip the 4 edge stitches in opposite side of double pointed needles size 2.5 mm, work as before over these stitches and cast on 1 new stitch at the end of row = 5 stitches. Work tube tie as follows: * Move all stitches to the right side of needle without turning piece, tighten yarn and knit over all stitches *, repeat from *-* until tie measures 20 to 25 cm, cut the yarn and pull strand through the stitches, tighten yarn and fasten. |
|||||||
Diagram explanations |
|||||||
|
|||||||
 |
|||||||
Have you finished this pattern?Tag your pictures with #dropspattern #chocolatebuttonhat or submit them to the #dropsfan gallery. Do you need help with this pattern?You'll find 18 tutorial videos, a Comments/Questions area and more by visiting the pattern on garnstudio.com. © 1982-2026 DROPS Design A/S. We reserve all rights. This document, including all its sub-sections, has copyrights. Read more about what you can do with our patterns at the bottom of each pattern on our site. |
|||||||






With over 40 years in knitting and crochet design, DROPS Design offers one of the most extensive collections of free patterns on the internet - translated to 17 languages. As of today we count 333 catalogues and 12532 patterns translated into English (UK/cm). 12521
We work hard to bring you the best knitting and crochet have to offer, inspiration and advice as well as great quality yarns at incredible prices! Would you like to use our patterns for other than personal use? You can read what you are allowed to do in the Copyright text at the bottom of all our patterns. Happy crafting!
Post a comment to pattern DROPS Baby 52-12
We would love to hear what you have to say about this pattern!
If you want to leave a question, please make sure you select the correct category in the form below, to speed up the answering process. Required fields are marked *.