
Popular categories
Looking for a yarn?


























Comments / Questions (31)
 Rita Julia wrote:
Graag dit patroon ook met de 'gewone' rechte breinaalden aub !
12.08.2026 - 14:50DROPS Design answered:
Dag Rita,
Het is voor ons helaas niet mogelijk om patronen aan te passen naar persoonlijke wensen. Om een patroon aan te passen om op rechte naalden te breien hebben we een instructie gemaakt. Deze vind je hier. Overigens kun je dit patroon gewoon met rechte naalden breien.
14.08.2026 - 11:30
 Maj Banner wrote:
Hei, har begynt å strikke denne toppen, men når jeg hadde strikket ca 5 cm så oppdaget jeg at den ruller seg opp i oppleggskanten..Vil det rette seg hvis jeg stryker den? På bildene ser kanten veldig fin ut..
05.08.2026 - 19:12DROPS Design answered:
Hei Maj, Du kan prøve å damp-stryke kanten allerede nå for å se om den legger seg ned. Hvis ikke, kan det tenkes at du har lagt opp for stramt og må ta opp og begynne på nytt. Man kan legge opp med en større pinne eller 2 pinner holdt sammen, for å få kanten elastisk. Hilsen Drops Team
07.08.2026 - 06:19
 Marina wrote:
Hallo, kann ich das Top ohne die Abnahme für die Ärmel stricken, so dass ich einen überschnittenen Arm habe? Oder funktioniert das so nicht? Viele Grüße Marina
25.07.2026 - 14:17DROPS Design answered:
Liebe Marina, das können Sie zwar machen, allerdings stehen die Schultern dann wahrscheinlich ab, wenn Sie sie gerade stricken. Sie sollten eine Schulterschrägung einarbeiten (mit stillgelegten Maschen), vielleicht schauen Sie dafür bei Tops mit Schulterschrägung. Leider können wir Ihnen hier keine Anpassung mit Maschenzahlen ausrechnen. Viel Spaß beim Stricken!
07.08.2026 - 10:14
 Wil Kerkmeer wrote:
De onderkant krult teveel op, hoe kan ik dit alsnog goed krijgen zoals de foto?
15.07.2026 - 10:40DROPS Design answered:
Dag Wil,
Dit kun je verhelpen door het werk heel voorzichtig op te persen met een natte doek en een strijkijzer. Leg het werk op de strijkplank, maak een theedoek nat en leg deze op de rand. Dep heel voorzichtig met de strijkbout op de natte doek. Let erop dat je dit heel, heel voorzichtig doet, om de breistructuur niet te 'vernielen' dus kijk steeds tussendoor even hoe het gaat.
18.07.2026 - 10:33
 Olga wrote:
Para um tamanho M com esta linha, quantos novelos comprar?
07.07.2026 - 23:34DROPS Design answered:
Boa tarde, Para um tamanho M, deve comprar 5 novelos do fio Bomull-Lin, Bons tricôs! A equipa DROPS
08.07.2026 - 15:10
Margot wrote:
Warum kann ich nicht ausdrucken
01.07.2026 - 21:21DROPS Design answered:
Liebe Margot, prüfen Sie mal den Druckerseinstellungen - leeren Sie den Cache/die Cookies, es sollte funktionnieren. Viel Spaß beim Stricken!
02.07.2026 - 09:23
 Camilla wrote:
Jag ska sy ihop sidorna som har I-cord. Hur gör jag det? Det står sy ihop i yttersta ledd. Vad betyder det?
24.06.2026 - 10:26DROPS Design answered:
Hej Camilla. Det är bara längst ner på sidorna (det som ska bli sprund) som du har i-cord efter det ska det vara 1 maska i rätstickning i varje sida och det är i den rätstickade maskan du syr i det yttersta maskledet. Mvh DROPS Design
24.06.2026 - 13:50
 Gitte wrote:
Hvordan laver jeg opskriften i str. XXS?
08.05.2026 - 09:35DROPS Design answered:
Hei Gitte. Denne oppskriften er allerede skrevet i 6 forskjellige størrelser og Design avd. har dessverre ikke muligheten til å omregne en allerede publisert oppskrift for å tilpasse til hver enkelt bruker. mvh DROPS Design
11.05.2026 - 11:37
Heike wrote:
Hallo, Ich möchtdas Topgerne stricken, allerdingsmöchte ich es von unten ohne Teilung, sprich Vorder- und Rückenteilbis unter die Arme in Runden stricken. Könnt ihr mir sagen worauf ich achten muss?
05.05.2026 - 20:12DROPS Design answered:
Liebe Heike, schlagen Sie die Maschenanzahl für das ganze Rumpfteil (ohne Randmaschen da keine Naht), so sie den Umfang vom Rumpfteil passt, dann in der Runde bis zum Armloch stricken. Viel Spaß beim Stricken !
06.05.2026 - 07:57
 Olga wrote:
Buongiorno trovo un tutorial per imparare a cucire a punto maglia le parti lavorate in piano?
15.04.2026 - 14:29DROPS Design answered:
Buonasera Olga, in alto sotto il titolo può trovare la sezione dei video dove sono riportati tutti i video relativi alle tecniche utilizzate nel modello. Buon lavoro!
15.04.2026 - 16:54
|
|
Silver Reflection#silverreflection |
|
 |
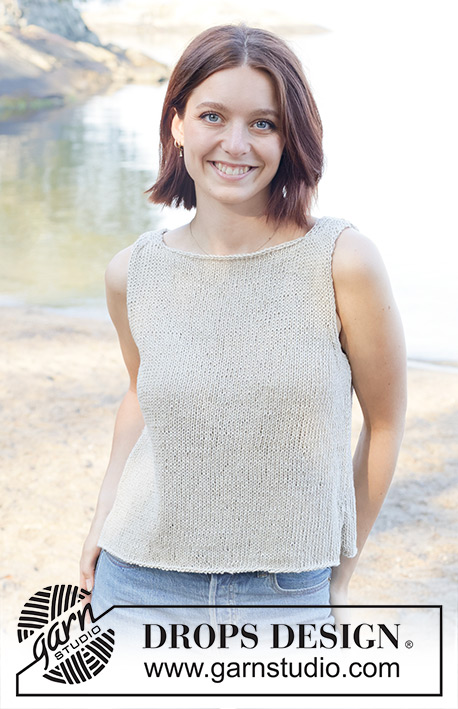 |
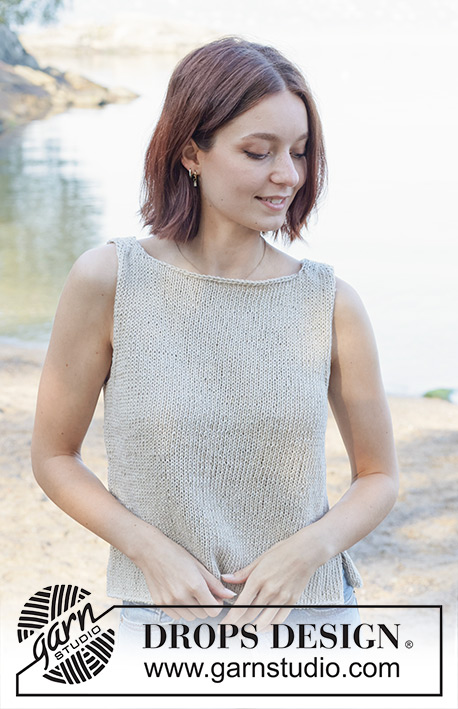
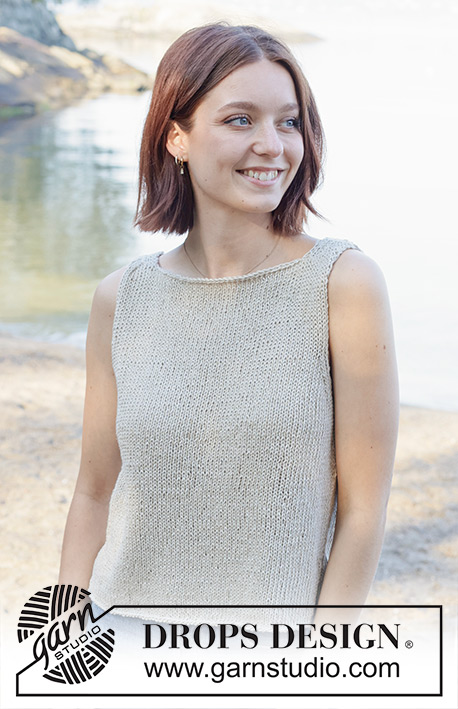
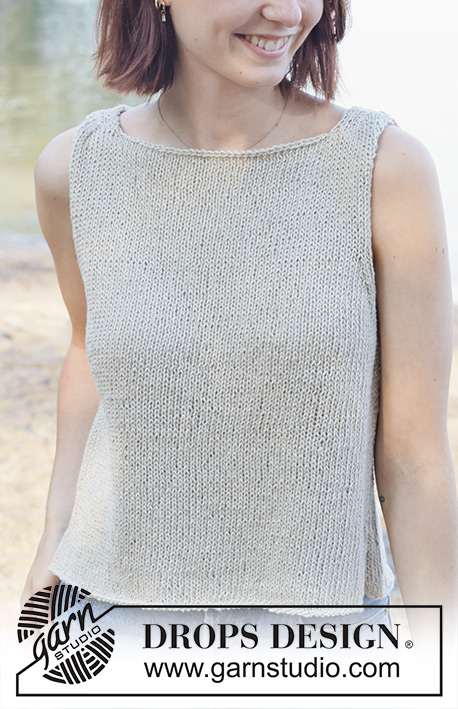
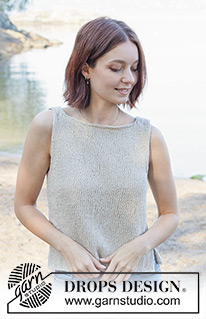
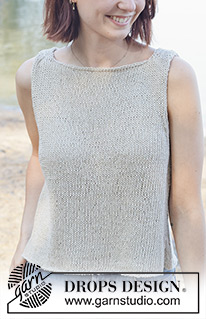
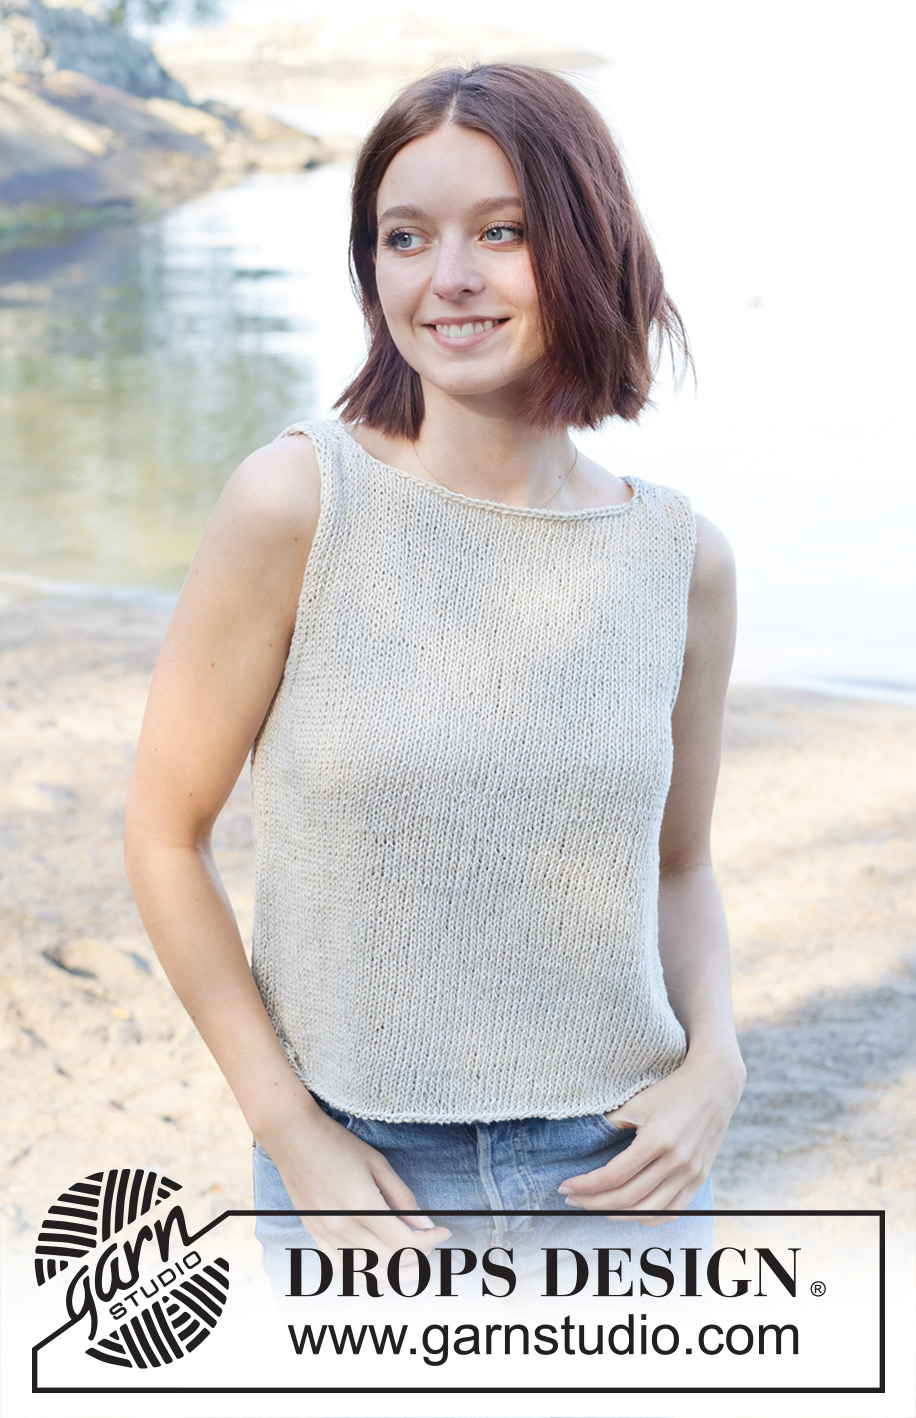
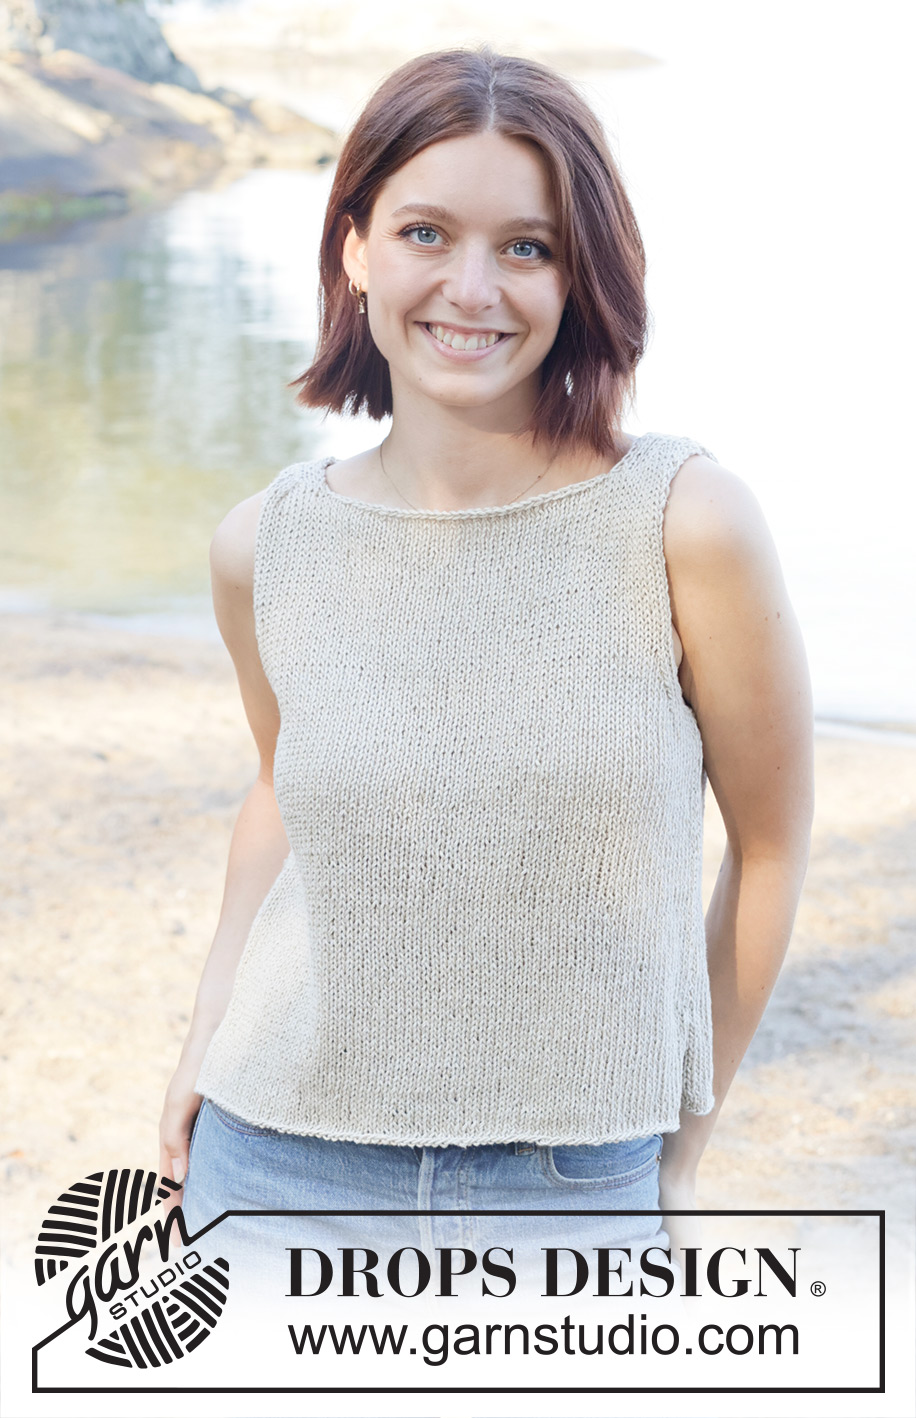
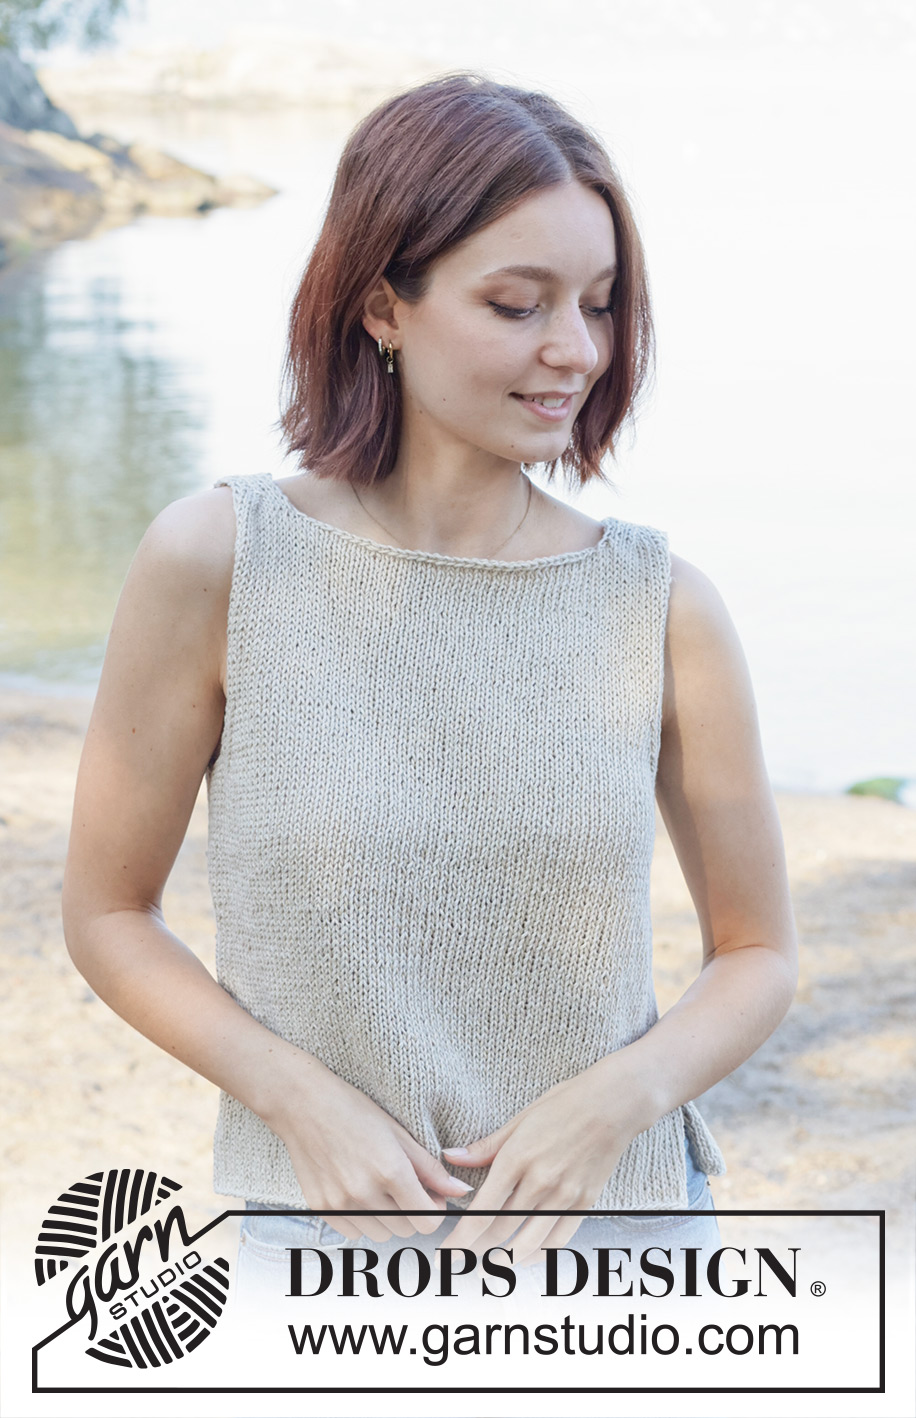
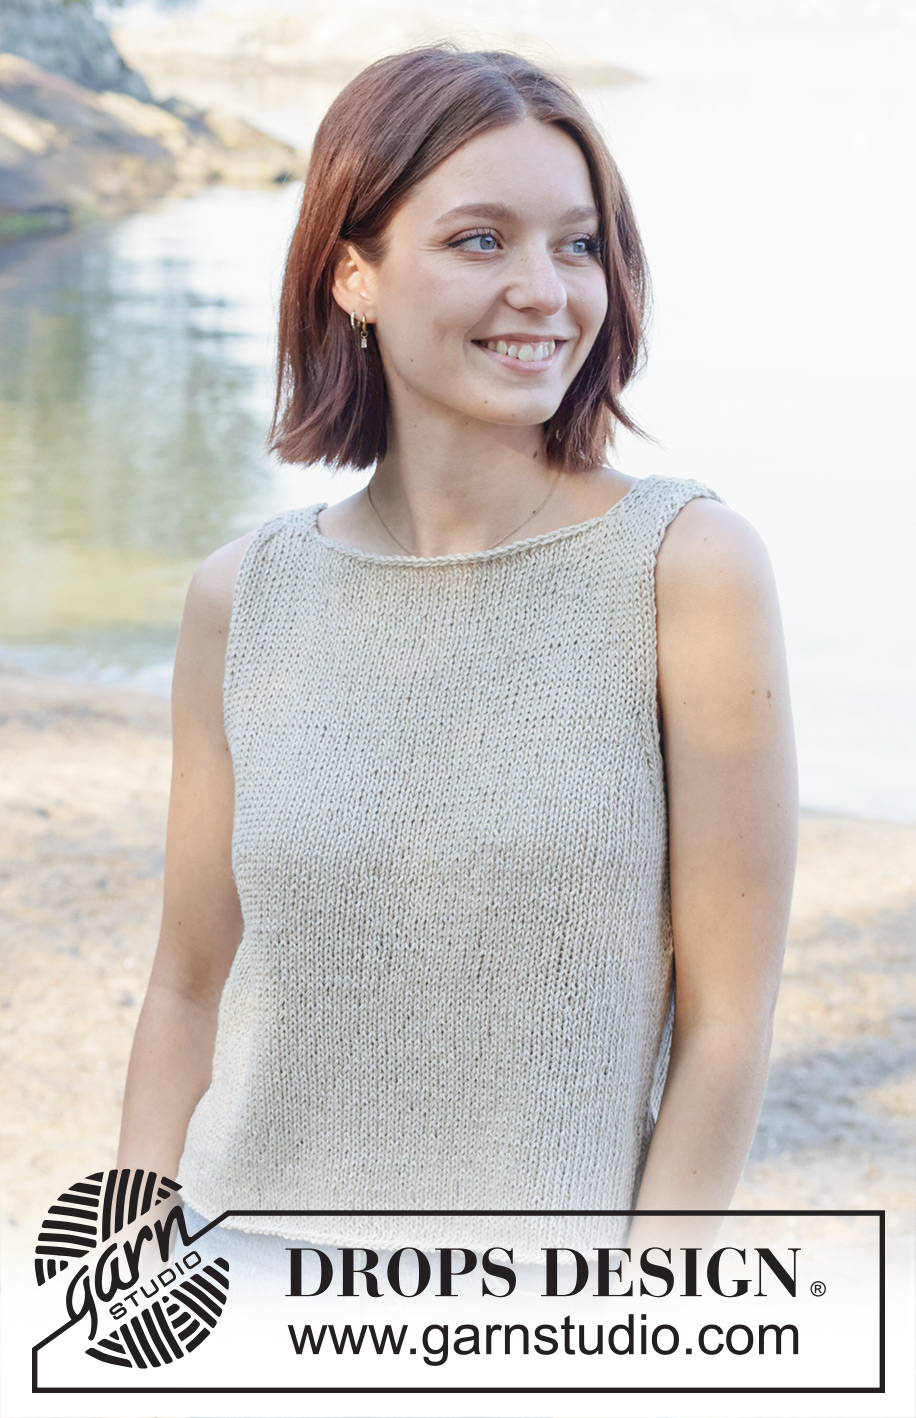
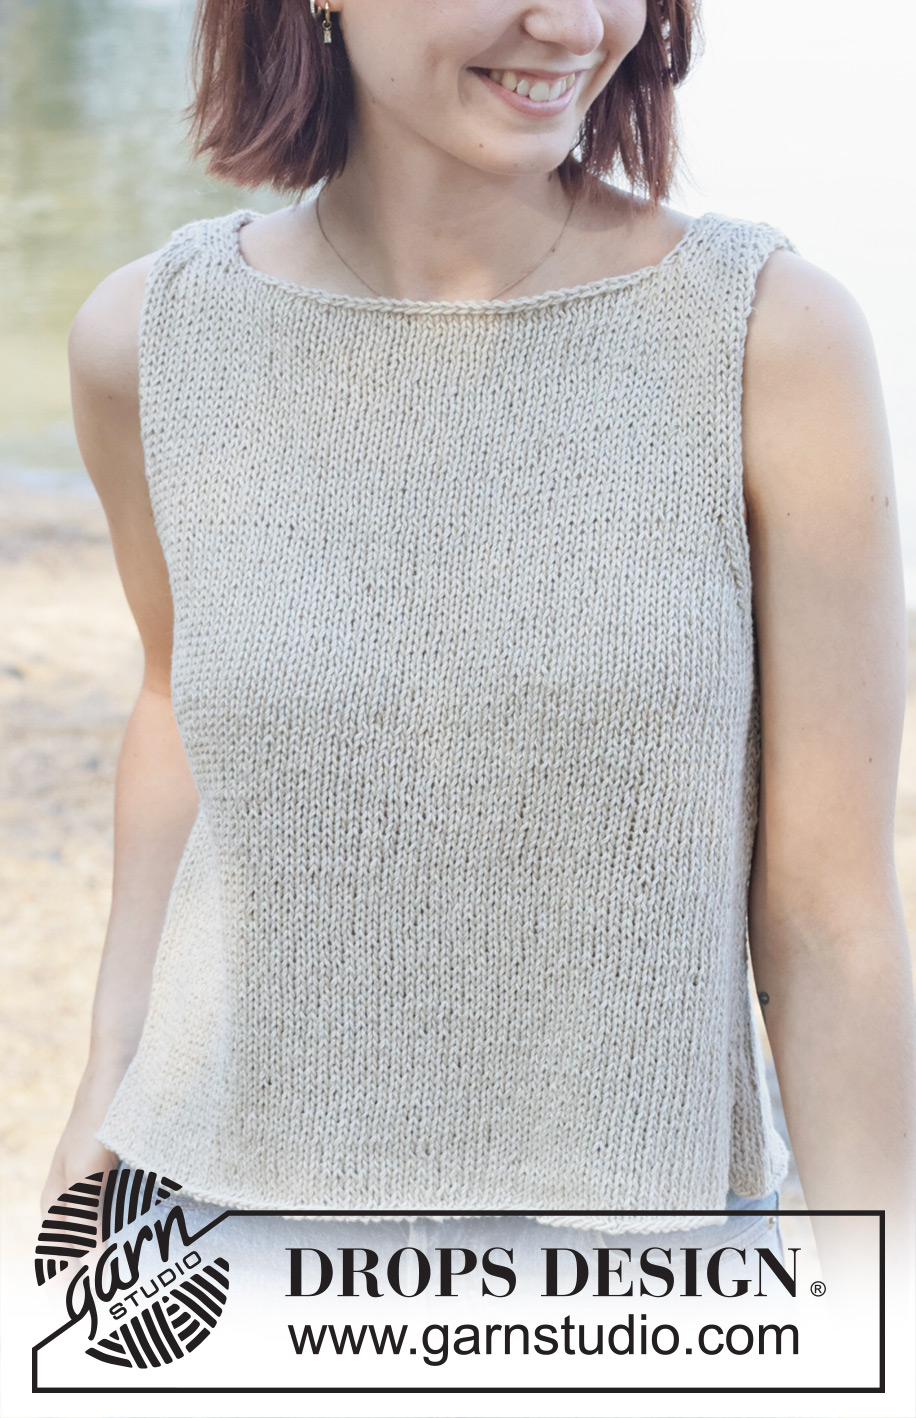
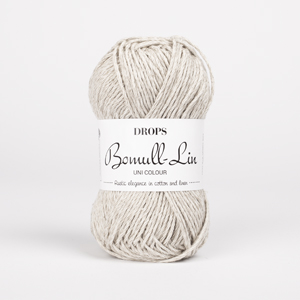
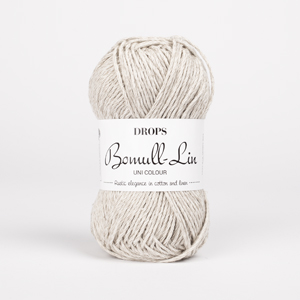
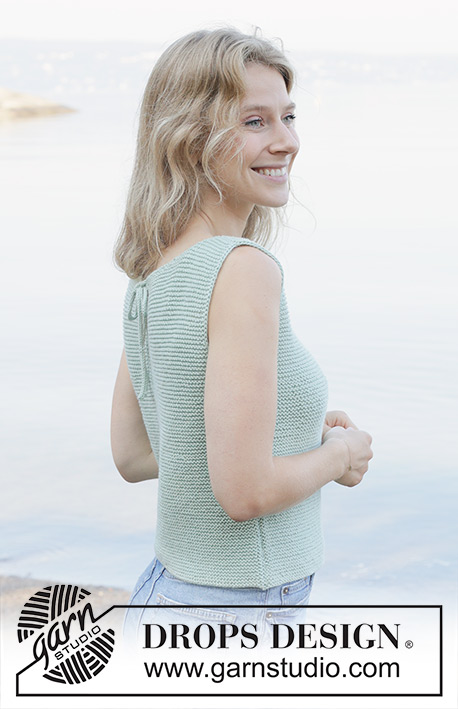
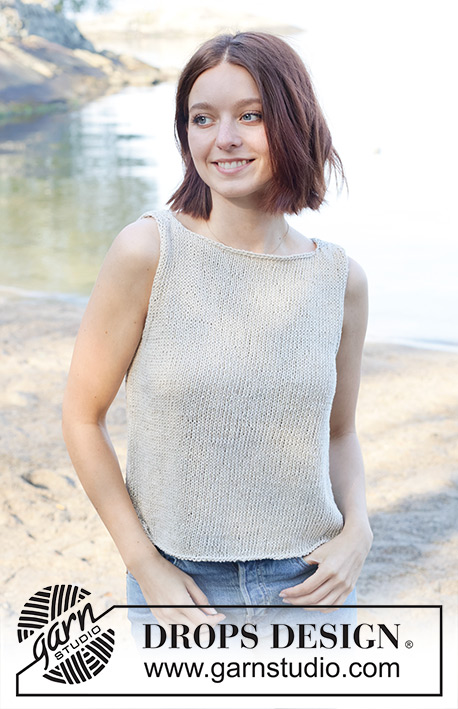
Knitted top in DROPS Bomull-Lin. Piece is knitted bottom up in stocking stitch with I-cord and boat neck. Size: S - XXXL.
DROPS 257-18 |
|
|
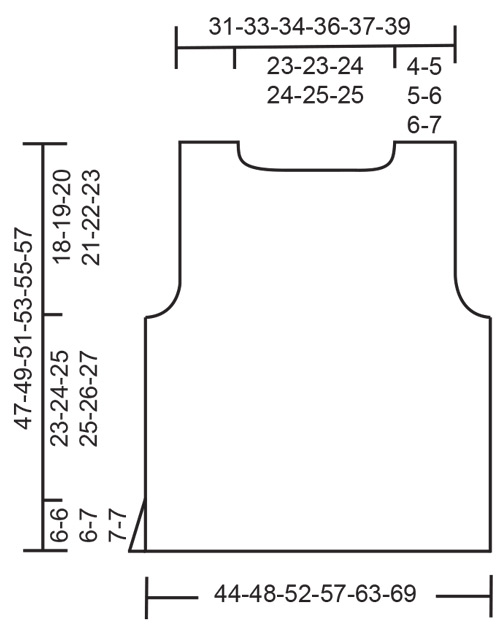
---------------------------------------------------------- EXPLANATION FOR THE PATTERN: ---------------------------------------------------------- I-CORD: BEGINNING OF ROW: Slip 1 stitch purlwise with strand in front of piece, knit 1. END OF ROW: Work until 2 stitches remain on needle, slip 1 stitch purlwise with strand in front of piece, knit 1. Work the same way both from right side and wrong side. GARTER STITCH (when working back and forth): Knit on all rows, i.e. knit from right side and knit from wrong side. 1 ridge vertically = knit 2 rows. DECREASE TIP-1 (applies to armholes): All decreases are done from the right side! DECREASE 1 STITCH IN EACH SIDE AS FOLLOWS: Work I-cord as before, work 2 stitches in stocking stitch, slip 1 stitch knitwise, knit 1 and pass slipped stitch over stitch worked (= 1 stitch decreased). Work until 6 stitches remain, knit 2 together, work 2 stitches in stocking stitch and work I-cord as before (= 1 stitch decreased). DECREASE 2 STITCHES IN EACH SIDE AS FOLLOWS: Work I-cord as before, work 2 stitches in stocking stitch, slip 1 stitch knitwise, knit 2 together and pass slipped stitch over stitch worked (= 2 stitches decreased). Work until 7 stitches remain, knit 3 together, work 2 stitches in stocking stitch and work I-cord as before (= 2 stitches decreased). DECREASE TIP-2 (applies to neck): All decreases are done from the right side! DECREASE 1 STITCH AS FOLLOWS: TOWARDS THE LEFT: Work I-cord as before, work 2 stitches in stocking stitch, slip 1 stitch knitwise, knit 1 and pass slipped stitch over stitch worked (= 1 stitch decreased). TOWARDS THE RIGHT: Work until 6 stitches remain, knit 2 together, work 2 stitches in stocking stitch and work I-cord as before (= 1 stitch decreased). DECREASE 2 STITCHES AS FOLLOWS: TOWARDS THE LEFT: Work I-cord as before, work 2 stitches in stocking stitch, slip 1 stitch knitwise, knit 2 together and pass slipped stitch over stitch worked (= 2 stitches decreased). TOWARDS THE RIGHT: Work until 7 stitches remain, knit 3 together, work 2 stitches in stocking stitch and work I-cord as before (= 2 stitches decreased). ---------------------------------------------------------- START THE PIECE HERE: ---------------------------------------------------------- TOP - SHORT OVERVIEW OF THE PIECE: Worked back and forth on circular needle, bottom up in parts, and sewn together when finished. BACK PIECE: Cast on 82-88-96-104-116-126 stitches on circular needle size 4.5 mm with DROPS Bomull-Lin. ROW 1 (= wrong side): I-CORD - read explanation above, purl until 2 stitches remain and work I-CORD. ROW 2 (= right side): Work I-cord, knit until 2 stitches remain and 2 in I-cord stitches. Continue back and forth as 1st and 2nd row until piece measures 6-6-6-7-7-7 cm. On next row work as follows: Work 2 stitches in first stitch, work in stocking stitch until 1 stitch remain, work 2 stitches in last stitch = 84-90-98-106-118-128 stitches. Then work in stocking stitch with 1 edge stitch in each side which is worked in GARTER STITCH - read explanation above. Remember to follow the knitting tension! Work until piece measures 29-30-31-32-33-34 cm. At the beginning of the next 2 rows cast off 3-4-5-6-7-8 stitches in each side for armholes = 78-82-88-94-104-112 stitches. Now continue with I-cord in each side as before and stocking stitch, at the same time decrease for armholes on the inside of 4 stitches in each side on every other row - read DECREASE TIP-1 in explanation above and work as follows: Decrease 2 stitches 0-0-0-2-5-7 times in each side, then decrease 1 stitch 9-10-12-10-8-7 times in each side = 60-62-64-66-68-72 stitches. Work until piece measures 43-45-46-47-48-49 cm. On next row from right side cast off for neck as follows: Work over the first 14-15-15-17-17-19 stitches as before and slip them on a thread, cast off the next 32-32-34-32-34-34 stitches for neck, work over the last 14-15-15-17-17-19 stitches as before. Then work each shoulder separately. LEFT SHOULDER: = 14-15-15-17-17-19 stitches. Begin from wrong side and work as follows: ROW 1 (= wrong side): Work I-cord as before, purl until 2 stitches remain and work I-cord. ROW 2 (= right side): Work i-cord, knit 2, decrease 2 stitches towards the left - remember DECREASE TIP-2, knit until 2 stitches remain and work i-cord = 12-13-13-15-15-17 stitches. ROW 3 (= wrong side): Work I-cord, purl until 2 stitches remain and work I-cord. ROW 4 (= right side): Work i-cord, knit 2, decrease 1 stitch towards the left - read DECREASE TIP-2, knit until 2 stitches remain and work i-cord = 11-12-12-14-14-16 stitches. Repeat 3rd and 4th row 1 more time = 10-11-11-13-13-15 stitches. Work in stocking stitch with I-cord until piece measures 47-49-51-53-55-57 cm. Slip stitches on a thread, stitch stitches together later. RIGHT SHOULDER: = 14-15-15-17-17-19 stitches. Begin from wrong side and work as follows: ROW 1 (= wrong side): Work I-cord as before, purl until 2 stitches remain and work I-cord. ROW 2 (= right side): Work i-cord, knit until 7 stitches remain, decrease 2 stitches towards the right - remember DECREASE TIP-2, knit 2 and work i-cord = 12-13-13-15-15-17 stitches. ROW 3 (= wrong side): Work I-cord, purl until 2 stitches remain and work I-cord. ROW 4 (= right side): Work i-cord, knit until 6 stitches remain, decrease 1 stitch towards the right - remember DECREASE TIP-2, knit 2 and work i-cord = 11-12-12-14-14-16 stitches. Repeat 3rd and 4th row 1 more time = 10-11-11-13-13-15 stitches. Work in stocking stitch with I-cord until piece measures 47-49-51-53-55-57 cm. Slip stitches on a thread, stitch stitches together later. FRONT PIECE: Cast on the same number of stitches, and work the same way as back piece. ASSEMBLY: Use grafting/kitchener stitches and sew shoulders together. Sew side seams in outer loops of edge ridge to form a vent of 6-6-6-7-7-7 cm at the bottom in each side. |
|
 |
|
Have you finished this pattern?Tag your pictures with #dropspattern #silverreflection or submit them to the #dropsfan gallery. Do you need help with this pattern?You'll find 12 tutorial videos, a Comments/Questions area and more by visiting the pattern on garnstudio.com. © 1982-2026 DROPS Design A/S. We reserve all rights. This document, including all its sub-sections, has copyrights. Read more about what you can do with our patterns at the bottom of each pattern on our site. |
|






With over 40 years in knitting and crochet design, DROPS Design offers one of the most extensive collections of free patterns on the internet - translated to 17 languages. As of today we count 333 catalogues and 12532 patterns translated into English (UK/cm). 12532
We work hard to bring you the best knitting and crochet have to offer, inspiration and advice as well as great quality yarns at incredible prices! Would you like to use our patterns for other than personal use? You can read what you are allowed to do in the Copyright text at the bottom of all our patterns. Happy crafting!
Post a comment to pattern DROPS 257-18
We would love to hear what you have to say about this pattern!
If you want to leave a question, please make sure you select the correct category in the form below, to speed up the answering process. Required fields are marked *.