
Popular categories
Looking for a yarn?































Comments / Questions (7)
 Saholy wrote:
Bonjour Pour le rabattage de la coulisse, faut-il que je saute aussi 1 maille sur 2 sur les mailles relevées à l’intérieur de la cagoule? Car sinon il y aura un décalage non? Merci d’avance de votre retour
20.10.2026 - 23:49DROPS Design answered:
Bonjour Mme Saholy, tout à fait, les mailles doivent rester bien "droites" pour ne pas décaler/resserrer la coulisse. Bonne continuation!
21.10.2026 - 10:41
 Jacqueline wrote:
Hello Please can you advise if the rows 1-8 increases are part of the 22cm knitted or are the increases worked after the 22cm?
18.10.2026 - 17:06DROPS Design answered:
Dear Jacqueline, rows 1 to 8 are worked after the 22cm in stocking stitch back and forth. Happy knitting!
18.10.2026 - 21:00
Saholy wrote:
Bonjour, Pour la coulisse ( je ne suis pas encore arriver à ce stade, mais j'anticipe), je n'ai pas compris "Rabattre à l'endroit sur l'endroit, en même temps, 1 maille sur 2". Ce n'est pas "Rabattre l'envers sur l'envers"? Doit-on terminer le rang sur l'endroit ou l'envers? Merci d'avance de votre retour
16.10.2026 - 13:35DROPS Design answered:
Bonjour Mme Saholy, vous rabattrez les mailles de la coulisse à l'endroit sur l'endroit, mais en même temps, vous relèverez 1 maille à l'intérieur de la cagoule pour former justement cette coulisse et vous tricoterez alors cette maille + la maille suivante sur l'aiguille ensemble à l'endroit, c'est la même technique que pour un col doublé, comme dans cette vidéo, sauf que l'on va relever ici les mailles non pas dans le montage mais sur l'envers de la cagoule pour former cette coulisse. Bonne continuation!
16.10.2026 - 16:57
Daina Čer wrote:
Laba diena, ar būtų galimybė įsigyti mezgimo pamoką lietuvikai🔆
12.10.2026 - 08:36
 Diane wrote:
Bonjour, Après avoir relevé des mailles sur les 2 côtés, il est indiqué de tricoter 22 cm depuis les mailles relevées (sur les côtés). Il est indiqué dans le paragraphe suivant de tricoter les rangs 1 et 2 avec des augmentations et cela 4 fois au total. Ma question: est-ce qu'on fait les augmentations après avoir terminé les 22 cm ou tout de suite après avoir relevé les mailles sur les côtés (avant de tricoter 22 cm)? Merci.
17.09.2026 - 21:42DROPS Design answered:
Bonjour Diane, vous tricotez d'abord les 22 cm puis vous augmentez comme aux rangs 1 et 2. Bon tricot!
18.09.2026 - 09:06
 Amy wrote:
I am confused about measuring what I am knitting. I am at the position o f working stockinette stitch back and forth until the piece measures 22 cm, but I am confused about where the measurement is. Can you lead me to a picture or video actually measuring this or similar balavlava? Thank you!
13.09.2026 - 23:33DROPS Design answered:
Dear Amy, the first 22cm are the top of the balaclava. You start working the middle top part of the balaclava, then you knit up stitches along the edges and start working both the center and the sides downwards. If you look at the size chart below the pattern instructions, the initial section of 22cm would correspond to the part with the first arrow, that points towards the back of the head. You measure the piece from the cast on edge, towards the back of the head, which is the row that you are currently working. Happy knitting!
13.09.2026 - 23:54
PATRICIA wrote:
I am making this pattern using a ball of Drops Air which I purchased several(several!!) years ago. The piece is for myself to keep my head and neck warm in our very cold winters. Thank you for a stylish and functional piece!
05.09.2026 - 15:50
|
||||
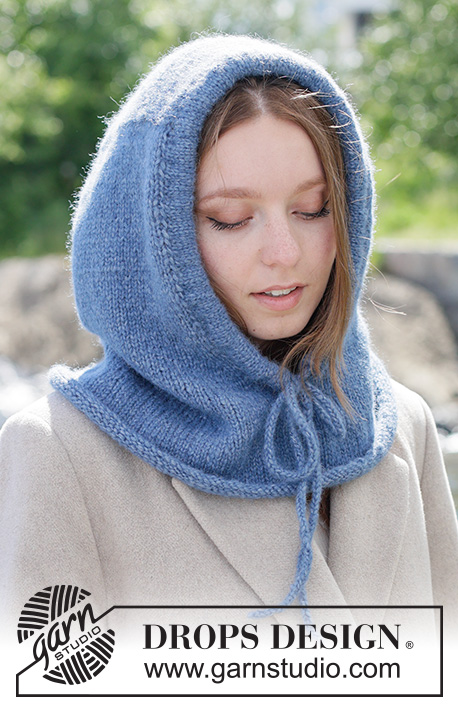
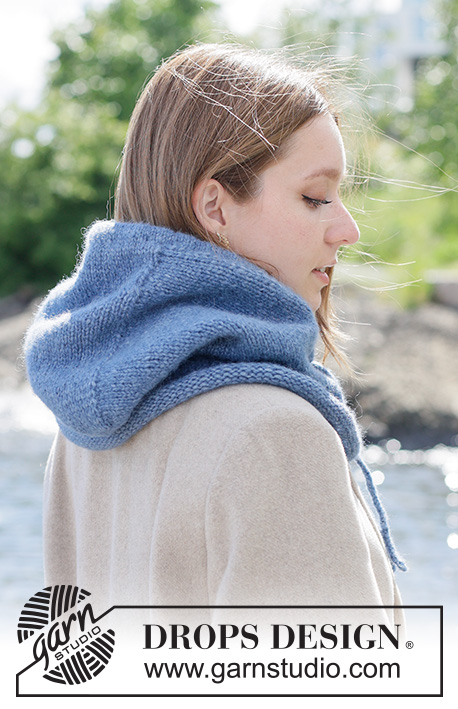
Blueberry Hood#blueberryhood |
||||
 |
 |
|||
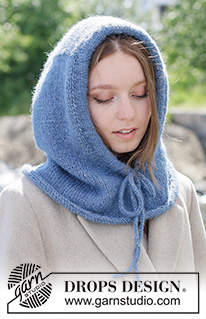
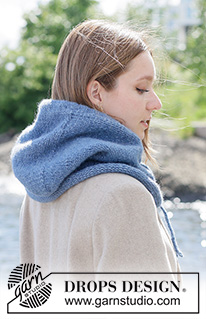
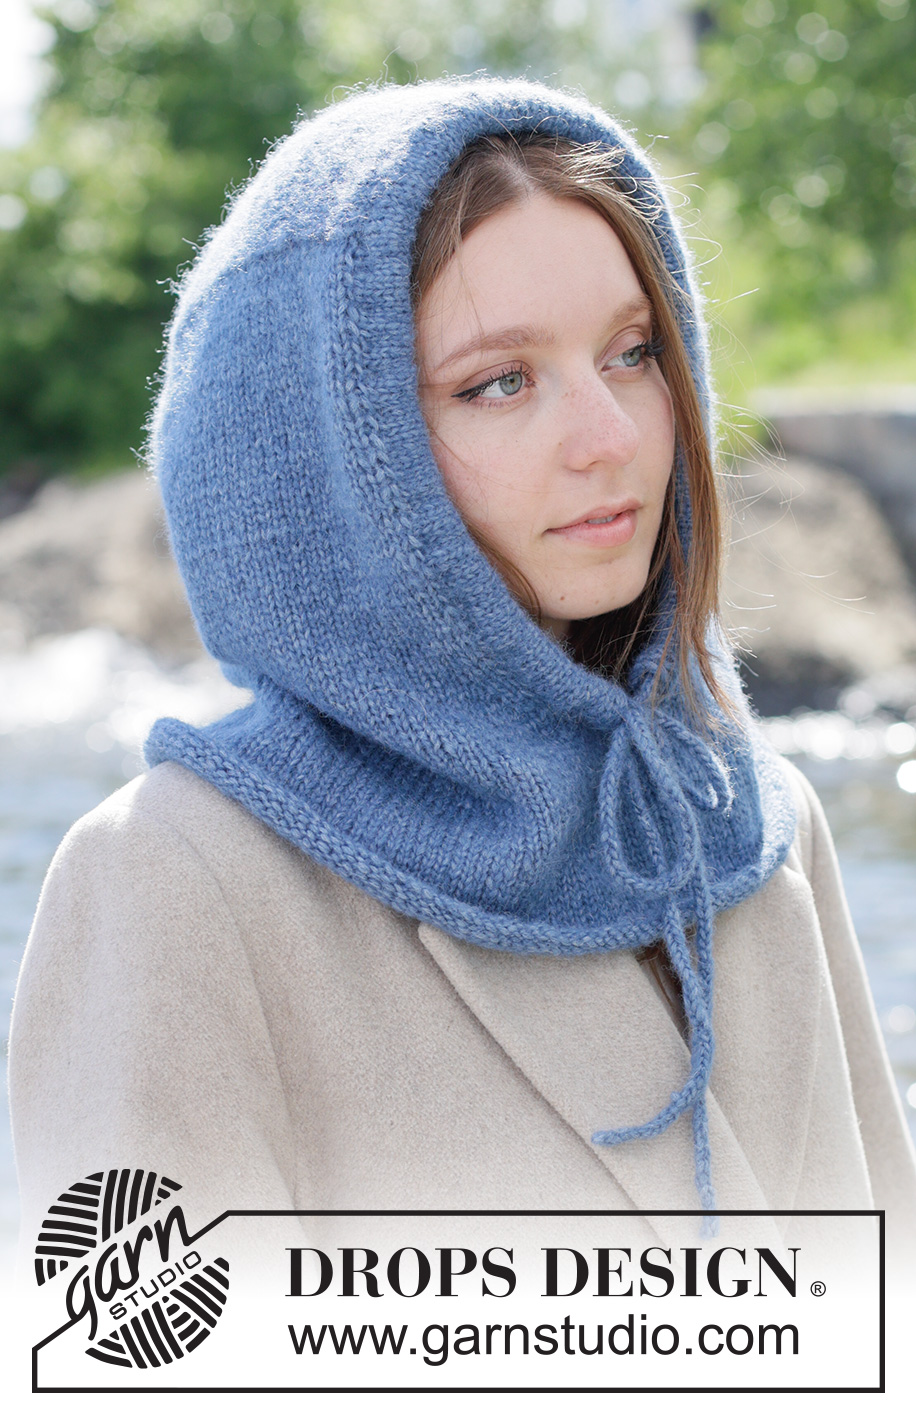
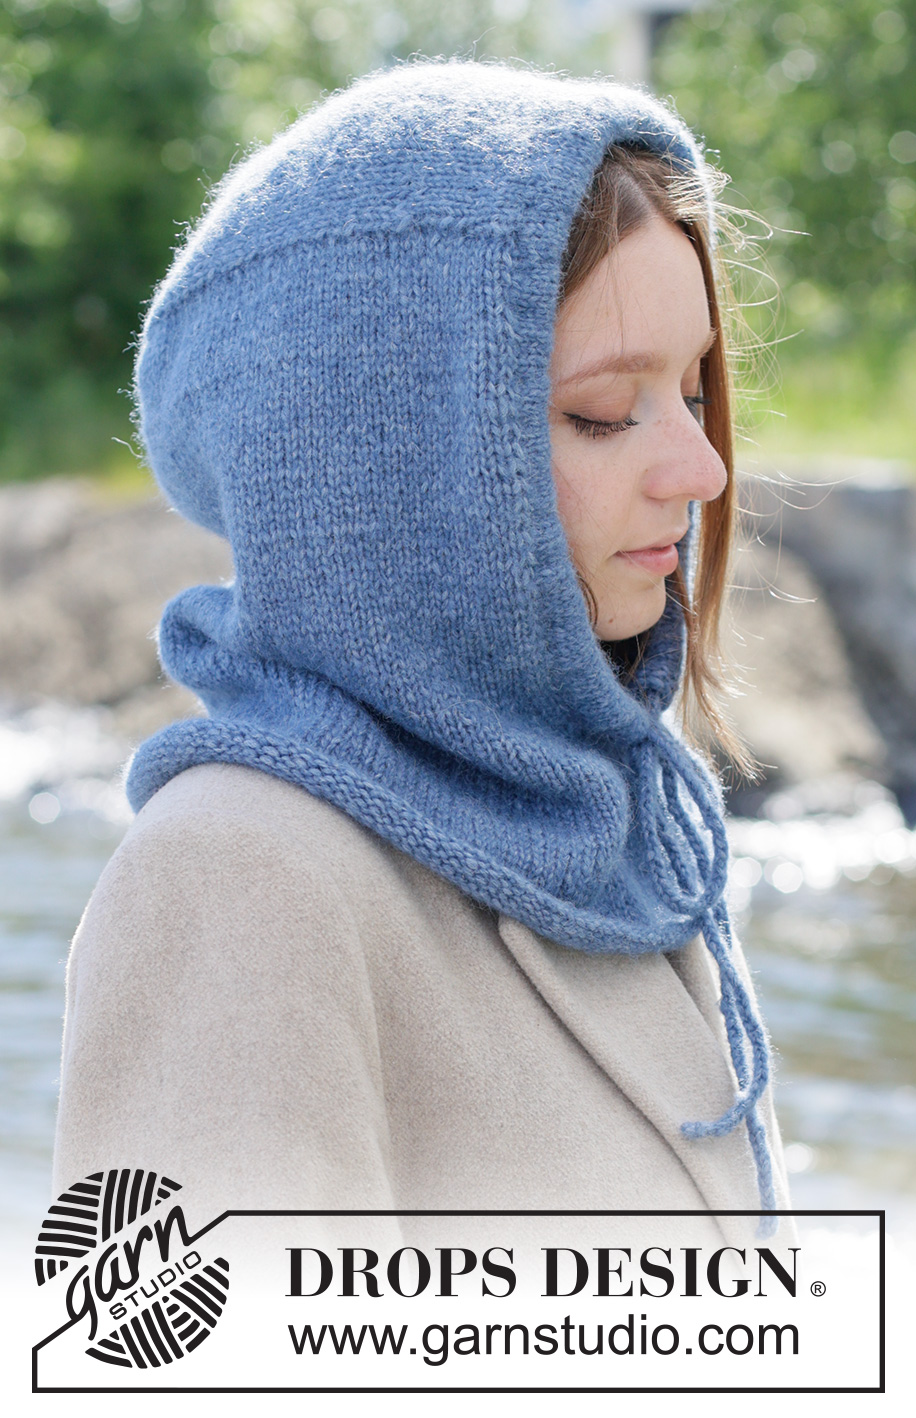
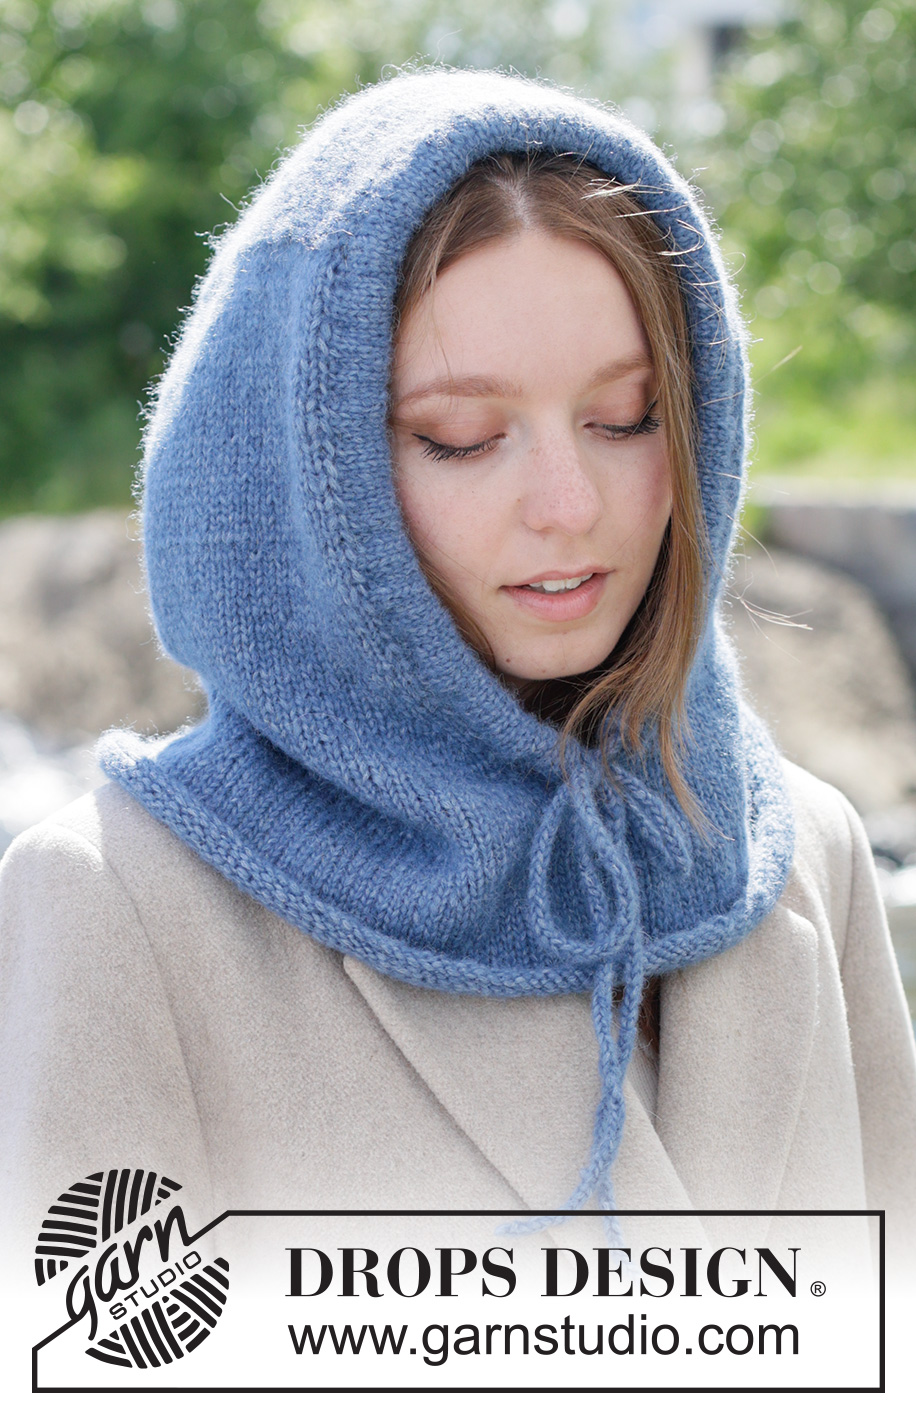
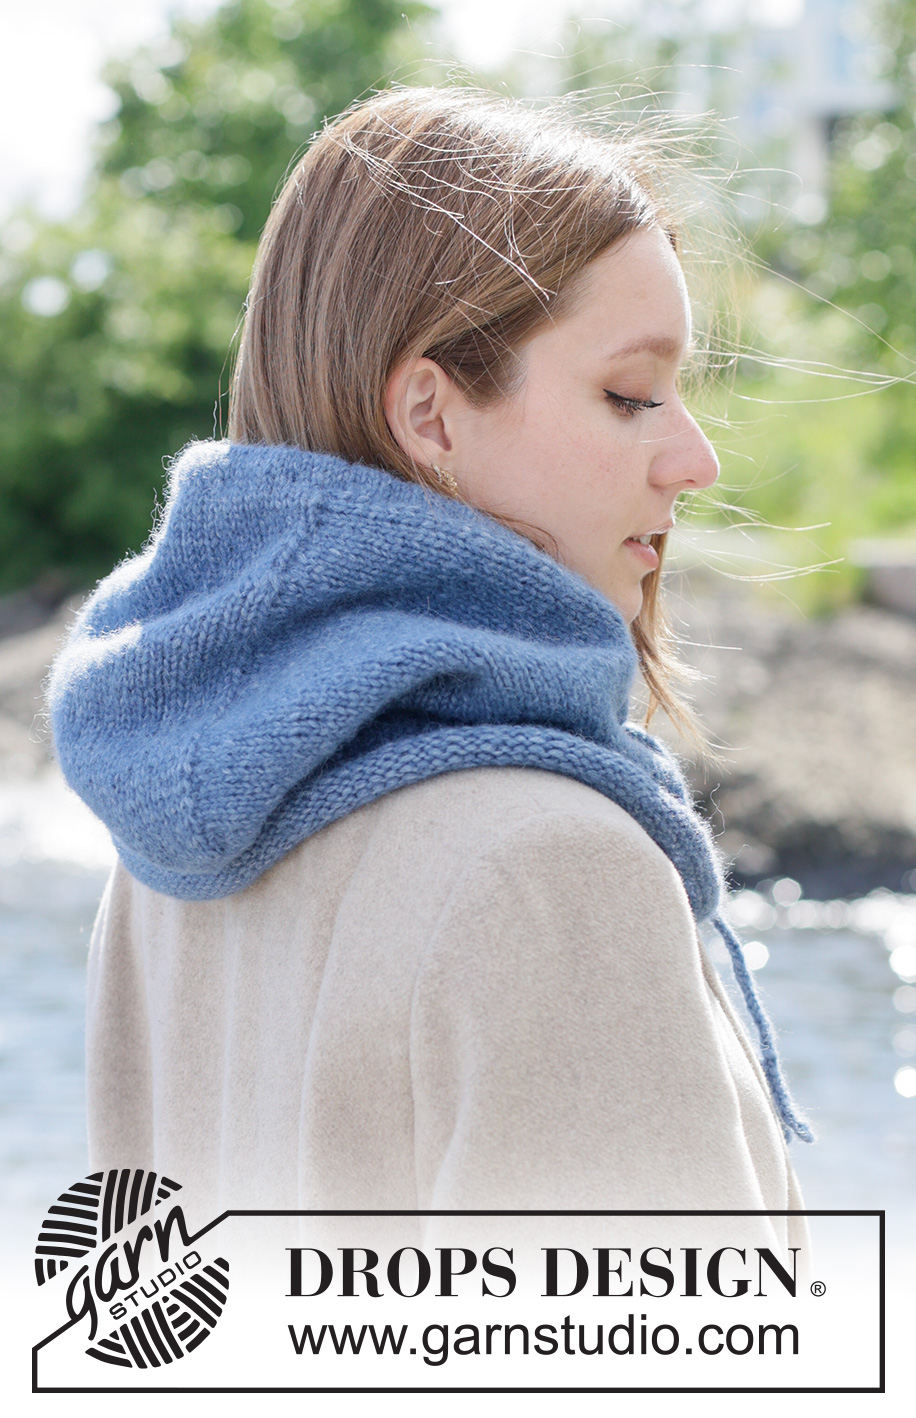
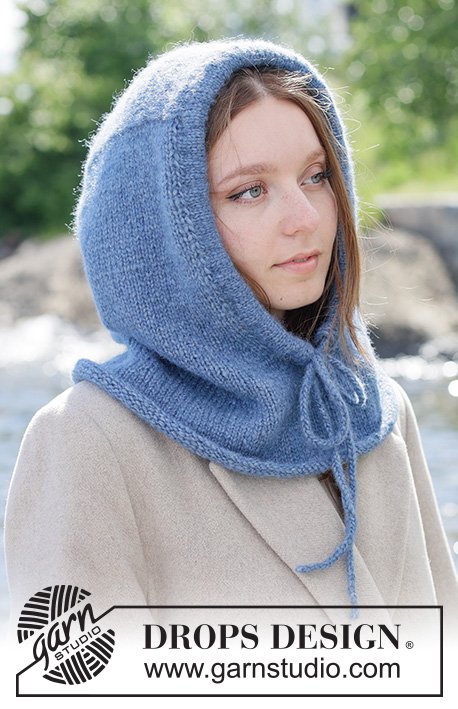
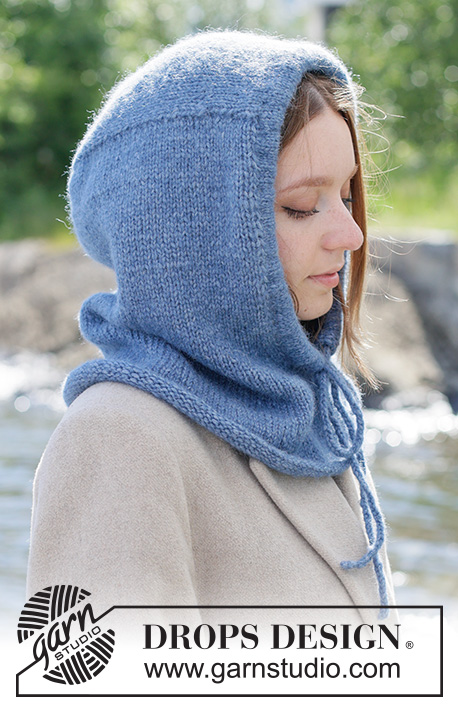
Knitted balaclava in DROPS Air. The piece is worked in stocking stitch with I-cord.
DROPS 270-1 |
||||
|
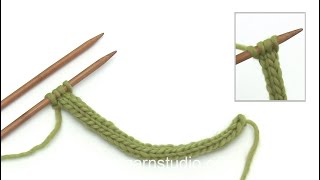
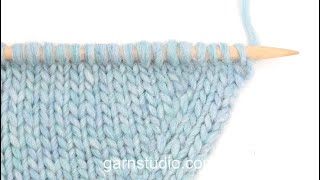
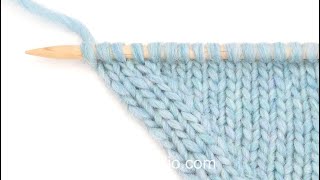
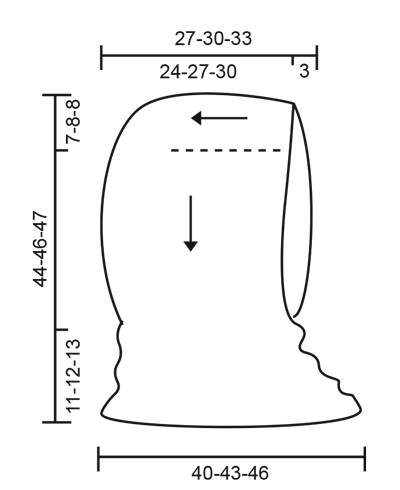
------------------------------------------------------- EXPLANATIONS FOR THE PATTERN: ------------------------------------------------------- INCREASE TIP: All increases are worked from the right side! INCREASE 1 STITCH TOWARDS LEFT: Use the left needle to pick up the strand between 2 stitches from the row below, pick up the strand from the front and knit through the stitch-loop that lies on the back of the needle. INCREASE 1 STITCH TOWARDS THE RIGHT: Use the left needle to pick up the strand between 2 stitches from the row below, pick up the strand from the back and knit through the stitch-loop that lies on the front of the needle. ROUND CAST-OFF (stitches picked up from the right side. This cast-off gives a round edge on the wrong side and the edge does not roll up): Cast-off row: Slip the next stitch off the left needle and replace it the other way round (insert the left needle through the back when replacing it). Find the stitch 2 rows directly below the next stitch. From the right side, pick up the back loop of this stitch and place it on the left needle. Knit this loop and the first stitch twisted together. * Pick up the next stitch-loop in the same way and knit it twisted together with the next stitch on the needle. Cast off by passing the first stitch over the second stitch *. Repeat from *-* until all stitches have been cast off. Cut and fasten the strand at the beginning of the cast-off. 2 STITCHES I-CORD: BEGINNING OF ROW: Slip 1 stitch purl-wise with the strand in front of the piece, knit 1. END OF ROW: Work until there are 2 stitches left on the row, slip 1 stitch purl-wise with the strand in front of the piece, knit 1. Work in the same way from both the right and wrong side. I-CORD TIES: Work a tube with double pointed needles size 5 mm as follows: Cast on 2 stitches, knit 1 row. Then work as follows: * Push the stitches to the right-hand end of the needle without turning, tighten the strand and knit both stitches *, work from *-* to desired length. ------------------------------------------------------- START THE PIECE HERE: ------------------------------------------------------- BALACLAVA - SHORT OVERVIEW OF THE PIECE: The hood is worked back and forth with circular needle from mid-front and front to back. Stitches are knitted up on each side and the piece is continued downwards. When the hood is finished, stitches are cast on up under the opening and the piece is continued in the round. A runner is worked around the face-opening, then a tie which is threaded through the runner. BALACLAVA: Cast on 26-28-30 stitches with circular needle size 5 mm and DROPS Air. Cast-on edge = mid-front/forehead. Work stocking stitch back and forth for 17-19-22 cm. Remember to maintain the knitting tension. Cut the strand and place the stitches on a stitch holder; this piece is the top of the hood. Now knit up stitches along the sides of the piece, working inside the outermost stitch as follows: From the right side, start from the corner of the cast-on edge, knit up 29-33-37 stitches along the right-hand side (when cast-on edge is towards you), continue across the 26-28-30 stitches on top of the hood, knit up 29-33-37 stitches along the left-hand side (when the cast-on edge is towards you) = 84-94-104 stitches. The piece is now measured from this knitted-up edge. Work stocking stitch back and forth until the piece measures 22 cm from the knitted-up row in all sizes. Read INCREASE TIP in explanations above and increase each side as follows: ROW 1 (right side): Knit 3, increase 1 stitch towards the left, knit until there are 3 stitches left, increase 1 stitch towards the right, knit 3 (2 increased stitches). ROW 2 (wrong side): Purl. Work ROWS 1 and 2 a total of 4 times (8 rows worked) = 92-102-112 stitches. Work the next row from the right side as follows: Knit all stitches, then cast on 10 stitches at the end of the row = 102-112-122 stitches. The piece measures approx. 26 cm from the knitted-up row and 33-34-34 cm from mid-top of hood. Insert 1 marker; the piece is now measured from here. Continue in the round as follows Work stocking stitch in the round for 1 cm. On the next round, increase 6 stitches evenly spaced = 108-118-128 stitches. Work until the piece measures 3 cm from the marker. On the next round, increase 12 stitches evenly spaced = 120-130-140 stitches. Work until the piece measures 6 cm from the marker. On the next round, increase 16 stitches evenly spaced = 136-146-156 stitches. Work until the piece measures 11-12-13 cm from the marker. Work ROUND CAST-OFF – read explanation above, or cast off with rib (alternate knit and purl). RUNNER: Use circular needle size 5 mm. Start from the right side, in the middle of the cast-on stitches mid-front and knit up 122-128-128 stitches around the opening, making sure there are equal numbers of stitches on each side of the hood. Work as follows: Knit until there are 2 stitches left on the round, work 2 STITCHES I-CORD – read explanation above. Turn. ROW 1 (wrong side): Work 2 stitches I-cord, purl until there are 2 stitches left, work 2 stitches I-cord. ROW 2 (right side): Work 2 stitches I-cord, knit until there are 2 stitches left, work 2 stitches I-cord. Continue these 2 rows until the runner measures 5½ cm. Cast off with knit from the right side at the same time as each 2nd stitch is knitted together with the knitted up row on the inside. TIES: Use double pointed needles size 5 mm. Work I-CORD TIES – read explanation above. When the tie is 150 cm, thread the strand through the 2 stitches and fasten well. Thread the tie through the runner. |
||||
Diagram explanations |
||||
|
||||
 |
||||
Have you finished this pattern?Tag your pictures with #dropspattern #blueberryhood or submit them to the #dropsfan gallery. Do you need help with this pattern?You'll find 15 tutorial videos, a Comments/Questions area and more by visiting the pattern on garnstudio.com. © 1982-2026 DROPS Design A/S. We reserve all rights. This document, including all its sub-sections, has copyrights. Read more about what you can do with our patterns at the bottom of each pattern on our site. |
||||




With over 40 years in knitting and crochet design, DROPS Design offers one of the most extensive collections of free patterns on the internet - translated to 17 languages. As of today we count 333 catalogues and 12536 patterns translated into English (UK/cm). 12536
We work hard to bring you the best knitting and crochet have to offer, inspiration and advice as well as great quality yarns at incredible prices! Would you like to use our patterns for other than personal use? You can read what you are allowed to do in the Copyright text at the bottom of all our patterns. Happy crafting!
Post a comment to pattern DROPS 270-1
We would love to hear what you have to say about this pattern!
If you want to leave a question, please make sure you select the correct category in the form below, to speed up the answering process. Required fields are marked *.