
Popular categories
Looking for a yarn?
































Comments / Questions (64)
 Gre Zijp wrote:
Geen
12.10.2026 - 13:03
 RUMEAU wrote:
Merci pour votre réponse. Je tricote la taille L : Dans les explications du devant, on lit : quand l'ouvrage mesure 30 cm....L'ouvrage, ce sont les côtes + le jersey ? Or le schéma indique 5 (côtes) + 29 ...
05.10.2026 - 08:59DROPS Design answered:
Bonjour Mme Rumeau, tout à fait, mesurez ces 30 cm à partir du rang de montage (côtes comprises), vous tricotez maintenant les 11 m de chaque côté en côtes, à 8 m du bord de chaque côté, puis à 34 cm de hauteur totale (vous avez ainsi une bordure de 4 cm sous les emmanchures), vous rabattez pour les emmanchures vous retrouvez bien dans le schéma: 5 cm de côtes + 29 cm après les côtes = 34 cm de hauteur totale. Bon tricot!
05.10.2026 - 16:26
Michèle RUMEAU wrote:
Pourquoi les mesures ne sont elles pas exactement les mêmes dans le texte et sur le schéma ? Peut-on éviter la couture d'épaule avec du grafting ?
03.10.2026 - 17:57DROPS Design answered:
Bonjour Mme Rumeau, sauf erreur, les mesures sont les mêmes, notez que les emmanchures sont indiquées en hauteur totale alors que dans le schéma on différencie les côtes et après les côtes. Vous pouvez tout à fait assembler les épaules en grafting si vous préférez. Bon tricot!
05.10.2026 - 07:52
 Myriam wrote:
Ik ben met dit patroon bezig maar hoe word de punnink rand eigenlijk gebreit over de 8 steken
01.10.2026 - 11:09DROPS Design answered:
Dag Myriam,
Bovenaan bij de instructies staat beschreven hoe je de punnikrand over 8 steken maakt.
02.10.2026 - 12:56
 Birgit wrote:
Når jeg skal lave 9 masker i tillæg så får jeg jo 2 retmasker ved siden af hinanden før glatstrikning, og IKKE en vrangmaske før glatstrikning som på første del af arbejdet. Jeg derfor ENTEN mangler en maske i hver side ELLER har en maske for meget i hver side for at overgang til glat fortsætter som i første del af arbejdet - dvs med en vrangmaske før glatstrikning. Kan se at en anden har problematiseret det samme, men kan ikke se noget svar herpå i tråden ??!!??!!
19.05.2026 - 22:18DROPS Design answered:
Hej Birgit, hvis du fortsætter ribben (1ret, 1vrang) fra kanten og over de næste 9 masker, så gør det ikke noget hvis den som er nærmest det glatstrikkede stykke også er i glatstrik :)
20.05.2026 - 11:13
Michelle wrote:
Bonjour,je voudrais savoir avec I CORD et le point de cotes il y a deux mailles identiques cote à cote?ou bien ai-je mal compris?Merci
14.04.2026 - 14:31DROPS Design answered:
Bonjour Michelle, sur l'endroit, vous avez effectivement 1 m end de la bordure I-cord juste avant la m endroit de A.1, mais, sur l'envers, vous terminez par 1 m end de A.2 avant de glisser 1 m à l'env et de tricoter la dernière m à l'endroit. Sur l'envers, vous terminez A.1 par 1 m env, vous glissez 1 m à l'envers et vous tricotez la dernière m à l'endroit. Mettez bien des marqueurs si besoin pour bien distinguer les 6 m de A.1/A.2 et les 2 m I-Cord de chaque côté. Bon tricot!
14.04.2026 - 15:38
 Carina wrote:
Hej! När man stickar enligt mönster a1 och a2 så blir det ju bara en fortsättning på resåren! Skall det verkligen vara så? Omöjligt att få till en ribbkant före i-corden. Mvh Carina
30.03.2026 - 13:45
 Lyndal Edwards wrote:
Can anyone help explain exactly how I work the icord edging? I am completely baffled how to do it! Many thanks
12.03.2026 - 22:09DROPS Design answered:
Hi Lyndal, If you click on Videos at the top of the page, there is a video showing you how to work an I-cord edge. Regards, Drops Team.
13.03.2026 - 05:54
Julia wrote:
I've just knitted this design. The i-cord cast-off at the neck is attractive but I have a significant issue in that I can only just get my head through (and I don't have a particularly large head). I think a larger needle size is required for the i-cord cast-off.
28.02.2026 - 11:16
 Elke Weihermüller wrote:
Ist es richtig, nach dem Bündchen zu Nadelstärke 4 wechseln und über eine Reihe gleichmäßig Maschen abnehmen und n i c h t zunehmen. Danke für die Antwort.
23.02.2026 - 16:49DROPS Design answered:
Liebe Elke, ja, das ist korrekt - das Bündchen soll - im Gegensatz zu früheren Zeiten - locker und fließend fallen, Sie sehen ja auf dem Foto, dass es den Pullunder unten nicht zusammenzieht. Viel Spaß beim Stricken!
23.02.2026 - 19:51
|
|||||||
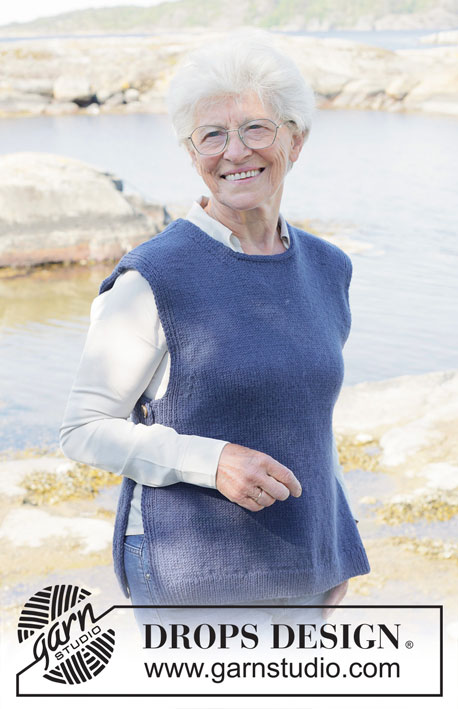
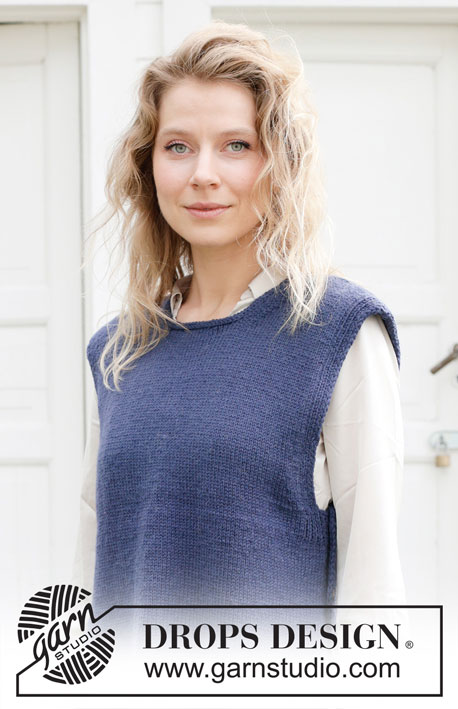
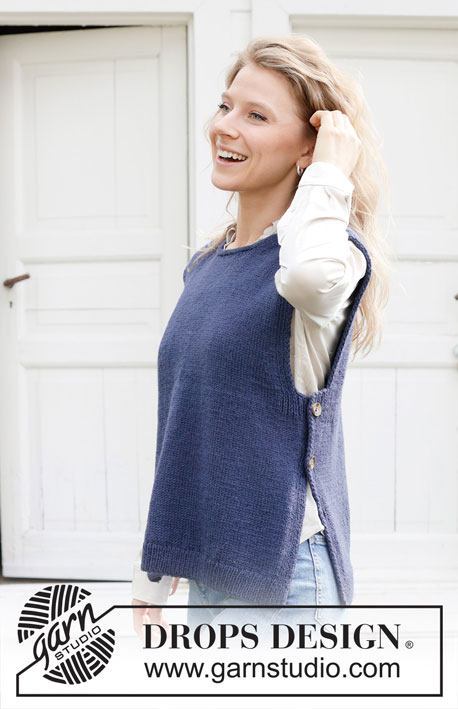
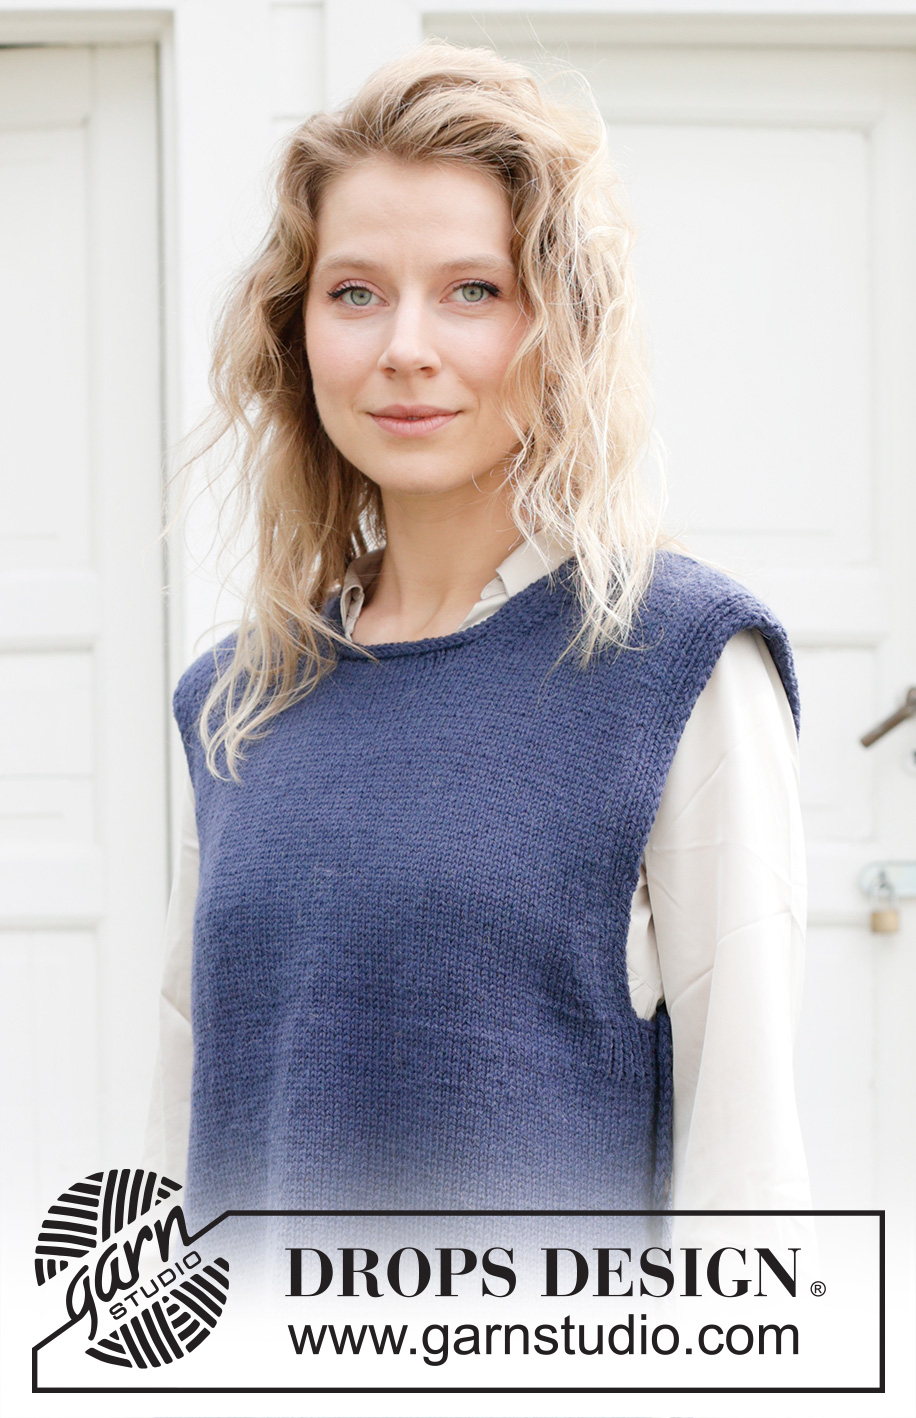
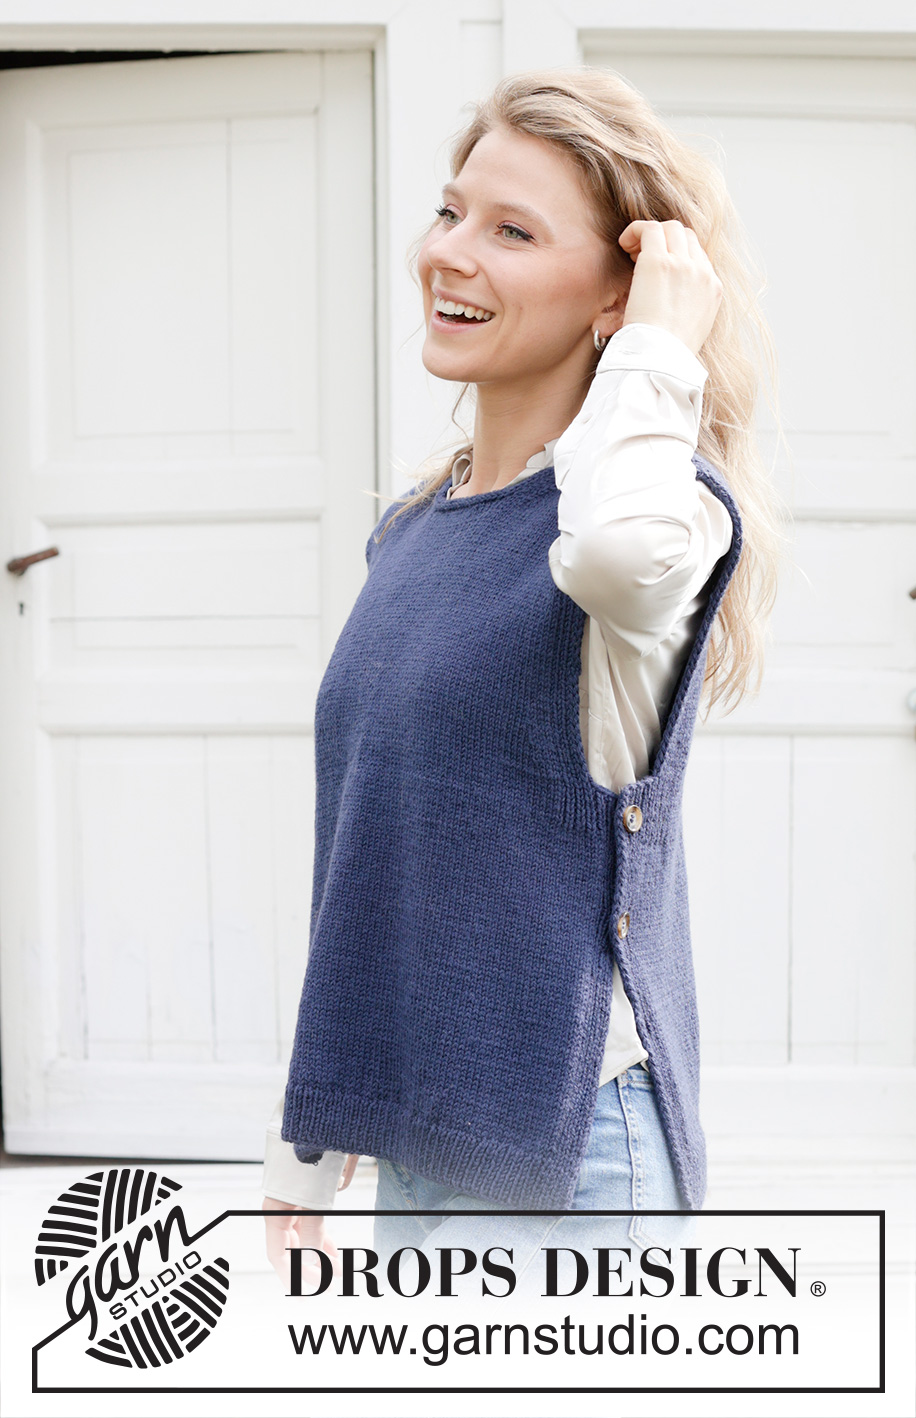
Blue Night Vest#bluenightvest |
|||||||
 |
 |
||||||
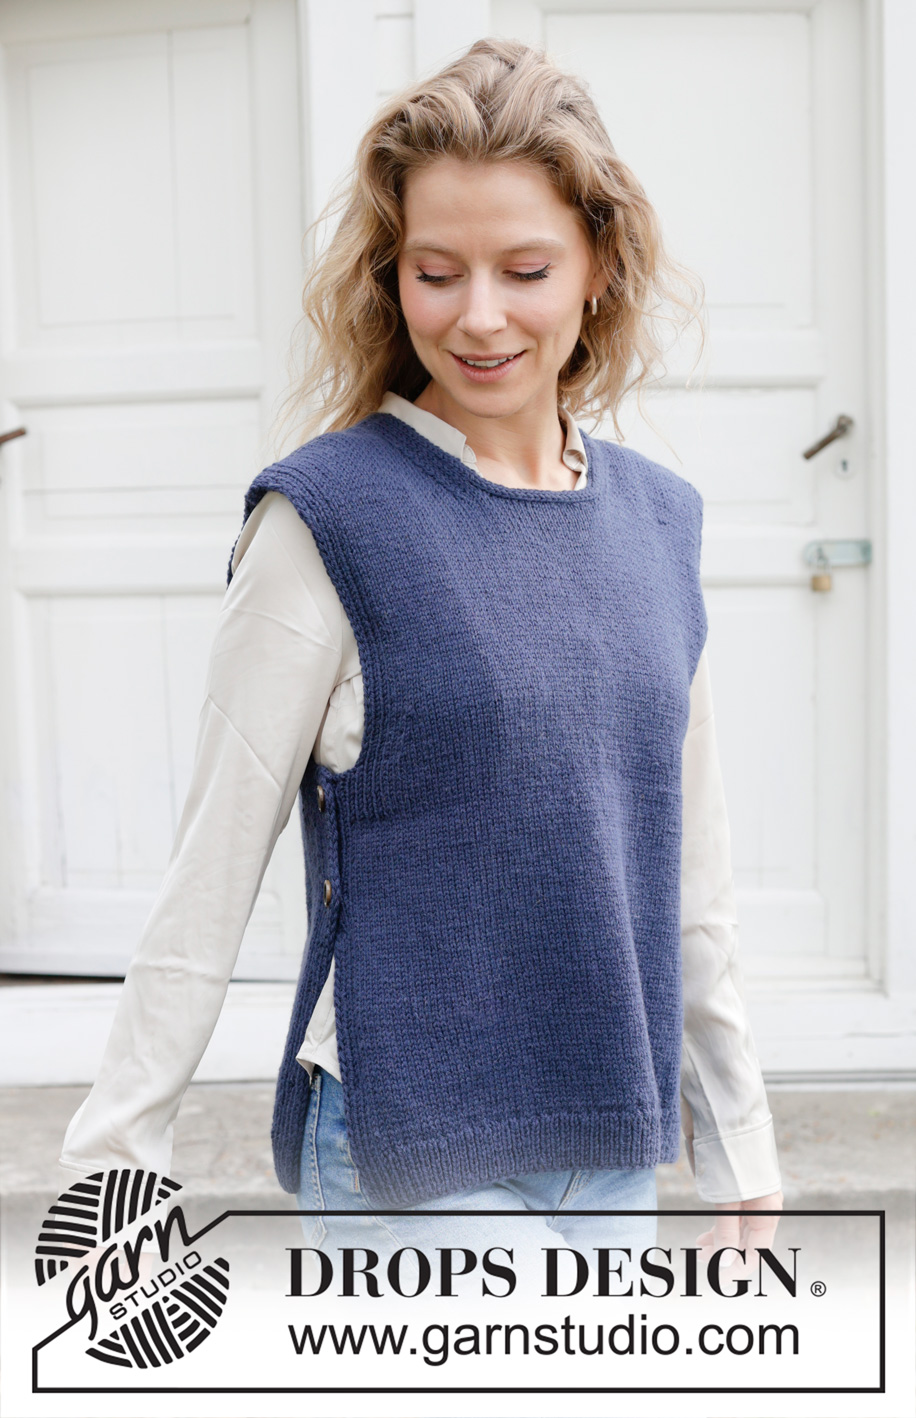
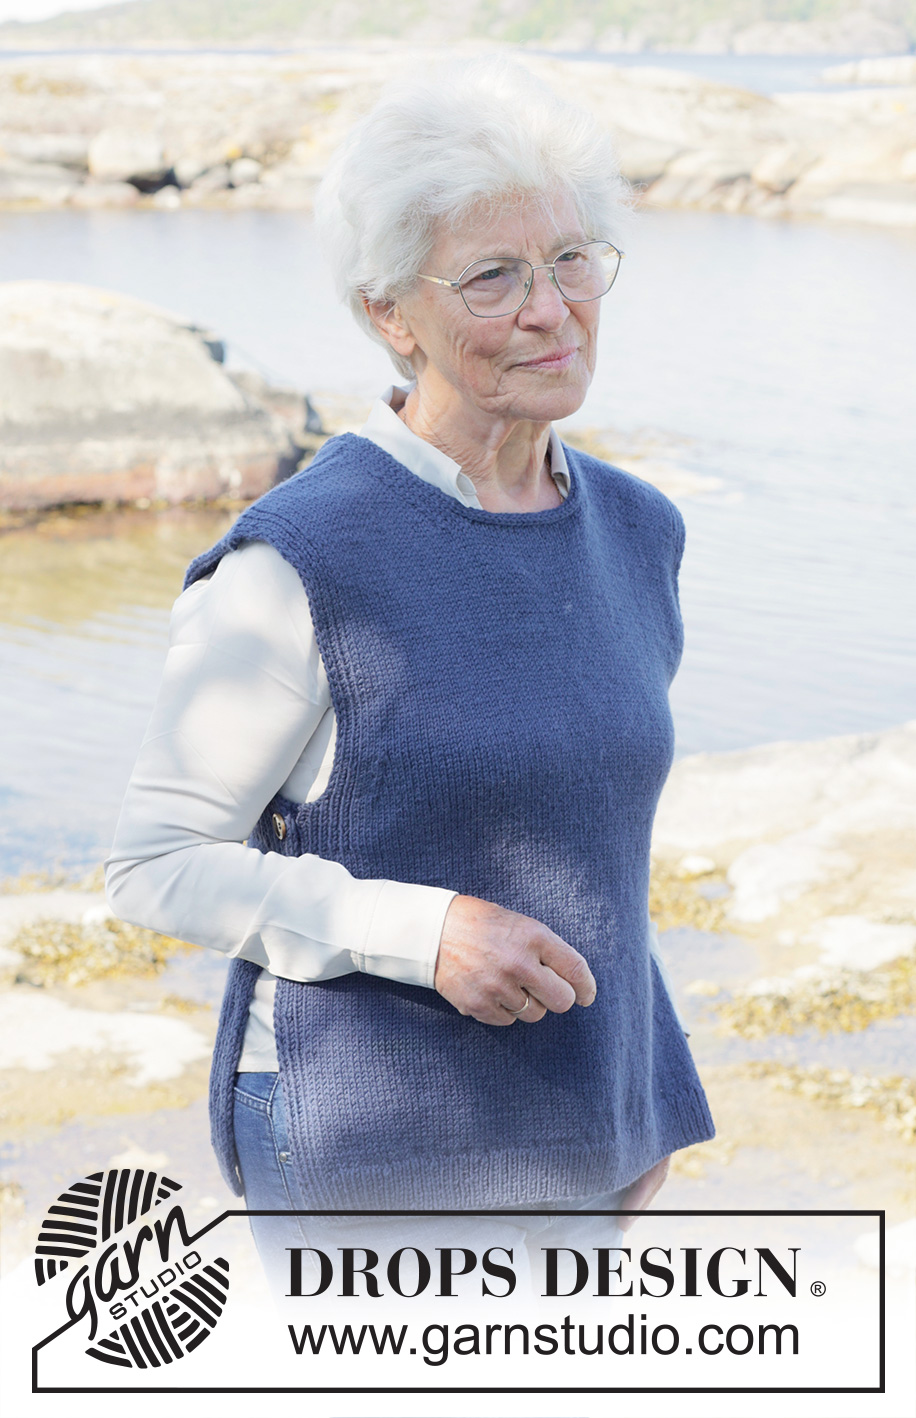
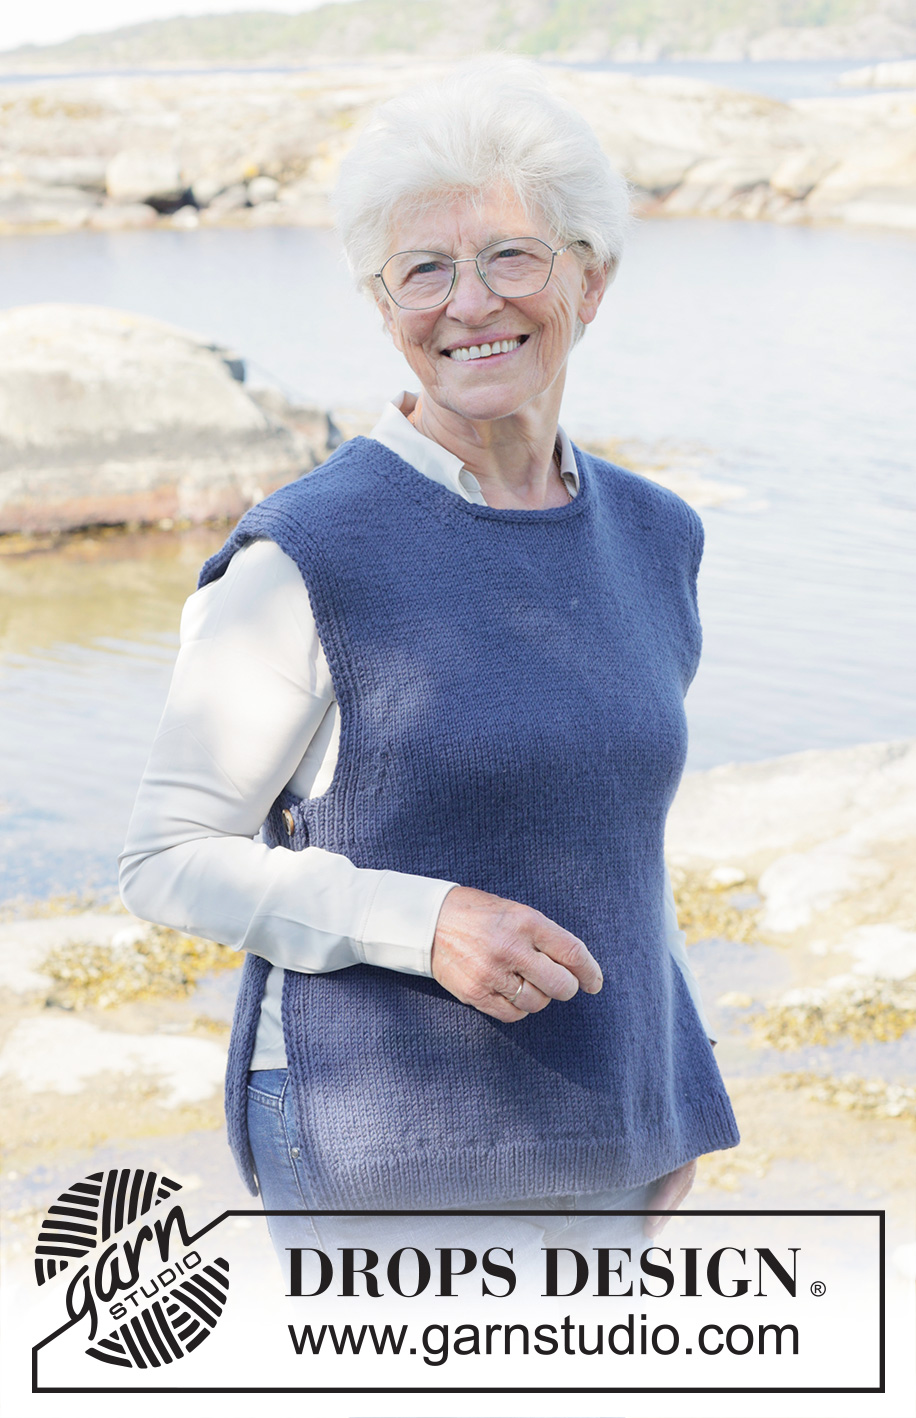
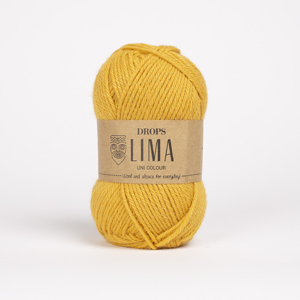
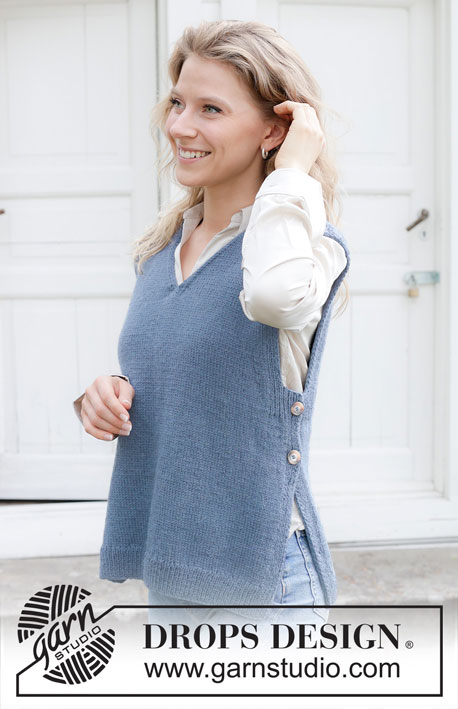
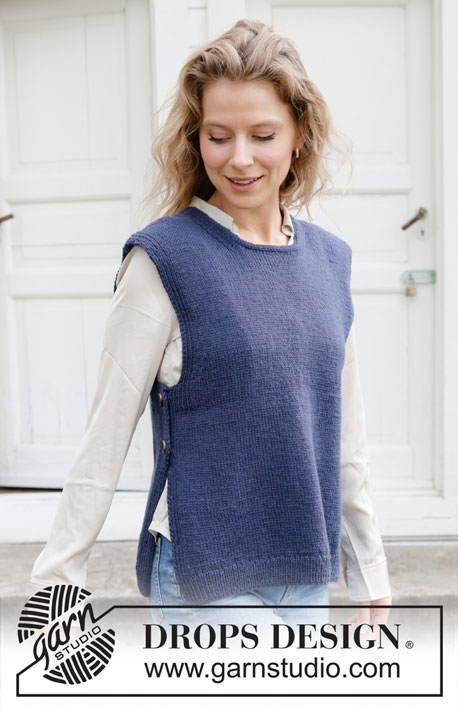
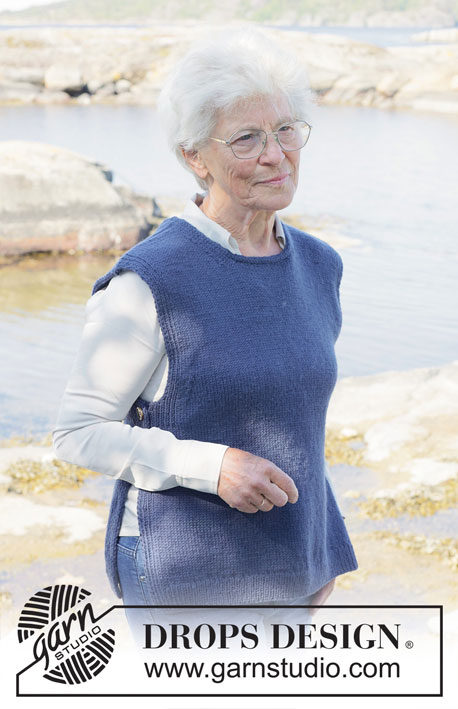
Knitted vest in DROPS Lima. The piece is worked bottom up with round neck, split in sides and I-cord. Sizes S - XXXL.
DROPS 254-34 |
|||||||
|
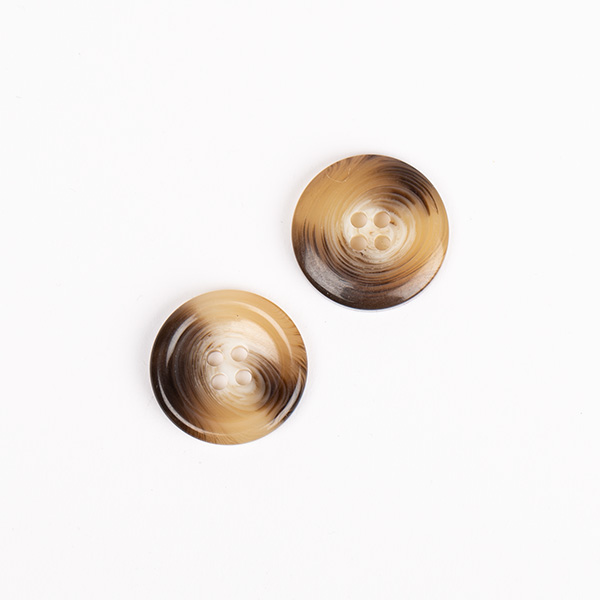
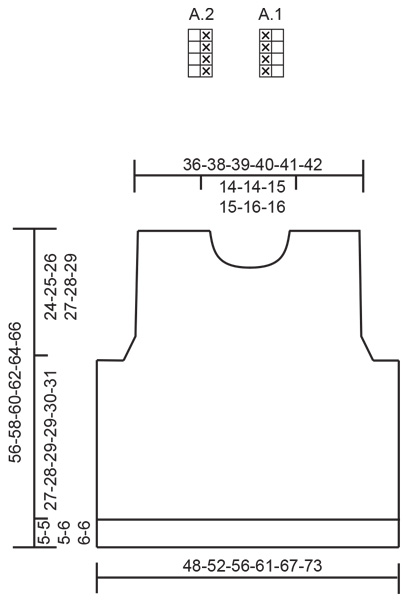
------------------------------------------------------- EXPLANATIONS FOR THE PATTERN: ------------------------------------------------------- PATTERN: See diagrams A.1 and A.2. The diagrams show the pattern from the right side. EDGE WITH I-CORD: BEGINNING OF ROW: Slip 1 stitch purl-wise with the strand in front, knit 1, work 6 stitches A.1. END OF ROW: Work until there are 8 stitches left on the row, work 6 stitches A.2, slip 1 stitch purl-wise with the strand in front, knit 1. DECREASE TIP-1 (for armholes): All decreases worked from right side! BEGINNING OF ROW: Work the first 10 stitches as before, slip 1 stitch purl-wise with the strand in front, knit 1, pass the slipped stitch over the knitted stitch (= 1 stitch decreased). END OF ROW: Work until there are 12 stitches left on the row, knit 2 together (= 1 stitch decreased), work to end of row as before. DECREASE TIP-2 (for neckline): All decreases worked from right side! BEGINNING OF ROW: Work the first 3 stitches as before, slip 1 stitch purl-wise with the strand in front, knit 1, pass the slipped stitch over the knitted stitch (= 1 stitch decreased). END OF ROW: Work until there are 5 stitches left on the row, knit 2 together (= 1 stitch decreased), knit 3. CAST OFF WITH I-CORD: Cast 3 stitches on to the right needle from the right side. Do not turn. Slip the 3 stitches onto the left needle, so the strand is 3 stitches in on the needle (the strand tightens when working to form a small tube). ROW 1 (right side): Knit 2, knit 2 twisted together. Slip the 3 stitches on the right needle onto the left needle, knit 2, knit 2 twisted together. Do not turn. Repeat ROW 1 until there are 3 stitches left on the right needle. Slip these 3 stitches onto the left needle. Cast off. Sew a small stitch, joining the beginning and the end of the I-cord. ------------------------------------------------------- START THE PIECE HERE: ------------------------------------------------------- VEST - SHORT OVERVIEW OF THE PIECE: The piece is worked back and forth with circular needle, bottom up. The front and back pieces are worked separately, then sewn together at the shoulders. Decorative buttons are sewn onto each side. Stitches are knitted up around the neckline, then cast off with I-cord. FRONT PIECE: Cast on 117-127-137-149-163-177 stitches with circular needle size 3.5 mm and DROPS Lima. Work EDGE WITH I-CORD – read description above, rib (knit 1, purl 1) until there are 9 stitches left, knit 1 and work EDGE WITH I-CORD. Continue the rib and edges for 5-5-5-6-6-6 cm. Change to circular needle size 4 mm. From the right side, work the edge as before (8 stitches), work stocking stitch and decrease 9-11-13-13-15-17 stitches evenly over the next 101-111-121-133-147-161 stitches and work the edge as before (8 stitches) = 108-116-124-136-148-160 stitches. Continue back and forth with stocking stitches and 8 edge-stitches on each side. Remember to maintain the knitting tension. When the piece measures 28-29-30-31-32-33 cm, work in addition 9-9-11-15-19-23 ribbed stitches (= A.1/A.2) inside the 8 edge-stitches, giving an edge of 17-17-19-23-27-31 stitches on each side. When the piece measures 32-33-34-35-36-37 cm, start to work the armholes as follows: Cast off 9-9-11-15-19-23 stitches each side (now working EDGE WITH I-CORD over 8 stitches as before on each side to finished length). The continue decreasing for armholes as follows every 4th row – read DECREASE TIP-1: 1 stitch 3-5-6-7-8-9 times each side = 84-88-90-92-94-96 stitches. When the piece measures 48-50-51-53-54-56 cm, place the middle 18 stitches on a thread for the neckline and finish each shoulder separately. SHOULDERS: = 33-35-36-37-38-39 stitches. Read DECREASE TIP-2 and decrease for neck 1 stitch every 2nd row 6-6-7-7-8-8 times = 27-29-29-30-30-31 shoulder-stitches. Cast off when the piece measures 56-58-60-62-64-66 cm. BACK PIECE: Cast on 117-127-137-149-163-177 stitches with circular needle size 3.5 mm and DROPS Lima. Work EDGE WITH I-CORD, rib (purl 1, knit 1) until there are 8 stitches left, EDGE WITH I-CORD. Continue this rib and the edges for 5-5-5-6-6-6 cm. Change to circular needle size 4 mm and work as follows from the right side: Work the edge as before (8 stitches), stocking stitch and decrease 9-11-13-13-15-17 stitches evenly over the next 101-111-121-133-147-161 stitches and work the edge as before (8 stitches) = 108-116-124-136-148-160 stitches. Continue back and forth with stocking stitches and 8 edge-stitches on each side. When the piece measures 28-29-30-31-32-33 cm, work in addition 9-9-11-15-19-23 ribbed stitches (= A.1/A.2) inside the 8 edge-stitches, giving an edge of 17-17-19-23-27-31 stitches on each side. When the piece measures 32-33-34-35-36-37 cm, start to work the armholes as follows: Cast off 9-9-11-15-19-23 stitches each side (now working EDGE WITH I-CORD over 8 stitches as before on each side to finished length). The continue decreasing for armholes as follows every 4th row – remember DECREASE TIP-1: 1 stitch 3-5-6-7-8-9 times each side = 84-88-90-92-94-96 stitches. When the piece measures 52-54-56-58-60-62 cm, cast off the middle 26-26-28-28-30-30 stitches for the neckline and finish each shoulder separately. SHOULDERS: = 29-31-31-32-32-33 stitches. Remember DECREASE TIP-2 and decrease for neck 1 stitch every 2nd row 2 times = 27-29-29-30-30-31 shoulder-stitches. Cast off when the piece measures 56-58-60-62-64-66 cm. ASSEMBLY: Sew the shoulder seams. Sew 2 buttons onto each side of the vest; the edge stitches from the front piece are placed over the edge stitches from the back piece and the buttons sewn on through both layers. Position the top button 1 cm below the armhole and the bottom button 9-10 cm further down. NECKLINE: Using circular needle size 3.5 mm and DROPS Lima, start on one shoulder and knit up 84-84-90-90-96-96 stitches from the right side, (including the 18 stitches from the thread mid-front). CAST OFF WITH I-CORD– read description above. |
|||||||
Diagram explanations |
|||||||
|
|||||||
 |
|||||||
 |
|||||||
Have you finished this pattern?Tag your pictures with #dropspattern #bluenightvest or submit them to the #dropsfan gallery. Do you need help with this pattern?You'll find 11 tutorial videos, a Comments/Questions area and more by visiting the pattern on garnstudio.com. © 1982-2026 DROPS Design A/S. We reserve all rights. This document, including all its sub-sections, has copyrights. Read more about what you can do with our patterns at the bottom of each pattern on our site. |
|||||||






With over 40 years in knitting and crochet design, DROPS Design offers one of the most extensive collections of free patterns on the internet - translated to 17 languages. As of today we count 333 catalogues and 12532 patterns translated into English (UK/cm). 12532
We work hard to bring you the best knitting and crochet have to offer, inspiration and advice as well as great quality yarns at incredible prices! Would you like to use our patterns for other than personal use? You can read what you are allowed to do in the Copyright text at the bottom of all our patterns. Happy crafting!
Post a comment to pattern DROPS 254-34
We would love to hear what you have to say about this pattern!
If you want to leave a question, please make sure you select the correct category in the form below, to speed up the answering process. Required fields are marked *.