
Popular categories
Looking for a yarn?






Comments / Questions (15)
Judy wrote:
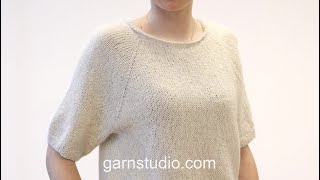
Read Margaret's question and your answer but still confused. pattern says to do garter stitch when 2 increases remain. Second A1 pattern would have to be done before this. By my calculations 10 rows before increases are complete. ( 6 rows for pattern then 4 rows garter stitch) It looks like this in the photo, am I correct?
06.11.2017 - 19:35DROPS Design answered:
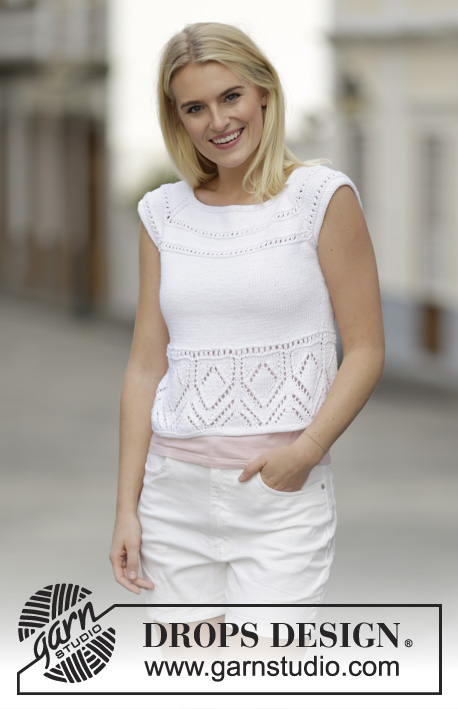
Dear Judy, it looks like 2nd A.1 is missing in the Yoke, looking from the picture this 2nd A.1 should be worked just before working the ridges on sleeve sts. Our design team will check the pattern, thanks in advance for your patience.
07.11.2017 - 09:02
 Adriana wrote:
Scusate, ma mi farebbe piacere se potesse venir spiegato come evitare lo "scalino" che si forma lavorando in tondo quando si passa dal lavoro rasato al ferro a rovescio e poi di nuovo rasato Grazie
18.06.2017 - 02:11DROPS Design answered:
Buongiorno Adriana. Purtroppo non abbiamo un video specifico. Lo scalino resta sempre un po' visibile. Può per esempio provare, sui giri lavorati a diritto, a passare la prima maglia del giro senza lavorarla. Lavora questa maglia a rovescio sui giri lavorati a rovescio. Buon lavoro!
18.06.2017 - 12:04
Adriana wrote:
Quando si lavora il corpo e si arriva al motivo A1, sul ferro dopo le diminuzioni ho 168 maglie, ma A1 é composto da ripezioni di 17 m, quindi dovrei aggiustare a 170 prima di iniziare e non sull'ultimo ferro, quando invece dovrei ritornare a 168 per lavorare A2 Giusto?
18.06.2017 - 02:07DROPS Design answered:
Buongiorno Adriana. Il diagramma A1 si lavora su un numero pari di maglie; il diagramma A2 è composto da ripetizioni di 17 maglie, quindi porta il numero delle maglie a 170 all’ultimo giro di A1 per poter poi lavorare 10 ripetizioni del diagramma A2. Buon lavoro!
18.06.2017 - 09:30
Adriana wrote:
Sul giro successivo (dal rovescio del lavoro) lavorare come segue..... cosa si intende dal rovescio del lavoro visto che si lavora in tondo?
17.06.2017 - 09:37DROPS Design answered:
Buongiorno Adriana. Abbiamo corretto il testo. Lavorando in tondo, si lavora sul diritto. La ringraziamo per la segnalazione. Buon lavoro!
17.06.2017 - 10:53Margaret wrote:
Hi, on the photo of this top A1 seems to be knitted twice, but in the instructions it is only mentioned once. My guess is that at 10 cm it should be repeated, am I right? thank you, Margaret
06.09.2015 - 10:41DROPS Design answered:
Dear Margaret, you are correct, A.1 will be worked twice: first time when work measures 5-6-7 cm (see size), the 2nd time when all inc for raglan are done. Happy knitting!
07.09.2015 - 11:16
|
|||||||||||||||||||
White Delight |
|||||||||||||||||||
|
|
|||||||||||||||||||
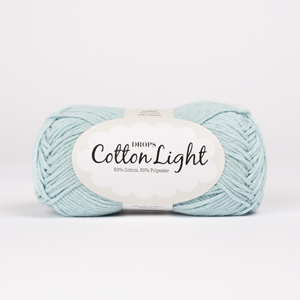
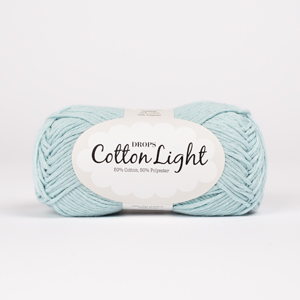
Knitted DROPS top with lace pattern, raglan and short sleeves, worked top down in ”Cotton Light”. Size: S - XXXL.
DROPS Extra 0-1123 |
|||||||||||||||||||
|
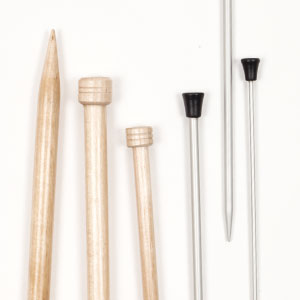
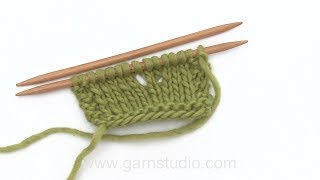
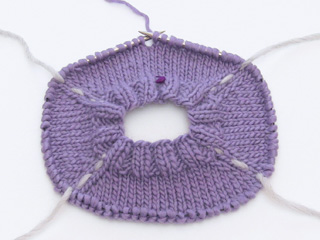
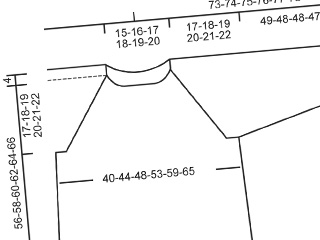
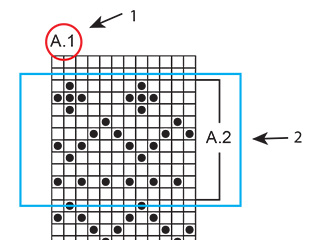
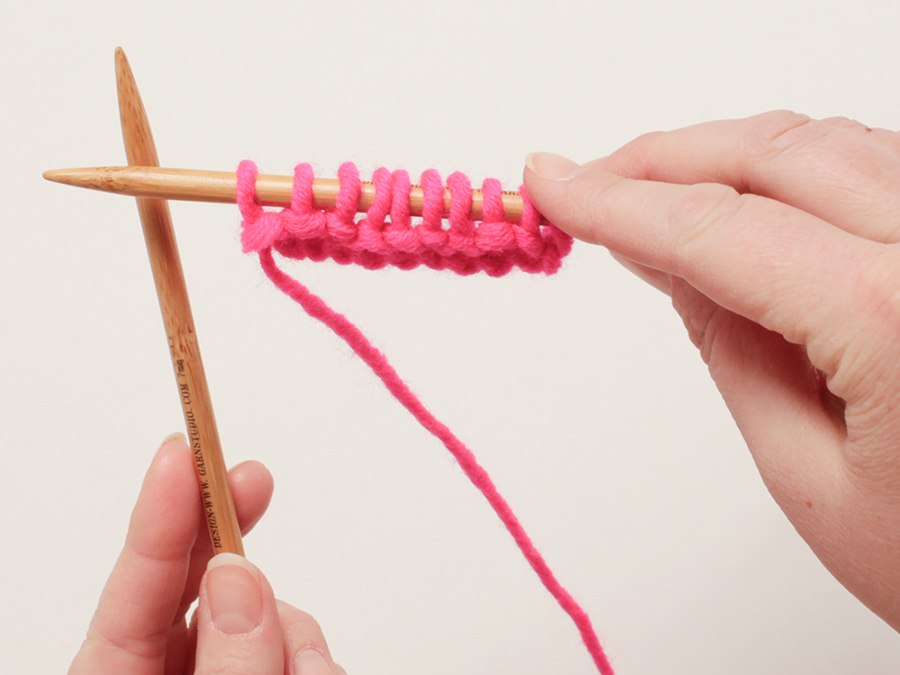
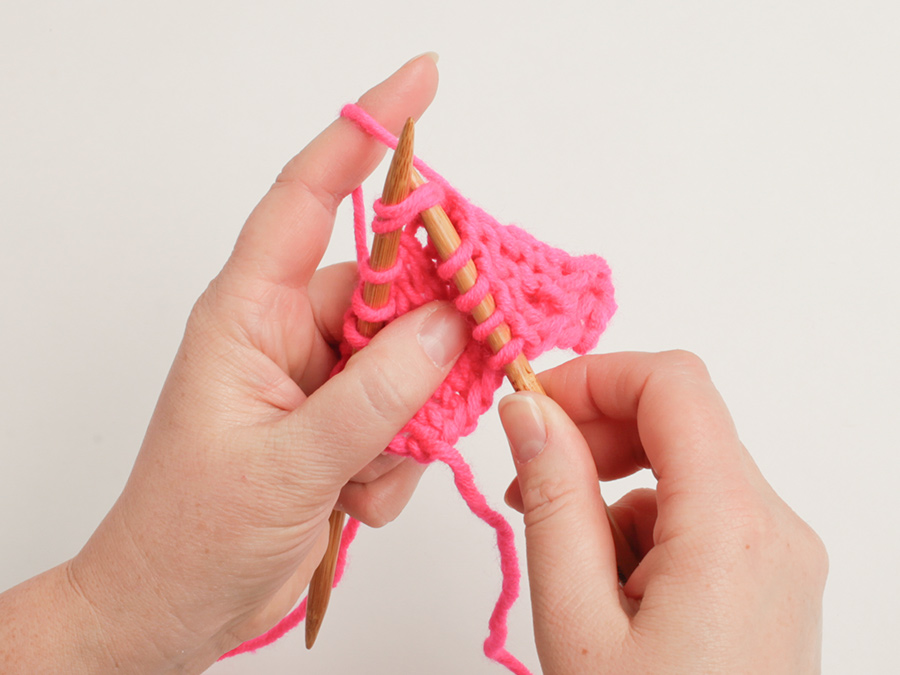
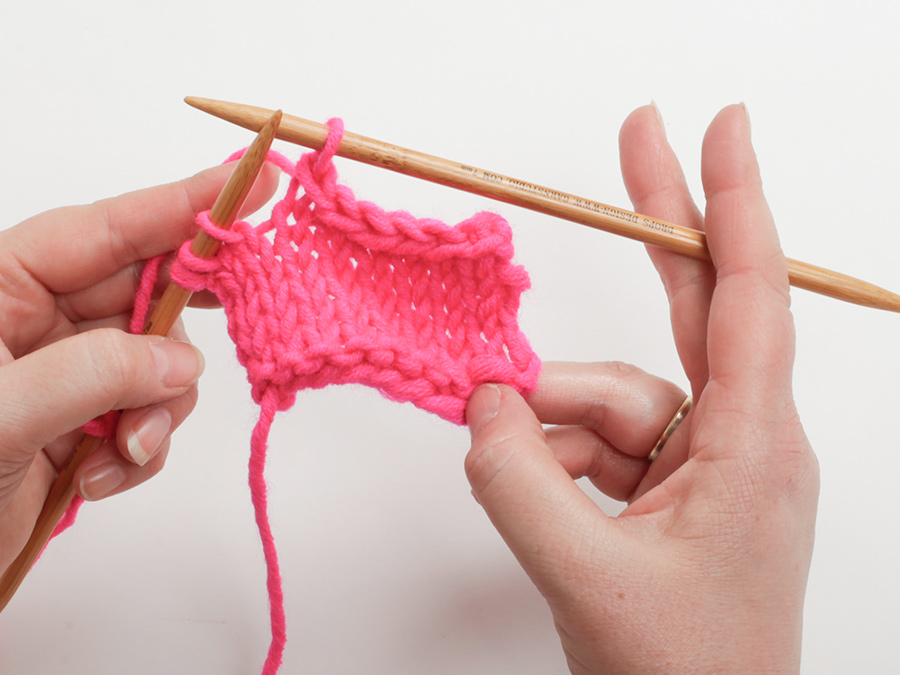
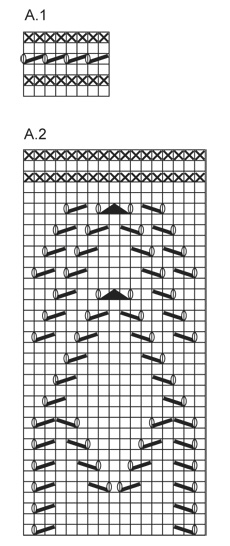
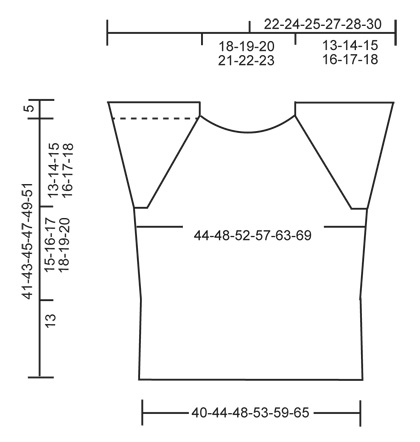
GARTER ST (worked in the round): * K 1 round and P 1 round *, repeat from *-*. 1 ridge = 2 rounds. PATTERN: See diagrams A.1 and A.2. RAGLAN: Inc 1 sts on each side of every marker (= 8 sts inc): Beg 1 st before marker: 1 YO, K 2 (marker is between these 2 sts), 1 YO. On next row K YO twisted to avoid holes. DECREASE TIP: Dec as follows before marker: Work until 2 sts remain before marker, K 2 tog. Dec as follows after marker: Slip 1 st as if to K, K 1, psso. ---------------------------------------------------------- TOP: Worked in the round, top down on circular needle. YOKE: READ ALL OF THE FOLLOWING SECTION BEFORE CONTINUING! Cast on 118-122-126-130-134-138 sts on circular needle size 3 mm with Cotton Light. Work 2 ridges in GARTER ST – see explanation above, AT THE SAME TIME on last round in 2nd ridge, inc 24-32-36-44-48-60 sts evenly = 142-154-162-174-182-198 sts. Switch to circular needle size 4 mm. Now work as follows: 25-28-30-33-35-39 sts in stocking st (= back piece), insert a marker, 21 sts in stocking st (= sleeve), insert a marker, 50-56-60-66-70-78 sts in stocking st (= front piece), insert a marker, 21 sts in stocking st (= sleeve), insert a marker, 25-28-30-33-35-39 sts in stocking st (= back piece). REMEMBER THE KNITTING TENSION Continue with stocking st, AT THE SAME TIME on every second round beg inc for RAGLAN – see explanation above! Inc 1 st on each side of every marker on every second round 17-18-21-23-25-27 times in total = 278-298-330-358-382-414 sts. AT THE SAME TIME when piece measures 5-5-6-6-7-7 cm, work A.1 over all sts (continue inc for raglan as before). Work A.1 one time vertically. Continue in stocking st. When piece measures 9-10-11-12-13-14 cm, repeat A.1 one time vertically. NOTE: When 2 inc remain, work in GARTER ST over all sts on sleeves - see explanation above (continue front and back piece as before). After all inc for raglan, piece measures 13-14-15-16-17-18 cm from shoulder. Now work as follows: Work the first 42-46-51-56-60-66 sts, cast off the next 55-57-63-67-71-75 sts (= sleeve), work the next 84-92-102-112-120-132 sts, cast off the next 55-57-63-67-71-75 sts (= sleeve), work the remaining 42-46-51-56-60-66 sts. On next row (from WS) work as follows: Work 42-46-51-56-60-66 sts, cast on 8 new sts under sleeve (insert a marker in the middle of these sts), work the next 84-92-102-112-120-132 sts, cast on 8 new sts under sleeve (insert a marker in the middle of these sts), work the last 42-46-51-56-60-66 sts. NOW MEASURE THE PIECE FROM HERE. BODY: = 184-200-220-240-256-280 sts. Continue in stocking st. When piece measures 2 cm, dec 1 st on each side markers (= 4 sts dec) - READ DECREASE TIP! Repeat dec every 4-4-4-5-5-5 cm 3 more times = 168-184-204-224-240-264 sts. When piece measures 15-16-17-18-19-20 cm, work A.1 over all sts. On last round in A.1 adjust no of sts to 170-187-204-221-238-272. Then work A.2 over all sts. Work A.2 1 time vertically, then cast off. Piece now measures approx. 46-48-50-52-54-56 cm from shoulder. |
|||||||||||||||||||
Diagram explanations |
|||||||||||||||||||
|
|||||||||||||||||||
 |
|||||||||||||||||||
 |
|||||||||||||||||||
Have you finished this pattern?Tag your pictures with #dropspattern or submit them to the #dropsfan gallery. Do you need help with this pattern?You'll find 13 tutorial videos, a Comments/Questions area and more by visiting the pattern on garnstudio.com. © 1982-2026 DROPS Design A/S. We reserve all rights. This document, including all its sub-sections, has copyrights. Read more about what you can do with our patterns at the bottom of each pattern on our site. |
|||||||||||||||||||
With over 40 years in knitting and crochet design, DROPS Design offers one of the most extensive collections of free patterns on the internet - translated to 17 languages. As of today we count 333 catalogues and 12532 patterns translated into English (UK/cm). 12532
We work hard to bring you the best knitting and crochet have to offer, inspiration and advice as well as great quality yarns at incredible prices! Would you like to use our patterns for other than personal use? You can read what you are allowed to do in the Copyright text at the bottom of all our patterns. Happy crafting!
Post a comment to pattern DROPS Extra 0-1123
We would love to hear what you have to say about this pattern!
If you want to leave a question, please make sure you select the correct category in the form below, to speed up the answering process. Required fields are marked *.