
Popular categories
Looking for a yarn?


Comments / Questions (5)
![]() Jack wrote:
Jack wrote:
Hey I'm sorry to bother you. I'm Jack from PIXIE . We can provide you with cashmere(Merino cashmere blend)knit products. We can quote you first or send free samples. Kind regards Jack
20.06.2025 - 10:44
![]() Cecilia Bracquemont wrote:
Cecilia Bracquemont wrote:
Hej! Instruktionerna är samma för vänster och höger vante på beskrivningen. Vänligen
03.01.2025 - 11:23DROPS Design answered:
Hei Cecilia Nei, det er ikke samme forklaring. På venstre vott settes det 1 merke i den siste masken på omgangen, på høyre vott settes det 1 merke i den første masken. Og når fellingen øverst på votten starter settes merkene ulikt, se oppskriften. mvh DROPS Design
07.01.2025 - 08:47
![]() ANNE Brontér wrote:
ANNE Brontér wrote:
Hej Jag kan inte utläsa någon skillnad i mönstret på höger och vänster vante? Med vänlig hälsning,
31.12.2024 - 10:40DROPS Design answered:
Hei Anne. Jo, det er forskjell. På venstre vott settes det 1 merke i den siste masken på omgangen, på høyre vott settes det 1 merke i den første masken. Og når fellingen øverst på votten starter settes merkene ulikt, se oppskriften. mvh DROPS Design
07.01.2025 - 08:45
![]() Hanne Verløy wrote:
Hanne Verløy wrote:
Hvor mye såpe (grønnsåpe?) skal man fylle i vaskemaskinen?
27.11.2024 - 17:43DROPS Design answered:
Hej Hanne, du behøver kun en dråbe uldvaskemiddel for at filte :)
29.11.2024 - 11:11
![]() Karin wrote:
Karin wrote:
Hei, kan man tove flere vottepar i maskinen samtidig?
21.11.2023 - 11:51DROPS Design answered:
Hej Karin, ja du kan sikkert tove et par stykker :)
24.11.2023 - 13:47
|
|
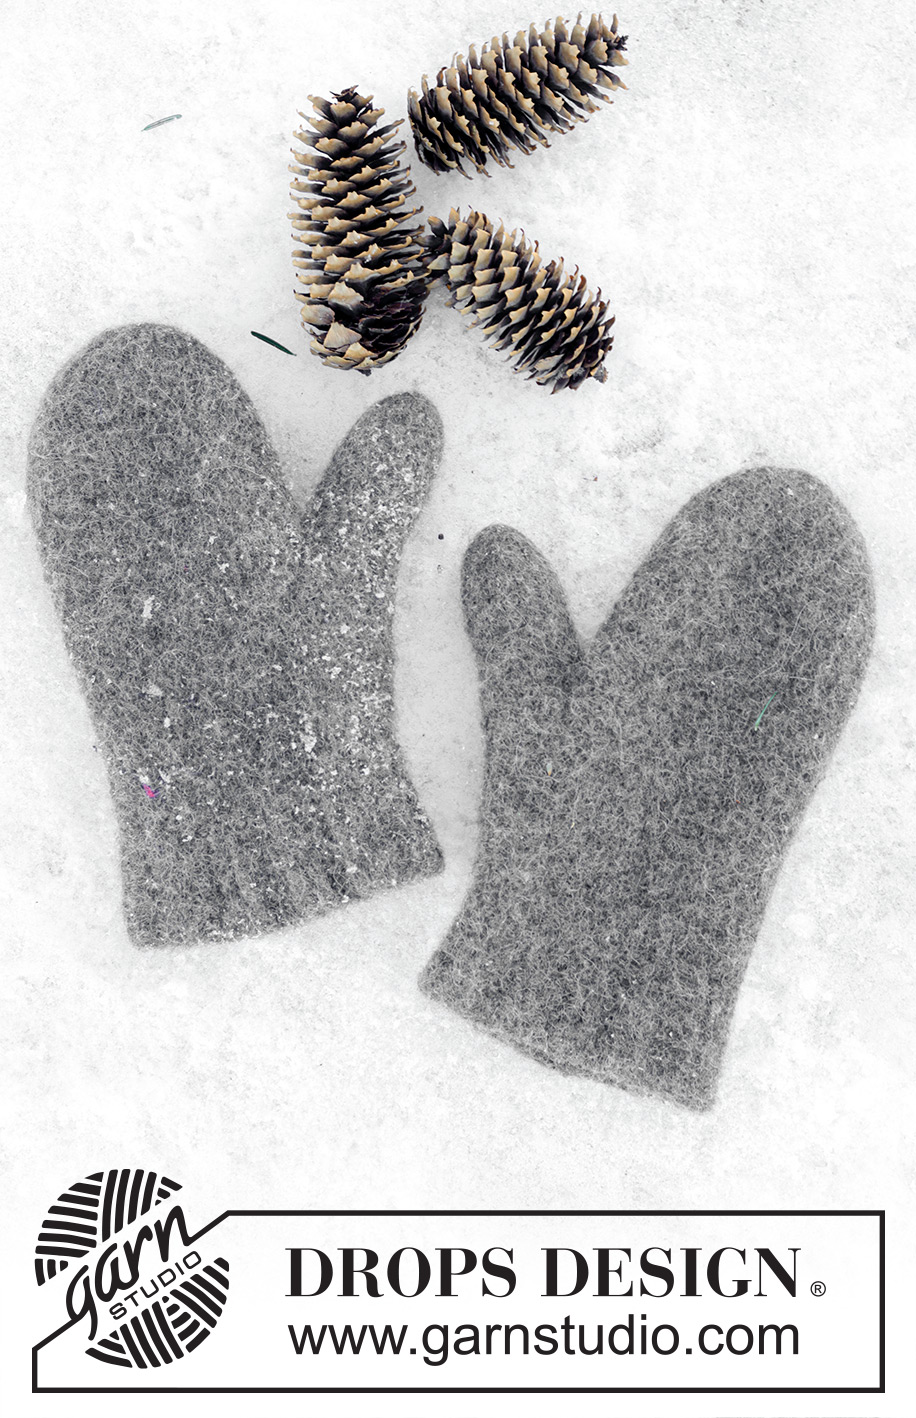
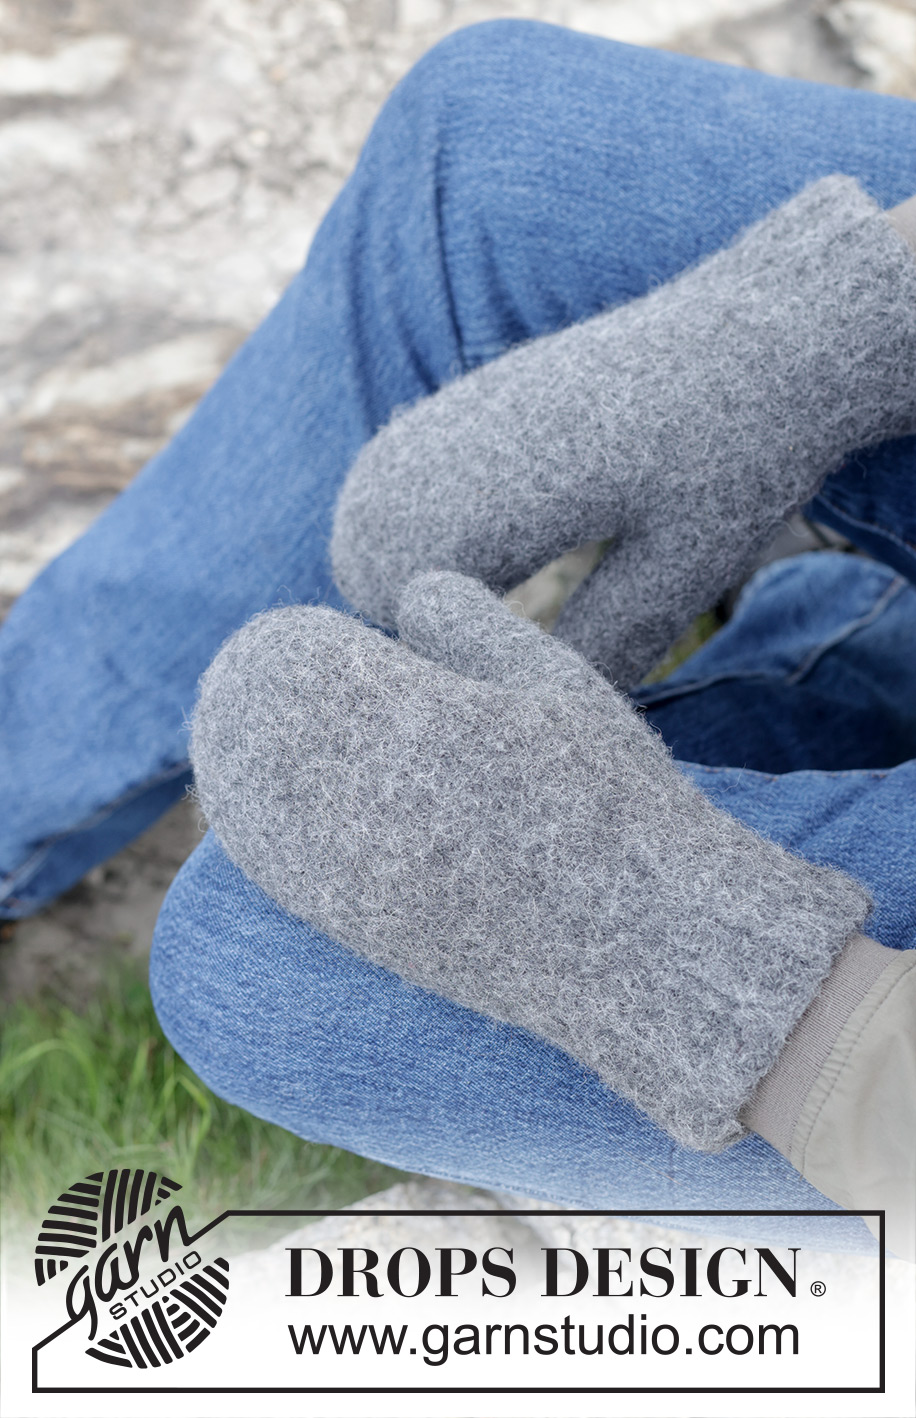
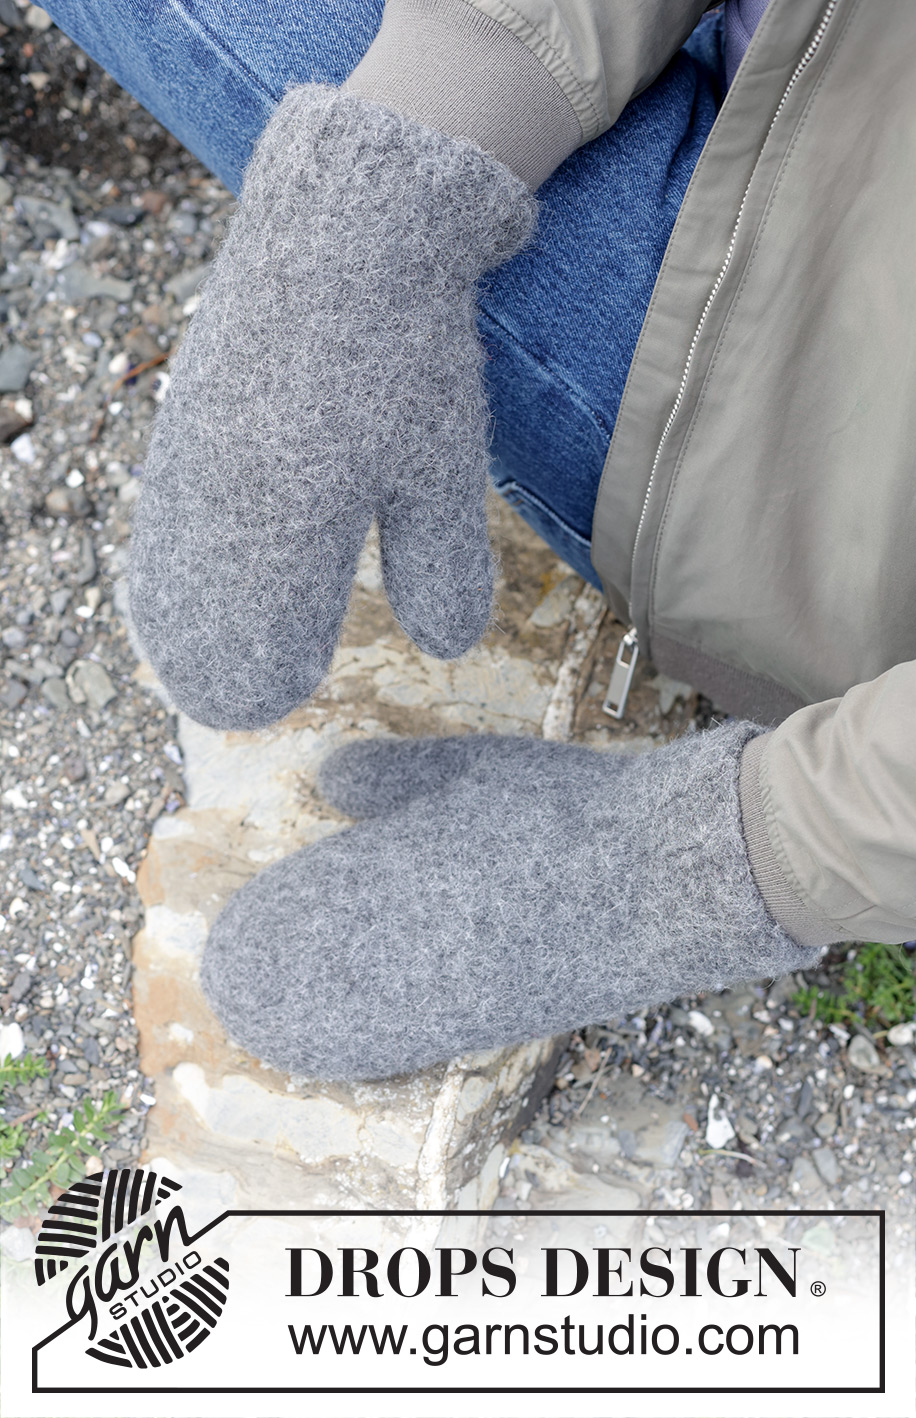
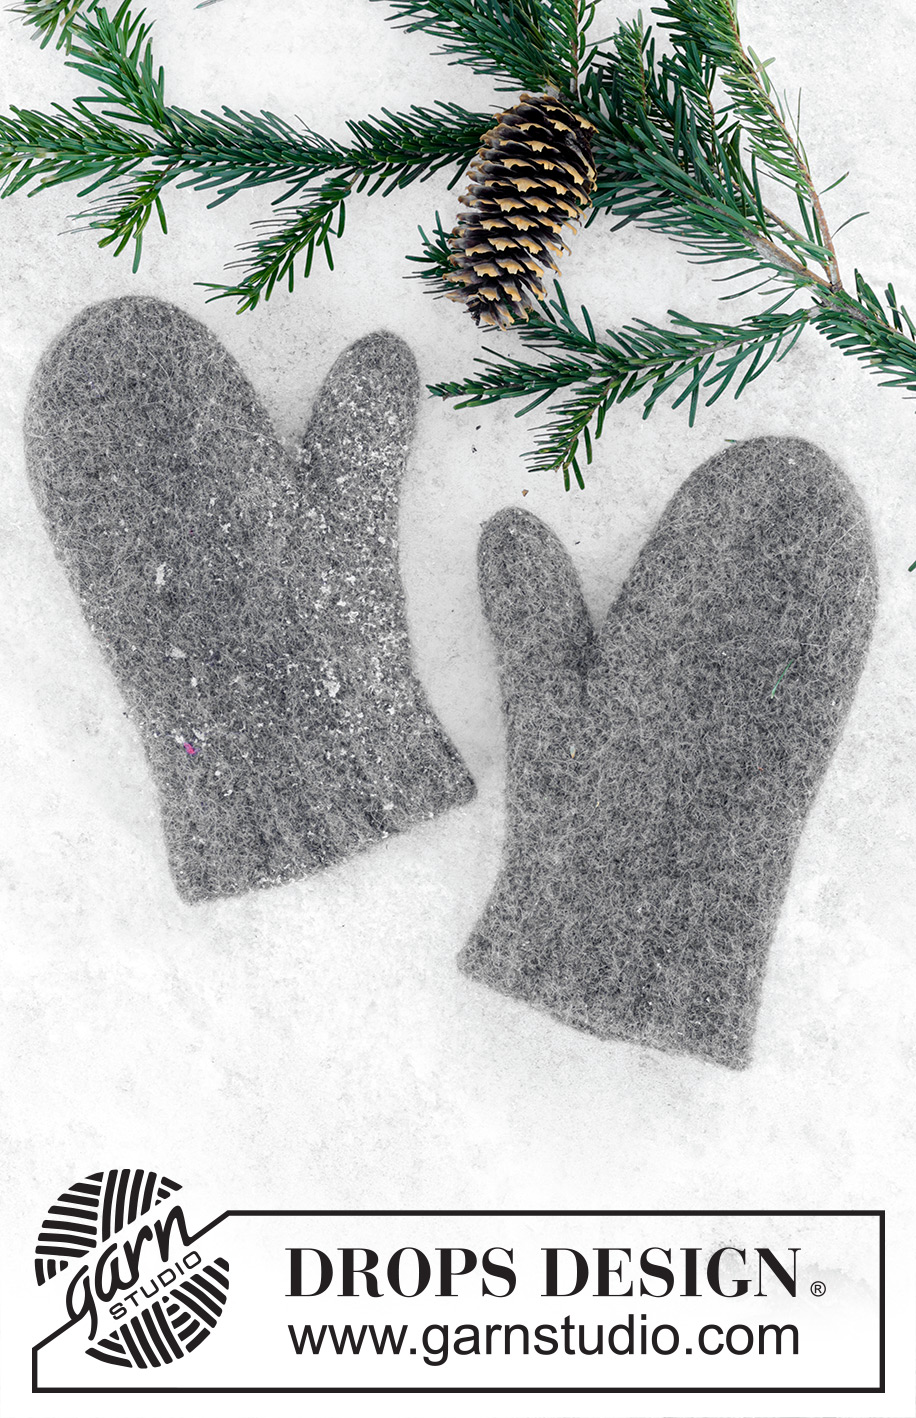
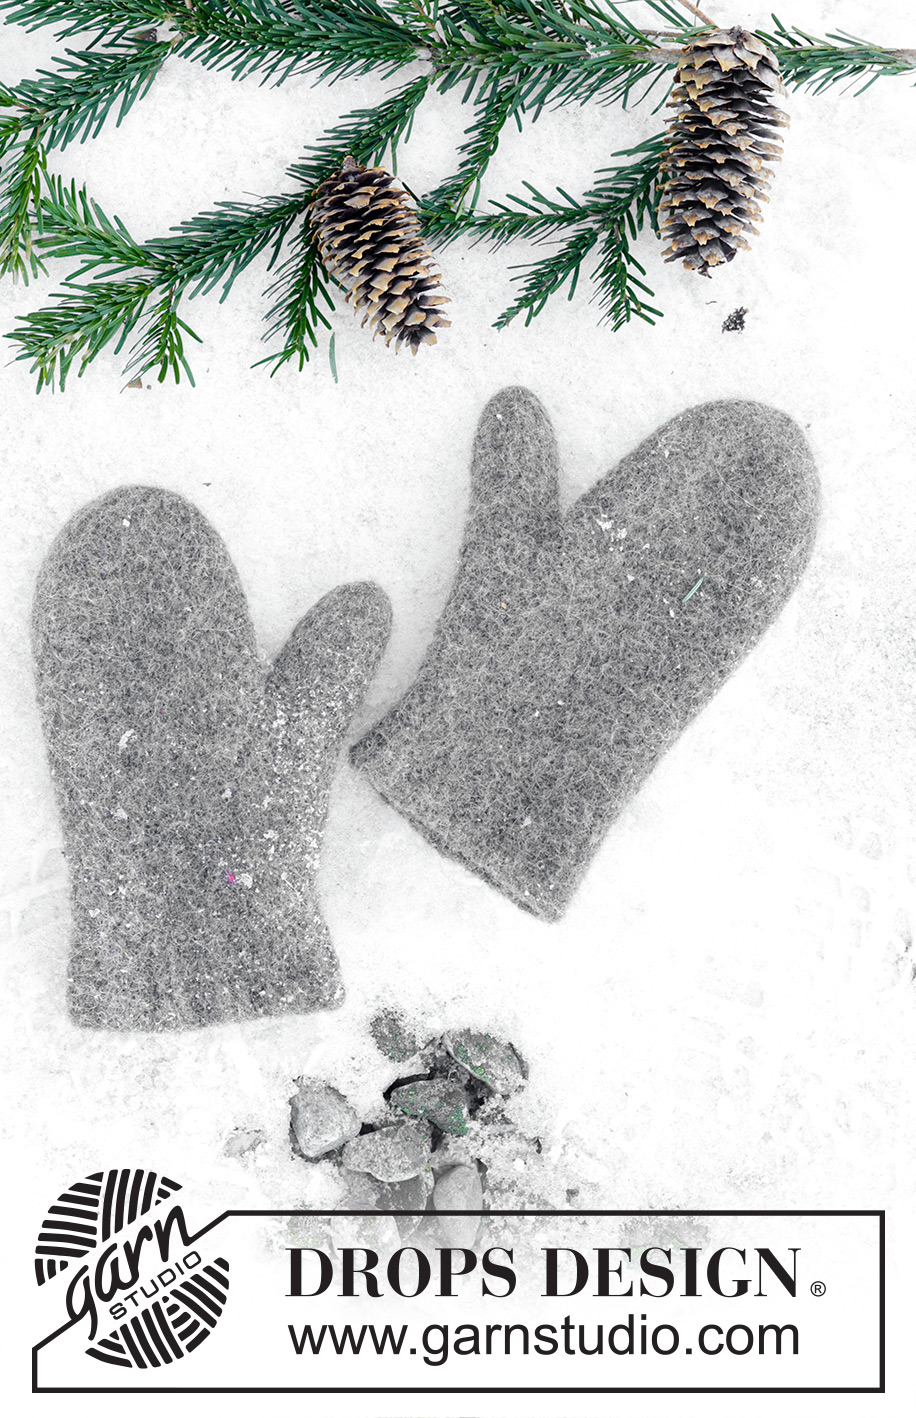
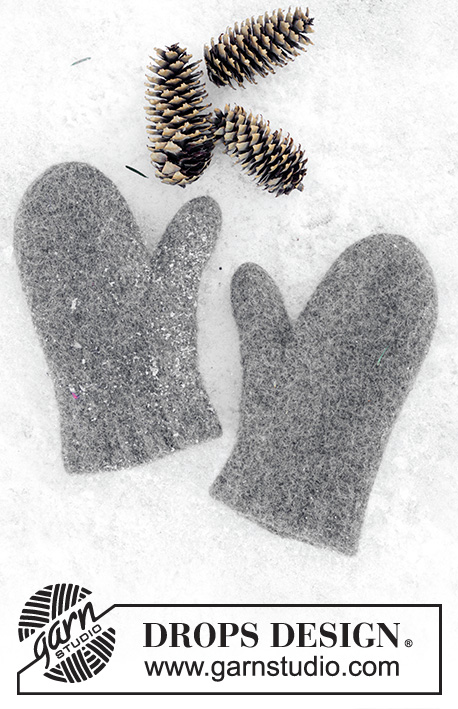
Snowslide Mittens#snowslidemittens |
|
 |
 |
Knitted and felted mittens for men in DROPS Lima.
DROPS 246-17 |
|
|
------------------------------------------------------- EXPLANATIONS FOR THE PATTERN: ------------------------------------------------------- DECREASE TIP: Start 3 stitches before the marker-stitch, knit 2 together, knit 3 (marker-stitch is the middle stitch), slip 1 stitch knit-wise, knit 1 and pass the slipped stitch over the knitted stitch (2 stitches decreased). INCREASE TIP (thumb-gusset): Increase by making 1 yarn over, which is knitted twisted on the next round. ------------------------------------------------------- START THE PIECE HERE: ------------------------------------------------------- MITTENS – SHORT OVERVIEW OF THE PIECE: The piece is worked in the round with double pointed needles, bottom up, then should be felted. LEFT MITTEN: Cast on 54-60 stitches with double pointed needles size 4.5 mm and DROPS Lima. Work rib in the round (knit 3 twisted, purl 3). When the piece measures 2 cm, decrease as follows: * Knit 1 twisted, knit 2 twisted together, purl 3 *, work from *-* to end of round = 45-50 stitches. Continue the new rib (knit 2 twisted, purl 3) until the piece measures 8 cm. Insert 1 marker in the last stitch on the round. Continue with stocking stitch and increase for the thumb-gusset by increasing 1 stitch on each side of the marker-stitch – read INCREASE TIP. Increase like this every 4th round, always on the outside of the previously increased stitches, a total of 6-7 times = 57-64 stitches. REMEMBER THE KNITTING TENSION! When the piece measures 17-18 cm (the increases for the thumb-gusset should be finished), place the marker-stitch + the increased stitches + 1 stitch on each side of these stitches on a thread for the thumb = 15-17 thumb-stitches. Continue in the round and cast on 3 stitches behind the thumb-stitches = 45-50 stitches. Work for a further 13½-14 cm. The piece measures approx. 30½-32 cm from the cast-on edge. Insert 1 marker in each side as follows: Insert 1 marker in the first stitch and 1 marker in the 23rd-25th stitch on the round. Continue with stocking stitch, AT THE SAME TIME on the first round decrease 1 stitch on each side of both marker-stitches – read DECREASE TIP (= 4 stitches decreased). Decrease like this every 2nd round a total of 4-5 times, then every round 5 times = 9-10 stitches. Cut the strand, pull it through the remaining stitches, tighten and fasten well. The mitten measures approx. 35-37½ cm. THUMB: Place the 15-17 thumb-stitches on double pointed needles size 4.5 mm and knit up 1 stitch in each of the 3 cast-on stitches behind the thumb = 18-20 stitches. Work stocking stitch in the round for 6½-7 cm. Knit 1 round and decrease 3 stitches evenly spaced = 15-17 stitches. Knit 3 rounds without decreasing. Knit 1 round and decrease 5-7 stitches evenly spaced = 10 stitches. Continue working until the thumb measures 9-9½ cm. Now knit all stitches together 2 and 2 = 5 stitches. Cut the strand, pull it through the remaining stitches, tighten and fasten well. RIGHT MITTEN: Cast on 54-60 stitches with double pointed needles size 4.5 mm and DROPS Lima. Work rib in the round (knit 3 twisted, purl 3). When the piece measures 2 cm, decrease as follows: * Knit 1 twisted, knit 2 twisted together, purl 3 *, work from *-* to end of round = 45-50 stitches. Continue the new rib (knit 2 twisted, purl 3) until the piece measures 8 cm. Insert 1 marker in the first stitch on the round. Continue with stocking stitch and increase for the thumb-gusset by increasing 1 stitch on each side of the marker-stitch – remember INCREASE TIP. Increase like this every 4th round, always on the outside of the previously increased stitches, a total of 6-7 times = 57-64 stitches. When the piece measures 17-18 cm (the increases for the thumb-gusset should be finished), place the marker-stitch + the increased stitches i + 1 stitch on each side of these stitches on a thread for the thumb = 15-17 thumb-stitches. Continue in the round and cast on 3 stitches behind the thumb-stitches = 45-50 stitches. Work for a further 13½-14 cm. The piece measures approx. 30½-32 cm from the cast-on edge. Insert 1 marker in each side as follows: Insert 1 marker in the 23rd-25th stitch and 1 marker in the last stitch on the round. Continue with stocking stitch, AT THE SAME TIME on the first round decrease 1 stitch on each side of both marker-stitches – remember DECREASE TIP (= 4 stitches decreased). Decrease like this every 2nd round a total of 4-5 times, then every round 5 times = 9-10 stitches. Cut the strand, pull it through the remaining stitches, tighten and fasten well. The mitten measures approx. 35-37½ cm. Work the thumb in the same way as on the left mitten. FELTING: To avoid the thumb being felted to the mitten, turn it inside out and fasten a small plastic bag/silk ribbon over the top of the thumb with a safety pin. The opening of the safety pin should point towards the tip of the thumb so it is easy to remove after felting. Turn the mitten back to the right side, with the bag/ribbon inside the thumb. The piece can be felted either in the washing machine or the tumble dryer – read description below. Remember: Subsequent washes are as for a normal wool garment. IN WASHING MACHINE: Washing machines will vary when felting. If the piece is not felted enough, it can be felted again. If it is felted too much, it can be stretched to the correct size while still wet. DO THE FOLLOWING: Lay the piece in the washing machine and use a programme of approx. 40 minutes (not a wool programme). Wash at 40 degrees without pre-wash, detergent is optional. After washing, shape the piece while it is still wet. IN TUMBLE DRYER: Felting in a tumble dryer gives good control over the degree of felting. The tumble dryer can be opened during drying to check the size of the piece. If it is not felted enough it can be thoroughly wetted and felted again. If it is felted too much it can be stretched to the correct size while still wet. DO THE FOLLOWING: Lay the piece in water so it becomes completely wet, then place it in the tumble dryer and begin the drying process. Dry to the desired size, checking regularly. |
|
Have you finished this pattern?Tag your pictures with #dropspattern #snowslidemittens or submit them to the #dropsfan gallery. Do you need help with this pattern?You'll find 21 tutorial videos, a Comments/Questions area and more by visiting the pattern on garnstudio.com. © 1982-2026 DROPS Design A/S. We reserve all rights. This document, including all its sub-sections, has copyrights. Read more about what you can do with our patterns at the bottom of each pattern on our site. |
|


With over 40 years in knitting and crochet design, DROPS Design offers one of the most extensive collections of free patterns on the internet - translated to 17 languages. As of today we count 324 catalogues and 12290 patterns translated into English (UK/cm). 12290
We work hard to bring you the best knitting and crochet have to offer, inspiration and advice as well as great quality yarns at incredible prices! Would you like to use our patterns for other than personal use? You can read what you are allowed to do in the Copyright text at the bottom of all our patterns. Happy crafting!
Post a comment to pattern DROPS 246-17
We would love to hear what you have to say about this pattern!
If you want to leave a question, please make sure you select the correct category in the form below, to speed up the answering process. Required fields are marked *.