
Categorías populares
¿Buscas un hilo?




Comentarios / Preguntas (18)
 Kim escribió:
This pattern needs updated clear instructions! Please!
22.09.2026 - 00:26
Kim Butchko escribió:
My question is the numbers. If you add 12 on each side to the hundred that makes 124 then if you add 34 on the right side where you are working the 62 stitches that gives you 158 not 186 so I’m a little confused on this.
21.09.2026 - 21:33DROPS Design respondió:
Hi Kim, There is a sentence missing from the US instructions (after increasing stitches each side): "Now divide the piece mid-back, i.e., turn and work across one half of the row as far as the face opening. Cast on 28 stitches (= under chin), continue across the other half of the stitches (other side of the opening) to mid-back = 152 stitches (the seam will then be worked mid-back). The piece is now measured from here". You now continue as described in your text. Regards, Drops Team.
22.09.2026 - 07:04
Kim Butchko escribió:
I finished the increase of 12 on each side and not sure what to do next. I love the look of this hood but the instructions are not very clear. Help lol
20.09.2026 - 00:34DROPS Design respondió:
Hi Kim, After finishing the increases (12 stitches each side), you then work each side of the row separately. So on the next row after the last increase, work to the middle of the row and turn (either keeping the other stitches on the needle un-worked or placing them on a stitch holder). Then continue back and forth across the first half as described in the text. Regards, Drops Team.
20.09.2026 - 07:28
 Sharron escribió:
I am totally cannot make out how to continue after completing the 22cm. Does on increase 1 st at each end on alternate rows, then increase 2 st at each of alternate row 5 times. a total of 14 rows knitted ? Also which part is centre back?
28.06.2026 - 21:10DROPS Design respondió:
Dear Sharron, you increase 1 stitch at the beginning and end of 1 row, work back without increases, increase 1 stitch at the beginning and end of the previous row. Work back without increases and now increase 2 stitches at the beginning and end of the previous row. Repeat this last section 4 more times (you should have increased 12 stitches in total on each side). Now you find the center of the back section of the hood, which should match with the center of the whole hood, approx. the 62nd stitch after the increases. Now you start on this stitch, work the row towards the opening at the front, cast on stitches over the front opening, work over the other side of the front opening towards the back, until you reach the new beginning of the row, the mid-back stitch. Happy knitting!
29.06.2026 - 01:38
 Dale escribió:
I'm stuck at this part:Now divide the work at the center back and knit all sts back and forth like so: work across sts on side of head towards the opening for face, cast on 28 stitches (= under chin), continue working across stitches on the other side of opening for face until you get to mid-back = 152 sts (you do this so that you will sew together at the center back). I don't understand this. Do I knit 122 stitches and then cast on 28 stitches and do I join in the round?
16.01.2026 - 20:04DROPS Design respondió:
Dear Dale, when you have cast off the 28 sts for mid under face, you will have 152 sts on needle. Now you will continue back and forth but from mid back (so that the seam will not be visible on front of piece), so slip the stitches from left needle onto right needle until the mid back of piece, then join yarn and work back and forth from here. Happy knitting!
19.01.2026 - 08:02
Collin Ng escribió:
I want to ask a question about the hook. When I finished to increase to 212 stitches, how long I need to knit before the next right side row to increase 26 stitches?
02.02.2025 - 22:11DROPS Design respondió:
Dear Mrs Collin, just work 1 row from RS increasing evenly 26 stitches on the next row from RS (just as you did before to increase from 152 to 212). Find how to increase evenly here. Happy knitting!
03.02.2025 - 14:07
 Isabelle Crespy escribió:
Bonjour, Est il possible de connaître les dimensions de l'ouvrage fini, il n'y a pas de schéma. Merci
27.02.2024 - 21:14DROPS Design respondió:
Bonjour Mme Crespy, il n'y a pas de schéma pour ce modèle, toutefois, si votre échantillon est conforme et que vous conservez bien la bonne tension, vous aurez un résultat similaire à celui de la photo Bon tricot!
28.02.2024 - 09:21
Jadwiga Zerda escribió:
By following instructions I cannot visualize how the balaclava is being made. Could you draw a picture.
22.02.2024 - 18:39DROPS Design respondió:
Dear Mrs Zerda, balaclava is worked top down first in rows, the cast on edge will be later folded double and sewn, that's on top of head; after you have worked the height for face opening, you cast on new stitches under chin to close face opening and then continue in the round from mid back (- from the middle of previous rows). Hope it can help. Happy knitting!
23.02.2024 - 08:11
 Celine escribió:
Hei. Nå har jeg strikket sånn at jeg har 124 masker. Skjønner ikke helt oppskriften. Skal jeg strikke tilbake 62 masker (i midten), også legge opp 28 masker? For å så strikke videre igjen?
25.10.2023 - 23:35DROPS Design respondió:
Hej Celine, ja du vender efter de 62 masker i midten (det bliver bagpå), strikker 62 masker, legger op 28 masker (foran) og strikker 62 masker i den anden side. Vend og strik frem og tilbage :)
26.10.2023 - 14:16
Agnes Mesnier escribió:
Puis-je avoir des explications plu détaillées après : 124 m. Diviser maintenant l'ouvrage au milieu dos et tricoter...je necomprends pas ce que je dois faire..... les 12 mailles augmentées de chaque côté se retrouvent elles devant ou au dos de la cagoule ? Merci de votre réponse rapide. Cordialement
28.02.2022 - 12:29DROPS Design respondió:
Bonjour Mme Mesnier, auparavant, le début des rangs se trouvait côté ouverture du visage; maintenant le début des rangs doit être au milieu dos: glissez la moitié des mailles sur l'aiguille droite pour commencer au milieu du rang, tricotez la 1ère moitié des mailles, montez 28 mailles (dessous du visage), et tricotez la 2ème moitié des mailles, tournez et continuez ainsi en allers et retours à partir du milieu dos. Bon tricot!
28.02.2022 - 13:37
|
|
Snow Bound |
|
|
|
|
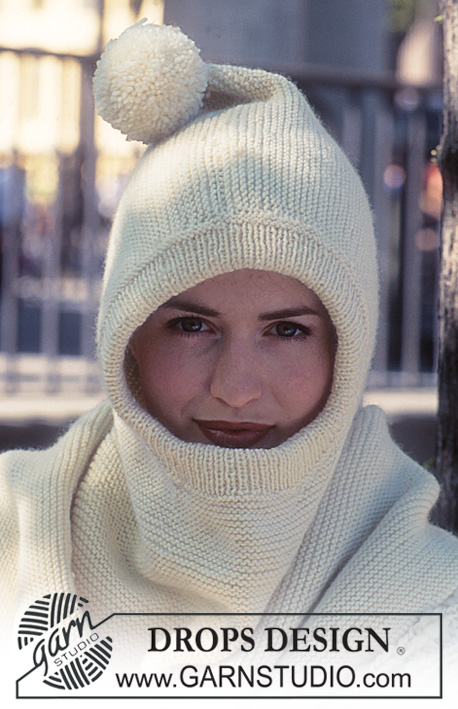
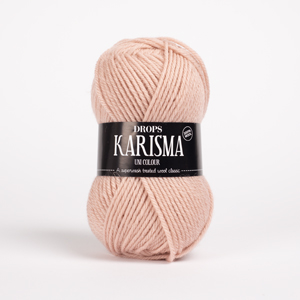
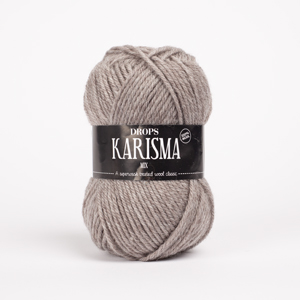
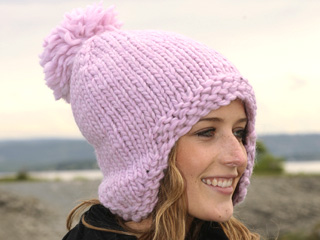
Capucha/ balaclava y guantes DROPS en Karisma.
DROPS 58-22 |
|
|
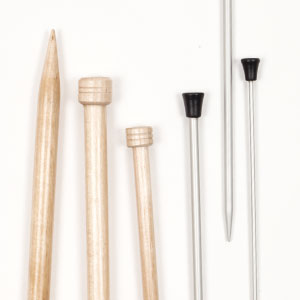
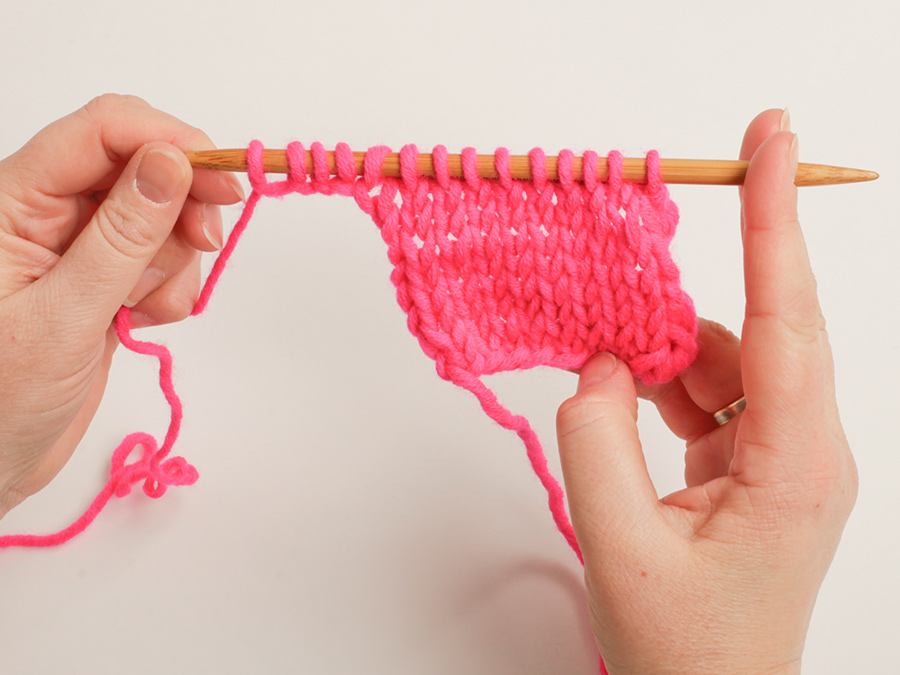
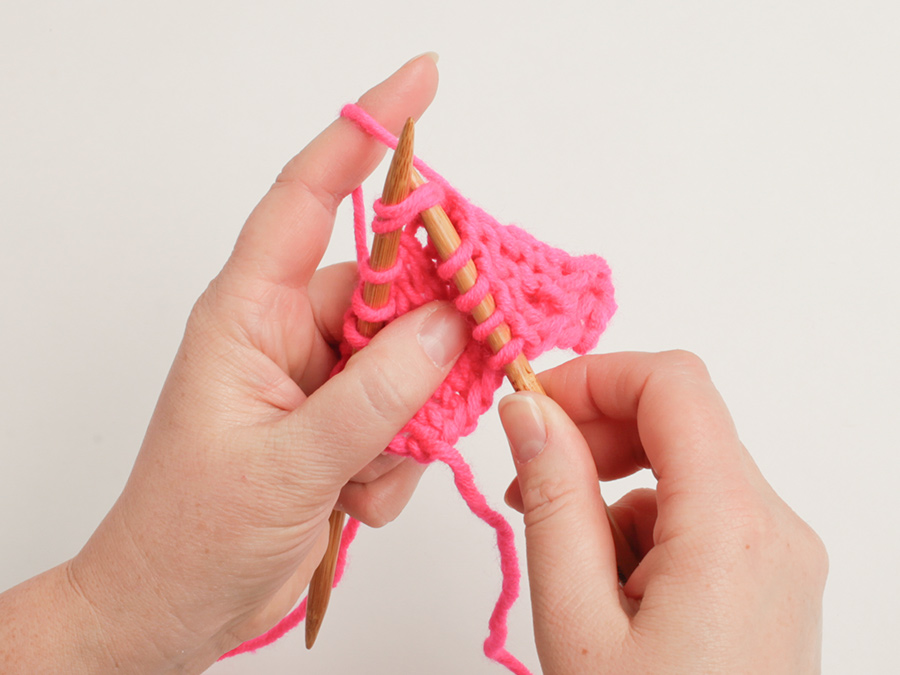
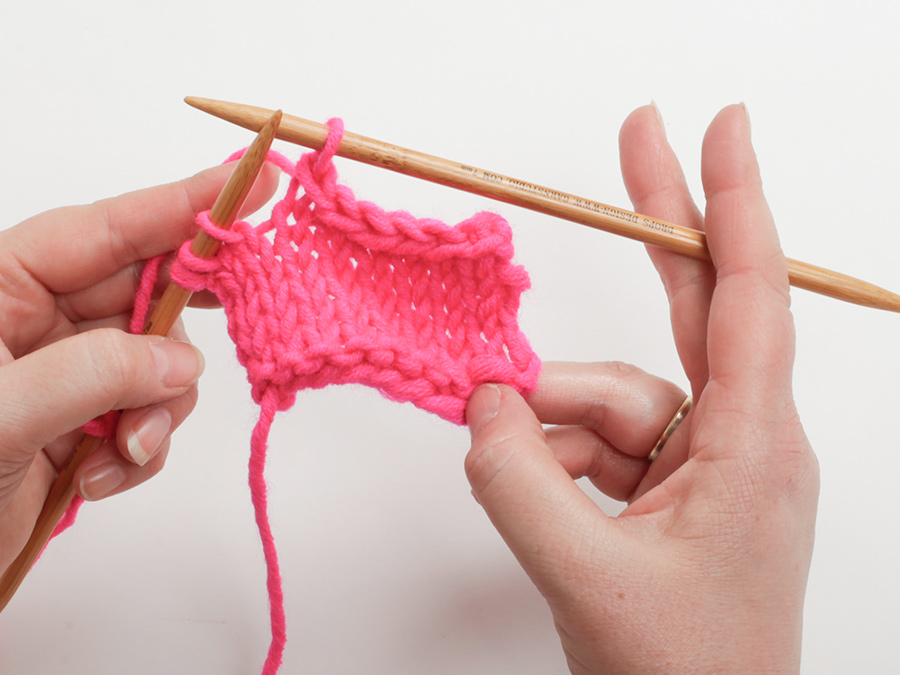
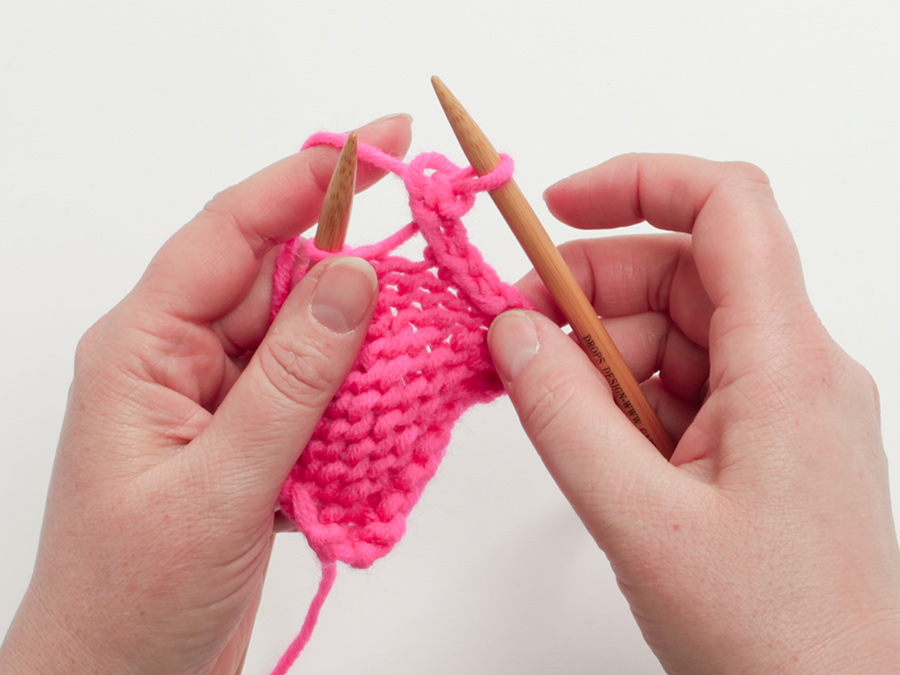
Tensión: 23 pts x 48 filas con una aguja de 3 mm en punto musgo = 10 x 10 cm. Capucha: La capucha se trabaja de ida y vuelta en una aguja circular, comenzando en la parte superior de la cabeza. Trabajar desde la abertura hacia la cara, alrededor de la cabeza y al otro lado de la abertura hacia la cara. El borde de montaje se cose a sí misma al final = costura en la parte superior de la cabeza. Más tarde, montar puntos bajo la barbilla y la labor se trabaja ahora de ida y vuelta desde el centro de la parte posterior. Montar 100 pts con una aguja circular de 3mm y trabajar en pt musgo de ida y vuelta. Cuando la labor mida 22 cm, aum a cada lado cada 2ª fila: 1 pt 2 veces, 2 pts 5 veces (= 12 puntos aumentados a cada lado) = 124 pts en la aguja. Ahora dividir la labor en el centro de la espalda y trabajar todos los pts de ida y vuelta como sigue: trabajar sobre los pts en el lado de la cabeza hacia la abertura para la cara, montar 28 puntos (= bajo la barbilla), continuar trabajando sobre los pts en el otro lado de la abertura para la cara hasta alcanzar el centro de la espalda = 152 pts (esto se hace para unir con costura en el centro de la espalda).Medir la labor desde aquí. Trabajar 10 cm. En la siguiente fila por el lado derecho aum 34 pts repartidos distribuidos en la fila. 186 pts. Trabajar 7 cm sin aumentos. En la siguiente fila por el lado derecho aum 26 pts repartidos en la fila. 212 pts. En la siguiente fila por el lado derecho aum 26 pts repartidos en la fila. 238 pts. Trabajar 7 cm repartidos. Cerrar con doble hilo. Terminación: Hacer la costura directamente sobre la parte superior de la cabeza por el lado derecho con pts elásticos. Recoger aprox. 150 pts alrededor de la abertura para la cara con una aguja circular de 2.5mm y unir. Trabajar 1 fila de revés, 1 fila de derecho, 1 fila de revés, 1 fila de derecho, trabajar 6 cm con un elástico de 1d, 1 r y cerrar de forma elástica. Doblar el borde contra el lado revés y coser. Hacer la costura en el centro de la espalda. Hacer una borla densa de aprox. 8-10 cm de diámetro y unirla al pico en el centro de la espalda. ________________________________________ GUANTES: Agujas de doble punta DROPS tamaño 3 mm y 3.5 mm, o el tamaño necesario para obtener la tensión correcta. Tensión: 22 pts x 30 filas con aguja de 3.5 mm en punto jersey = 10 x 10 cm . |
|
¿Terminaste este patrón?Entonces, etiqueta tus fotos con #dropspattern o envíalas a la galería #dropsfan. ¿Necesitas ayuda con este patrón?Encontrarás 15 videos tutoriales, un espacio para comentarios/preguntas y más visitando la página del patrón en garnstudio.com © 1982-2026 DROPS Design A/S. Todos los derechos reservados. Este documento, incluyendo todas sus sub-secciones, está protegido por los derechos de autor (copyright). Lee más acerca de lo que puedes hacer con nuestros patrones en la parte de abajo de cada patrón de nuestro sitio. |
Con más de 40 años en el diseño de modelos de punto y de ganchillo, DROPS Design ofrece una de las más vastas colecciones de patrones gratuitos en el internet - traducidos en 17 idiomas. Al día de hoy, contamos con 333 catálogos y 12525 patrones - de los cuales 12019 están traducidos en español.
Nosotros trabajamos con mucho esmero para brindarte lo mejor que las labores de punto y ganchillo tienen para ofrecer,inspiración y consejos, así como hilos de magnífica calidad a precios increíbles! Te gustaría usar nuestros patrones para otro fin además del uso personal? Puedes leer acerca de lo que estás permitida a hacer en el texto de Copyright en la parte de abajo de todos nuestros patrones. Felices labores!
Escribe un comentario sobre DROPS 58-22
¡Nos encantaría saber qué piensas acerca de este patrón!
Si quieres escribir una pregunta referente al patrón, por favor asegúrate de elegir la categoría correcta en el formulario debajo, para acelerar el proceso de respuesta. Los campos obligatorios están marcados con un *.