
Categorías populares
¿Buscas un hilo?


Comentarios / Preguntas (26)
![]() CATHERINE escribió:
CATHERINE escribió:
Nombre de pelotes modèle Campus Rally Vest
26.02.2026 - 14:30DROPS Design respondió:
Bonjour Catherine, vous trouverez la quantité nécessaire pour chaque taille en haut de page sous l'onglet "Explications", soit par en taille S par exemple 400 g DROPS Snow/50 g la pelote = 8 pelotes ou bien si vous choisissez de tricoter avec 2 fils Air: 300 g DROPS Air/50 g la pelote = 6 pelotes. Bon tricot!
27.02.2026 - 07:40
![]() Petra escribió:
Petra escribió:
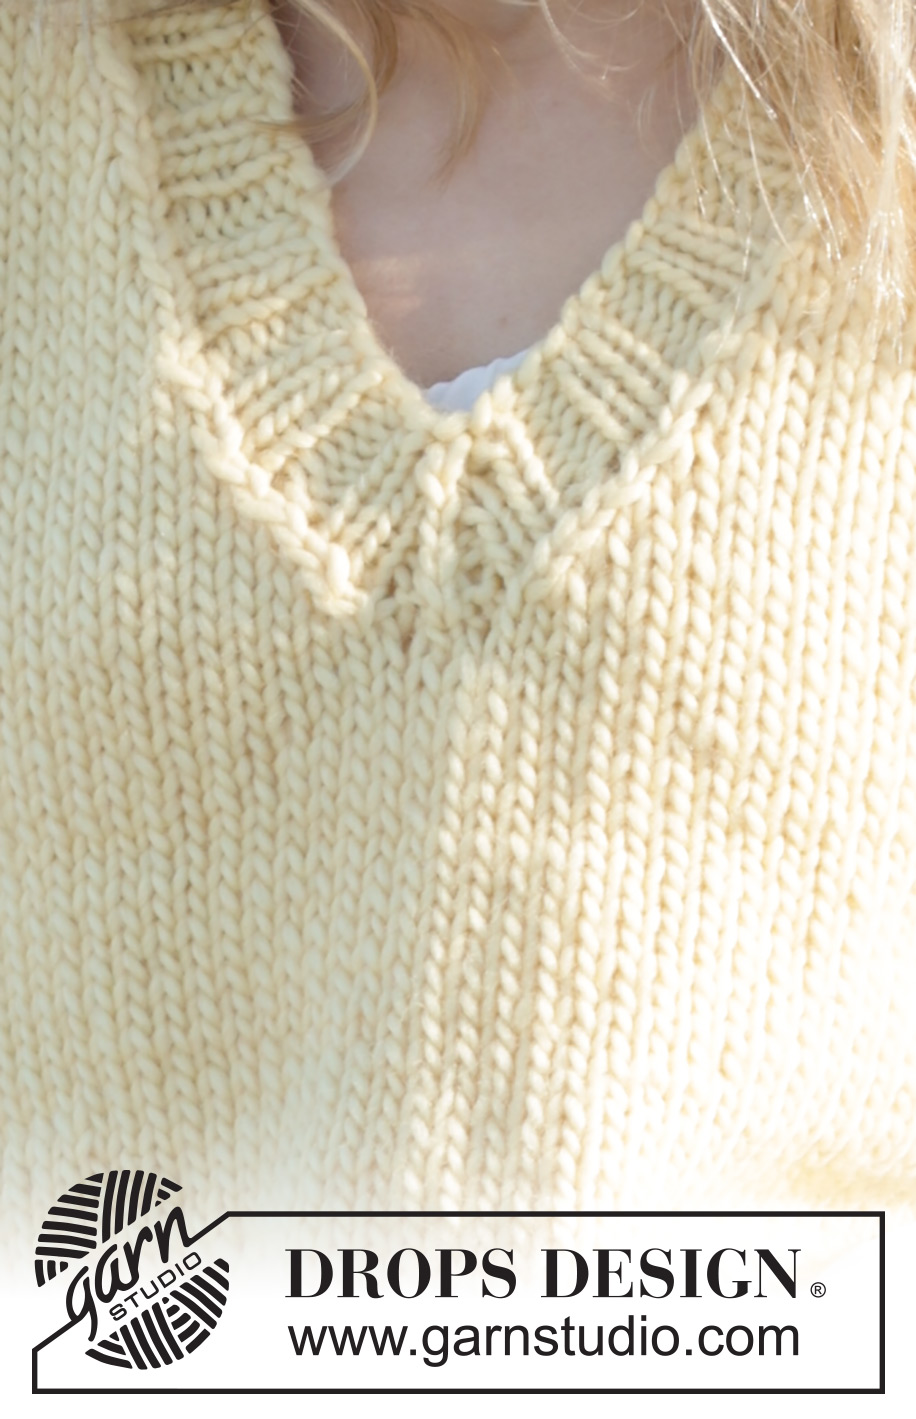
Hallo, leider verstehe ich die V-Neck Blende nicht so ganz. Muss nicht auf der linken Seite von der Mittelmasche auch abgenommen werden? Auf dem Foto sieht es zumindest so aus, aber es ist nur die Abnahme auf der rechten Seite beschrieben. Würde mich über eine Antwort freuen. Viele Grüße Petra Stammkötter
17.11.2025 - 20:01DROPS Design respondió:
Liebe Petra, die Halsblende stricken Sie wie in diesem Video - das Video zeigt Bündchen 1 re, 1 li aber die Abnahmen stricken Sie wie im Video. Viel Spaß beim Stricken!
18.11.2025 - 16:57
![]() Brigitte escribió:
Brigitte escribió:
Bonjour, vous parlez de diminuer 2 m tous les 2 tours pour les bandes emmanchures et le col ? je comprends pas s'il faut diminuer 1 m tous les 2 tours jusqu'à 2m au total ou bien diminuer tous les 2 tours, chaque fois 2 m ? combien doit il rester de mailles à la fin des 5 cm - merci
01.10.2025 - 22:23DROPS Design respondió:
Bonjour Brigitte, on doit diminuer 2 mailles tous les 2 tours, donc vous tricotez 1 tour/rang en diminuant 2 mailles comme indiqué sous DIMINUTIONS, puis 1 tour sans diminuer (tricotez les mailles comme elles se présentent) et répétez ces 2 tours. Le nombre de mailles restant dépend de votre tension en hauteur et ce n'est pas plus important que ça, ce qu'il l'est, c'est la hauteur et la largeur en cm. Bon tricot!
02.10.2025 - 08:45
![]() Doro escribió:
Doro escribió:
Huhu, wieviel Knäuel brauche ich jeweils für Größe XL, wenn ich mit DROPS Air + DROPS Fiesta + DROPS Kid-Silk stricken möchte? Danke im Voraus! LG
12.03.2025 - 22:16DROPS Design respondió:
Liebe Doro, hier wird es erklärt, wie man die neue Garnmenge kalkuliert. Beachten Sie, daß Ihr DROPS Händler gerne damit - auch per Telefon oder per E-Mail helfen wird. Viel Spaß beim Stricken!
13.03.2025 - 15:44
![]() Linda Fountain escribió:
Linda Fountain escribió:
When you refer to it as “left front piece”, do you mean it’s the stitches on the right side when you’re looking at it on the needle but it would be the left side of the vest when it’s on a person’s body??
29.01.2025 - 21:58DROPS Design respondió:
Dear Linda, the left front is, that is on your left side, when you are wearing the piece. Happy Knitting!
30.01.2025 - 02:11
![]() Tanya Anne Smith escribió:
Tanya Anne Smith escribió:
The print pattern or print photo option is not working on your website. I have ordered and plan to order more Drops yarn through Wool Warehouse; however, it’s very frustrating that I cannot print the pattern and photos to correspond with quantity of yarn to purchase. Please advise. Thank you.
12.01.2025 - 22:06DROPS Design respondió:
Dear Tanya, the pattern seems to be printable here on our side. Sometimes there might be high traffic in the webpage, which may cause some trouble when trying to print or load photos or charts; please try again later or try with a different browser/device. You can always access the online version of the pattern, with the yarn amounts stated right there, in the materials section. Happy knitting!
12.01.2025 - 22:30
![]() Bess escribió:
Bess escribió:
For working in the round,when doing the kneck do you follow the same instructions? Do you decrease every other row? Do you add on any other stitches? Thanks
04.01.2025 - 10:54DROPS Design respondió:
Dear Bess, if you cast off for the neck you won't be able to continue working in the round; you need to work back and forth. On the other hand, the neck edge (V-Neck) is worked in the round as indicated. Happy knitting!
05.01.2025 - 19:59
![]() Celine escribió:
Celine escribió:
Hej! I instruktionen för V-ringning står det ”Minska så på vartannat varv 4 gånger och på vart 4:e 6 gånger. ” I den Engelska versionen står det att man minskar varannat varv, sedan vart fjärde varv. Jag förstår inte riktigt hur man ska göra minskningen, ska jag minska varannat varv först 4 gånger, sedan när det är klart minska var på fjärde varv 6 gånger, eller ska de göras samtidigt?
16.12.2024 - 20:26DROPS Design respondió:
Hej Celine, ja, minska varannat varv först 4 gånger, sedan när det är klart minska var på fjärde varv 6 gånger :)
17.12.2024 - 14:09
![]() Debbie escribió:
Debbie escribió:
I'm working on the back. If I bind off for the arm holes every other row as instructed, won't this only be setting up the arm hole on one side?
21.10.2024 - 21:54DROPS Design respondió:
Hi Debbie, You bind off at the beginning of every row, so both armholes are bound of equally. Based on size M (just as an example), the first bind off (3 stitches) is worked at the beginning of the first 2 rows, then 2 stitches at the beginning of the next 2 rows and finally 1 stitch at the beginning of the next 10 rows (5 times on each side). Hope this helps and happy knitting!
22.10.2024 - 06:48
![]() Anna escribió:
Anna escribió:
Buongiorno, vorrei realizzare il capo con il filato drops baby merino. Quante maglie devo avviare, come posso regolarmi per la conversione delle altre misure? Grazie.
11.09.2024 - 10:30DROPS Design respondió:
Buonasera Anna, questo modello è lavorato con un filato del gruppo E, mentre Baby Merino è un filato del gruppo A: hanno caratteristiche e spessore totalmente diversi, per lavorare con Baby Merino deve utilizzare 6 capi del filato. Buon lavoro!
13.09.2024 - 21:07
|
|
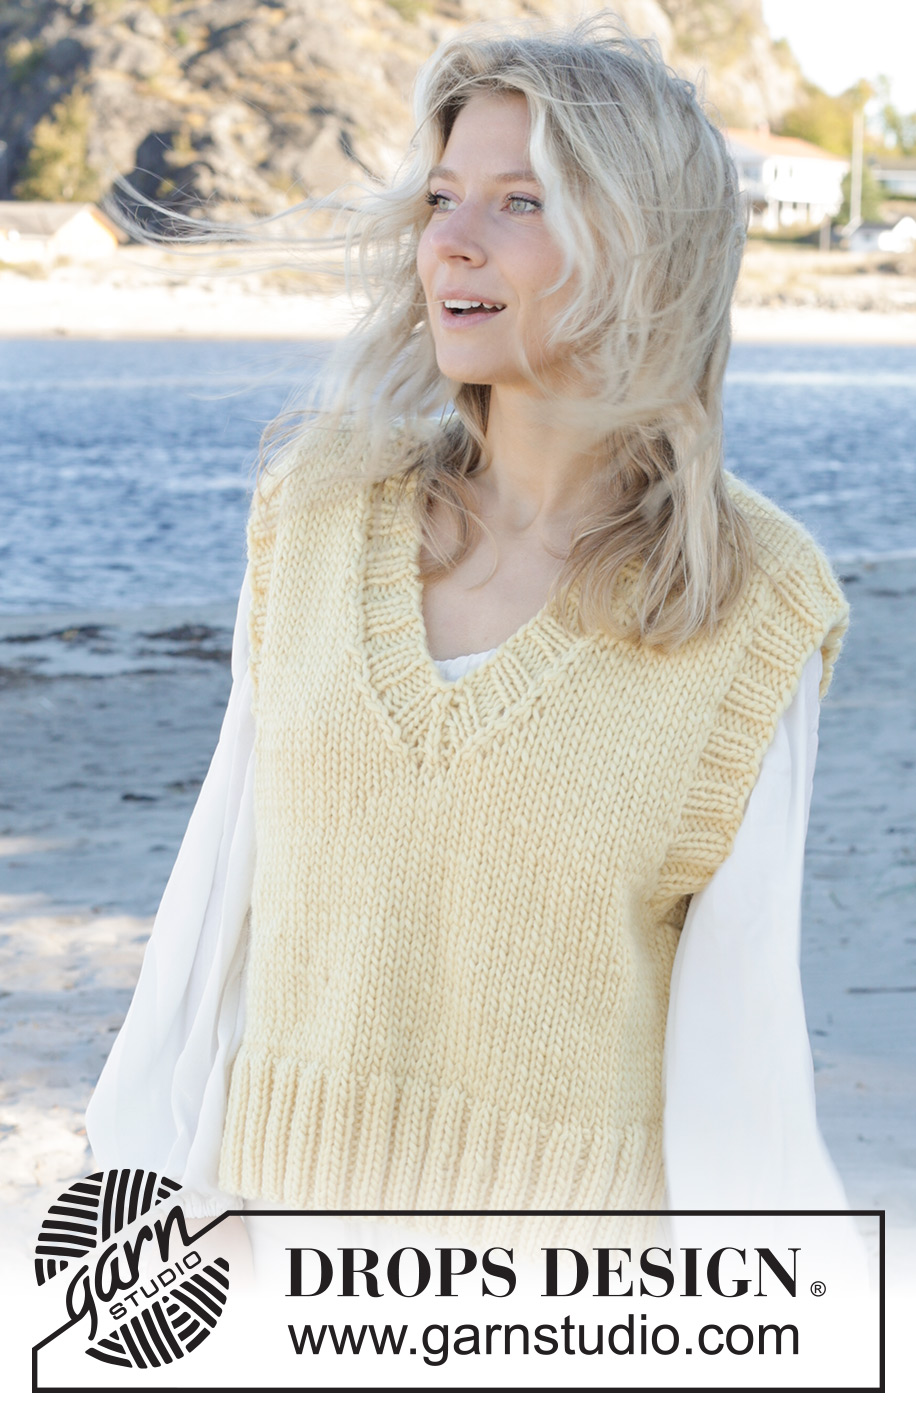
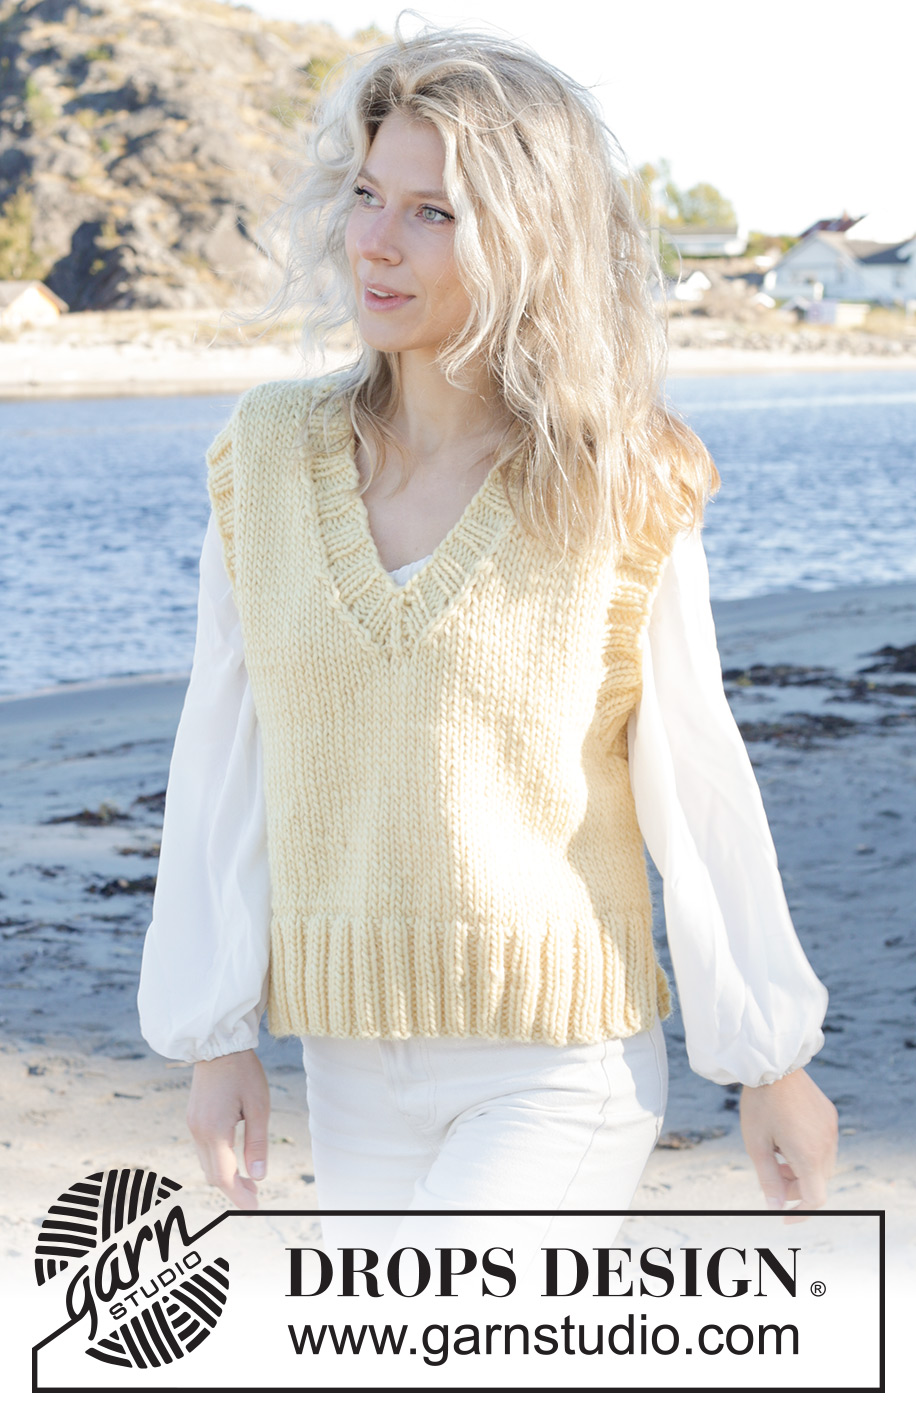
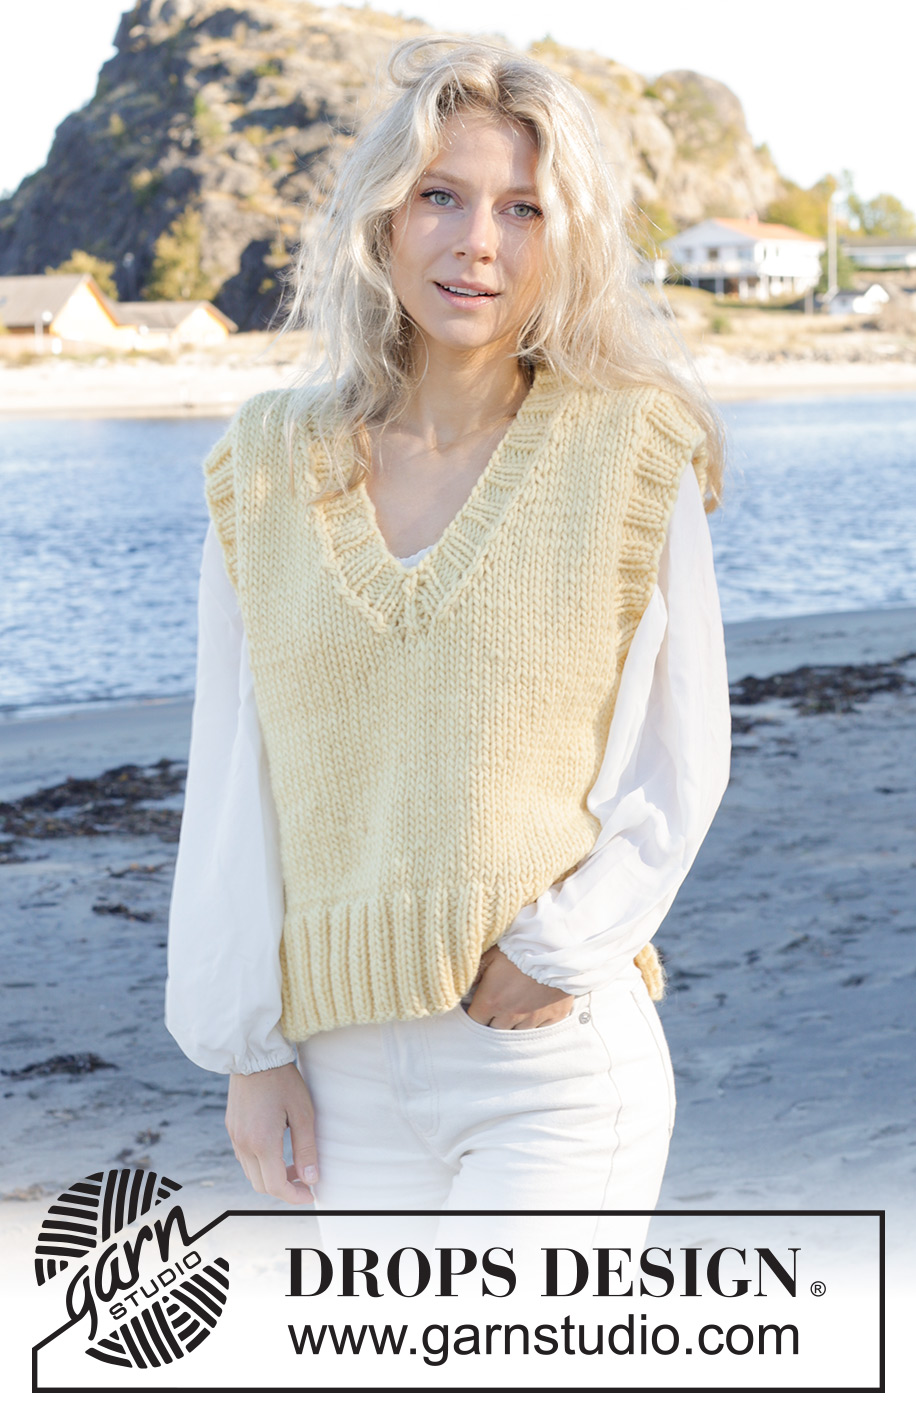
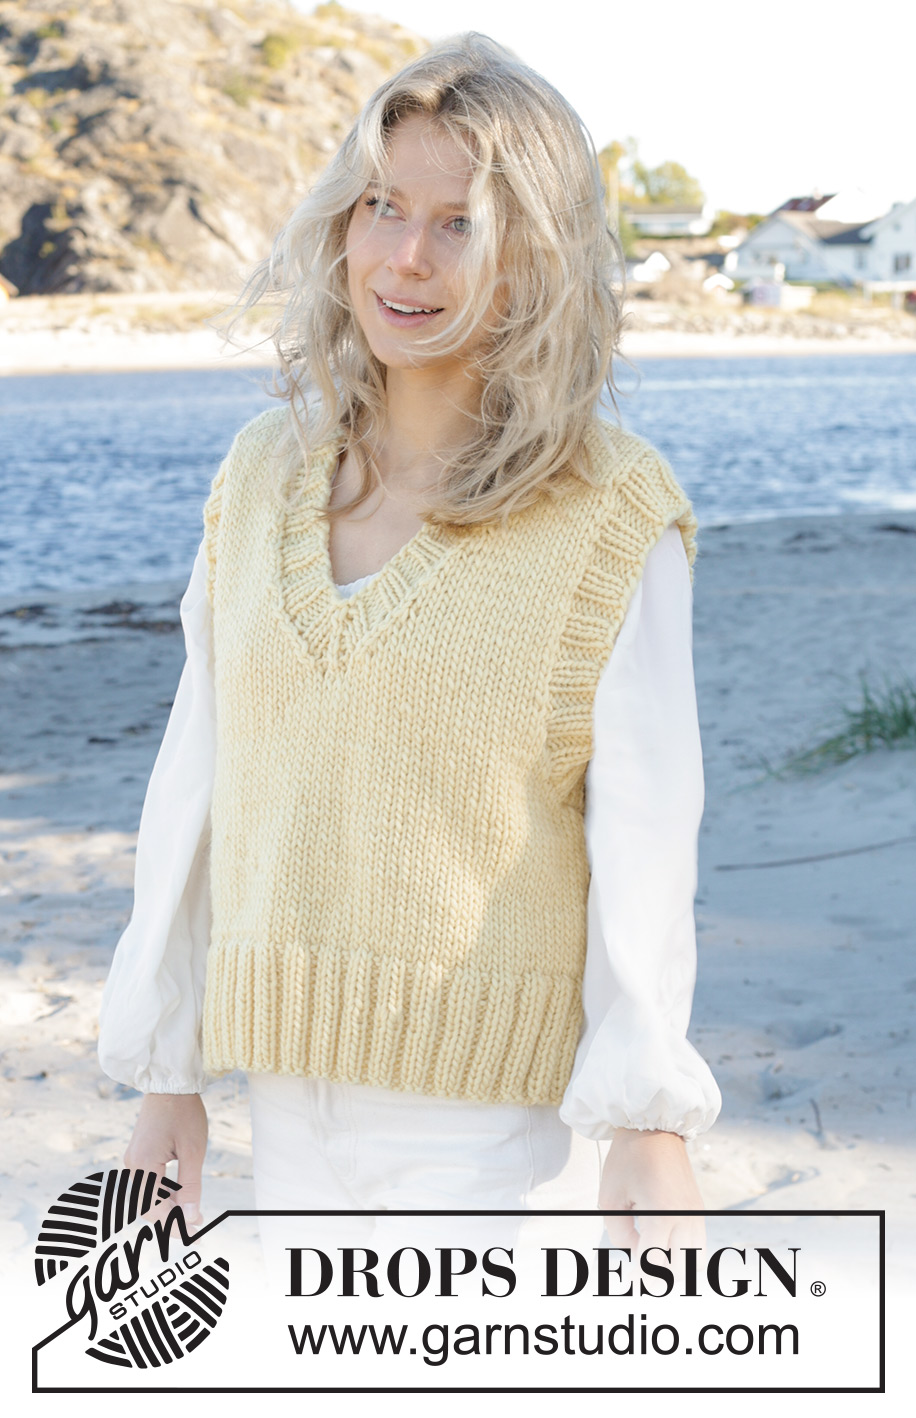
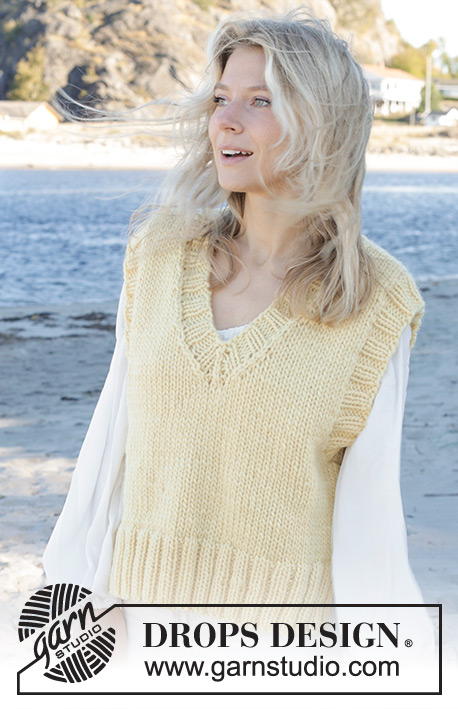
Campus Rally Vest#campusrallyvest |
|
 |
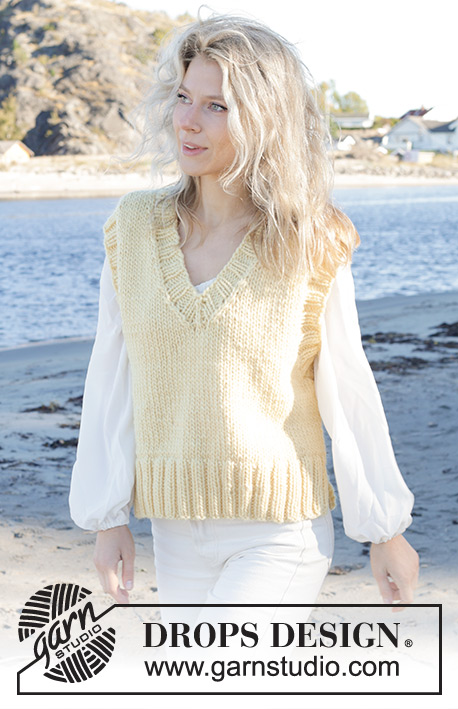 |
Chaleco de punto en 1 hilo DROPS Snow o 2 hilos DROPS Air. La pieza está tejida de abajo hacia arriba en punto jersey, con escote en V y abertura en los lados. Tallas S – XXXL.
DROPS 240-28 |
|
|
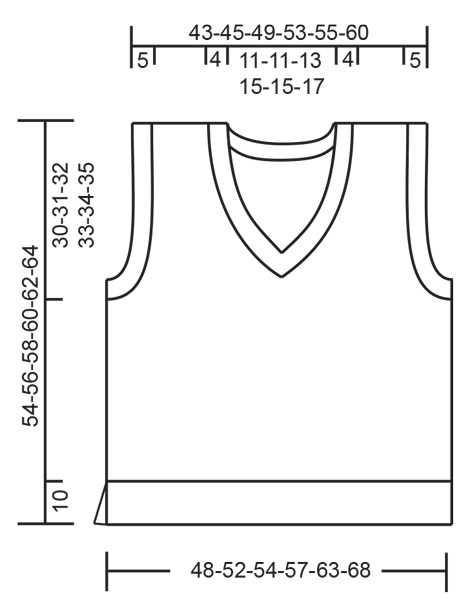
EXPLICACIONES PARA REALIZAR EL PATRÓN: ------------------------------------------------ SURCO/PUNTO MUSGO (tejido de ida y vuelta): Tejer todas las hileras de derecho. 1 surco = tejer 2 hileras de derecho. TIP PARA DISMINUIR (aplicar al escote en V y a la orilla de las mangas): Tejer hasta que reste 1 punto antes del punto derecho al centro del frente/centro bajo la manga, deslizar 2 puntos como si se fuesen a tejer juntos de derecho, tejer 1 punto derecho, pasar los 2 puntos deslizados por encima del punto tejido (= 2 puntos disminuidos). Esto proporciona una orilla prolija y el punto derecho va a seguir formando una línea recta. ------------------------------------------------ COMENZAR LA PIEZA AQUÍ: ------------------------------------------------ CHALECO – RESUMEN DE LA PIEZA: La pieza del frente y la pieza de la espalda se tejen separadamente, de ida y vuelta y de abajo hacia arriba. La pieza se une con una costura, después se teje una orilla alrededor del escote en V y de las sisas. ESPALDA: Montar 68-72-76-80-88-96 puntos con aguja circular tamaño 7 mm y 1 hilo DROPS Snow o 2 hilos DROPS Air. Tejer la primera hilera de la manera siguiente por el lado derecho: 1 punto en PUNTO MUSGO – leer descripción arriba, resorte (2 derechos, 2 reveses) hasta que resten 3 puntos, tejer 2 derechos y 1 punto en punto musgo. Continuar este resorte durante 10 cm y con la hilera siguiente por el lado derecho. Tejer 1 punto en punto musgo, después punto jersey y disminuir 13-13-15-15-17-19 puntos distribuidos equitativamente y 1 punto en punto musgo = 55-59-61-65-71-77 puntos. Cambiar a aguja circular tamaño 8 mm y continuar con punto jersey y 1 punto en punto musgo a cada lado. ¡RECORDAR MANTENER LA MISMA TENSIÓN DE TEJIDO DE LA MUESTRA! Cuando la pieza mida 24-25-26-27-28-29 cm, rematar para las sisas a cada 2 hileras (al principio de cada hilera) de la manera siguiente: Rematar 3 puntos 1-1-1-1-2-2 veces, 2 puntos 0-1-1-1-1-1 vez y 1 punto 6-5-4-4-3-3 veces a cada lado = 37-39-43-47-49-55 puntos. Continuar con punto jersey. Cuando la pieza mida 51-53-55-57-59-61 cm, rematar los 19-19-21-23-23-25 puntos centrales para el escote y terminar cada hombro separadamente. Continuar con punto jersey y rematar 1 punto en la hilera siguiente a partir del escote – 8-9-10-11-12-14 puntos en el hombro. Continuar hasta que la pieza mida 54-56-58-60-62-64 cm. Rematar flojo de derecho por el lado derecho. Tejer el otro hombro de la misma manera. FRENTE: Montar y tejer de la misma manera como la pieza de la espalda hasta que el frente mida 24-25-26-27-28-29 cm. Rematar para las sisas de la misma manera como en la pieza de la espalda. AL MISMO TIEMPO, cuando la pieza mida 29-31-33-34-36-37 cm, dividir para el escote en V de la manera siguiente: Colocar el punto central en un hilo (= punto central, que estará en el hilo hasta que la orilla del escote se teja). Colocar los puntos después del punto central (visto por el lado derecho) en un hilo diferente y tejer la pieza del frente izquierdo. FRENTE IZQUIERDO: Continuar con punto jersey y 1 punto en punto musgo junto al escote – continuar a rematar para la sisa. En la primera hilera por el lado derecho tejer hasta que resten 3 puntos, tejer 2 puntos juntos de derecho (= 1 punto disminuido) y 1 punto en punto musgo. Disminuir así cada 2ª hilera 4-4-5-5-5-5 veces, después cada 4ª hilera 6-6-6-7-7-8 veces. Cuando todas las disminuciones para el escote estén terminadas, hay 8-9-10-11-12-14 puntos en el hombro. Continuar tejiendo hasta que la pieza mida 54-56-58-60-62-64 cm. Rematar. FRENTE DERECHO: Continuar con punto jersey y 1 punto en punto musgo junto al escote – continuar a rematar para la sisa. En la primera hilera por el lado derecho tejer 1 punto en punto musgo, deslizar 1 punto como de derecho, tejer 1 derecho y pasar el punto deslizado por encima del punto tejido (= 1 punto disminuido), después tejer como antes hasta el fin de la hilera. Disminuir así cada 2ª hilera 4-4-5-5-5-5 veces, después cada 4ª hilera 6-6-6-7-7-8 veces. Cuando todas las disminuciones para el escote estén terminadas, hay 8-9-10-11-12-14 puntos en el hombro. Continuar tejiendo hasta que la pieza mida 54-56-58-60-62-64 cm. Rematar. ENSAMBLAJE: Coser las costuras de los hombros. Coser las costuras de los lados, cosiendo en el bucle externo del punto más externo, tejiendo a partir de la parte de a bajo de las sisas y en dirección hacia abajo, dejando una abertura de 10 cm en la parte de abajo. ESCOTE EN V: Comenzar por el lado derecho en el centro del frente con 1 hilo DROPS Snow o 2 hilos DROPS Air. Usar aguja circular corta tamaño 7 mm y levantar 83 a 91 puntos alrededor del escote (incluyendo el punto en el hilo al centro del frente). El número de puntos debe ser múltiplo de 4 + 3. Comenzar en el punto central y tejer este punto de derecho, después tejer en resorte (2 reveses, 2 derechos). AL MISMO TIEMPO en cada 2ª vuelta disminuir 2 puntos al centro del frente – leer TIP PARA DISMINUIR. Continuar este resorte durante 4 cm. Rematar con derecho sobre derecho y revés sobre revés. ORILLA DE LAS MANGAS: Comenzar al centro bajo la manga con 1 hilo DROPS Snow o 2 hilos DROPS Air. Usar aguja circular corta tamaño 7 mm y levantar (por el lado derecho y en el interior de 1 punto) 71-83 puntos alrededor de la sisa (el número de puntos debe ser múltiplo de 4 + 3). Insertar un marcador en el primer punto (= centro bajo la manga) y tejer este punto de derecho, después tejer en resorte (2 reveses, 2 derechos). AL MISMO TIEMPO en cada 2ª vuelta disminuir 2 puntos al centro bajo la manga – recordar el TIP PARA DISMINUIR. Continuar este resorte durante 5 cm. Rematar con derecho sobre derecho y revés sobre revés. Tejer la orilla de la otra manga de la misma manera. |
|
 |
|
¿Terminaste este patrón?Entonces, etiqueta tus fotos con #dropspattern #campusrallyvest o envíalas a la galería #dropsfan. ¿Necesitas ayuda con este patrón?Encontrarás 27 videos tutoriales, un espacio para comentarios/preguntas y más visitando la página del patrón en garnstudio.com © 1982-2026 DROPS Design A/S. Todos los derechos reservados. Este documento, incluyendo todas sus sub-secciones, está protegido por los derechos de autor (copyright). Lee más acerca de lo que puedes hacer con nuestros patrones en la parte de abajo de cada patrón de nuestro sitio. |
|


Con más de 40 años en el diseño de modelos de punto y de ganchillo, DROPS Design ofrece una de las más vastas colecciones de patrones gratuitos en el internet - traducidos en 17 idiomas. Al día de hoy, contamos con 324 catálogos y 12290 patrones - de los cuales 11675 están traducidos en español.
Nosotros trabajamos con mucho esmero para brindarte lo mejor que las labores de punto y ganchillo tienen para ofrecer,inspiración y consejos, así como hilos de magnífica calidad a precios increíbles! Te gustaría usar nuestros patrones para otro fin además del uso personal? Puedes leer acerca de lo que estás permitida a hacer en el texto de Copyright en la parte de abajo de todos nuestros patrones. Felices labores!
Escribe un comentario sobre DROPS 240-28
¡Nos encantaría saber qué piensas acerca de este patrón!
Si quieres escribir una pregunta referente al patrón, por favor asegúrate de elegir la categoría correcta en el formulario debajo, para acelerar el proceso de respuesta. Los campos obligatorios están marcados con un *.