
Categorías populares
¿Buscas un hilo?


























Comentarios / Preguntas (46)
 Carmel escribió:
Hello, Can you please tell me how to increase the first stitch on the wrong side? Is it done purl wise? Thank you
31.10.2026 - 19:51DROPS Design respondió:
Hi Carmel, The increase in the first stitch is by knitting 2 stitches in the same stitch (both through the front and back loop). This is the same from both the right and wrong side (see Increase Tip-1 in the explanations). Regards, Drops Team.
01.11.2026 - 14:45
 Remy escribió:
How do I do the i-cord edge? understand how to do the k2fb, but it's coming out bumpy on the sides. I have watched the video, and reviewed the comments in 3 languages. And I have reworked it multiple times. Does it have something to do with the front or back position of the yarn? Is there anywzy you can re-word or go into more detail? Please help
29.10.2026 - 01:04DROPS Design respondió:
Hi Remy, It is important that the stitches are loose but of equal size when casting off with I-cord. This could be the reason your cast-off edge is bumpy. The yarn is held at the back of the piece when casting off. Regards, Drops Team.
29.10.2026 - 05:22
 Romaned escribió:
Bonjour, lors des augmentations sur l\'envers, en début de rang, doit t on les faire comme sur l\'endroit ?
16.10.2026 - 16:09DROPS Design respondió:
Bonjour Romaned, tout à fait, vous tricotez la 1ère et la dernière maille 2 fois à l'endroit aussi bien sur l'endroit que sur l'envers, les autres mailles se tricotent en jersey. Bon tricot!
16.10.2026 - 17:10
 Rebecka escribió:
"Sticka 1 varv avigt från avigsidan där det ökas 30 maskor jämnt fördelat (öka 15 maskor jämnt fördelat på varje sida av mittmaskan) = ca 225 maskor på varvet." Står inte hur denna ökning ska göras på avigsidan? Gör man den som det står att man ska göra på rätsidan blir det ett hål...
21.07.2026 - 09:23DROPS Design respondió:
Hei Rebecka. Du øker med 1 omslag (från avigsidan) og når du på neste pinne (från rätsidan), så skal det felles av med i-cord. Les i oppskriften under: I-CORD AVMASKNING. Omslaget gjør at avfellingskanten ikke strammer, blir ingen hull. mvh DROPS Design
05.08.2026 - 08:03
Julie escribió:
Bonjour, Je n’arrive pas á comprendre comment tricoter le jeté après le marqueur lorsque je suis sur le rang envers. D’avance merci pour l’aide apportée
25.06.2026 - 18:47DROPS Design respondió:
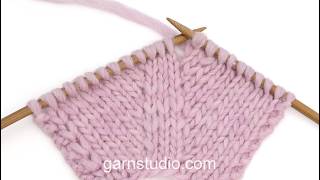
Bonjour Julie, découvrez ici, en vidéo, comment tricoter ces jetés sur l'envers, avant et après le marqueur, ainsi que le rendu final, notez que dans la vidéo, on a 3 m jersey entre les augmentations contre 1 seule pour le châle, tricotez bien 1 seule maille entre les augmentations comme dans le châle et non comme dans la vidéo (qui ne montre que la technique). Bon tricot!
26.06.2026 - 07:14
 Hanne Van Den Berge escribió:
“Brei 1 naald averecht aande verkeerde kant terwijl u 30 steken verdeeld meerdert”. Met wat voor steek meerder je aan de verkeerde kant?
16.06.2026 - 19:59DROPS Design respondió:
Dag Hanne,
Dat staat inderdaad niet duidelijk aangegeven. Je zou dit kunnen doen door 2 steken in 1 steek te breien of de draad tussen 2 steken van de vorige naald op te nemen en deze gedraaid te breien.
17.06.2026 - 21:02
 Andrea escribió:
Hallo, meine Frage ist: Wieso werden die Rückreihen auch mit rechten Maschen gestrickt? Das Tuch ist doch nicht in kraus rechts. Danke.
23.04.2026 - 15:37DROPS Design respondió:
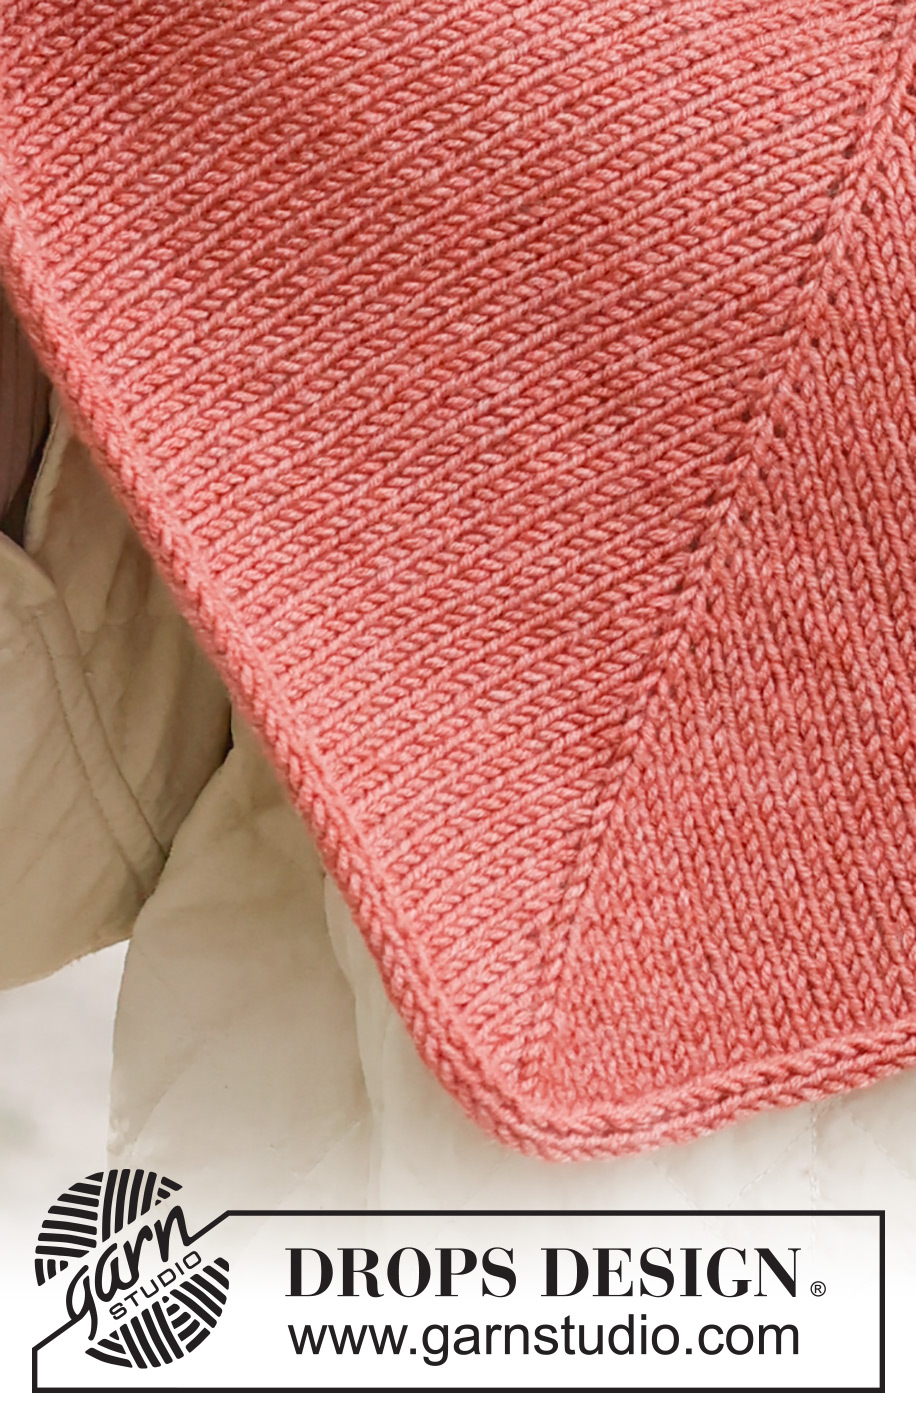
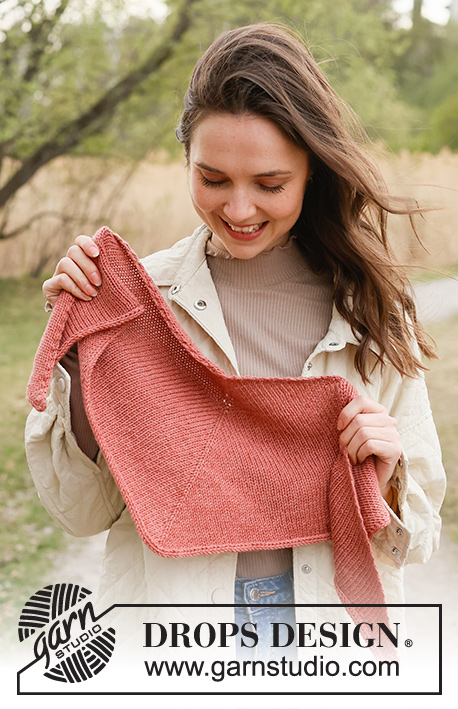
Liebe Andrea, hier ist das Tuch glattrechts gestrickt (sieh 3. Foto vielleicht?) wenn man Glatt rechts strickt, soll man die Hin-Reihen rechts und di Rück-Reihen links stricken. Viel Spaß beim Stricken!
23.04.2026 - 16:43
Nina escribió:
Hi! Regarding the increases at the beginning and the end of eacht row, these should be on both the right side, as well as the wrong side? When I follow the instructions from the pattern INCREASE TIP 1 (and according to the instruction video) on both sides, my edge does not look like the edge on the pictures of the pattern. Can you please elaborate? Thanks!
05.01.2026 - 14:21
 Lucie Michaud escribió:
Hi! Regarding these increases at the beginning and at the end of each row on the wrong side “ROW 2 (wrong side): Increase 1 stitch in the first stitch …increase 1 stitch in the last stitch.” I did a purl front back since we are on the purl side, but should I follow the INCREASE TIP 1 and make a knit front back even on the wrong side? Thanks!
05.01.2026 - 01:03DROPS Design respondió:
Dear Lucie, you should increase as shown in the TIP, so you should knit front back from the wrong side as well. Happy knitting!
11.01.2026 - 23:49
Anne escribió:
Jag undrar om arbetets längd. 24 eller 29 cm? ”Sticka till arbetet mäter 29 cm längs mittmaskan, avsluta efter ett varv från rätsidan. Arbetet mäter nu ca 24 cm mätt längs stickriktningen, och det är ca 195 maskor på varvet.”
02.01.2026 - 08:10DROPS Design respondió:
Hi Anne, along the centre stitch, the length of the work is 29 cm, but at the same time, the length of the shawl from the centre to the side (along the right stitch) is only 24 cm, because the shawl is triangular in shape. Happy knitting!
02.01.2026 - 12:49
|
|
Spanish Rose#spanishroseshawl |
|
 |
 |
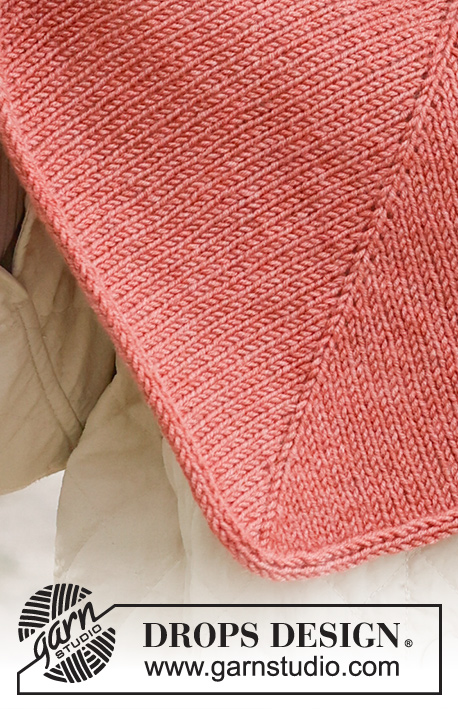
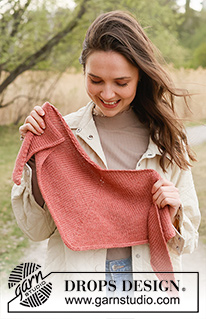
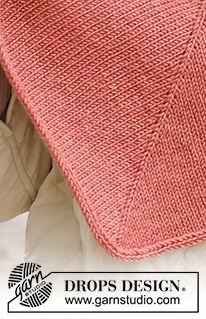
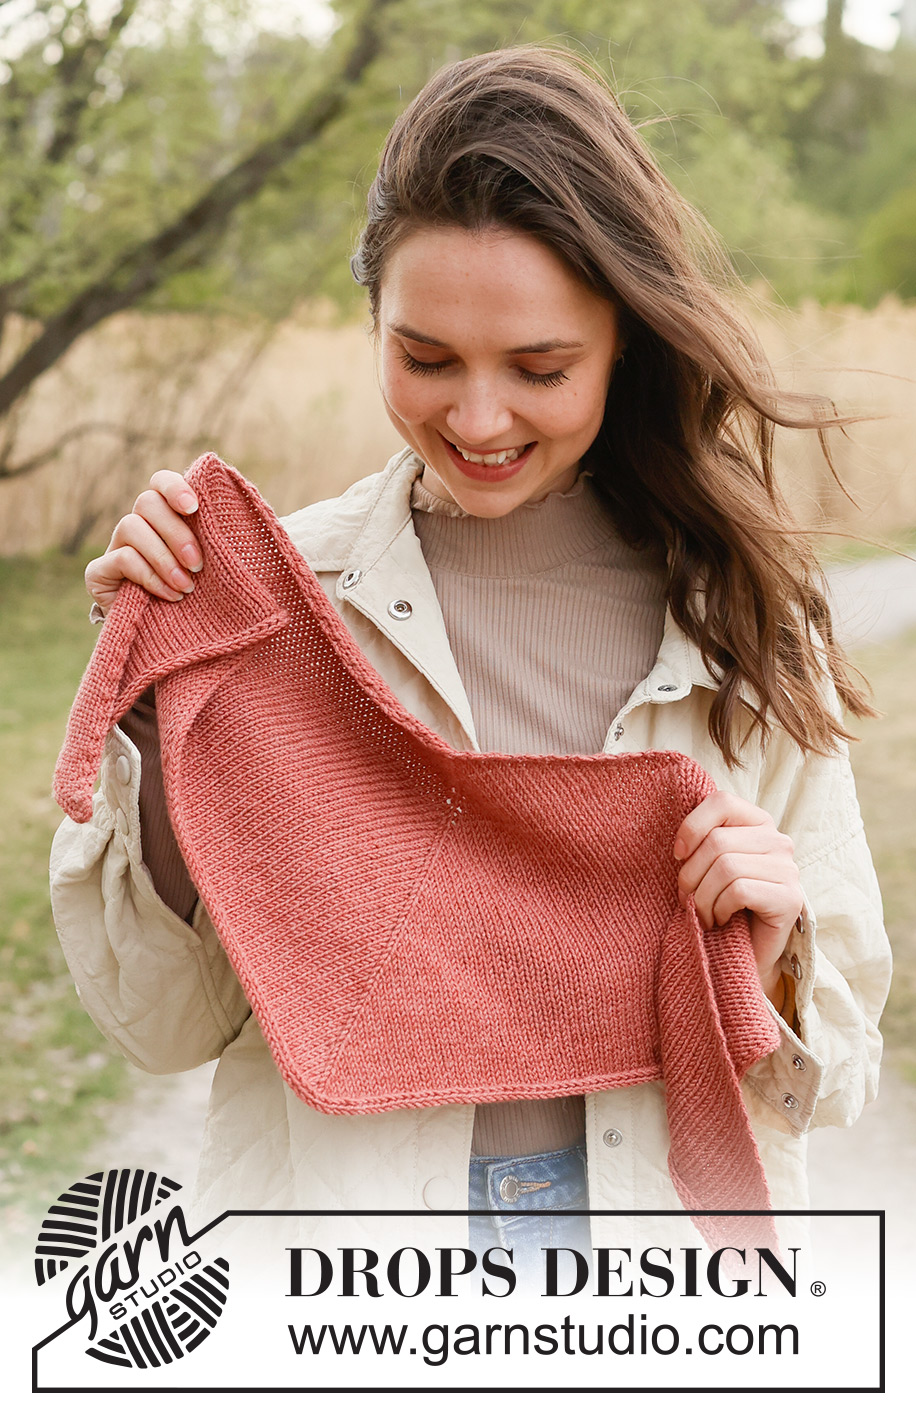
Chal a punto en DROPS Merino Extra Fine. La labor está realizada de arriba abajo, con punto jersey y borde I-cord.
DROPS 234-49 |
|
|
EXPLICACIONES PARA REALIZAR LA LABOR: ------------------------------------------------------- TIP-1 PARA LOS AUMENTOS (lados): 1 derecho en el bucle anterior y posterior del mismo punto (1 punto aumentado). TIP-2 PARA LOS AUMENTOS (centro): Todos los aumentos se trabajan por el lado derecho! Hacer 1 hebra a cada lado del punto con el marcapuntos (2 puntos aumentados). Después trabajar las hebras como sigue por el lado revés: ANTES DEL MARCAPUNTOS: Trabajar la hebra de revés en el bucle posterior = no queda un agujero. DESPUÉS DEL MARCAPUNTOS: Deslizar la hebra de la aguja izquierda y sustituir de la otra manera (insertar la aguja desde atrás al sustituirla). Trabajar la hebra de revés en el bucle anterior = no queda un agujero. Trabajar los puntos nuevos en punto jersey. ------------------------------------------------------- COMENZAR LA LABOR AQUÍ: ------------------------------------------------------- CHAL - RESUMEN DE LA LABOR: La labor se trabaja de ida y vuelta con una aguja circular, de arriba abajo. Cerrar con un borde I-cord. CHAL: Montar 5 puntos con una aguja circular de 4.5 mm y DROPS Merino Extra Fine. Insertar 1 marcapuntos en el punto central. FILA 1 (lado derecho): Aumentar 1 punto en el 1º punto - leer TIP-1 PARA LOS AUMENTOS, trabajar en punto jersey hasta el punto con el punto con el marcapuntos, aumentar 1 punto a cada lado del punto con el marcapuntos – leer TIP-2 PARA LOS AUMENTOS, trabajar en punto jersey hasta que quede 1 punto, aumentar 1 punto en el último punto – leer TIP-1 PARA LOS AUMENTOS. FILA 2 (lado revés): Aumentar 1 punto en el 1º punto, trabajar en punto jersey hasta que quede 1 punto, (recordar TIP-2 PARA LOS AUMENTOS describe cómo se trabajan las hebras por el lado revés), aumentar 1 punto en el último punto. Repetir las filas 1 y 2 hasta que la labor mida 29 cm medidos por el punto central. RECORDAR MANTENER LA TENSIÓN DEL TEJIDO! Finalizar después de una fila por el lado derecho. La labor mide 21 cm en la dirección del tejido y hay 165 puntos. Trabajar 1 fila de revés por el lado revés en la que se aumenten 30 puntos repartidos (15 puntos a cada lado del punto central) = 195 puntos. Cerrar con I-cord como se describe debajo. REMATE I-CORD: Es importante cerrar flojo para que el chal tenga buena caída. Trabajar puntos flojos, iguales. Trabajar como sigue: * 2 derechos, 2 puntos juntos de derecho retorcido, colocar los 3 puntos desde la aguja derecha de vuelta a la aguja izquierda (en el mismo orden) *. Trabajar de * a * hasta que se hayan cerrado todos los puntos en la aguja izquierda y hay 3 puntos en la aguja derecha, mover estos de vuelta a la aguja izquierda y cerrarlos. Cortar y asegurar el hilo. |
|
¿Terminaste este patrón?Entonces, etiqueta tus fotos con #dropspattern #spanishroseshawl o envíalas a la galería #dropsfan. ¿Necesitas ayuda con este patrón?Encontrarás 9 videos tutoriales, un espacio para comentarios/preguntas y más visitando la página del patrón en garnstudio.com © 1982-2026 DROPS Design A/S. Todos los derechos reservados. Este documento, incluyendo todas sus sub-secciones, está protegido por los derechos de autor (copyright). Lee más acerca de lo que puedes hacer con nuestros patrones en la parte de abajo de cada patrón de nuestro sitio. |
|






Con más de 40 años en el diseño de modelos de punto y de ganchillo, DROPS Design ofrece una de las más vastas colecciones de patrones gratuitos en el internet - traducidos en 17 idiomas. Al día de hoy, contamos con 333 catálogos y 12532 patrones - de los cuales 12026 están traducidos en español.
Nosotros trabajamos con mucho esmero para brindarte lo mejor que las labores de punto y ganchillo tienen para ofrecer,inspiración y consejos, así como hilos de magnífica calidad a precios increíbles! Te gustaría usar nuestros patrones para otro fin además del uso personal? Puedes leer acerca de lo que estás permitida a hacer en el texto de Copyright en la parte de abajo de todos nuestros patrones. Felices labores!
Escribe un comentario sobre DROPS 234-49
¡Nos encantaría saber qué piensas acerca de este patrón!
Si quieres escribir una pregunta referente al patrón, por favor asegúrate de elegir la categoría correcta en el formulario debajo, para acelerar el proceso de respuesta. Los campos obligatorios están marcados con un *.