
Categorías populares
¿Buscas un hilo?


Comentarios / Preguntas (30)
![]() Lieke escribió:
Lieke escribió:
Hoi, Ik ben momenteel deze muts aan het breien en ik snap de afmetingen niet helemaal. Bovenaan het patroon staat dat de muts inclusief boord 25cm wordt voor een maat M-L. In het patroon staat dat ik 25cm moet breien en daarna 16cm in boordsteek waarna ik het boord twee keer 5cm omvouw. Ligt het aan mijn slechte berekeningen of kom je dan uit op 30cm?
03.09.2023 - 13:57DROPS Design respondió:
Dag Lieke,
Ja, dat klopt. Je breit in totaal 30 cm. Na het omvouwen is de lengte ongeveer 24 cm. (Ik ben even uitgegaan van de kleinste maat.)
04.09.2023 - 20:24
![]() Emilia escribió:
Emilia escribió:
Dzień dobry, mam pytanie, gdy robię czapkę od razu na drutach z żyłką to na górze jak rozpoczynam 10 oczkami, to mam dziurę, jak jej uniknąć lub ją wyeliminować?
12.07.2023 - 20:25DROPS Design respondió:
Witaj Emilio, po skończonej pracy za pomocą igły i nitki zaciśniesz otwór, przeciągając nitkę przez skrajne pętelki tych 10 oczek. Pozdrawiamy!
13.07.2023 - 09:01
![]() Inge escribió:
Inge escribió:
Hej Jeg kan ikke forstå at der skal sættes maskemarkører i en maske. De sidder da altid mellem masker. Derfor går det på ingen måde op med at der er 4 masker mellem hver markør, når der er 20 masker og I vil sætte 4 markører. .???
26.12.2022 - 13:41DROPS Design respondió:
Hei Inge. En maskemarkør behøver ikke å sitte mellom 2 masker. Den settes der det står beskrevet i oppskriften. I denne oppskriften settes det 4 markører i arbeidet når du har 20 masker (= 1-2-3-4-5 (5. maske får markør)-6-7-8-9-10 (10.maske får markør)- 11-12-13-14-15(15. maske får markør)-16-17-18-19-20 (20. maske får markør) ) = altså maske 5-10-15-20 er masker med markører og da er det 4 masker mellom hver maske med markør. mvh DROPS Design
02.01.2023 - 11:34
![]() Susan escribió:
Susan escribió:
Hi! I really dont understand this part: "SIZE M/ L AND L/XL: Knit 1 round while increasing on each side of the 0-2-1 markers on round = 96-102 stitches" Does it mean that we have to do increases only in 3 of the markers in every round? and what kind of increase is it yarn over, M1R, M1L?
21.12.2022 - 18:36DROPS Design respondió:
Dear Susan, in the first size, you won't increase, in the 2nd size you will increase on each side of 2 markers (not on the 4 markers) and in the larger size you will incrase on each side of only 1 marker, so that you will increase on this round 4 sts in the 2nd size and 2 sts in the 3rd size. Increases are now done in all sizes. Increase as before; ie as explained under INCREASE TIP. Happy knitting!
22.12.2022 - 08:49
![]() Glas escribió:
Glas escribió:
Hallo, mit welcher Nadelstärke soll man die Maschenprobe machen?
10.11.2022 - 08:34DROPS Design respondió:
Liebe Frau Glas, die Maschenprobe wird mit der grösseren Nadeln gestrickt. Viel Spaß beim stricken!
10.11.2022 - 10:36
![]() Joanna escribió:
Joanna escribió:
Hi! I’ have a problem understanding what does it mean to insert a marker IN a stitch. I usually put them between stitches, so am not sure how should insert one into a Stitch and how would it then follow with the rest of the work (as you have to add Stiches around the marker for several rows?). Sadly I couldn’t find any instruction videos on that, so I would be very grateful if you could help me understand :)
24.10.2022 - 23:13DROPS Design respondió:
Witaj Joanno, zobacz na przykładzie video TUTAJ jak to wygląda, gdy markery są włożone w oczko (a nie między oczkami). Powodzenia!
25.10.2022 - 07:50
![]() Pernille escribió:
Pernille escribió:
Der står der skal sættes 4 makører, så der er 4 masker mellem hver markør - der er 20 masker, skal der så ikke sættes 5 markører eller skal der være 5 masker mellem hvert markør?
22.10.2022 - 14:02DROPS Design respondió:
Hej Pernille, Sæt markøren i hver 5.maske, så har du 4 masker imellem hver :)
25.10.2022 - 13:25
![]() Anne-Mette escribió:
Anne-Mette escribió:
Hvad betyder " strik fra *-* omgangen rundt. " fra første omgang? Og " omslagene strikkes drejet ret" fra anden omgang?
20.10.2022 - 14:41
![]() Ania escribió:
Ania escribió:
Dzień dobry, jaka ilość oczek należy nabrać na druty 4mm z żyłka 40 cm, aby zrobić taka czapke? Dziękuje!
08.10.2022 - 10:13DROPS Design respondió:
Witaj Aniu, czapka jest przerabiana od góry do dołu. Najpierw nabierasz 10 oczek na drutach pończoszniczych nr 4, a dalej postępujesz zgodnie z opisem, czyli dodajesz oczka w zależności od tego, który z 3 rozmiarów chcesz wykonać. Zaczynasz pracować na drutach z żyłką dopiero gdy masz już dostateczną liczbę oczek na drutach. Nie wiem czy o to Ci chodziło. Jeśli nie to proszę napisz. Pozdrawiamy!
10.10.2022 - 09:37
![]() Ariel escribió:
Ariel escribió:
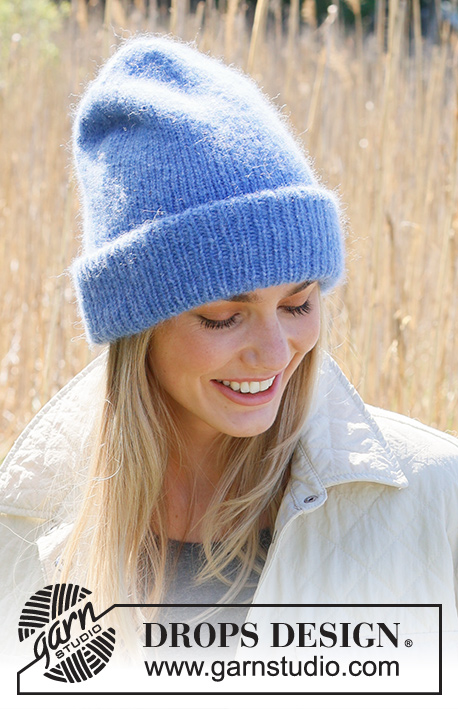
Hi! I was wondering if you could tell me what colour yarn is used in the photo? the colour is absolutely incredible and I just wanted to make sure I'm ordering the right one! Cheers !
12.09.2022 - 22:39DROPS Design respondió:
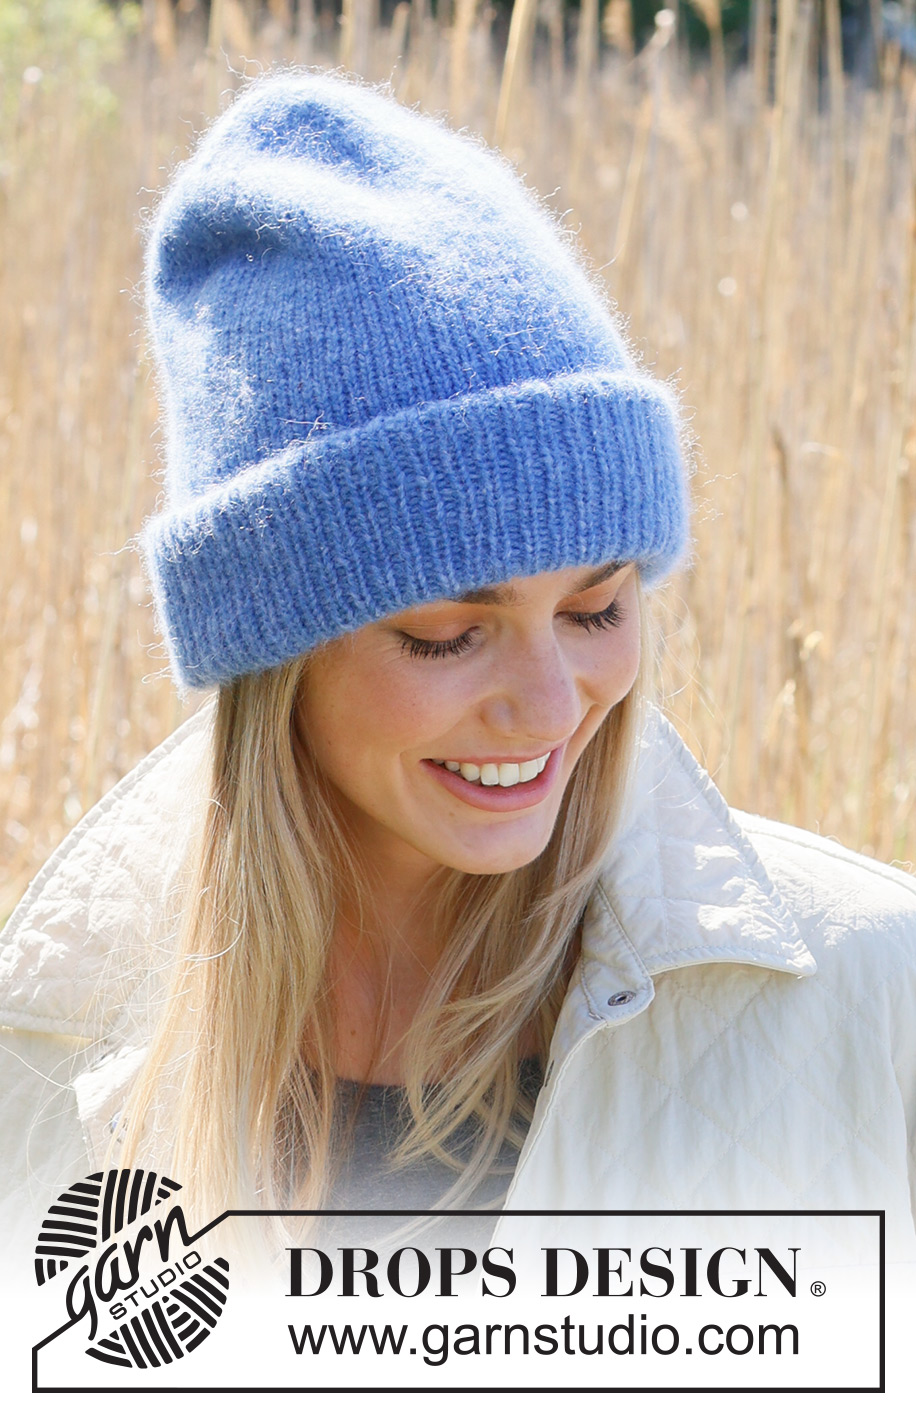
Dear Ariel, the color is stated in the materials section: DROPS Air color 16, blue. The actual yarn may vary slightly in color to the one in the photo, due to different dyelots and the lightning of the photo or your screen. Happy knitting!
12.09.2022 - 22:48
|
|
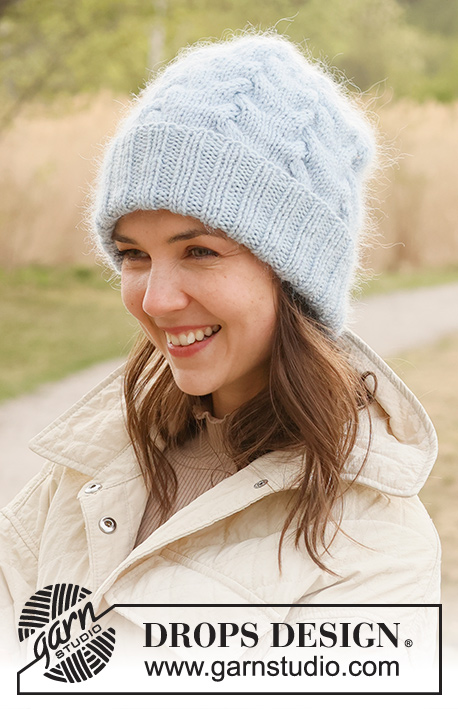
Isle Waters#islewatersbeanie |
|
 |
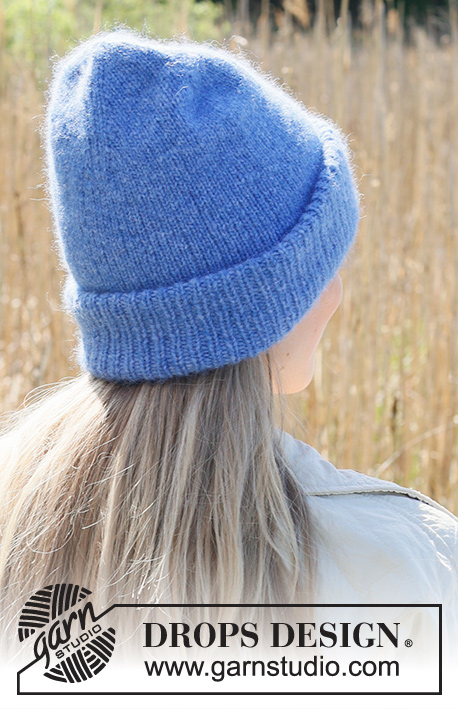 |
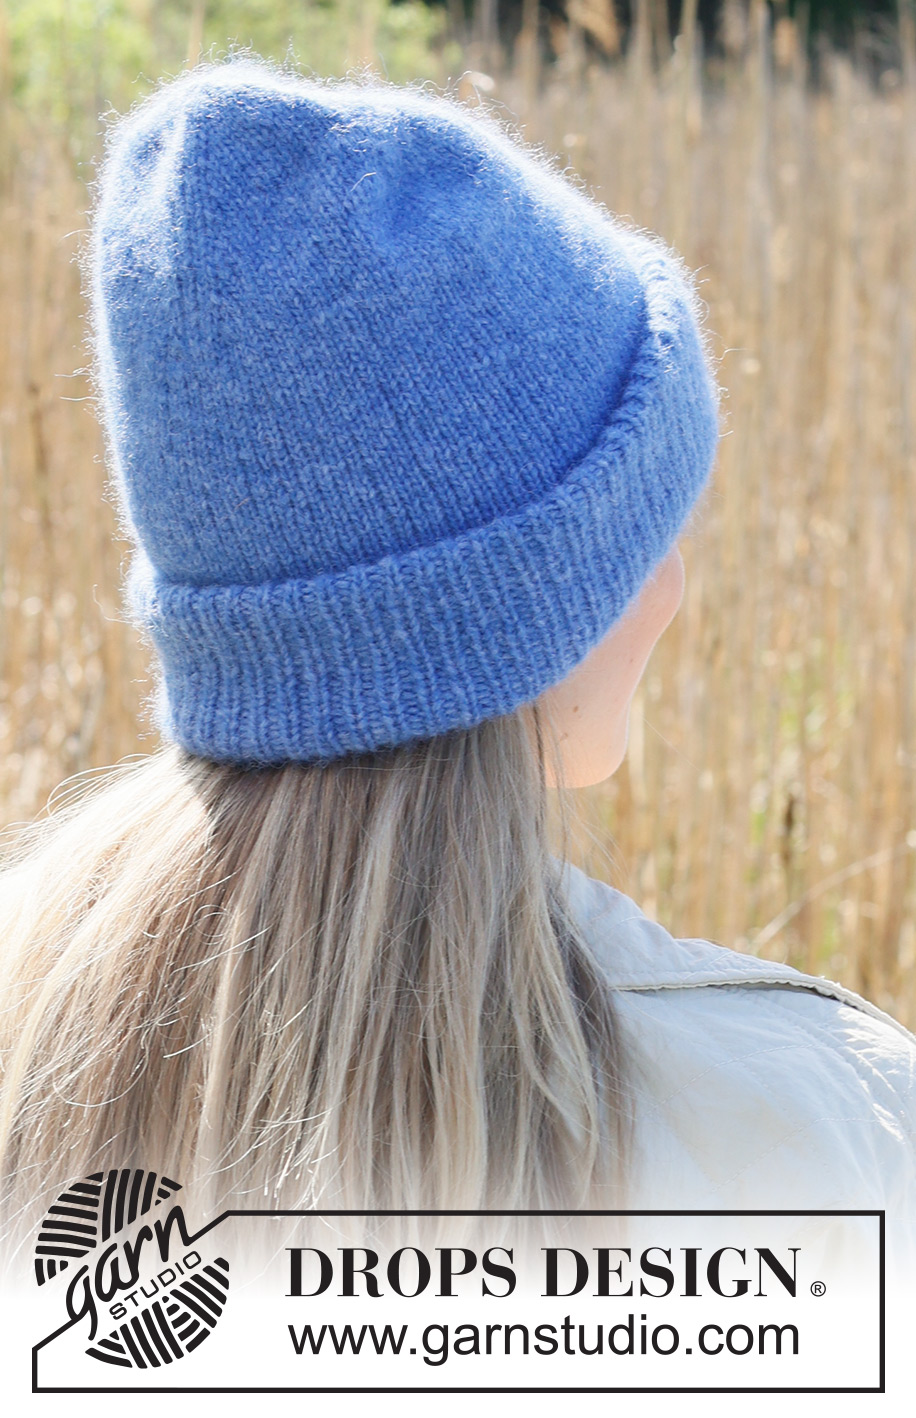
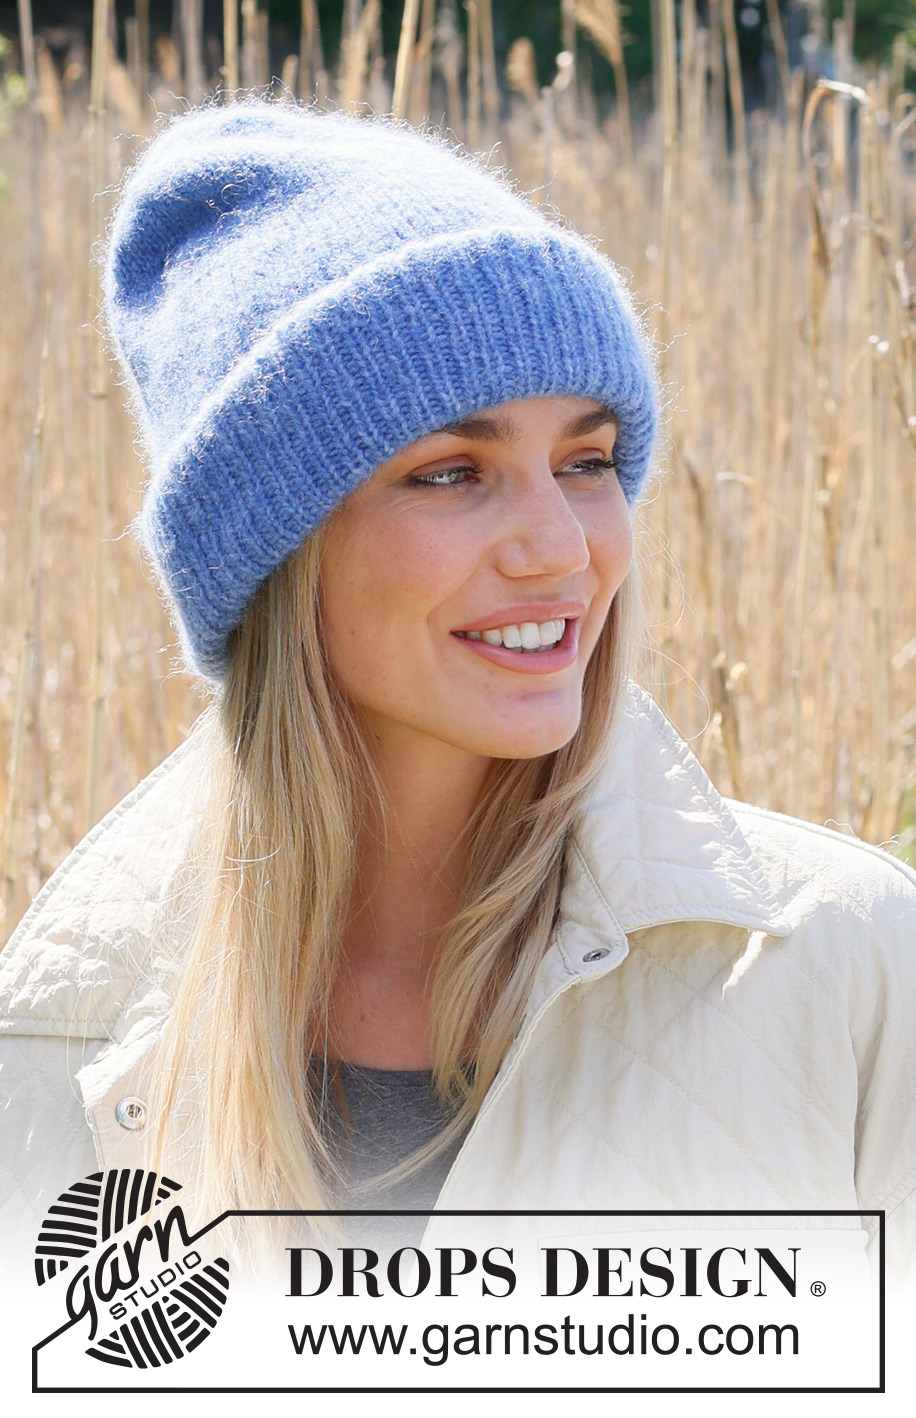
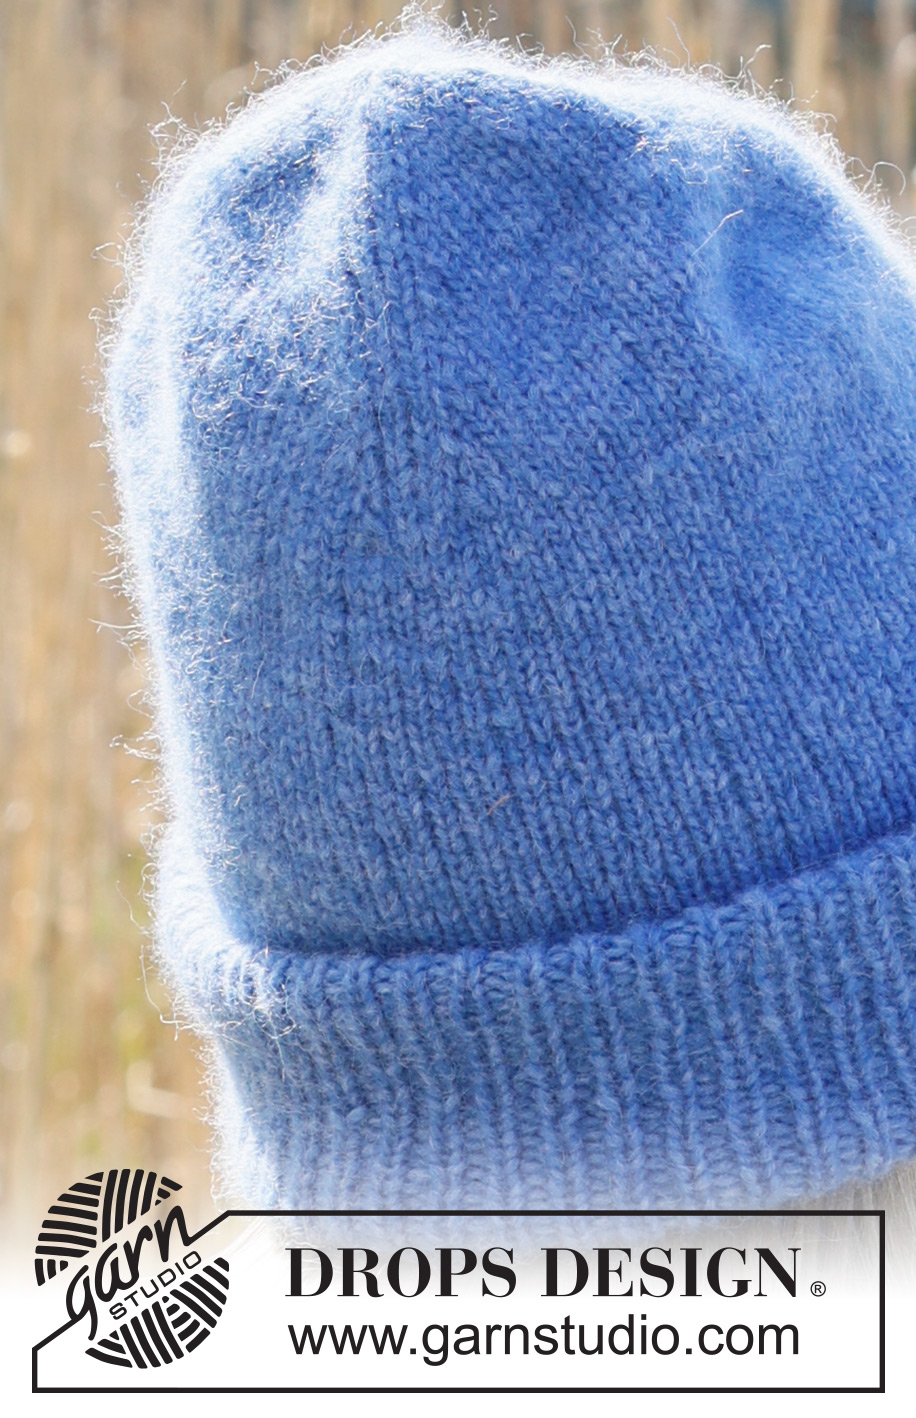
Gorro/ gorro hipster a punto en DROPS Air. La labor está realizada de arriba abajo en punto jersey con dobladillo en punto elástico.
DROPS 234-9 |
|
|
EXPLICACIONES PARA REALIZAR LA LABOR: ---------------------------------------------------------- TIP PARA AUMENTOS: Aumentar a cada lado de cada punto con un marcapuntos como sigue: Trabajar hasta que quede 1 punto antes del punto con un marcapuntos, hacer 1 hebra, 3 derechos (el marcapuntos está en el punto central de estos puntos), hacer 1 hebra (2 puntos aumentados). En la siguiente fila trabajar las hebras de derecho retorcido. ---------------------------------------------------------- COMENZAR LA LABOR AQUÍ: ---------------------------------------------------------- GORRO - RESUMEN DE LA LABOR: Trabajar en redondo de arriba abajo con agujas de doble punta, cambiar a una aguja circular cuando sea necesario. GORRO: Montar 10 puntos con agujas de doble punta de 4 mm con DROPS Air. VUELTA 1: * 1 derecho, hacer 1 hebra *, trabajar de * a * la vuelta entera. VUELTA 2: Trabajar de derecho y trabajar las hebras de derecho retorcido = 20 puntos. Insertar 4 marcapuntos, insertar los marcapuntos en el punto, de modo que haya 4 puntos entre cada marcapuntos en la vuelta. Después trabajar en punto jersey y aumentar 1 punto a cada lado del punto con marcapuntos - leer TIP PARA LOS AUMENTOS (= 8 puntos aumentados en la vuelta): Aumentar de esta manera cada 3ª vuelta un total de 9-9-10 veces = 92-92-100 puntos. RECORDAR MANTENER LA TENSIÓN DEL TEJIDO! TALLA M/ L Y L/XL: Trabajar 1 vuelta de derecho y al mismo tiempo aumentar a cada lado de los 0-2-1 marcapuntos en la vuelta = 96-102 puntos. TODAS LAS TALLAS: La labor mide aprox. 11-11-12 cm. Trabajar en punto jersey hasta que la labor mida aprox. 24-25-26 cm. Cambiar a una aguja circular de 3.5 mm. Trabajar 1 vuelta de derecho y al mismo tiempo aumentar 16-18-18 puntos repartidos = 108-114-120 puntos. Trabajar el elástico (1 derecho/ 1 revés) 16 cm. Cerrar puntos con derecho sobre derecho y revés sobre revés - asegúrate de evitar que el borde de remate quede tenso. Doblar los 5 cm inferiores dos veces hacia el lado derecho. |
|
¿Terminaste este patrón?Entonces, etiqueta tus fotos con #dropspattern #islewatersbeanie o envíalas a la galería #dropsfan. ¿Necesitas ayuda con este patrón?Encontrarás 17 videos tutoriales, un espacio para comentarios/preguntas y más visitando la página del patrón en garnstudio.com © 1982-2026 DROPS Design A/S. Todos los derechos reservados. Este documento, incluyendo todas sus sub-secciones, está protegido por los derechos de autor (copyright). Lee más acerca de lo que puedes hacer con nuestros patrones en la parte de abajo de cada patrón de nuestro sitio. |
|


Con más de 40 años en el diseño de modelos de punto y de ganchillo, DROPS Design ofrece una de las más vastas colecciones de patrones gratuitos en el internet - traducidos en 17 idiomas. Al día de hoy, contamos con 325 catálogos y 12298 patrones - de los cuales 11698 están traducidos en español.
Nosotros trabajamos con mucho esmero para brindarte lo mejor que las labores de punto y ganchillo tienen para ofrecer,inspiración y consejos, así como hilos de magnífica calidad a precios increíbles! Te gustaría usar nuestros patrones para otro fin además del uso personal? Puedes leer acerca de lo que estás permitida a hacer en el texto de Copyright en la parte de abajo de todos nuestros patrones. Felices labores!
Escribe un comentario sobre DROPS 234-9
¡Nos encantaría saber qué piensas acerca de este patrón!
Si quieres escribir una pregunta referente al patrón, por favor asegúrate de elegir la categoría correcta en el formulario debajo, para acelerar el proceso de respuesta. Los campos obligatorios están marcados con un *.