
Categorías populares
¿Buscas un hilo?















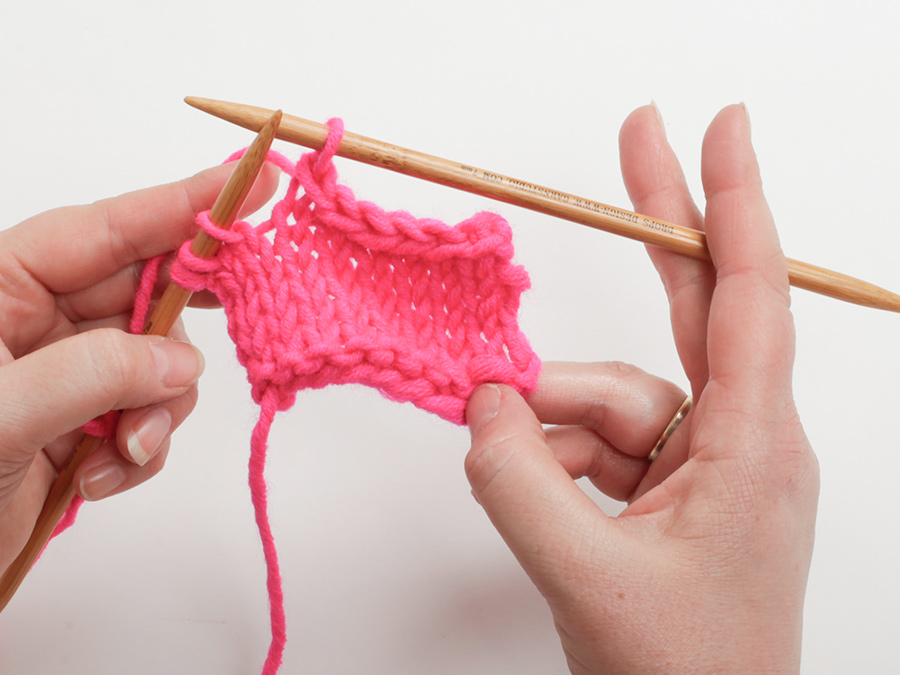
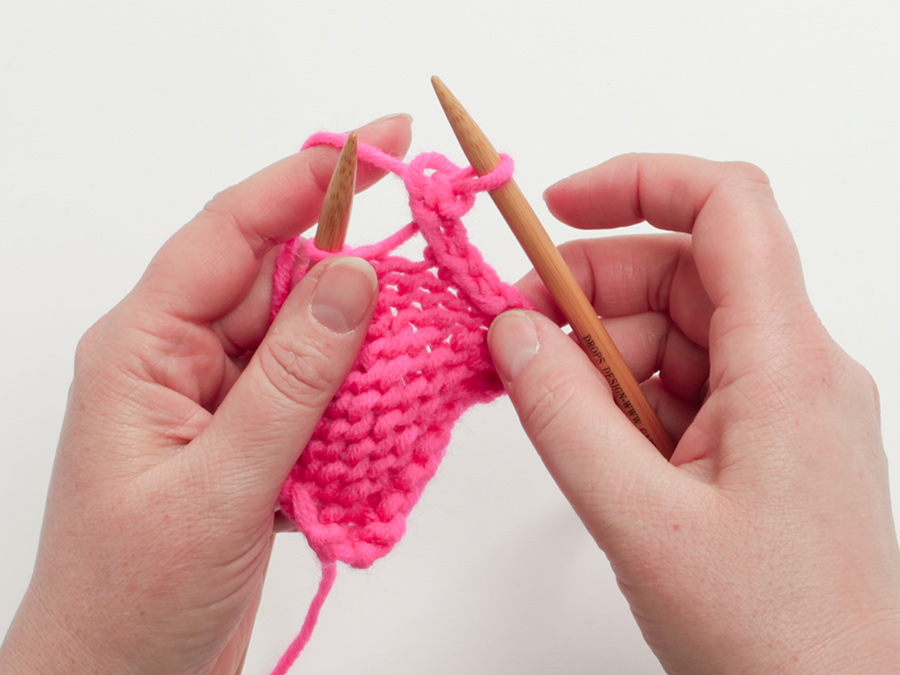
Comentarios / Preguntas (107)
 Linnéa escribió:
Hej! När fram- och bakstycket är klart är framstyckets axlar som ska monteras ihop mer än dubbelt så breda som bakstyckets. Stämmer det eller skulle jag ha minskat för armhål även på framstycket? Tack!
04.10.2026 - 20:49DROPS Design respondió:
Hei Linnéa. Ja, framstycket skal strikkes som bakstycket frem til arbeidet måler 45-47-48-50-51-53 cm. Det vil si at når framstycket måler 24-25-26-27-28-29 cm, maskas det av till ärmhål på vartannat varv (i början av varje varv) i varje sida så här: Maska av 3 maskor 1-1-1-1-1-2 gånger, 2 maskor 0-1-2-2-3-3 gånger och 1 maska 5-4-3-5-6-5 gånger = 36-38-40-42-44-48 maskor. Sticka slätstickning. Men når arbetet mäter 45-47-48-50- 51-53 cm, så maskas de mittersta 8-8-8-10-10-10 maskorna av till hals och varje axel stickas färdig för sig. mvh DROPS Design
05.10.2026 - 09:49
 Susan escribió:
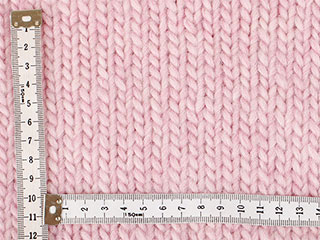
Do you recommend washing and blocking the gauge before measuring?
27.09.2026 - 10:13DROPS Design respondió:
Dear Susan, yes, you soak and block the swatch before measuring. Happy knitting!
28.09.2026 - 01:11
Joanna escribió:
If you don't want bottom ribbing, can you just cast on number of stitches given after the decrease when transitioning from ribbing to stockinette?Don't understand why you have to decrease stitches.
09.09.2026 - 23:14DROPS Design respondió:
Hi Joanna, You can of course leave out the ribbing and cast on the number of stitches given after the decreases. The decreases after the rib are because there are extra stitches on the ribbing so it is not tight. Regards, Drops Team
10.09.2026 - 06:03
 Carole escribió:
Why the need for a circular needle? Can I knit this on straight needles??
17.08.2026 - 13:07DROPS Design respondió:
Dear Carole, we are using here circular needle for front and back piece to get enough room for all stitches, but then work back and forth, so that you can use straight needles instead. Only sleeve edges and neck are worked in the round, you would have then just to adapt the pattern (sew just one shoulder before picking up sts around neck; then pick up sts along armholes and finish with the side seam). Happy knitting!
17.08.2026 - 16:25
 Kerrie-Jane Hodgson escribió:
Hi there - loving your pattern for the tank top. I'm very new to knitting and only ever knitted with straight needles - I was just wondering if you have a similar pattern to use with straight needles please. Thankyou so much.
15.05.2026 - 11:55DROPS Design respondió:
Dear Kerrie, this is a vest pattern. Since it's worked back and forth you can simply use straight needles instead of circular needles. However, the round neck and sleeve-edges need to be worked in the round in circular needles. So you can work most of the pattern in straight needles and then try and work the edges with circular needles. Happy knitting!
17.05.2026 - 21:09
 Alicia escribió:
Hola, al empezar la primera decís que en el lado del derecho hemos de dejar 2 punto musgo y luego 1 revés, 1derecho hasta que queden tres puntos, eso lo entiendo, lo que no se es cómo proceder en la vuelta del revés. Sería 2 puntos musgo y hago los puntos tal y como me los encuentre hasta los 2 últimos puntos musgo? Lo siento pero no lo entiendo. Gracias por su respuesta
14.05.2026 - 23:00
 Nora M escribió:
Hei, jeg har allerede bynnt å strikket denne vesten og kommet meg på god vei. Men jeg angrer meg å ønsker å strikke en genser..? Er dette mulig eller burde jeg starte på nytt? Har dere noen tips om jeg kan få det til?
21.04.2026 - 08:30DROPS Design respondió:
Hej Nora, de her strikkes med samme strikkefasthed (11 m på 10 cm) og nedenfra og op som vesten. Det vil sige at du kan vælge en af de her og fortsætte ifølge den nye opskrift på en genser: genser, nedenfra og op, 11masker=10 cm
21.04.2026 - 14:30
 Maria escribió:
Hej. Jeg vil gerne hvilken str pind der er brugt til at lave strikkeprøven. Er det 7 eller 8.
08.04.2026 - 16:51DROPS Design respondió:
Hej Maria. Det är den större pinden, dvs den du bruker til glatstrik. Mvh DROPS Design
10.04.2026 - 09:21
Melissa escribió:
My first major project will be the Isla Slipover vest in medium using either DROPS AIR or DROPS ANDES. The problem I have is not knowing just how many balls of yarn I will need to complete the vest?
20.03.2026 - 02:59DROPS Design respondió:
Hi Melissa, Drops Air is sold in 50 g balls and Drops Andes in 100 g balls. So you will need 6 balls of Air (and work with 2 strands) or 3 balls of Andes and work with a single strand). Regards, Drops Team.
20.03.2026 - 05:28
 Anna escribió:
Hi, I would like to use Merino Cotton yarn to make a more spring/summer-friendly version of the project. Would 2 strands of Merino Cotton be enough to substitute for 2 strands of DROPS Air? If so, should I use the same size needles as recommended for DROPS Air?
13.03.2026 - 11:50DROPS Design respondió:
Dear Anna, Cotton Merino belongs to yarn group B while Air belongs to yarn group C, most of the time you can replace 1 strand yarn group E as Wish here with 2 strands yarn group C as Air here, but Cotton Merino might not be a good alternative even with 2 strands - see a swatch of 2 strands Cotton Merino worked together here. Happy knitting!
13.03.2026 - 15:33
|
|
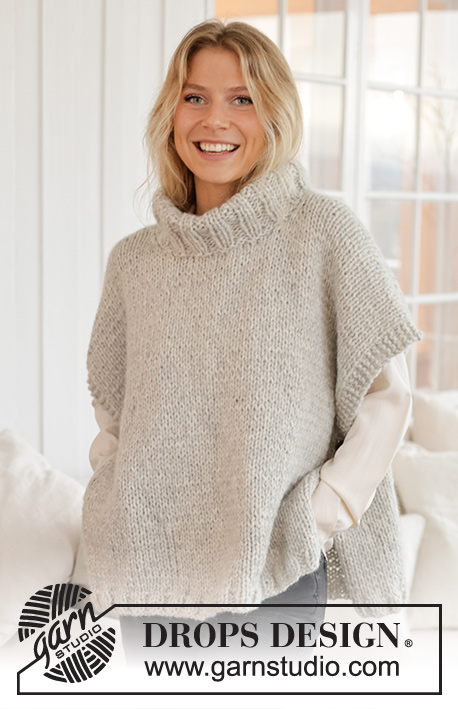
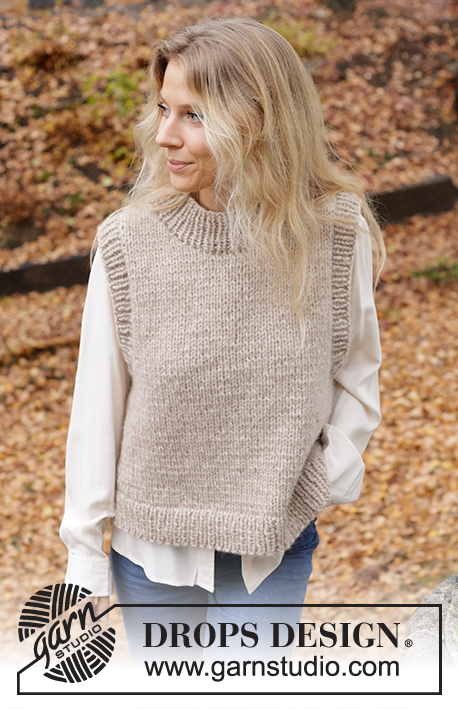
Isla Slipover#islaslipover |
|
 |
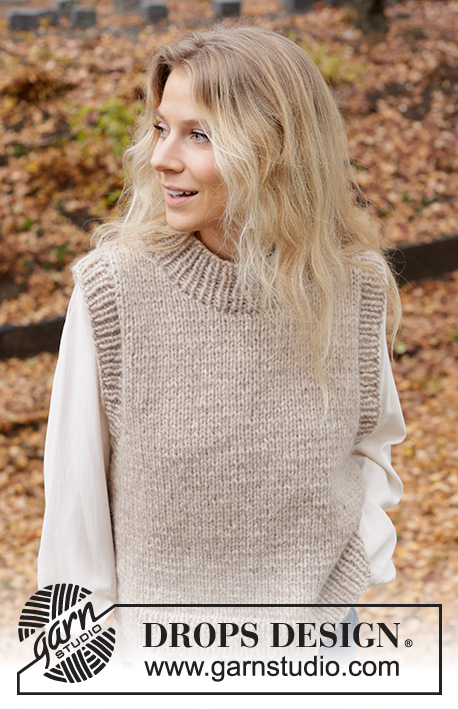 |
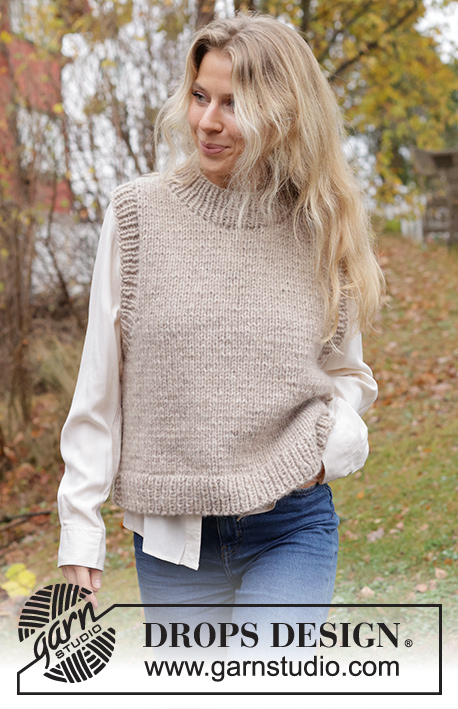
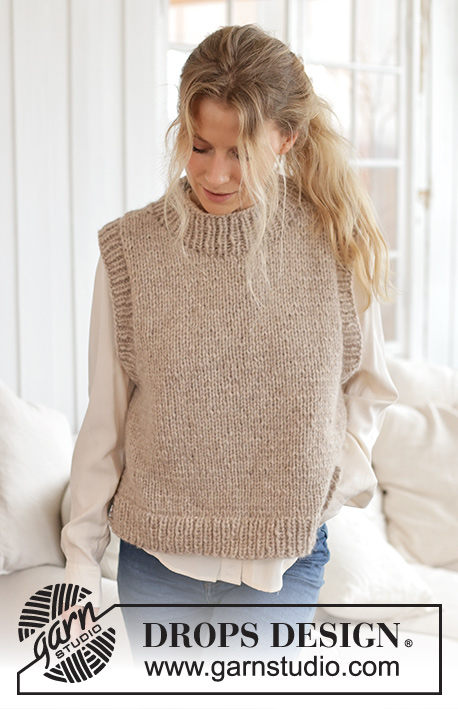
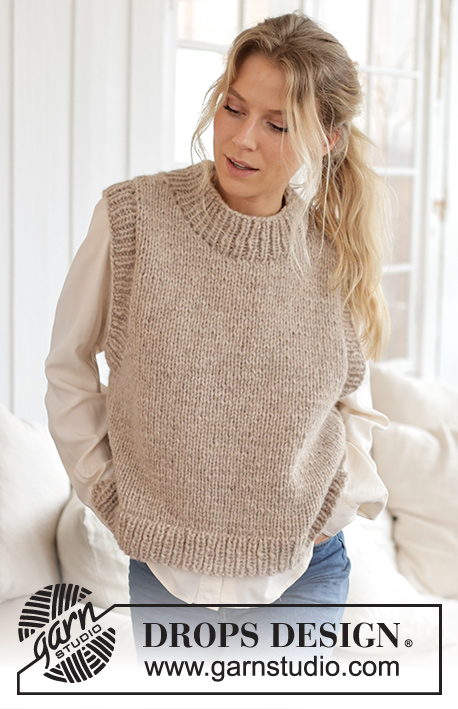
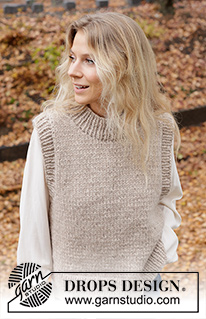
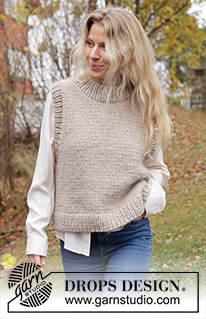
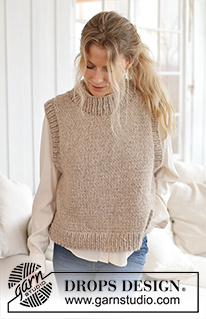
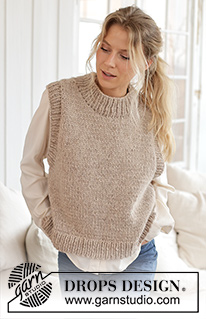
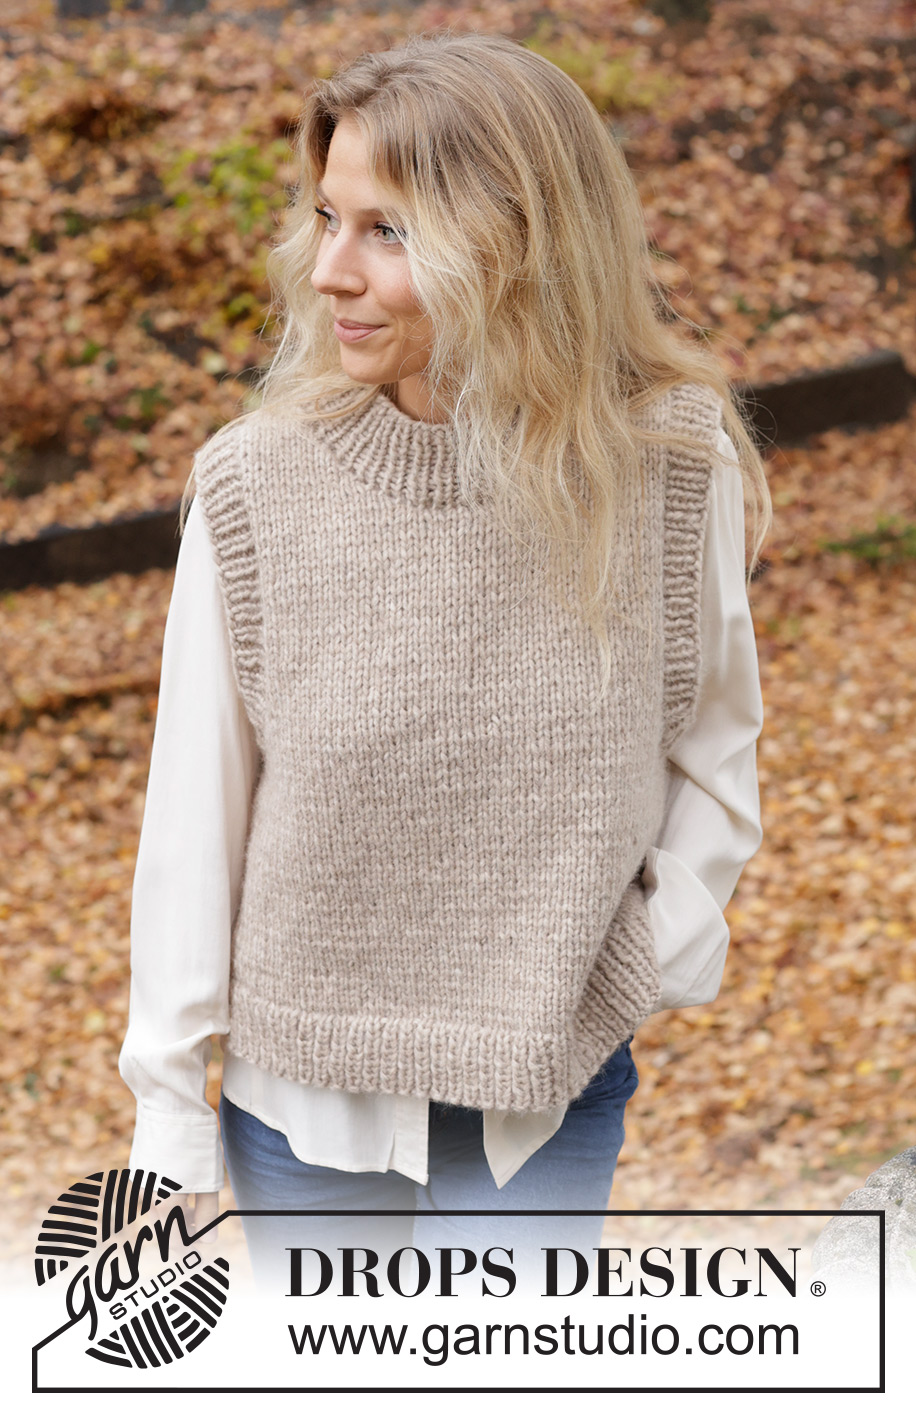
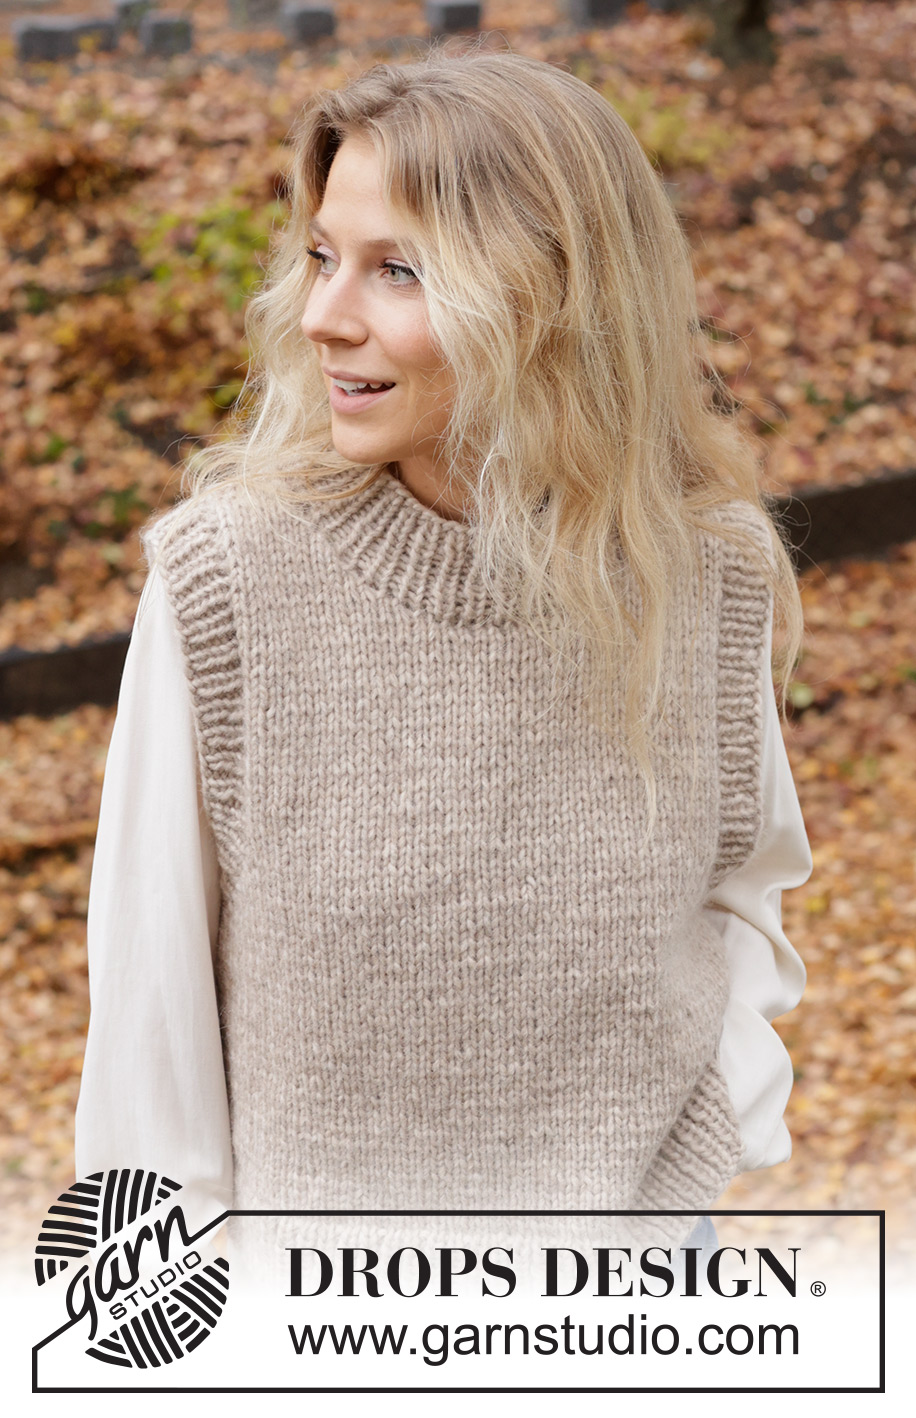
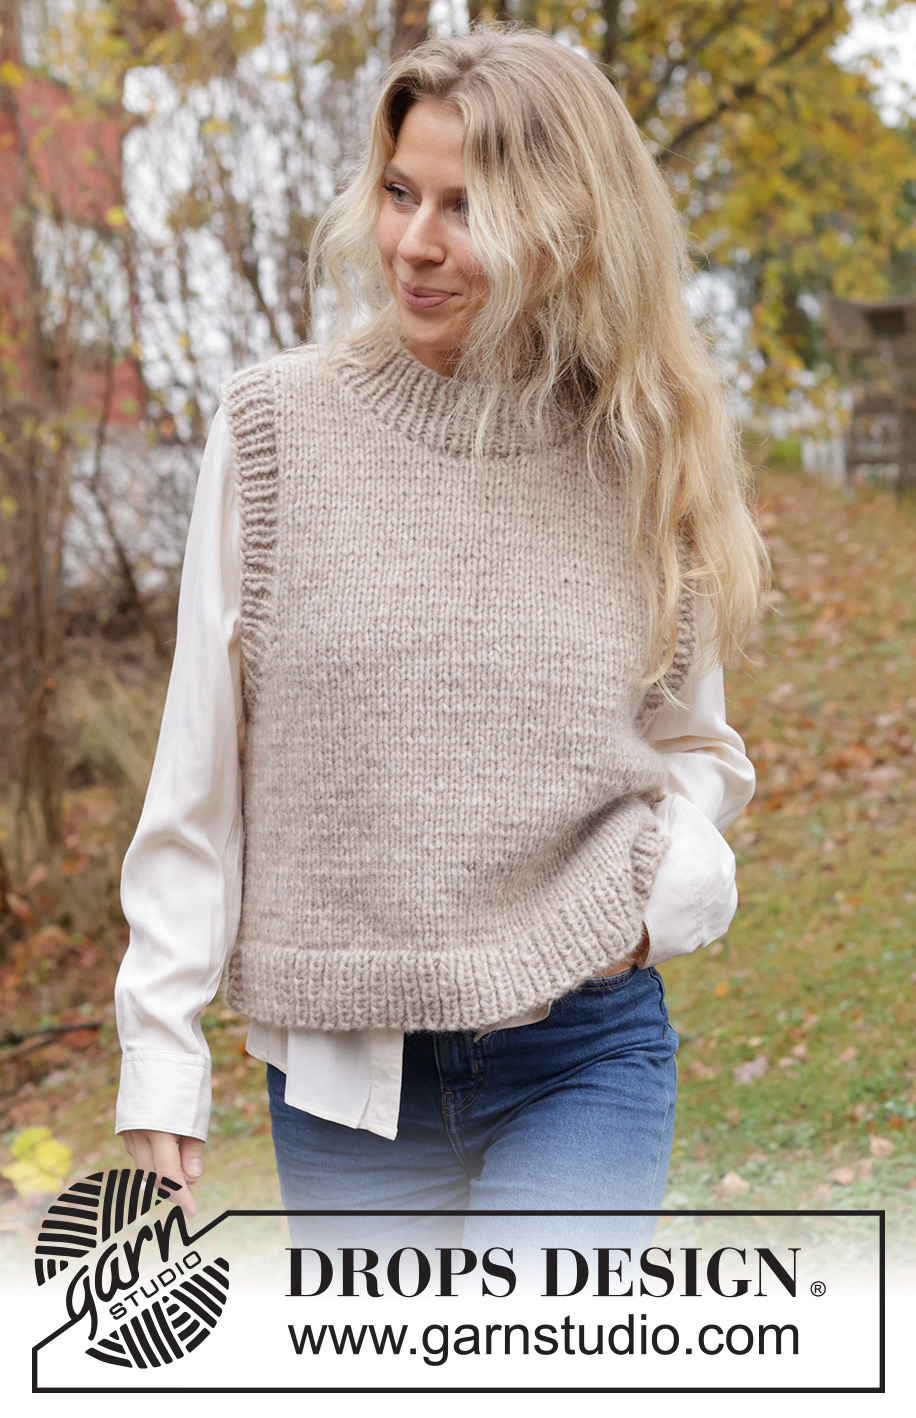
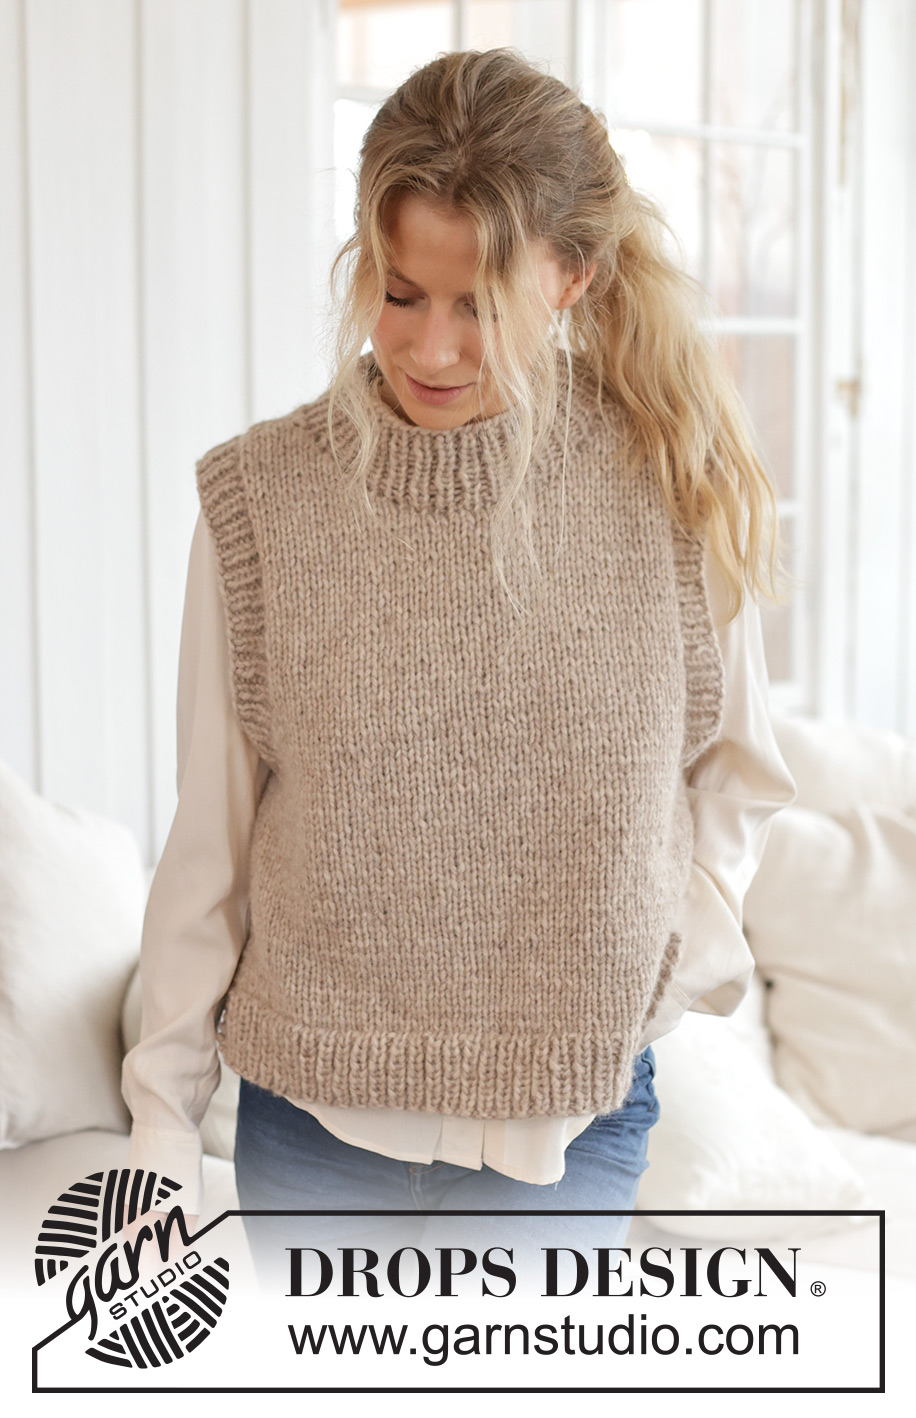
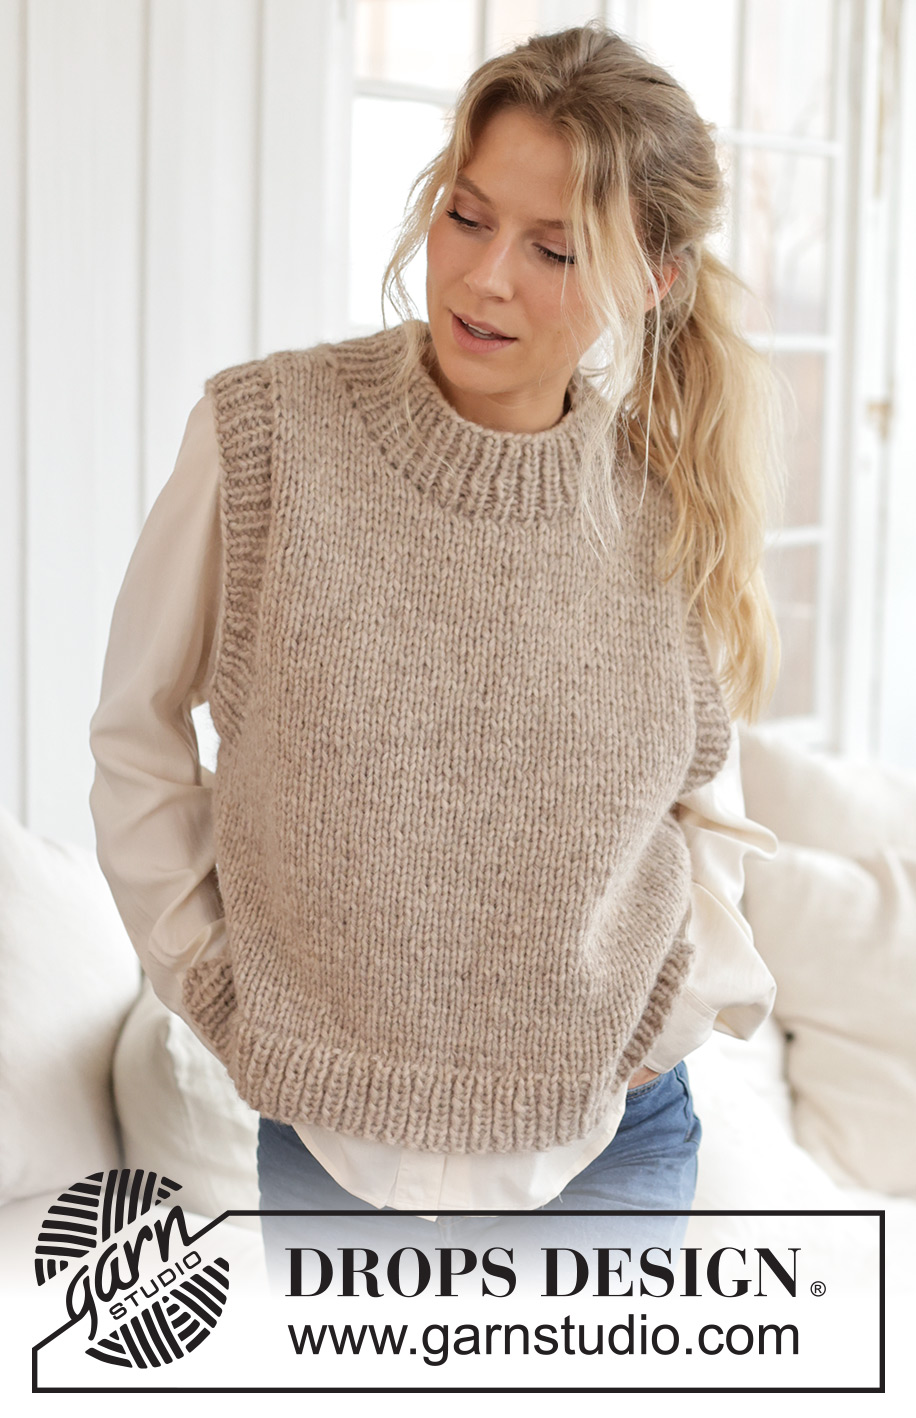
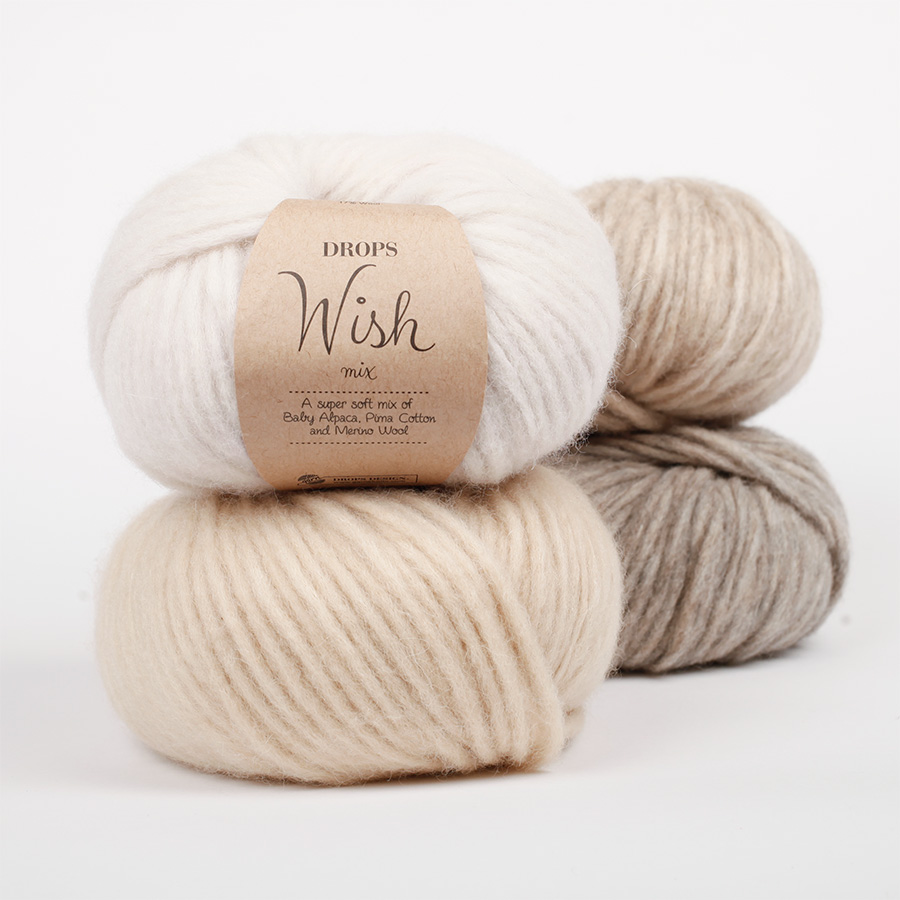
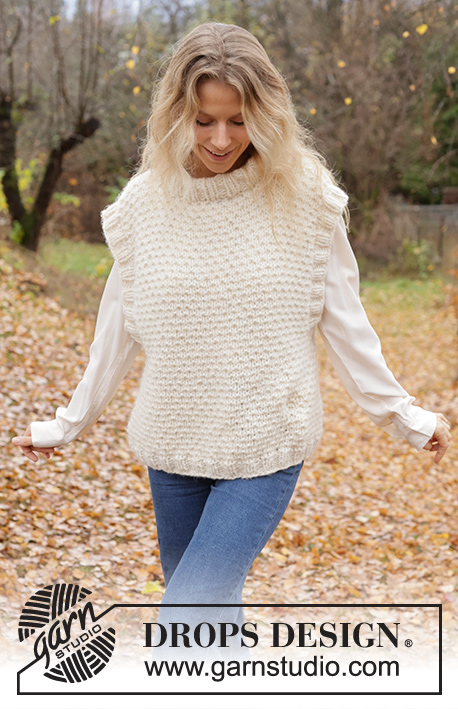
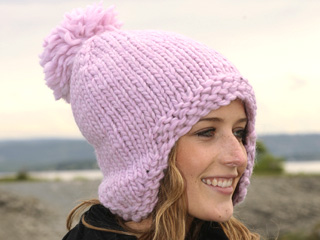
Chaleco / slipover de punto en DROPS Wish o 2 hilos DROPS Air. La pieza está tejida en punto jersey, con orillas en resorte y abertura en los lados. Tallas S – XXXL.
DROPS 226-58 |
|
|
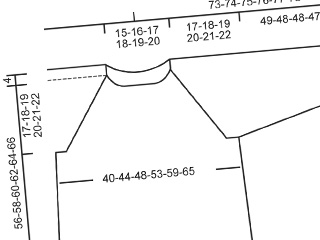
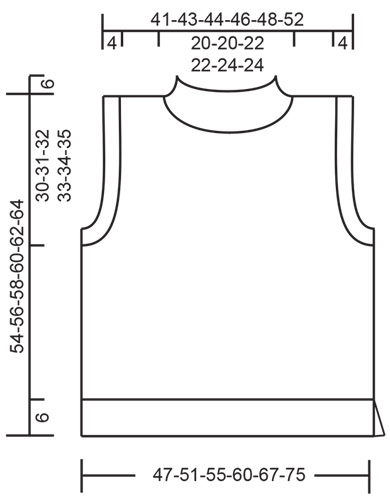
EXPLICACIONES PARA REALIZAR EL PATRÓN: ------------------------------------------------ SURCO/PUNTO MUSGO (tejido de ida y vuelta): Tejer todas las hileras de derecho. 1 surco = tejer 2 hileras de derecho. ------------------------------------------------ COMENZAR LA PIEZA AQUÍ: ------------------------------------------------ CHALECO – RESUMEN DE LA PIEZA: La pieza del frente y la pieza de la espalda se tejen separadamente, de ida y vuelta. La orilla de las mangas y el cuello se tejen en redondo al final. ESPALDA: Montar 69-73-77-85-93-103 puntos con aguja circular tamaño 7 mm y DROPS Wish o 2 hilos DROPS Air. La primera hilera se teje de la manera siguiente por el lado derecho: 2 puntos de orillo en PUNTO MUSGO – leer descripción arriba, tejer en resorte (1 revés, 1 derecho) hasta que resten 3 puntos, tejer 1 revés y 2 puntos de orillo en punto musgo. Continuar este resorte durante 6 cm. En la hilera siguiente por el lado derecho, tejer de la manera siguiente: 1 punto de orillo en punto musgo, tejer punto jersey y disminuir 17-17-17-19-19-21 puntos distribuidos equitativamente sobre los 67-71-75-83-91-101 puntos siguientes y 1 punto de orillo en punto musgo = 52-56-60-66-74-82 puntos. Cambiar a aguja circular tamaño 8 mm y continuar con punto jersey y 1 punto de orillo en punto musgo a cada lado. ¡RECORDAR MANTENER LA MISMA TENSIÓN DE TEJIDO DE LA MUESTRA! Cuando la pieza mida 24-25-26-27-28-29 cm, rematar para las sisas al principio de cada hilera a cada lado de la pieza de la manera siguiente: 3 puntos 1-1-1-1-1-2 veces, 2 puntos 0-1-2-2-3-3 veces y 1 punto 5-4-3-5-6-5 veces = 36-38-40-42-44-48 puntos. Continuar con punto jersey hasta que la pieza mida 51-53-55-57-59-61 cm. Rematar los 20-20-22-22-24-24 puntos centrales para el escote y terminar cada hombro separadamente. Después rematar 1 punto en la hilera siguiente a partir del escote = 7-8-8-9-9-11 puntos. Continuar tejiendo hasta que la pieza mida 54-56-58-60-62-64 cm. Rematar flojo de derecho por el lado derecho. Tejer el otro hombro de la misma manera. FRENTE: Montar y tejer de la misma manera como la pieza de la espalda hasta que la pieza mida 45-47-48-50-51-53 cm. Rematar los 8-8-8-10-10-10 puntos centrales para el escote y terminar cada hombro separadamente. Rematar al principio de cada hilera a partir del escote de la manera siguiente: 2 puntos 2 veces y 1 punto 3-3-4-3-4-4 veces = 7-8-8-9-9-11 puntos. Continuar tejiendo hasta que la pieza mida 54-56-58-60-62-64 cm. Rematar flojo de derecho por el lado derecho. Tejer el otro hombro de la misma manera. ENSAMBLAJE: Coser las costuras de los hombros. Coser las costuras de los lados en el bucle más externo del surco más externo, de manera que la costura quede plana. Dejar 6 cm en la parte de abajo para la abertura. ORILLA DE LAS MANGAS: Usar aguja circular corta tamaño 7 mm. Comenzar en la parte de debajo de la sisa y levantar por el lado derecho, en el interior de 1 punto, aprox. 72-72-76-76-80-84 puntos alrededor de la sisa (el número de puntos debe ser múltiplo de 2). Tejer en resorte en redondo (1 derecho, 1 revés) durante 4 cm. Rematar flojo con derecho sobre derecho y revés sobre revés. Tejer la orilla de la otra manga de la misma manera. CUELLO: Usar aguja circular corta tamaño 7 mm. Comenzar en la parte de arriba de un hombro y levantar por el lado derecho, en el interior de 1 punto, aprox. 54-54-60-60-64-64 puntos alrededor del escote (el número de puntos debe ser múltiplo de 2). Tejer en resorte en redondo (1 derecho, 1 revés) durante 6 cm. Rematar flojo con derecho sobre derecho y revés sobre revés. |
|
 |
|
¿Terminaste este patrón?Entonces, etiqueta tus fotos con #dropspattern #islaslipover o envíalas a la galería #dropsfan. ¿Necesitas ayuda con este patrón?Encontrarás 13 videos tutoriales, un espacio para comentarios/preguntas y más visitando la página del patrón en garnstudio.com © 1982-2026 DROPS Design A/S. Todos los derechos reservados. Este documento, incluyendo todas sus sub-secciones, está protegido por los derechos de autor (copyright). Lee más acerca de lo que puedes hacer con nuestros patrones en la parte de abajo de cada patrón de nuestro sitio. |
|

Con más de 40 años en el diseño de modelos de punto y de ganchillo, DROPS Design ofrece una de las más vastas colecciones de patrones gratuitos en el internet - traducidos en 17 idiomas. Al día de hoy, contamos con 333 catálogos y 12537 patrones - de los cuales 12031 están traducidos en español.
Nosotros trabajamos con mucho esmero para brindarte lo mejor que las labores de punto y ganchillo tienen para ofrecer,inspiración y consejos, así como hilos de magnífica calidad a precios increíbles! Te gustaría usar nuestros patrones para otro fin además del uso personal? Puedes leer acerca de lo que estás permitida a hacer en el texto de Copyright en la parte de abajo de todos nuestros patrones. Felices labores!
Escribe un comentario sobre DROPS 226-58
¡Nos encantaría saber qué piensas acerca de este patrón!
Si quieres escribir una pregunta referente al patrón, por favor asegúrate de elegir la categoría correcta en el formulario debajo, para acelerar el proceso de respuesta. Los campos obligatorios están marcados con un *.