
Categorías populares
¿Buscas un hilo?


Comentarios / Preguntas (91)
![]() Nora M escribió:
Nora M escribió:
Hei, jeg har allerede bynnt å strikket denne vesten og kommet meg på god vei. Men jeg angrer meg å ønsker å strikke en genser..? Er dette mulig eller burde jeg starte på nytt? Har dere noen tips om jeg kan få det til?
21.04.2026 - 08:30DROPS Design respondió:
Hej Nora, de her strikkes med samme strikkefasthed (11 m på 10 cm) og nedenfra og op som vesten. Det vil sige at du kan vælge en af de her og fortsætte ifølge den nye opskrift på en genser: genser, nedenfra og op, 11masker=10 cm
21.04.2026 - 14:30
![]() Maria escribió:
Maria escribió:
Hej. Jeg vil gerne hvilken str pind der er brugt til at lave strikkeprøven. Er det 7 eller 8.
08.04.2026 - 16:51DROPS Design respondió:
Hej Maria. Det är den större pinden, dvs den du bruker til glatstrik. Mvh DROPS Design
10.04.2026 - 09:21
![]() Melissa escribió:
Melissa escribió:
My first major project will be the Isla Slipover vest in medium using either DROPS AIR or DROPS ANDES. The problem I have is not knowing just how many balls of yarn I will need to complete the vest?
20.03.2026 - 02:59DROPS Design respondió:
Hi Melissa, Drops Air is sold in 50 g balls and Drops Andes in 100 g balls. So you will need 6 balls of Air (and work with 2 strands) or 3 balls of Andes and work with a single strand). Regards, Drops Team.
20.03.2026 - 05:28
![]() Anna escribió:
Anna escribió:
Hi, I would like to use Merino Cotton yarn to make a more spring/summer-friendly version of the project. Would 2 strands of Merino Cotton be enough to substitute for 2 strands of DROPS Air? If so, should I use the same size needles as recommended for DROPS Air?
13.03.2026 - 11:50DROPS Design respondió:
Dear Anna, Cotton Merino belongs to yarn group B while Air belongs to yarn group C, most of the time you can replace 1 strand yarn group E as Wish here with 2 strands yarn group C as Air here, but Cotton Merino might not be a good alternative even with 2 strands - see a swatch of 2 strands Cotton Merino worked together here. Happy knitting!
13.03.2026 - 15:33
![]() Mathilde escribió:
Mathilde escribió:
Bonjour Combien faut il de pelotes de laine de drops snow pour ce modèle de pull sans manche en taille M Merci par avance :)
04.03.2026 - 06:53DROPS Design respondió:
Bonjour Mathilde, utilisez le convertisseur pour voir les quantités correspondantes en Snow. Bon tricot!
04.03.2026 - 08:08
![]() Rachael escribió:
Rachael escribió:
Hi, I’m attempting to pick up stitches around the armhole, but I’m unsure of the pick up rate, e.g. pick up 3, skip 1, pick up 3, skip 1… Pattern says to end up with approx 72 stitches. Could you advise please? Thanks!
21.02.2026 - 20:32DROPS Design respondió:
Hi Rachael, Her is a link to our video for knitting up stitches around the neck (the same method as you use for knitting up aound the armholes): https://www.garnstudio.com/video.php?id=1787&lang=en Regards, Drops Team.
23.02.2026 - 07:16
![]() Rachael escribió:
Rachael escribió:
Hi, I’m a beginner knitter and am attempting the pattern, however it’s a little ambiguous. I’ve cast on and completed 6 row rib for the back. The next instruction is to work st st from the right side. Does that mean I should start row 7 with a Knit row, or a Purl row?
12.02.2026 - 22:57DROPS Design respondió:
Hi Rachael, Stocking stitch is knitted from the right side and purled from the wrong side, so the 7th row is knitted. Regards, Drops Team.
13.02.2026 - 06:26
![]() Suzanne escribió:
Suzanne escribió:
Je ne comprends pas . Après avoir rabattu mes 22 mailles centrales. Rabattre ensuite 1 maille au début du rg suivant à partir de l’encolure = 8 mailles pour ma grandeur. Est- ce qu’ on rapetisse à chaque rang 1 maille Ce n’est pas clair pour moi svp
11.02.2026 - 22:38DROPS Design respondió:
Bonjour Suzanne, lorsque vous avez rabattu les 22 mailles centrales, il vous reste 9 mailles pour chaque épaule. (40 mailles au total - 22 m pour l'encolure = 18m soit 9 m pour chaque épaule ). Vous terminez chaque épaule séparément, et, au 1er rang à partir de l'encolure (sur l'endroit pour l'épaule gauche/sur l'envers pour l'épaule droite) vous rabattez 1 maille pour l'encolure = il reste 8 mailles pour l'épaule. Bon tricot!
12.02.2026 - 17:51
![]() Katharina escribió:
Katharina escribió:
Soll man oberhalb der abgeketten Maschen für die Armausschnitte weiterhin am Rand kraus rechts stricken oder die erste Masche der Reihe übernehmen?
03.02.2026 - 14:30DROPS Design respondió:
Liebe Katharina, Sie stricken die Randmaschen glatt rechts, also so wie die restlichen Maschen in der Hin-Reihe rechts und in der Rück-Reihe links. Aus dem glatt rechts gestrickten Rand lassen sich später die Maschen für die Armausschnittblenden gut auffassen. Viel Spaß beim Weiterstricken!
03.02.2026 - 19:23
![]() Anna escribió:
Anna escribió:
Hi, can I use two strands of yarn - drops Alaska and Drops Melody for this pattern ? I would like the vest to be really chunky but maybe it would be too much ?
02.02.2026 - 19:16DROPS Design respondió:
Hi Anna, Drops Alaska belongs to yarn group C and 2 strands from any yarn from yarn group C will be the same thickness as 1 strand of Drops Wish (belongs to yarn group E). However, Melody belongs to yarn group D, so the 2 strands will then be slightly thicker and you will need to adjust needle sizes and/or stitch numbers to get the correct measurements for the vest. Regards, Drops Team.
03.02.2026 - 07:22
|
|
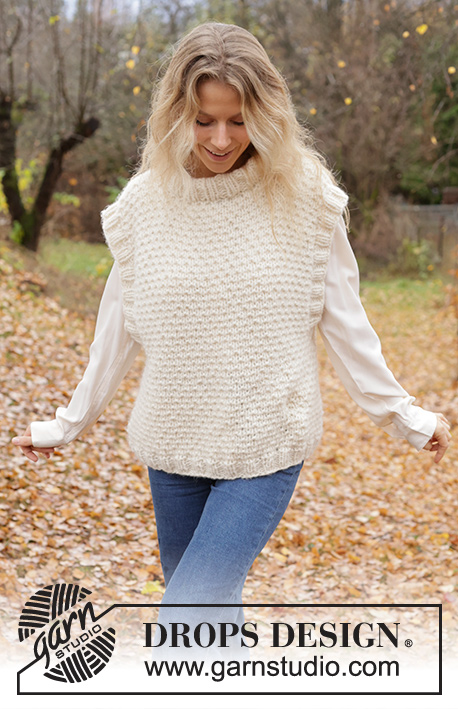
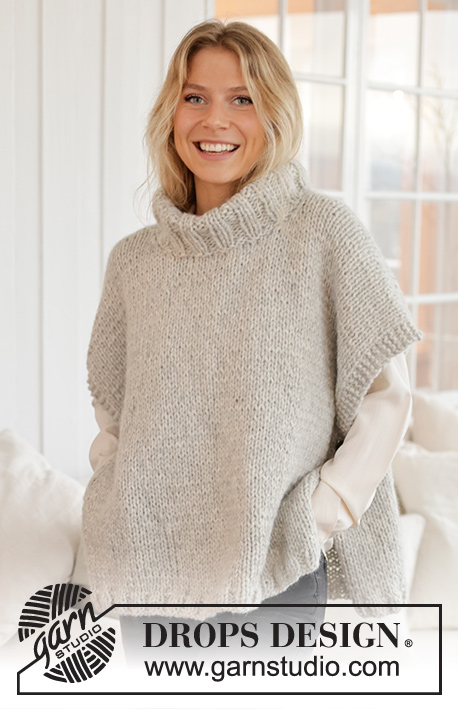
Isla Slipover#islaslipover |
|
 |
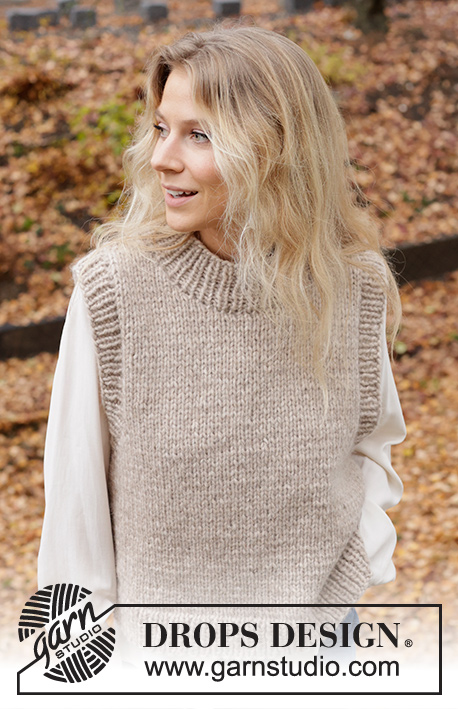 |
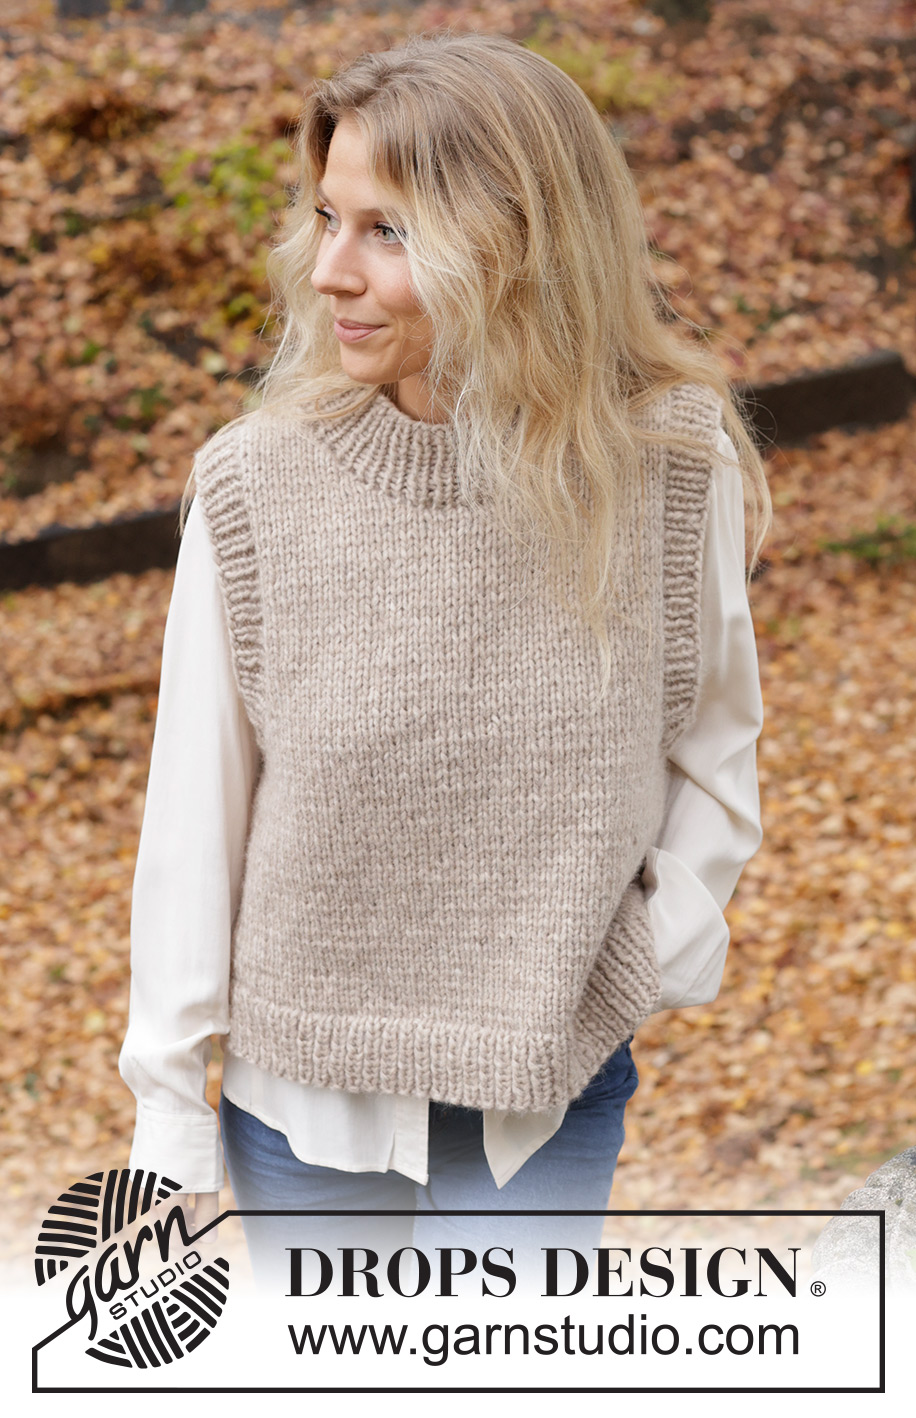
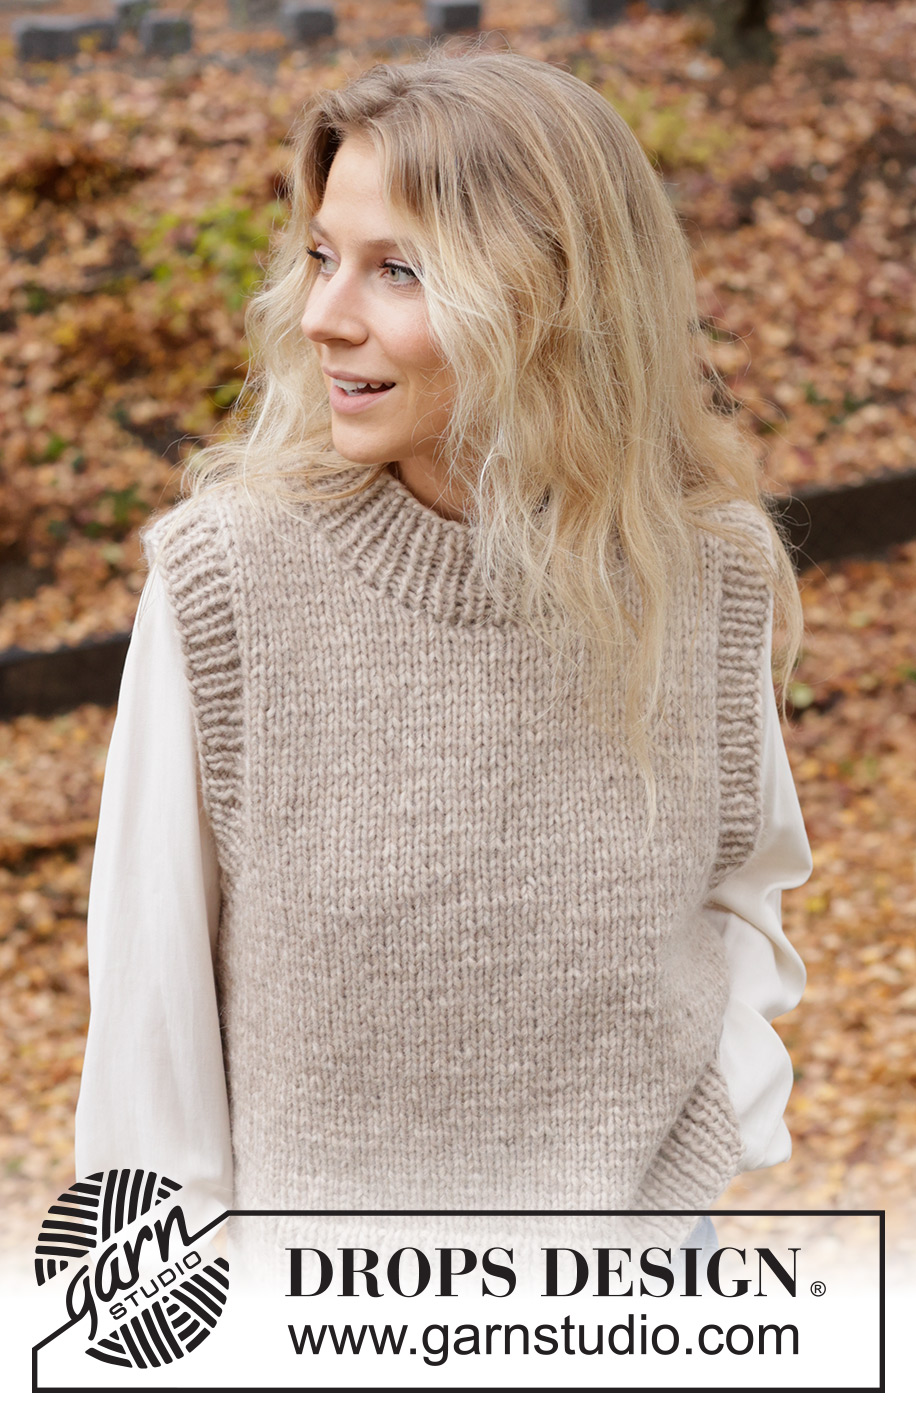
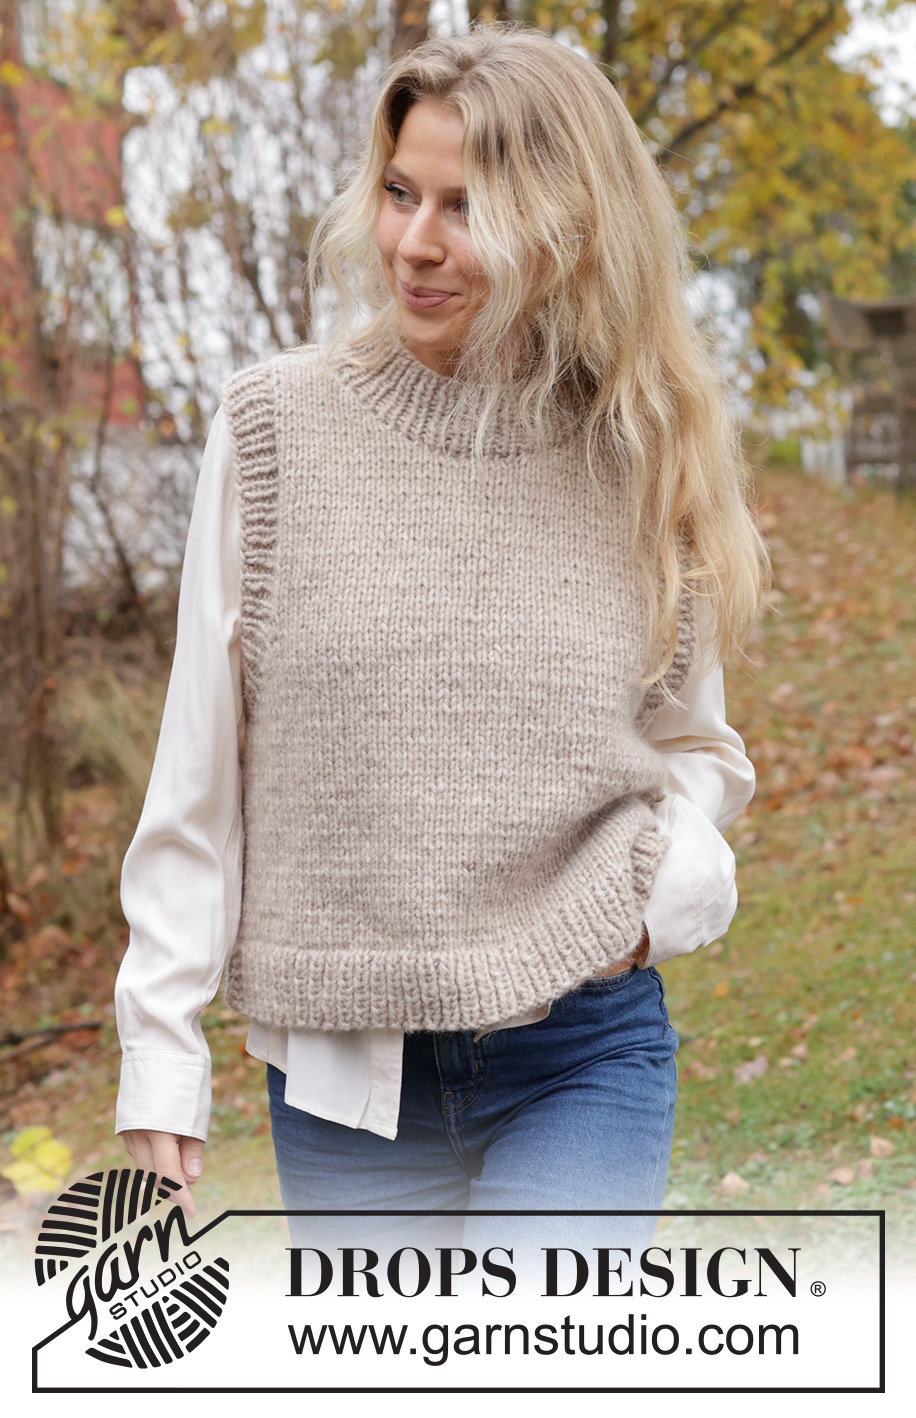
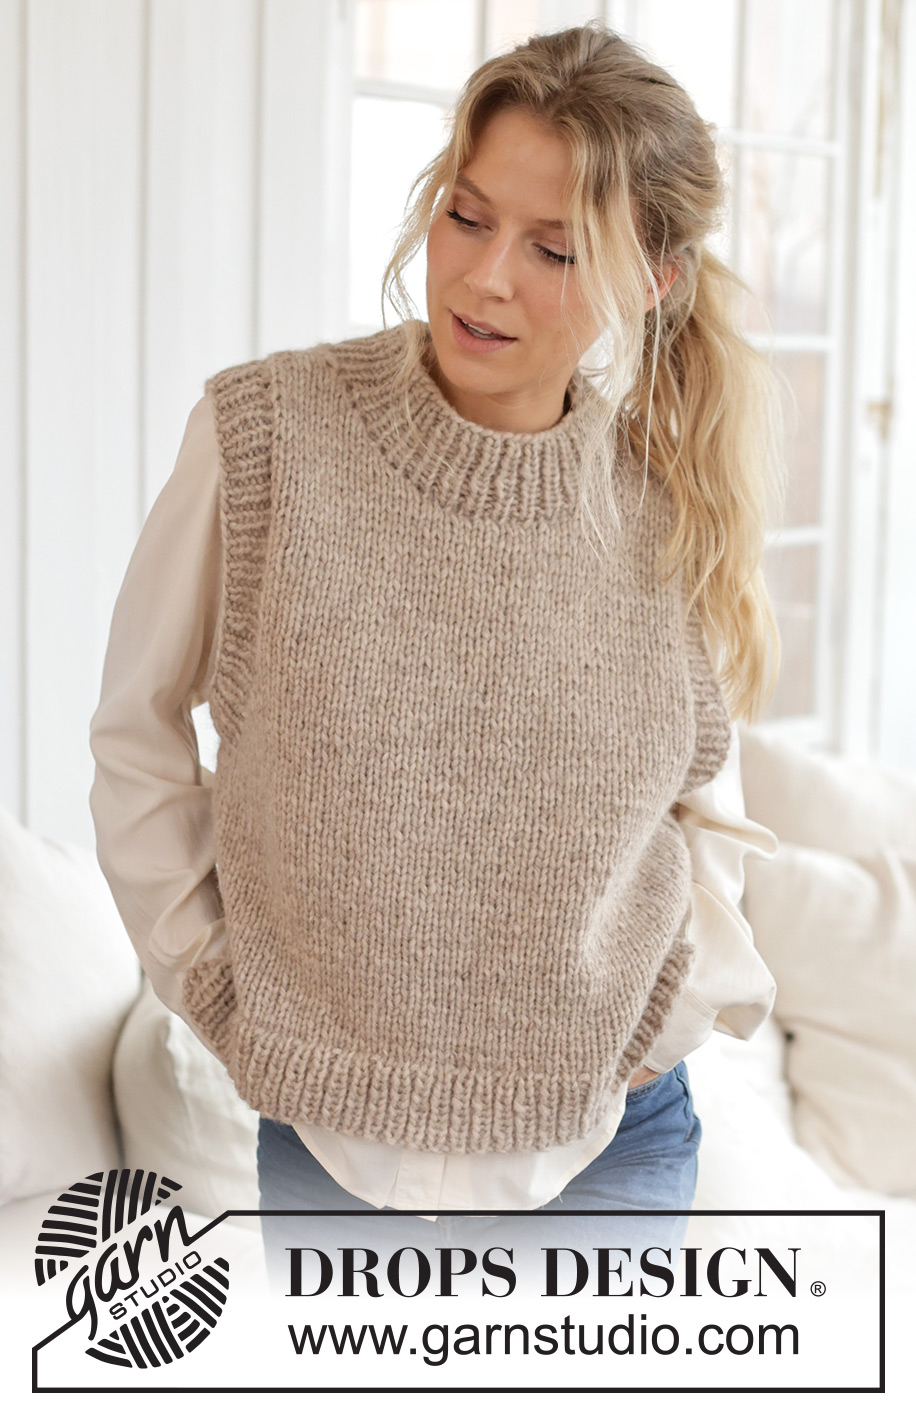
Chaleco / slipover de punto en DROPS Wish o 2 hilos DROPS Air. La pieza está tejida en punto jersey, con orillas en resorte y abertura en los lados. Tallas S – XXXL.
DROPS 226-58 |
|
|
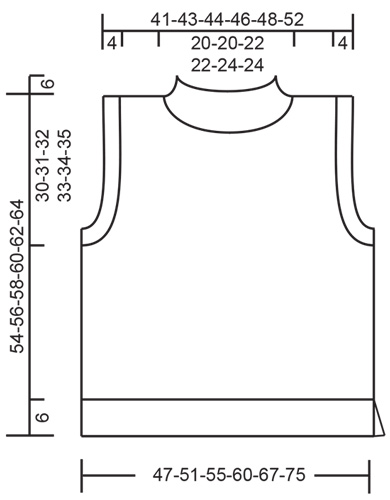
EXPLICACIONES PARA REALIZAR EL PATRÓN: ------------------------------------------------ SURCO/PUNTO MUSGO (tejido de ida y vuelta): Tejer todas las hileras de derecho. 1 surco = tejer 2 hileras de derecho. ------------------------------------------------ COMENZAR LA PIEZA AQUÍ: ------------------------------------------------ CHALECO – RESUMEN DE LA PIEZA: La pieza del frente y la pieza de la espalda se tejen separadamente, de ida y vuelta. La orilla de las mangas y el cuello se tejen en redondo al final. ESPALDA: Montar 69-73-77-85-93-103 puntos con aguja circular tamaño 7 mm y DROPS Wish o 2 hilos DROPS Air. La primera hilera se teje de la manera siguiente por el lado derecho: 2 puntos de orillo en PUNTO MUSGO – leer descripción arriba, tejer en resorte (1 revés, 1 derecho) hasta que resten 3 puntos, tejer 1 revés y 2 puntos de orillo en punto musgo. Continuar este resorte durante 6 cm. En la hilera siguiente por el lado derecho, tejer de la manera siguiente: 1 punto de orillo en punto musgo, tejer punto jersey y disminuir 17-17-17-19-19-21 puntos distribuidos equitativamente sobre los 67-71-75-83-91-101 puntos siguientes y 1 punto de orillo en punto musgo = 52-56-60-66-74-82 puntos. Cambiar a aguja circular tamaño 8 mm y continuar con punto jersey y 1 punto de orillo en punto musgo a cada lado. ¡RECORDAR MANTENER LA MISMA TENSIÓN DE TEJIDO DE LA MUESTRA! Cuando la pieza mida 24-25-26-27-28-29 cm, rematar para las sisas al principio de cada hilera a cada lado de la pieza de la manera siguiente: 3 puntos 1-1-1-1-1-2 veces, 2 puntos 0-1-2-2-3-3 veces y 1 punto 5-4-3-5-6-5 veces = 36-38-40-42-44-48 puntos. Continuar con punto jersey hasta que la pieza mida 51-53-55-57-59-61 cm. Rematar los 20-20-22-22-24-24 puntos centrales para el escote y terminar cada hombro separadamente. Después rematar 1 punto en la hilera siguiente a partir del escote = 7-8-8-9-9-11 puntos. Continuar tejiendo hasta que la pieza mida 54-56-58-60-62-64 cm. Rematar flojo de derecho por el lado derecho. Tejer el otro hombro de la misma manera. FRENTE: Montar y tejer de la misma manera como la pieza de la espalda hasta que la pieza mida 45-47-48-50-51-53 cm. Rematar los 8-8-8-10-10-10 puntos centrales para el escote y terminar cada hombro separadamente. Rematar al principio de cada hilera a partir del escote de la manera siguiente: 2 puntos 2 veces y 1 punto 3-3-4-3-4-4 veces = 7-8-8-9-9-11 puntos. Continuar tejiendo hasta que la pieza mida 54-56-58-60-62-64 cm. Rematar flojo de derecho por el lado derecho. Tejer el otro hombro de la misma manera. ENSAMBLAJE: Coser las costuras de los hombros. Coser las costuras de los lados en el bucle más externo del surco más externo, de manera que la costura quede plana. Dejar 6 cm en la parte de abajo para la abertura. ORILLA DE LAS MANGAS: Usar aguja circular corta tamaño 7 mm. Comenzar en la parte de debajo de la sisa y levantar por el lado derecho, en el interior de 1 punto, aprox. 72-72-76-76-80-84 puntos alrededor de la sisa (el número de puntos debe ser múltiplo de 2). Tejer en resorte en redondo (1 derecho, 1 revés) durante 4 cm. Rematar flojo con derecho sobre derecho y revés sobre revés. Tejer la orilla de la otra manga de la misma manera. CUELLO: Usar aguja circular corta tamaño 7 mm. Comenzar en la parte de arriba de un hombro y levantar por el lado derecho, en el interior de 1 punto, aprox. 54-54-60-60-64-64 puntos alrededor del escote (el número de puntos debe ser múltiplo de 2). Tejer en resorte en redondo (1 derecho, 1 revés) durante 6 cm. Rematar flojo con derecho sobre derecho y revés sobre revés. |
|
 |
|
¿Terminaste este patrón?Entonces, etiqueta tus fotos con #dropspattern #islaslipover o envíalas a la galería #dropsfan. ¿Necesitas ayuda con este patrón?Encontrarás 23 videos tutoriales, un espacio para comentarios/preguntas y más visitando la página del patrón en garnstudio.com © 1982-2026 DROPS Design A/S. Todos los derechos reservados. Este documento, incluyendo todas sus sub-secciones, está protegido por los derechos de autor (copyright). Lee más acerca de lo que puedes hacer con nuestros patrones en la parte de abajo de cada patrón de nuestro sitio. |
|


Con más de 40 años en el diseño de modelos de punto y de ganchillo, DROPS Design ofrece una de las más vastas colecciones de patrones gratuitos en el internet - traducidos en 17 idiomas. Al día de hoy, contamos con 324 catálogos y 12290 patrones - de los cuales 11685 están traducidos en español.
Nosotros trabajamos con mucho esmero para brindarte lo mejor que las labores de punto y ganchillo tienen para ofrecer,inspiración y consejos, así como hilos de magnífica calidad a precios increíbles! Te gustaría usar nuestros patrones para otro fin además del uso personal? Puedes leer acerca de lo que estás permitida a hacer en el texto de Copyright en la parte de abajo de todos nuestros patrones. Felices labores!
Escribe un comentario sobre DROPS 226-58
¡Nos encantaría saber qué piensas acerca de este patrón!
Si quieres escribir una pregunta referente al patrón, por favor asegúrate de elegir la categoría correcta en el formulario debajo, para acelerar el proceso de respuesta. Los campos obligatorios están marcados con un *.