
Popularne kategorie
Szukasz włóczki?


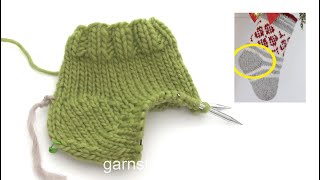
Jak wykonać rzędy skrócone na piętę skarpetki po skosie
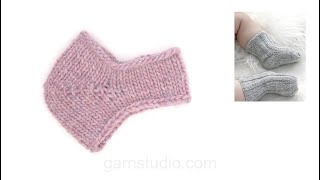
2. Oczka wierzchu stopy przekładamy na nitkę / drut pomocniczy, teraz będziemy przerabiać tylko oczka pięty. Przerabiamy aż zostaje 1 oczko do końca rzędu. Obracamy robótkę, zdejmujemy pierwsze oczko z lewego i przekładamy na prawy drut, zaciskając mocniej nitkę i przerabiamy rząd powrotny. Dalej przerabiamy tak samo w tę i z powrotem, przerabiając o 1 oczko mniej w każdym kolejnym rzędzie i aż otrzymamy liczbę oczek jak we wzorze.
3. Dalej przerabiamy w tę i z powrotem, ale przerabiamy o 1 oczko więcej w każdym kolejnym rzędzie. Aby uniknąć dziur w przejściach należy nabrać oczko z nitki poprzecznej przed następnym oczkiem i umieścić je przekręcone na lewym drucie, następnie przerabiamy to nowe oczko razem z następnym oczkiem na lewy, drucie. Obracamy robótkę, zdejmujemy pierwsze oczko z lewego na prawy drut, zaciskamy mocniej nitkę i przerabiamy rząd powrotny. Przerabiamy w tę i z powrotem, aż zostaną przerobione wszystkie oczka pięty.
4. Oczka z nitki/drutu pomocniczego przekładamy z powrotem na druty.
5. Dalej przerabiamy na okrągło, aż do odpowiedniej długości.
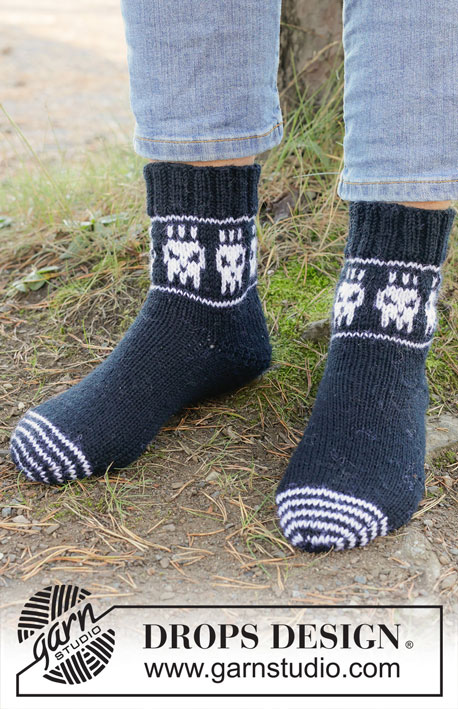
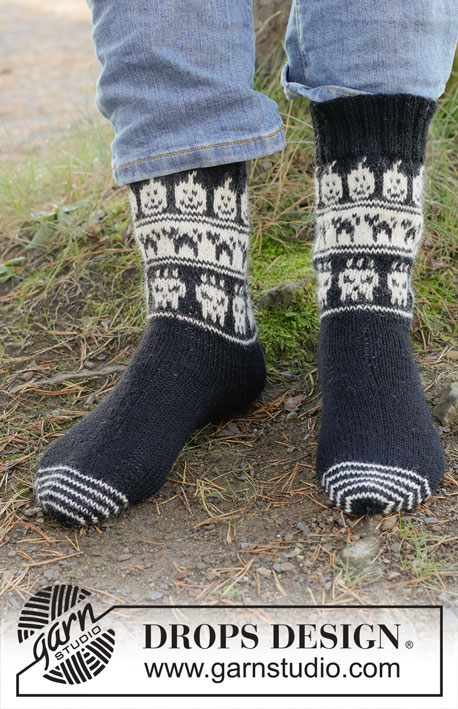
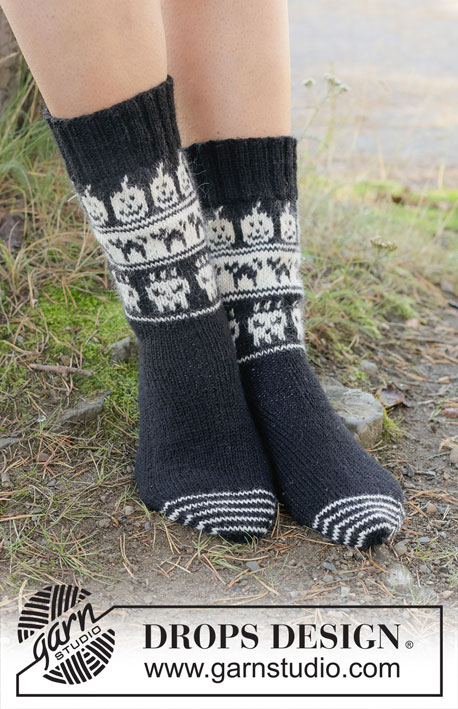
Wzory, w których została wykorzystana ta technika

Video #1164, wymienione w: Naucz się robić na drutach, Pięty i palce, Socks and Slippers
Nasze instrukcje video są bez dźwięku. Jesteśmy międzynarodową firmą, a nasze video są oglądane przez ludzi na całym świecie, mówiących różnymi językami, z których wielu nie zna polskiego. Więc skoro nie ma określonego języka, którego moglibyśmy używać, zamiast dźwięku naszym filmom towarzyszą krótkie opisy, a dźwięk nie rozprasza podczas oglądania.
Możesz dostosować prędkość wyświetlania klikając na ikonkę na pasku zadań.
Zostaw komentarz lub pytanie do tej instrukcji video
Twój adres email nie będzie opublikowany. Pola obowiązkowe są oznaczone *.
Może Ci się również spodobać...


Posiadając 40 lat doświadczenia w projektowaniu wzorów na druty i szydełko, DROPS Design oferuje jedną z największych kolekcji bezpłatnych wzorów w internecie – przetłumaczonych na 17 języków. Obecnie jest dostępnych 324 katalogów i 12290 wzorów w języku polskim.
Dokładamy wszelkich starań, aby oferować Wam druty i szydełka, inspiracje, fachowe porady oraz doskonałej jakości włóczki w najlepszych cenach! Zamierzasz wykorzystać nasze wzory inaczej niż tylko do osobistego użytku? Przeczytaj jakie masz prawa w Copyright, który znajdziesz na końcu każdego wzoru. Miłej pracy!
Hvorfor er det ingen som snakker ? Forklaring med tale i tillegg til video hadde vert fint
20.03.2026 - 12:58DROPS Design Odpowiedź:
Hei Margrethe. Våre video har ikke lyd. Vi er et verdensomspennende selskap og videoene våre blir sett av mennesker over hele verden, som hverken snakker engelsk eller norsk. Vi har derfor skrevet instruksjoner på de språk vi har oppskrifter på, som du finner under våre videoen eller link til forklaring. Dessuten er det ingen lyd som forstyrre mens du ser på :) mvh DROPS Design
23.03.2026 - 07:18I am so confused by this line in the pattern. Can you clarify? "Continue back and forth but now work 1 st more for every row over heel. "
08.02.2026 - 06:50DROPS Design Odpowiedź:
Dear Barb, the increase is shown in step 3 of the video (as seen in the upper left corner). The stitches that were left at the end of the previous rows (when we turned as 1 stitch was left) will now be worked with the other stitches, adding one stitch on each side of the row, two on each row. In order to avoid getting holes, lift 1 horizontal thread before the stitch leftover from the short rows, that we are going to add to our row and place it twisted onto the left needle. Now work together this twisted stitch and the stitch from the short row, turn the piece, tighten the strand and work back. Continue back and forth until all stitches from the heel have been worked. Happy knitting!
08.02.2026 - 19:00Die Videos und die Hilfe zu diversen Problemen bei Handarbeiten sind super. Ich konnte dazu immer eine Anleitung finden stricken/häkeln/zusammenfügen der Teile. Danke!!!
03.10.2021 - 10:50Looking for a video after the heel showing decreases before and after the marker. Is this done only on one side? There’s only one marker.
09.05.2020 - 03:38DROPS Design Odpowiedź:
Dear Mrs Sartorio, this video shows (for a baby sock pattern) how to decrease after 1st marker (= time code 22:07, just before the sts for upper foot) and after 2nd marker (= time code 23:00, just after the sts for upper foot). Hope this will help, happy knitting!
11.05.2020 - 11:22Warum so umständlich ? ≥ Falsche Bumerangferse: Am Ende jeder Reihe 2 Maschen zusammen stricken. Um dann in den Knötchen diese Maschen wieder aufnehmen. Ganz einfach . Die Linken Maschen kann man auch viel einfacher stricken.
04.03.2019 - 01:57Warum so umständlich ? ≥ Falsche Bumerangferse: Am Ende jeder Reihe 2 Maschen zusammen stricken. Um dann in den Knötchen diese Maschen wieder aufnehmen. Ganz einfach . Die Linken Maschen kann man auch viel einfacher stricken.
04.03.2019 - 01:54E subito appena finito di lavorare il tallone si continua su tutte le maglie? grazie
01.03.2019 - 17:57DROPS Design Odpowiedź:
Buongiorno Loretta. Sì, terminato il tallone , riprende a lavorare sulle maglie, come indicato nelle spiegazioni del modello. Buon lavoro!
02.03.2019 - 10:00Er dette teknikken som heter "german shortrows"?
06.11.2018 - 02:14