
Popular categories
Looking for a yarn?


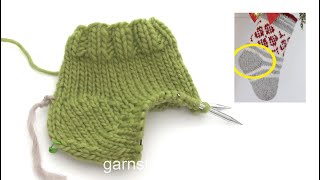
How to work a sock with a diagonal heel
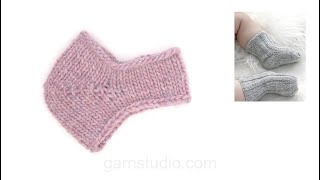
1. First you work short rows across the top of the heel, then across the bottom of the heel, finishing by working in the round across all stitches and working towards the toe.
2. The stitches on the top of the foot are placed on a thread/stitch holder and you only work the heel-stitches. Work until there is 1 stitch left on the row. Turn, slip the first stitch on the left needle onto the right needle, tighten the strand and work back. Work like this back and forth, working 1 less stitch on each row and working to the stated stitch-count.
3. Continue back and forth but now working 1 more stitch on each row across the heel stitches. To avoid holes each time you turn, pick up the horisontal strand before the next stitch and place it twisted on the left needle, then work this together with the next stitch on the left needle. Turn, slip the first stitch on the left needle onto the right needle, tighten the strand and work back. Work like this back and forth until you have worked all the heel-stitches.
4. Place the stitches from the thread/stitch holder back onto the needles.
5. Continue in the round to the given length.
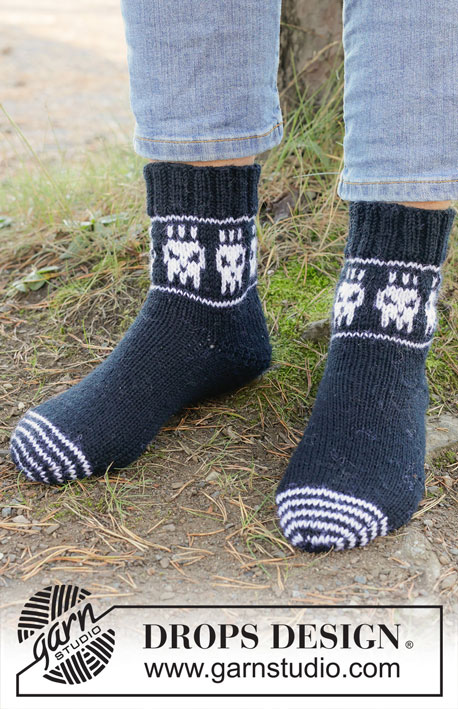
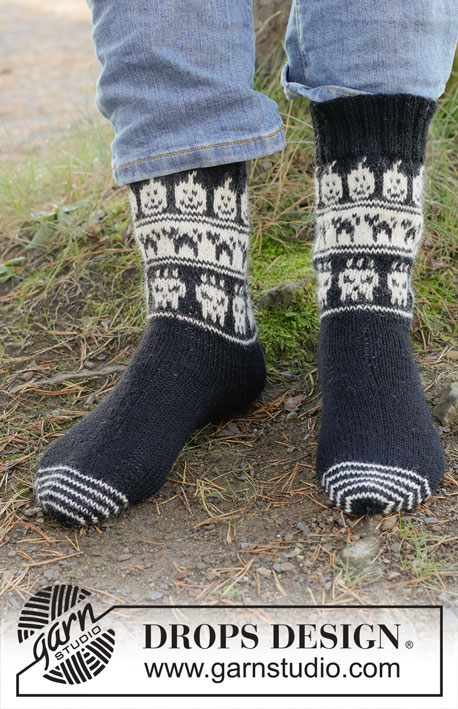
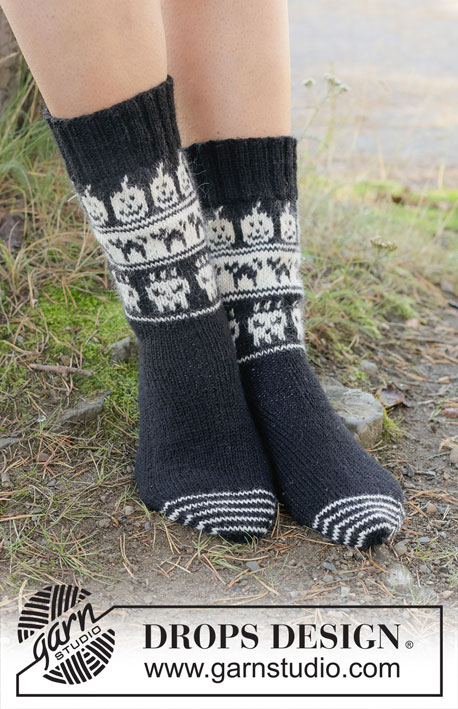
Patterns using this technique

Video #1164, listed in: Learn to knit, Heels & Toes, Socks and Slippers
Our videos do not have sound. We are a worldwide company and our videos are watched by people speaking endless of different languages and many do not understand English. So since there is not a given language for us to use, we instead have written instructions to accompany the video, and then there is no sound to disturb while watching.
You can adjust the speed of this video by clicking on the icon, on the play bar.
Leave a comment or question to this video
Your email address will not be published. Required fields are marked *.
You might also like


With over 40 years in knitting and crochet design, DROPS Design offers one of the most extensive collections of free patterns on the internet - translated to 17 languages. As of today we count 325 catalogues and 12298 patterns translated into English (UK/cm).
We work hard to bring you the best knitting and crochet have to offer, inspiration and advice as well as great quality yarns at incredible prices! Would you like to use our patterns for other than personal use? You can read what you are allowed to do in the Copyright text at the bottom of all our patterns. Happy crafting!
Hvorfor er det ingen som snakker ? Forklaring med tale i tillegg til video hadde vert fint
20.03.2026 - 12:58DROPS Design :
Hei Margrethe. Våre video har ikke lyd. Vi er et verdensomspennende selskap og videoene våre blir sett av mennesker over hele verden, som hverken snakker engelsk eller norsk. Vi har derfor skrevet instruksjoner på de språk vi har oppskrifter på, som du finner under våre videoen eller link til forklaring. Dessuten er det ingen lyd som forstyrre mens du ser på :) mvh DROPS Design
23.03.2026 - 07:18I am so confused by this line in the pattern. Can you clarify? "Continue back and forth but now work 1 st more for every row over heel. "
08.02.2026 - 06:50DROPS Design :
Dear Barb, the increase is shown in step 3 of the video (as seen in the upper left corner). The stitches that were left at the end of the previous rows (when we turned as 1 stitch was left) will now be worked with the other stitches, adding one stitch on each side of the row, two on each row. In order to avoid getting holes, lift 1 horizontal thread before the stitch leftover from the short rows, that we are going to add to our row and place it twisted onto the left needle. Now work together this twisted stitch and the stitch from the short row, turn the piece, tighten the strand and work back. Continue back and forth until all stitches from the heel have been worked. Happy knitting!
08.02.2026 - 19:00Die Videos und die Hilfe zu diversen Problemen bei Handarbeiten sind super. Ich konnte dazu immer eine Anleitung finden stricken/häkeln/zusammenfügen der Teile. Danke!!!
03.10.2021 - 10:50Looking for a video after the heel showing decreases before and after the marker. Is this done only on one side? There’s only one marker.
09.05.2020 - 03:38DROPS Design :
Dear Mrs Sartorio, this video shows (for a baby sock pattern) how to decrease after 1st marker (= time code 22:07, just before the sts for upper foot) and after 2nd marker (= time code 23:00, just after the sts for upper foot). Hope this will help, happy knitting!
11.05.2020 - 11:22Warum so umständlich ? ≥ Falsche Bumerangferse: Am Ende jeder Reihe 2 Maschen zusammen stricken. Um dann in den Knötchen diese Maschen wieder aufnehmen. Ganz einfach . Die Linken Maschen kann man auch viel einfacher stricken.
04.03.2019 - 01:57Warum so umständlich ? ≥ Falsche Bumerangferse: Am Ende jeder Reihe 2 Maschen zusammen stricken. Um dann in den Knötchen diese Maschen wieder aufnehmen. Ganz einfach . Die Linken Maschen kann man auch viel einfacher stricken.
04.03.2019 - 01:54E subito appena finito di lavorare il tallone si continua su tutte le maglie? grazie
01.03.2019 - 17:57DROPS Design :
Buongiorno Loretta. Sì, terminato il tallone , riprende a lavorare sulle maglie, come indicato nelle spiegazioni del modello. Buon lavoro!
02.03.2019 - 10:00Er dette teknikken som heter "german shortrows"?
06.11.2018 - 02:14