
Popular categories
Looking for a yarn?


Comments / Questions (57)
![]() Birgit Urke wrote:
Birgit Urke wrote:
Vvordan skal jeg feste knyttebeltene?
07.11.2025 - 15:22DROPS Design answered:
Hi Birgit, Du syr knytebåndet til vrangen av hvert forstykke i overgangen mellom glattstrikk og I-cord, ca 10-10-11-11-12-12 cm opp fra oppleggskanten. Hilsen Drops team.
12.11.2025 - 07:12
![]() Torunn Tvedt Anderssen wrote:
Torunn Tvedt Anderssen wrote:
Hei, jeg forstår ikke Økningen på begynnelsen av ermet.Det står nye masker legges opp på slutten av hver pinne. Jeg har lagt opp 24m, legger jeg opp slik jeg leser det, får jeg 44m, ikke50m. Opplever forklaringa som ikke god. Har fått andre ivrige strikkere til å se på det, skjønner det ikke de heller. Fint med oppklarende svar. Mvh.Torunn Tvedt Anderssen 😊
12.10.2025 - 21:05DROPS Design answered:
Hej Torunn. Legg opp 24 masker. Strikk glattstrikk frem og tilbake, samtidig legges det opp nye masker til ermetopp på slutten av hver pinne i hver side slik: Legg opp 3 masker 1 gang, 3 masker 1 gang, 1 maske 0 ganger, 2 masker 2 ganger og til slutt 3 masker 1 gang = 50 masker. 24+6+6+4+4+6=50 m. Mvh DROPS Design
13.10.2025 - 14:26
![]() Rachele wrote:
Rachele wrote:
Buongiorno, è possibile usare anche un solo filato? per esempio solo il Drops Air? Grazie mille!
21.07.2025 - 13:35DROPS Design answered:
Buonasera Rachele, se preferisce usare un solo filato deve lavorare un campione e adattare la lavorazione alle sue misure. Buon lavoro!
21.07.2025 - 23:05
![]() Lydia wrote:
Lydia wrote:
Kan dere oppdatere denne oppskriften å inkludere str. xxs og xs?🙏🏼 jeg finner iiingen oppskrifter på omslagsjakke til min lillesøster som er akkurat i overgangen mellom barn og voksen, der største størrelse til barn blir for lite, men minste størrelsen til voksen blir for stor.
03.07.2025 - 12:04DROPS Design answered:
Hej Lydia, det sætter vi på ønskelisten :)
03.07.2025 - 12:13
![]() Julie wrote:
Julie wrote:
Hei! Jeg strikker høyre forstykke og har strikket 10 cm. Det står i oppskriften at jeg skal gjøre fellinger mellom Icord maskene. Gjelder det i hver side?
01.07.2025 - 21:34DROPS Design answered:
Hei Julie, Du feller til omslag etter de I-cord maskene slik at de ikke endres (fell som beskrevet i Felletips-2. På andre siden av forstykket er det ikke I-cord men 1 maske rille. Her skal du etterhvert felle av til ermehull og rillemasken blir også felt av (når du har strikket til riktig mål). Deretter feller du videre til ermehull som beskrevet i Felletips-1. Håper dette hjelper. Hilsen Drops Team.
03.07.2025 - 07:37
![]() Emilie wrote:
Emilie wrote:
Hva er vanskelighetsgraden på denne? :)
08.06.2025 - 22:22
![]() Ewa wrote:
Ewa wrote:
Hi, I am stuck with the back neckline. I do not understand where it should go, does it go to the back piece? I am doing size L, so I am supposed to knit up 26 stitches, but where? The cast off for the middle neckline in the back has 12 stitches... where do I put these 26 stitches? I would really appreciate some help
07.06.2025 - 00:31DROPS Design answered:
Dear Ewa, you knit up 26 stitches along the back neckline, so the neck in the back piece. You pick up the 12 middle stitches that were cast off + 1 stitch on each shoulder (14 stitches) and then pick up other stitches around the neckline of the back, on the rows worked after having cast off for the neck, to be able to work an even neckline. Happy knitting!
08.06.2025 - 13:38
![]() Adam wrote:
Adam wrote:
I have some troubles with sleeves. The instructions are to cast on 26 stitches and then add 3+3+2+2+2+6 for size L on I’m assuming every right side row but after adding this increases it comes only to 44 stitches meanwhile the pattern calls for 56 stitches … I will be grateful for any guidance on this
10.05.2025 - 11:30DROPS Design answered:
Dear Adam, you cast on at the end of each row. So you cast on once on the right side and once on the purl side for each time stated. So you have 26 + 3x2 + 3x2 + 2x3x2 + 3x2 = 56 stitches. Happy knitting!
11.05.2025 - 01:23
![]() Lydia Charlotte Utvik wrote:
Lydia Charlotte Utvik wrote:
Jeg vil strikke denne, men i str. 10 år til barn. Hvordan bør jeg gå fram, eller har dere ei tilsvarende oppskrift ment for barn? Jeg kunne ikke finne den isåfall.
27.04.2025 - 21:30DROPS Design answered:
Hei Lydia. Ta en titt på DROPS Children 27-13, det er den vi har til barn. Evnt sjekk målene til 248-2 og en barnegenser og evnt gjør justeringer. mvh DROPS Design
05.05.2025 - 11:23
![]() Helena Folkeson wrote:
Helena Folkeson wrote:
Hej, Jag är helt ny på att sticka. Och såg detta som ett första projekt då ni länkade till detta som ett lätt projekt. Men jag måste säga att jag inte fattar någonting av vad ni skriver. En sammanhängadnde video hade varit till stor hjälp! Jag kommer välja andra websidor fortsättningsvis tyvärr.
28.01.2025 - 08:37
|
||||
Ballerina's Dream#ballerinasdreamcardigan |
||||
 |
 |
|||
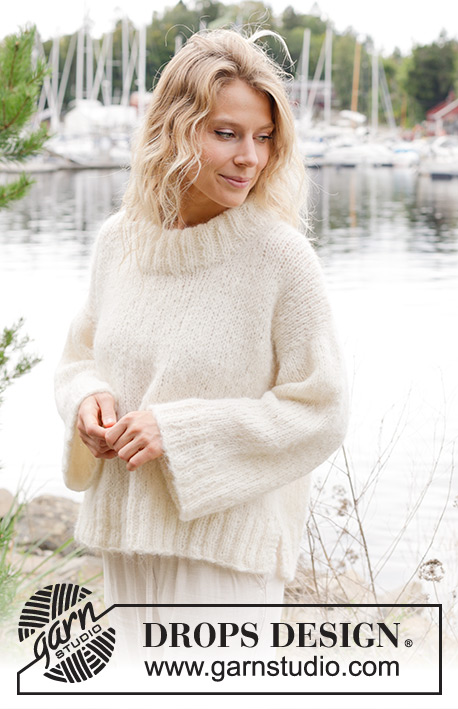
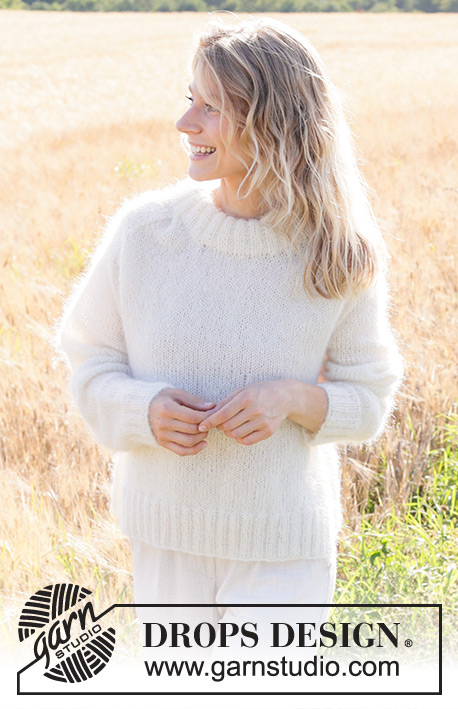
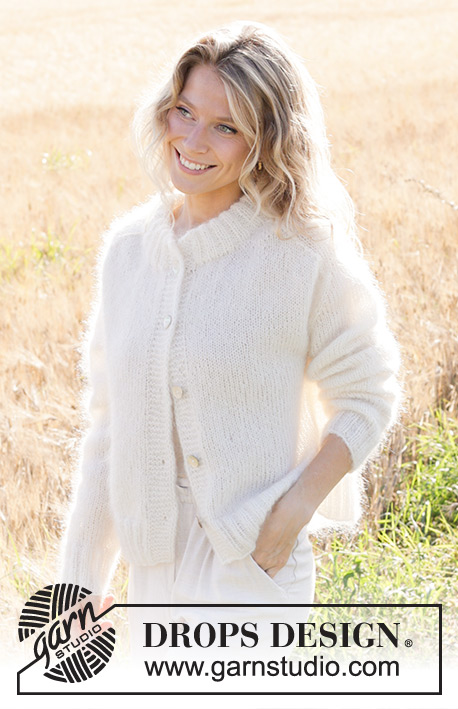
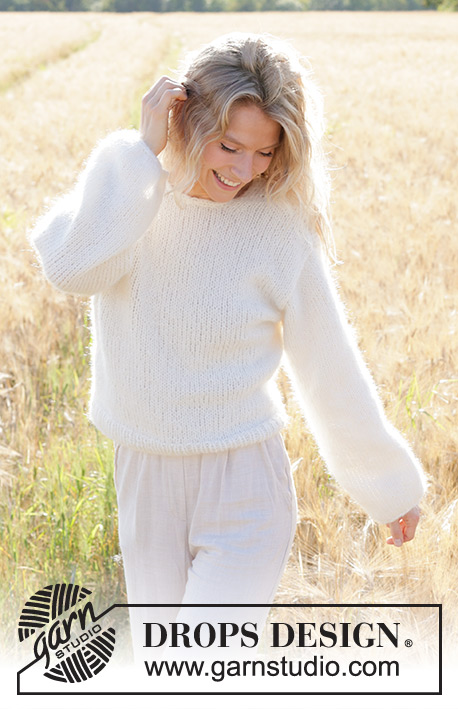
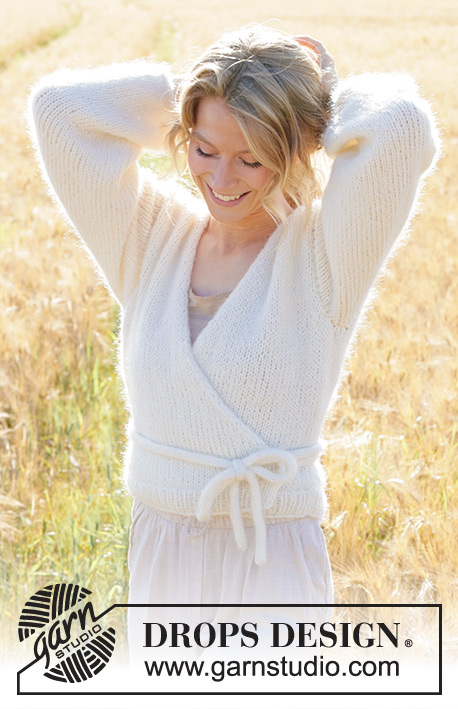
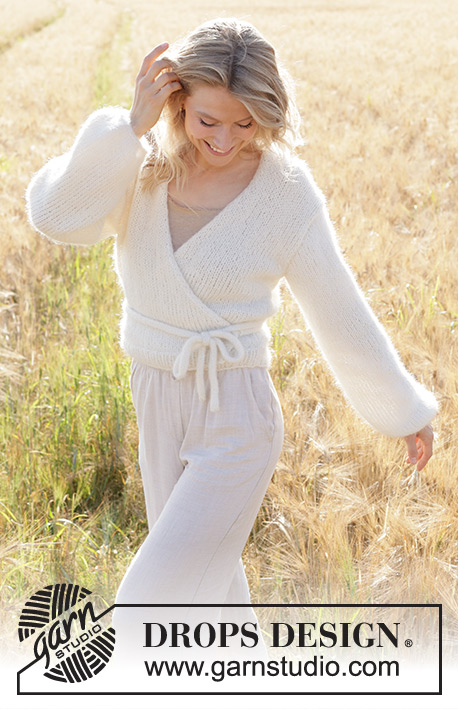
Knitted wrap-around jacket in DROPS Air and DROPS Kid-Silk. The piece is worked bottom up with I-cord, sewn in sleeves and waist-ties. Sizes S - XXXL.
DROPS 248-2 |
||||
|
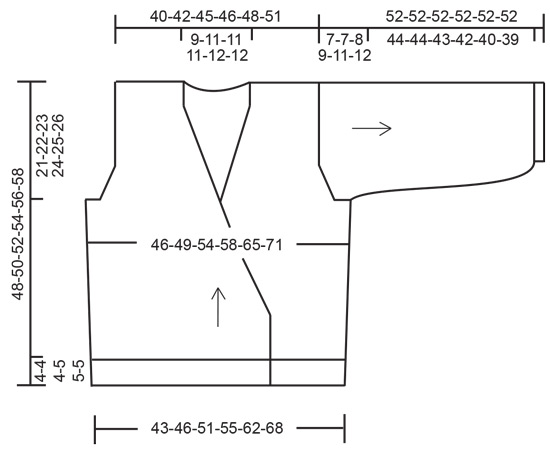
------------------------------------------------------- EXPLANATIONS FOR THE PATTERN: ------------------------------------------------------- GARTER STITCH (worked back and forth): Knit all rows – from both the right and wrong side. 1 ridge in height = knit 2 rows. I-CORD (for bands): FIRST 2 STITCHES: Work as follows on every row: Slip 1 stitch purl-wise with strand in front, knit 1. LAST 2 STITCHES: Work as follows on every row: Work until there are 2 stitches left on row, slip 1 stitch purl-wise with strand in front, knit 1. I-CORD CAST-OFF (for sleeves): At end of round, after the last stitch has been worked: Cast on 4 stitches on right needle from the right side, with 1 strand of each quality. Pass the 4 stitches from the right needle to the left needle, so the working yarn is 4 stitches in on the left needle (tighten this strand when working, to form a small tube). ROW 1 (= right side): Knit 3, knit 2 twisted together. ROW 2 (= right side): Pass the 4 stitches from the right needle back onto the left needle, knit 3, knit 2 twisted together. Repeat ROW 2 until there are 4 stitches left on right needle. Pass the 4 stitches from the right needle back onto the left needle. Cast off. Sew a small stitch to join the beginning and end of the I-cord. I-CORD CAST-OFF (for back of neck): Cast on 3 stitches on right needle from the right side with 1 strand of each quality. Pass the 3 stitches from the right needle to the left needle, so the working yarn is 3 stitches in on the left needle (tighten this strand when working, to form a small tube). ROW 1 (= right side): Knit 2, knit 2 twisted together. ROW 2 (= right side): Pass the 3 stitches from the right needle back onto the left needle, knit 2, knit 2 twisted together. Repeat ROW 2 until there are 3 stitches left on right needle. Pass the 3 stitches from the right needle back onto the left needle. Cast off. I-CORD (for waist-ties) Pass the 6 stitches from the right needle to the left needle, so the working yarn is 6 stitches in on the left needle (tighten this strand when working, to form a small tube) ROW 1 (= right side): Knit 6. ROW 2 (= right side): Pass the 6 stitches from the right needle back onto the left needle, tighten the strand, knit 6. Repeat ROW 2 to the correct length. Cast off. INCREASE TIP: All increases are worked from the right side! Increase 1 stitch by making 1 yarn-over, inside the 4 outermost stitches. On the next row purl the yarn-over twisted to avoid a hole. DECREASE TIP-1 (for armholes and back of neck): All decreases are worked from the right side! DECREASE 1 STITCH AT BEGINNING OF ROW: Knit 3, slip 1 stitch knit-wise, knit 1, pass the slipped stitch over the knitted stitch (= 1 stitch decreased). DECREASE 1 STITCH AT END OF ROW: Work until there are 5 stitches left on row, knit 2 together, knit 3 (= 1 stitch decreased). DECREASE TIP-2 (for wrap-around): All decreases are worked from the right side! DECREASE 1 STITCH AT BEGINNING OF ROW: Work 2 stitches I-cord as before, slip 1 stitch knit-wise, knit 1, pass the slipped stitch over the knitted stitch (= 1 stitch decreased). DECREASE 1 STITCH AT END OF ROW: Work until there are 4 stitches left on row, knit 2 together, 2 stitches I-cord as before (= 1 stitch decreased). DECREASE TIP-3 (mid-under sleeve): Decrease 1 stitch on each side of the marker-thread as follows: Work until there are 4 stitches left before the marker-thread, knit 2 together, knit 4 (marker-thread sits in middle of these 4 stitches), slip 1 stitch knit-wise, knit 1 and pass the slipped stitch over the knitted stitch (2 stitches decreased). ------------------------------------------------------- START THE PIECE HERE: ------------------------------------------------------- JACKET – SHORT OVERVIEW OF THE PIECE. The pattern uses both long and short needles; start with the length which fits the number of stitches and change when necessary. The front and back pieces are worked separately, back and forth and bottom up. The sleeves are started back and forth then continued in the round, top down. The sections are sewn together. Stitches are knitted up back of neck, and the neck worked in I-cord. 2 waist-ties are worked in I-cord to finish and sewn to the body. All measurements are taken from the cast-on edges. BACK PIECE: Cast on 65-69-77-83-93-101 stitches with circular needle size 5.5 mm, 1 strand DROPS Air and 1 strand DROPS Kid-Silk (= 2 strands). Purl 1 row from the wrong side. Work as follows from the right side: 1 GARTER STITCH – read description above, work rib (knit 1, purl 1) until there are 2 stitches left, knit 1 and 1 garter stitch. Continue this rib back and forth for 4-4-4-5-5-5 cm. Change to circular needle size 7 mm. Continue with stocking stitch and 1 garter stitch on each side and decrease 7-7-9-9-11-11 stitches evenly on row 1 = 58-62-68-74-82-90 stitches. REMEMBER THE KNITTING TENSION! When the piece measures 10 cm, increase 1 stitch on each side – read INCREASE TIP. Repeat this increase when the piece measures 20 cm = 62-66-72-78-86-94 stitches. When the piece measures 27-28-29-30-31-32 cm, cast off 3-3-3-4-5-6 stitches for the armholes at the beginning of the next 2 rows = 56-60-66-70-76-82 stitches. Work 2 more rows, then decrease 1 stitch on each side for the armholes – read DECREASE TIP-1. Repeat the decrease every 2nd row a total of 2-3-4-5-7-8 times on each side = 52-54-58-60-62-66 stitches. When the piece measures 45-47-49-51-53-55 cm, cast off the middle 10-12-12-12-14-14 stitches for the neckline and finish each shoulder separately. Decrease 1 stitch for the neckline on the next row from the right side – read DECREASE TIP -1 = 20-20-22-23-23-25 shoulder-stitches. Work until the piece measures 48-50-52-54-56-58 cm. Cast off. Work the other shoulder in the same way. RIGHT FRONT PIECE: Cast on 48-50-56-62-66-74 stitches with circular needle size 5.5 mm, 1 strand DROPS Air and 1 strand DROPS Kid-Silk (= 2 strands). Purl 1 row from the wrong side. Work as follows from the right side: 2 stitches I-CORD – read description above, rib (knit 1, purl 1), until there is 1 stitch left, 1 garter stitch. Continue this rib for 4-4-4-5-5-5 cm. Change to circular needle size 7 mm. Work stocking stitch with 2 stitches I-cord mid-front and 1 garter stitch at the side and decrease 6-6-6-8-8-10 stitches evenly on row 1 = 42-44-50-54-58-64 stitches (do not decrease over the edge stitches). OVERVIEW OF NEXT SECTION: You now decrease for the wrap-around, increase in the side and cast off for the armhole - read DECREASES FOR WRAP-AROUND, SIDE-INCREASES and ARMHOLE before continuing. DECREASES FOR WRAP-AROUND: When the piece measures 10-10-11-11-12-12 cm, decrease 1 stitch inside the I-cord stitches – read DECREASE TIP -2. Decrease like this every 2nd row a total of 7-8-13-14-15-17 times, then every 4th row 10-10-8-8-8-8 times (= 17-18-21-22-23-25 decreased stitches). SIDE-INCREASES: At the same time, when the piece measures 10 cm, increase 1 stitch in the side – remember INCREASE TIP. Repeat this increase when the piece measures 20 cm (= 2 increased stitches). ARMHOLE: At the same time, when the piece measures 27-28-29-30-31-32 cm, cast off 3-3-3-4-5-6 stitches for the armhole at the beginning of the next row from the wrong side. Work 2 more rows, then decrease 1 stitch for the armhole – remember DECREASE TIP -1. Decrease like this every 2nd row a total of 2-3-4-5-7-8 times. After all the decreases and increases there are 22-22-24-25-25-27 stitches (2 more stitches than on the back shoulder). Continue working until the piece measures 48-50-52-54-56-58 cm. Cast off. LEFT FRONT PIECE: Cast on 48-50-56-62-66-74 stitches with circular needle size 5.5 mm, 1 strand DROPS Air and 1 strand DROPS Kid-Silk (= 2 strands). Purl 1 row from the wrong side. Work as follows from the right side: 1 garter stitch, rib (purl 1, knit 1), until there are 2 stitches left, 2 stitches I-CORD – read description above. Continue this rib for 4-4-4-5-5-5 cm. Change to circular needle size 7 mm. Work stocking stitch with 1 garter stitch at the side and 2 stitches I-cord mid-front and decrease 6-6-6-8-8-10 stitches evenly on row 1 = 42-44-50-54-58-64 stitches (do not decrease over the edge stitches). OVERVIEW OF NEXT SECTION: You now decrease for the wrap-around, increase in the side and cast off for the armhole - read DECREASES FOR WRAP-AROUND, SIDE-INCREASES and ARMHOLE before continuing. DECREASES FOR WRAP-AROUND: When the piece measures 10-10-11-11-12-12 cm, decrease 1 stitch inside the I-cord stitches – remember DECREASE TIP -2. Decrease like this every 2nd row a total of 7-8-13-14-15-17 times, then every 4th row 10-10-8-8-8-8 times (= 17-18-21-22-23-25 decreased stitches). SIDE-INCREASES: At the same time, when the piece measures 10 cm, increase 1 stitch in the side – remember INCREASE TIP. Repeat this increase when the piece measures 20 cm (= 2 increased stitches). ARMHOLE: At the same time, when the piece measures 27-28-29-30-31-32 cm, cast off 3-3-3-4-5-6 stitches for the armhole at the beginning of the next row from the right side. Work 2 more rows, then decrease 1 stitch for the armhole – remember DECREASE TIP -1. Decrease like this every 2nd row a total of 2-3-4-5-7-8 times. After all the decreases and increases there are 22-22-24-25-25-27 stitches (2 more stitches than on the back shoulder). Continue working until the piece measures 48-50-52-54-56-58 cm. Cast off. SLEEVES: Cast on 24-26-26-24-24-22 stitches with circular needle size 7 mm and 1 strand of each quality (= 2 strands). Work stocking stitch back and forth, casting on stitches for the sleeve cap at the end of each row as follows: 3-3-3-4-5-6 stitches 1 time, 3 stitches 1-1-1-1-1-1 time, 1 stitch 0-0-0-1-2-3 times, 2 stitches 2-2-3-3-3-3 times and 3 stitches 1-1-1-1-1-1 time on each side = 50-52-56-58-62-64 stitches. The sleeve measures approx. 7-7-8-9-11-12 cm. Now join the sleeve and continue stocking stitch in the round. Insert 1 marker-thread at the beginning of the round (= mid-under sleeve); this is used when decreasing under the sleeve. When the sleeve measures 9-9-10-11-13-14 cm, decrease 2 stitches under the sleeve – read DECREASE TIP -3. Repeat the decrease when the sleeve measures 11-11-12-13-15-16 cm = 46-48-52-54-58-60 stitches. Work until the sleeve measures 51 cm in all sizes and decrease 6-6-8-8-8-8 stitches evenly on the last round = 40-42-44-46-50-52 stitches. Cast off with I-CORD – read description above. BACK NECKLINE: Use circular needle size 7 mm. Knit up from the right side 24-26-26-26-28-28 stitches along the back neckline. Cut the strand. Cast off with I-CORD – read description above. ASSEMBLY: Sew the shoulder seams inside the cast-off edge, starting by the armhole and sewing stitch to stitch towards the neck, finish by sewing the 2 last stitches on the front piece to the I-cord edge from the back piece. Sew the side seams, inside the 1 edge stitch, leaving an opening of 3 cm, 10-10-11-11-12-12 cm up from the bottom edge on the right side of the garment, to thread the waist-tie through. Sew in the sleeves inside the 1 edge stitch around the armholes. WAIST TIES: Cast on 6 stitches with circular needle size 5.5 mm and 1 strand of each quality (= 2 strands). Work I-CORD – read description above, for 100-110-120-130-140-150 cm – or to desired length. Cast off. Work a second tie in the same way. Sew each tie to the wrong side of each front piece, in the transition between the stocking stitch and I-cord and approx. 10-10-11-11-12-12 cm up from the cast-on edge. |
||||
Diagram explanations |
||||
|
||||
 |
||||
Have you finished this pattern?Tag your pictures with #dropspattern #ballerinasdreamcardigan or submit them to the #dropsfan gallery. Do you need help with this pattern?You'll find 33 tutorial videos, a Comments/Questions area and more by visiting the pattern on garnstudio.com. © 1982-2026 DROPS Design A/S. We reserve all rights. This document, including all its sub-sections, has copyrights. Read more about what you can do with our patterns at the bottom of each pattern on our site. |
||||


With over 40 years in knitting and crochet design, DROPS Design offers one of the most extensive collections of free patterns on the internet - translated to 17 languages. As of today we count 325 catalogues and 12298 patterns translated into English (UK/cm).
We work hard to bring you the best knitting and crochet have to offer, inspiration and advice as well as great quality yarns at incredible prices! Would you like to use our patterns for other than personal use? You can read what you are allowed to do in the Copyright text at the bottom of all our patterns. Happy crafting!
Post a comment to pattern DROPS 248-2
We would love to hear what you have to say about this pattern!
If you want to leave a question, please make sure you select the correct category in the form below, to speed up the answering process. Required fields are marked *.