
Looking for a yarn?


Comments / Questions (20)
![]() Kari Blask wrote:
Kari Blask wrote:
Hallo, ich Anfängerin schon wieder! Beim Armausschnitt beidseitig Maschen abnehmen aber muss auch die 4 krasse Maschen beibehalten? Es ist so ein schönes Oberteil! Vielen Dank für Ihre Mühe! Liebe Grüße
26.06.2021 - 09:46DROPS Design answered:
Liebe Frau Blask, die Zunahmen entstehen beidseitig von de 6 Maschen beidseitig (siehe ZUNAHMETIPP), dh vor diesen 6 M, 1 Umschlag, die 6 M wie zuvor stricken, 1 Umschlag (bei der 2. Markierung wiederholen). Die Umschläge stricken Sie bei der nächsten Runde verschränkt um Löcher zu vermeiden - in A.1, Das Muster wird nicht mehr in der Runde zusammenpassen, aber muss beim Vorder- bzw Rückenteil passen, mit den 6 M beidseitig wie zuvor. Viel Spaß beim stricken!
28.06.2021 - 07:32
![]() Kari Blask wrote:
Kari Blask wrote:
I verstehe nicht welche 4 Maschen ich anfangs abketten muss. Vor dem Leitfaden oder danach? Danke!
22.06.2021 - 21:23DROPS Design answered:
Liebe Frau Blask, für die Armlöcher ketten Sie die ersten 4 Maschen der Runde (= nach dem 1. Markierungsfaden), dann die 4 Maschen vor dem nächsten Markierungsfaden + die 4 Maschen nach diesem Markierungsfaden (= 8 M insgesamt) und dann die letzten 4 M der Runde - es sind jetzt 8 Maschen beidseitig abgekettet und je 88 Maschen übrig in M für Rücken- bzw Vorderteil. Viel Spaß beim stricken!
23.06.2021 - 07:51
![]() Cornelia wrote:
Cornelia wrote:
Hallo! Das Belle Garn ist wunderschön aber meine Maschenprobe kkappt nicht.. Bei Nadelstärke 2 habe ich 19M und 32 Reihen. Bei Ns 3, 17M und 26R.Was kann ich tun? Lieben Dank! Cornelia
21.06.2021 - 06:57DROPS Design answered:
Liebe Cornelia, versuchen Sie vielleicht etwas fester zu stricken? 22 Maschen mit Belle ist die Maschenprobe mit den Nadeln Nr 3,5 . Vielleicht kann Ihr DROPS Laden irgendein Tipp für Sie haben?
21.06.2021 - 08:51
![]() Catherine Favotto wrote:
Catherine Favotto wrote:
Bonjour, un tout grand merci pour vos explications très claires ! Bien à vous :)
25.05.2021 - 20:03
![]() Anne wrote:
Anne wrote:
Bij maat S moet ik bij het rondbreien van het lijf na 8-7-7 cm steeds 4 steken meerderen. Na de eerste meerdering kom ik uit op 166 steken (162 + 4 gemeerderd). Dit is niet deelbaar door het patroon A1, dat uit een herhaling van 3 steken bestaat (166/3=55,3). Bij de tweede keer meerderen (=170 steken) ontstaat hetzelfde probleem (170/3=56,6). Ik kan de teltekening hierdoor niet blijven volgen. Hoe moet ik na de meerderingen A1 blijven breien? Alvast veel dank voor de hulp!
23.05.2021 - 23:33DROPS Design answered:
Dag Anne,
Dat klopt, door de meerderingen verbreekt het patroon. Het beste kun je het patroon denkbeeldig in tweeën splitsen bij de markeerdraad. Dus links van de markeerdraad zet je het patroon voort zodat het patroon van links naar rechts doorloopt en rechts van het patroon zodat het van rechts naar links doorloopt. Bij de markeerdraden, dus de zijnaden stopt dan het patroon abrubt.
31.05.2021 - 11:11
![]() Catherine Favotto wrote:
Catherine Favotto wrote:
Bonjour, dans la section Dos&Devant, il faut augmenter de 4 mailles 3 x au total tous les 8 cm. Mais le diagramme A1 est multiple de 3. Donc, quand j'augmente de 4 mailles par tour, je ne peux plus suivre le diagramme. Que faire ? Merci d'avance !
23.05.2021 - 11:48DROPS Design answered:
Bonjour Mme Favotto, vous tricotez les augmentations sur les côtés comme une nouvelle maille de A.1 - cf AUGMENTATIONS (côtés du top) et les 6 mailles comme avant; le motif ne va pas tomber juste, c'est normal, mais tricotez les mailles du devant et du dos comme avant pour que le motif continue et les 6 mailles du côté pareil pour que le motif continue, juste de part et d'autre de ces 6 mailles, il ne tombera pas juste le temps des augmentations. Bon tricot!
25.05.2021 - 09:52
![]() Loredana Pattaroni wrote:
Loredana Pattaroni wrote:
Non vedo l'ora di iniziare!
08.01.2021 - 08:32
![]() Linda A Ball wrote:
Linda A Ball wrote:
Tea Rose
07.01.2021 - 20:18
![]() Hanne Pejtersen wrote:
Hanne Pejtersen wrote:
Meget sommersød uden at blivefor fin,eller for hverdagsagtig......yndig halsudskæring!
07.01.2021 - 20:17
![]() Mee Q wrote:
Mee Q wrote:
The simplicity of this is beautiful!
07.01.2021 - 17:37
|
|||||||
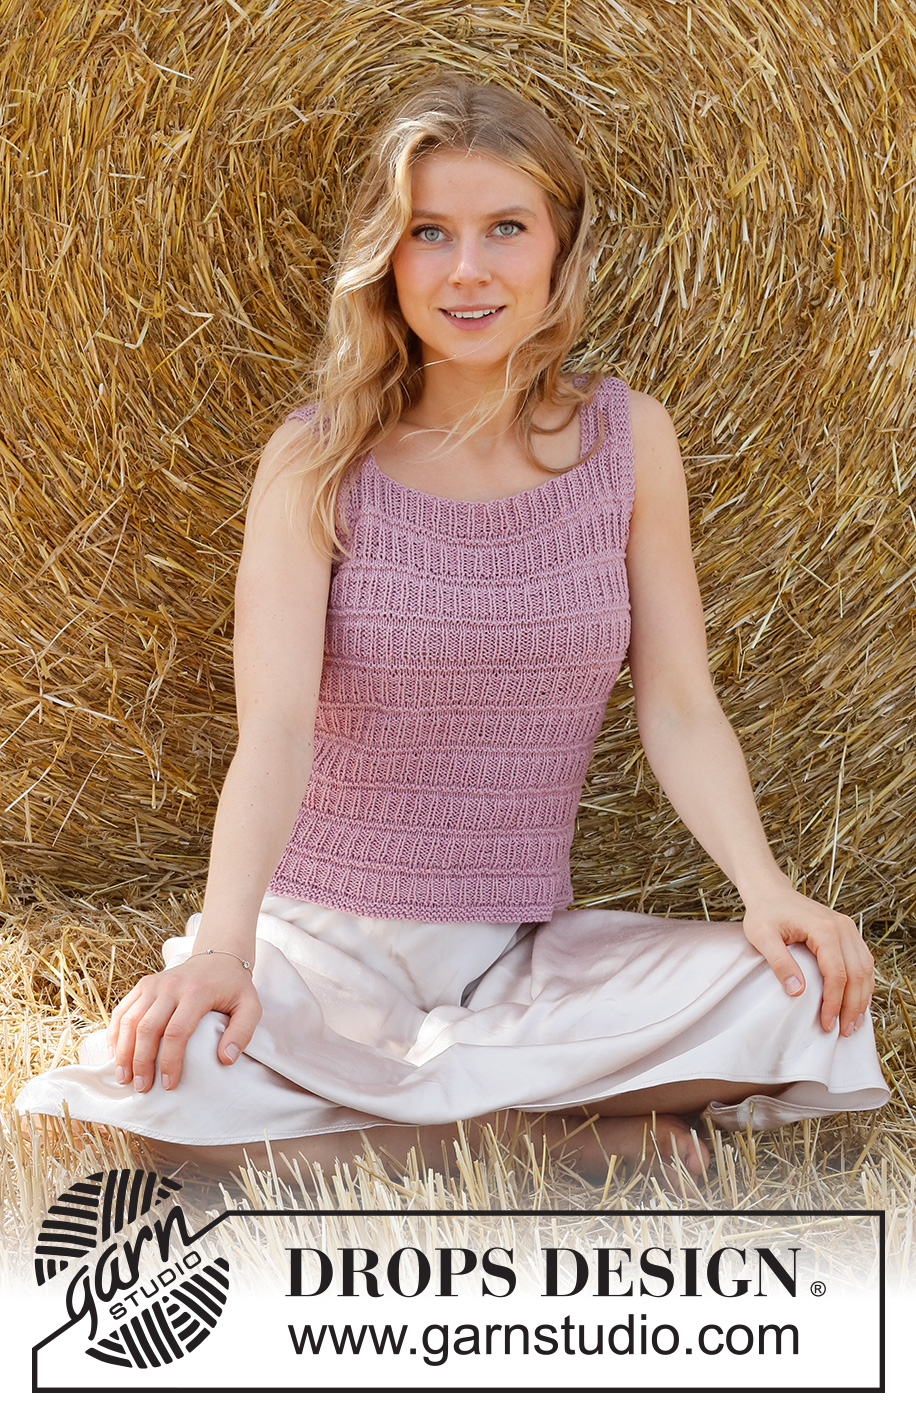
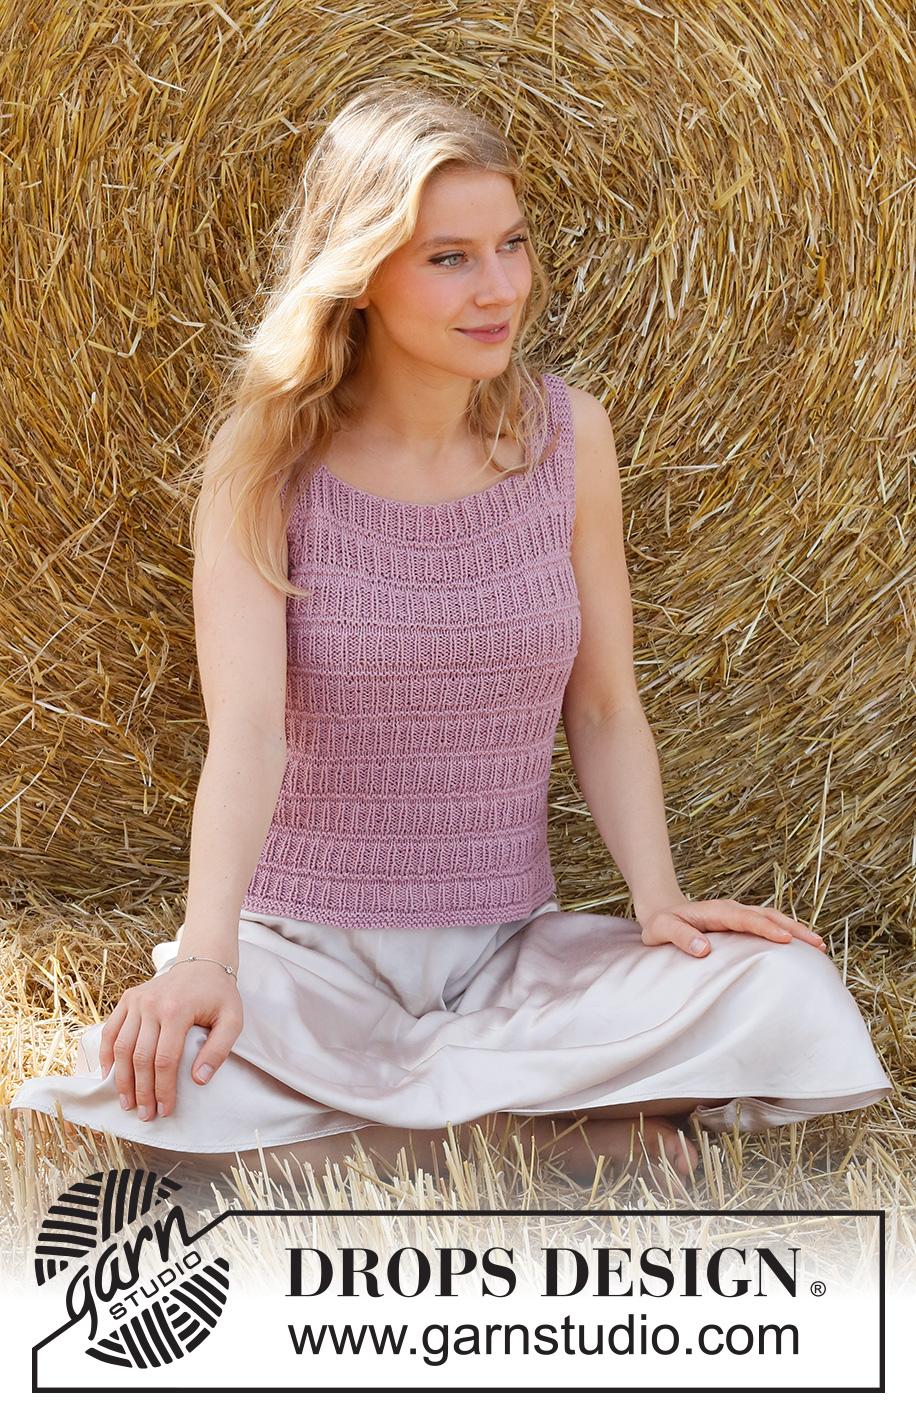
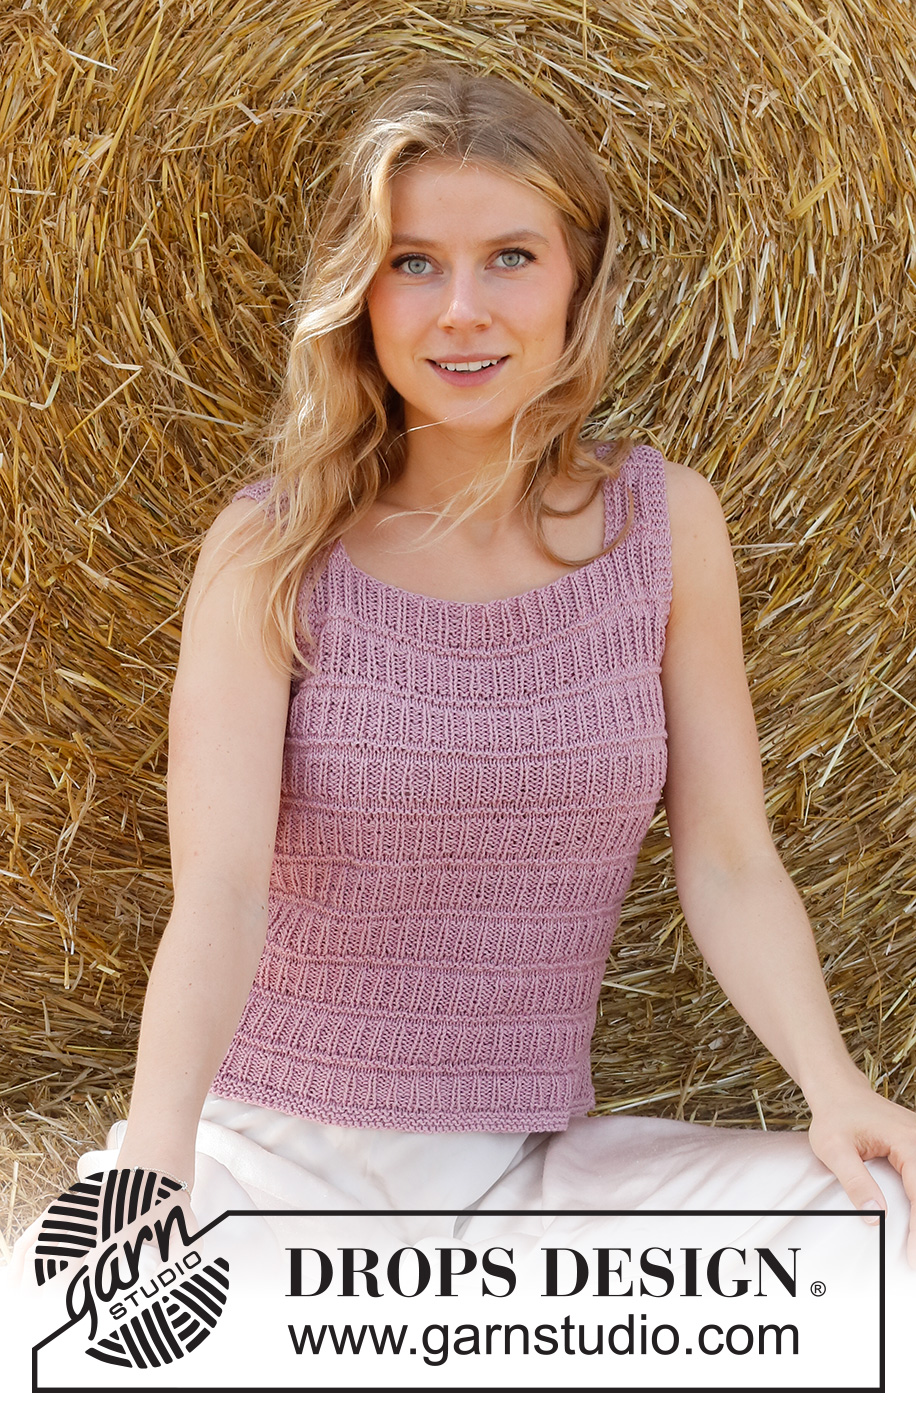
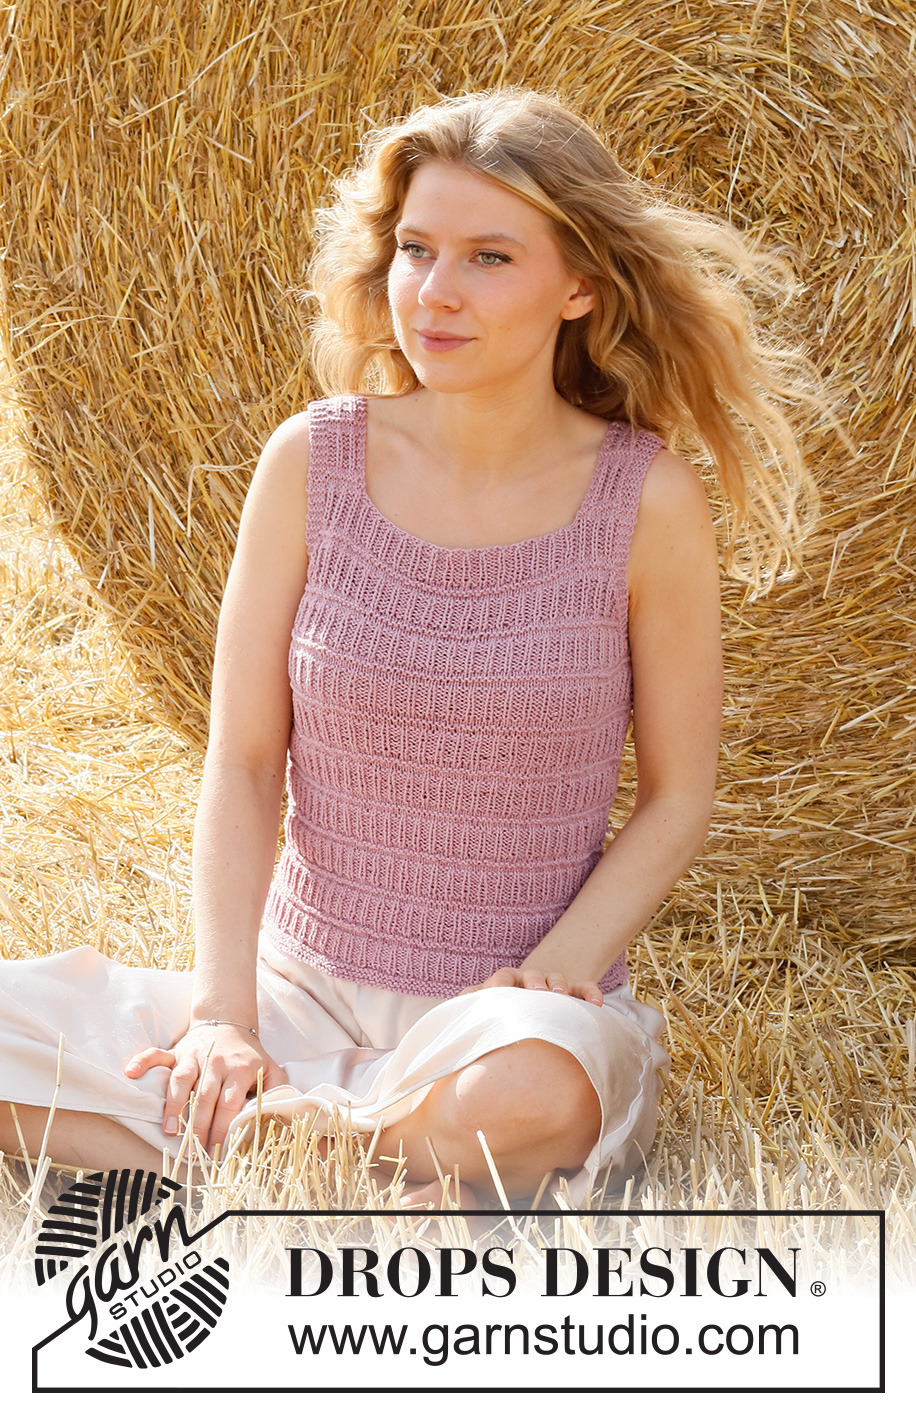
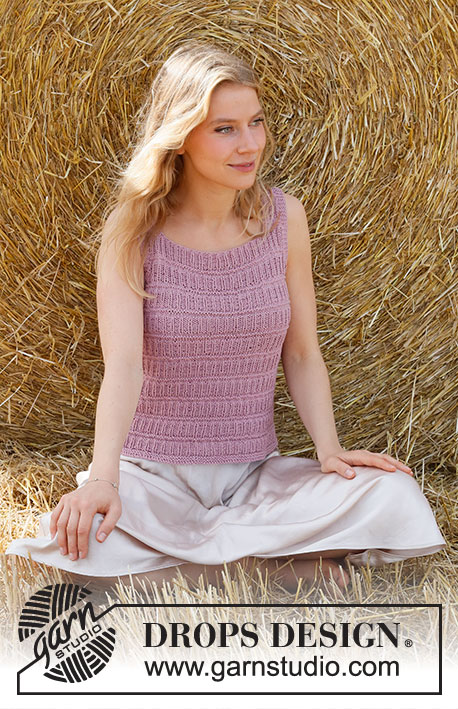
Pink Straw#pinkstrawtop |
|||||||
 |
 |
||||||
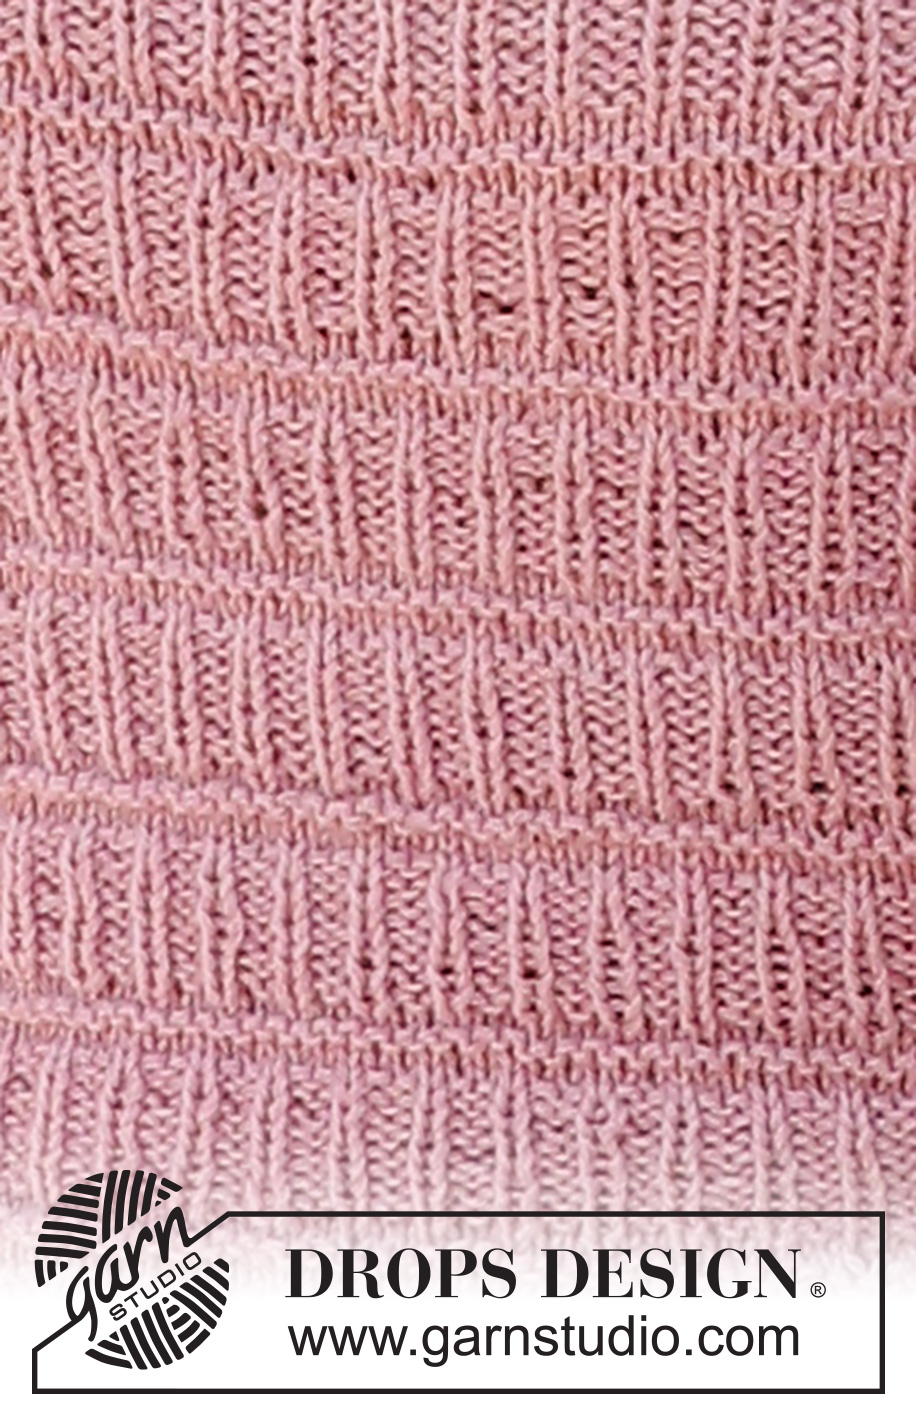
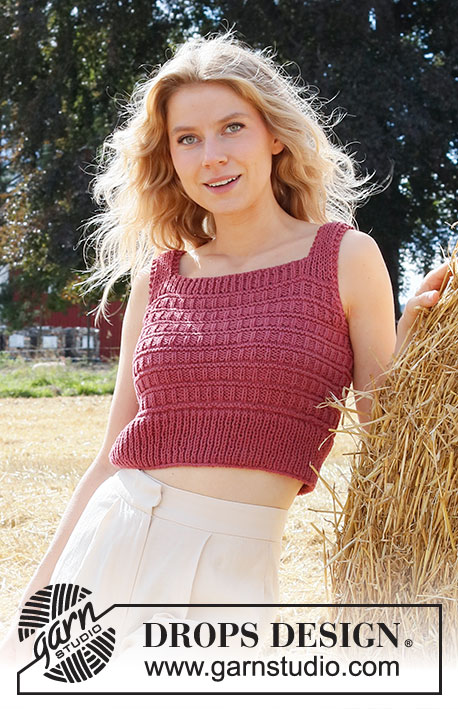
Knitted top in DROPS Belle. The piece is worked with textured pattern. Sizes S - XXXL.
DROPS 223-18 |
|||||||
|
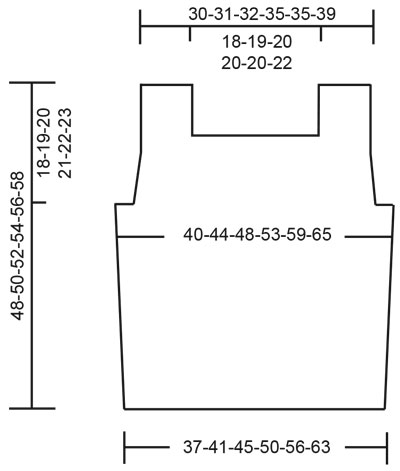
------------------------------------------------------- EXPLANATIONS FOR THE PATTERN: ------------------------------------------------------- RIDGE/GARTER STITCH (worked in the round): 1 ridge in height = 2 rounds; Knit 1 round and purl 1 round. RIDGE/GARTER STITCH (worked back and forth): Knit all rows. 1 ridge in height = Knit 2 rows. PATTERN: See diagram A.1. The diagram shows all the rows in the pattern from the right side. INCREASE TIP (for sides of body): Work until there are 3 stitches left before the marker thread, make 1 yarn over, work 6 stitches in pattern as before (marker thread sits between these 6 stitches) make 1 yarn over (= 2 stitches increased). On the next round work the yarn overs twisted to avoid holes. Then work the new stitches into A.1. DECREASE TIP (for armholes): Decrease on the inside of the 4 edge stitches in garter stitch. All decreases are worked from the right side! DECREASING AFTER THE 4 EDGE STITCHES: Purl 2 twisted together. DECREASING BEFORE THE 4 EDGE STITCHES: Start 2 stitches before the 4 edge stitches and purl these 2 stitches together. ------------------------------------------------------- START THE PIECE HERE: ------------------------------------------------------- TOP – SHORT OVERVIEW OF THE PIECE: The piece is worked in the round with circular needle bottom up, as far as the armholes. The front and back pieces are finished back and forth separately. BODY: Cast on a little loosely 162-180-198-222-246-276 stitches with circular needle size 3.5 mm and Belle. Change to circular needle size 3 mm and work 2 RIDGES in the round – read description above. Change back to circular needle size 3.5 mm and work 2 rounds of stocking stitch. Insert 1 marker thread at the beginning of the round and 1 marker thread after 81-90-99-111-123-138 stitches (= sides of body). Allow the threads to follow your work onwards; they are used when increasing in the sides. Work A.1 in the round. REMEMBER THE KNITTING TENSION! When the piece measures 8-8-8-8-10-10 cm, increase 1 stitch on each side of both marker threads – read INCREASE TIP (= 4 stitches increased). Increase like this every 7-7-8-8-8-8 cm a total of 3 times = 174-192-210-234-258-288 stitches – work the new stitches into A.1. When the piece measures 29-30-31-32-33-34 cm, work 2 ridges over 14-16-18-22-26-30 stitches in each side (i.e. 7-8-9-11-13-15 stitches on each side of both marker threads – the other stitches are worked as before). When the 2 ridges are finished, cast off for the armholes on the next round as follows: Cast off 3-4-5-7-9-11 stitches, work as before until 3-4-5-7-9-11 stitches remain before the next marker thread, cast off 6-8-10-14-18-22 stitches, work as before until 3-4-5-7-9-11 stitches remain on the round and cast off the last 3-4-5-7-9-11 stitches. Cut the strand and pull it through the last stitch. Back and front pieces are finished separately. BACK PIECE: = 81-88-95-103-111-122 stitches. Continue A.1 back and forth with circular needle size 3.5 mm and 4 edge stitches in garter stitch on each side for the armholes. AT THE SAME TIME, on the next row from the right side decrease 1 stitch on each side – read DECREASE TIP. Decrease for the armholes like this every 2nd row (each row from the right side) a total of 8-10-12-13-17-18 times = 65-68-71-77-77-86 stitches. Continue working until the piece measures 44-46-48-50-52-54 cm, but adjust so you are still in a ribbed section. On the next row cast off for the neck as follows: Work the first 13-13-13-16-16-19 stitches as before, cast off the next 39-42-45-45-45-48 stitches (with knit over knit and purl over purl), work the last 13-13-13-16-16-19 stitches as before. Each shoulder strap is finished separately. Continue A.1 back and forth as before, with 4 edge stitches in garter stitch on each side and 3 edge stitches in garter stitch towards the neck, until the strap measures 4 cm. The top measures approx. 48-50-52-54-56-58 cm from the shoulder down. Cast off. Work the other strap in the same way. FRONT PIECE: = 81-88-95-103-111-122 stitches. Continue A.1 back and forth with circular needle size 3.5 mm and 4 edge stitches in garter stitch on each side for the armholes. AT THE SAME TIME, on the next row from the right side decrease 1 stitch on each side in the same way as the back piece. Decrease like this every 2nd row (each row from the right side) a total of 8-10-12-13-17-18 times = 65-68-71-77-77-86 stitches. Continue working until the piece measures 40-42-43-45-46-48 cm, but adjust so you are still in a ribbed section. On the next row cast off for the neck as follows: Work the first 13-13-13-16-16-19 stitches as before, cast off the next 39-42-45-45-45-48 stitches (with knit over knit and purl over purl) and work the last 13-13-13-16-16-19 stitches as before. Each shoulder strap is finished separately. Continue A.1 back and forth as before, with 4 edge stitches in garter stitch on each side and 3 edge stitches in garter stitch towards the neck, until the strap measures 8-8-9-9-10-10 cm. The top measures approx. 48-50-52-54-56-58 cm from the shoulder down. Cast off. Work the other strap in the same way. ASSEMBLY: Sew the shoulder seams inside the cast-off edges. |
|||||||
Diagram explanations |
|||||||
|
|||||||
 |
|||||||
 |
|||||||
Have you finished this pattern?Tag your pictures with #dropspattern #pinkstrawtop or submit them to the #dropsfan gallery. Do you need help with this pattern?You'll find 20 tutorial videos, a Comments/Questions area and more by visiting the pattern on garnstudio.com. © 1982-2025 DROPS Design A/S. We reserve all rights. This document, including all its sub-sections, has copyrights. Read more about what you can do with our patterns at the bottom of each pattern on our site. |
|||||||


With over 40 years in knitting and crochet design, DROPS Design offers one of the most extensive collections of free patterns on the internet - translated to 17 languages. As of today we count 320 catalogues and 12091 patterns translated into English (UK/cm). 12091
We work hard to bring you the best knitting and crochet have to offer, inspiration and advice as well as great quality yarns at incredible prices! Would you like to use our patterns for other than personal use? You can read what you are allowed to do in the Copyright text at the bottom of all our patterns. Happy crafting!
Post a comment to pattern DROPS 223-18
We would love to hear what you have to say about this pattern!
If you want to leave a question, please make sure you select the correct category in the form below, to speed up the answering process. Required fields are marked *.