
Categorie popolari
State cercando un filato?














Commenti / Domande (121)
 Sadi ha scritto:
Would it possible to get a written version of the pattern rather than the diagram. I find the diagram more difficult to understand. I know all the individual types of stitches, but I don't use patterns and do not want to knit it all wrong
09.05.2023 - 01:49DROPS Design ha risposto:
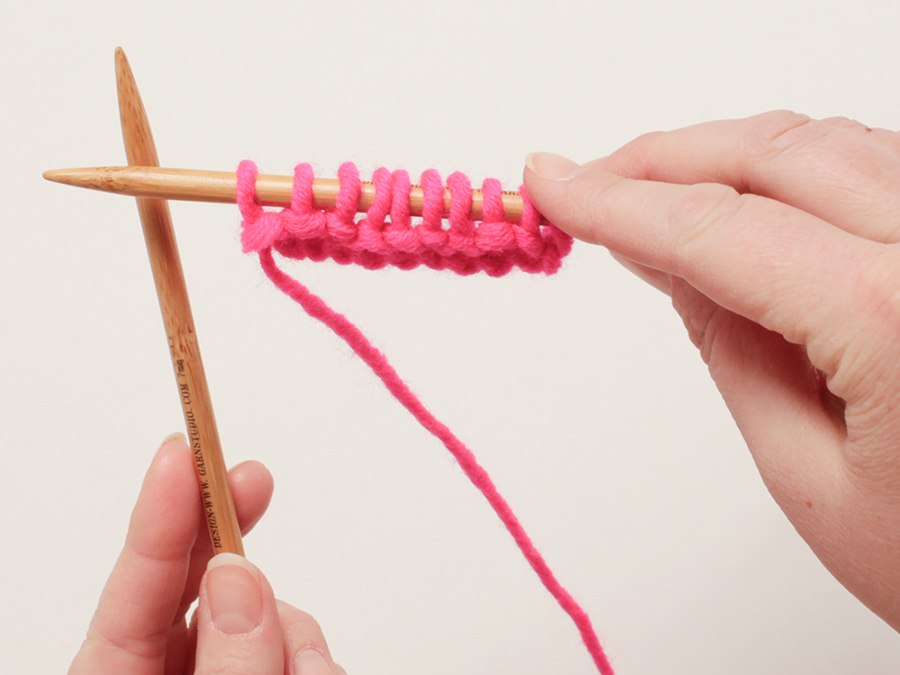
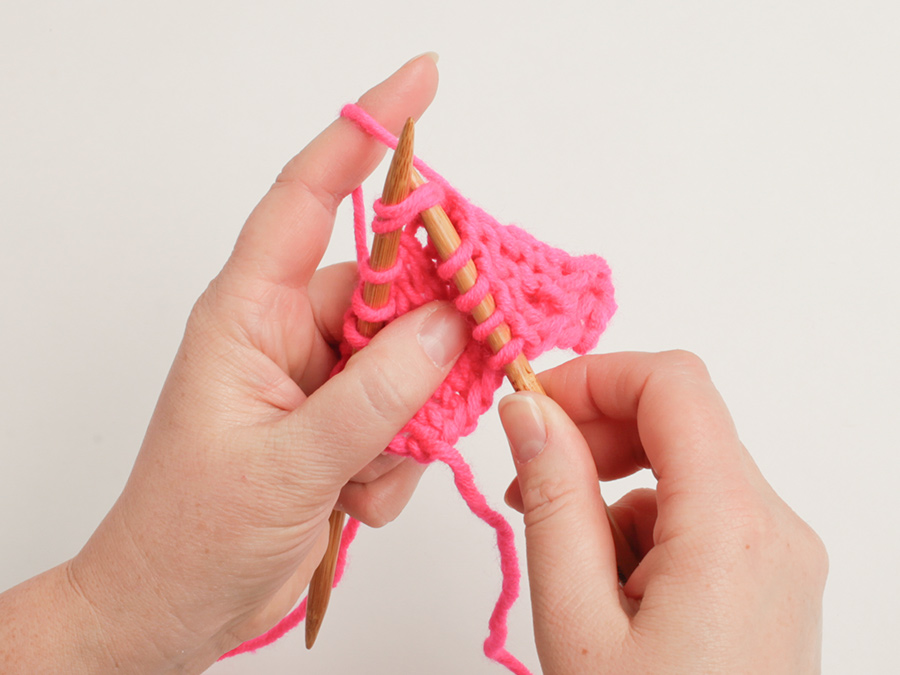
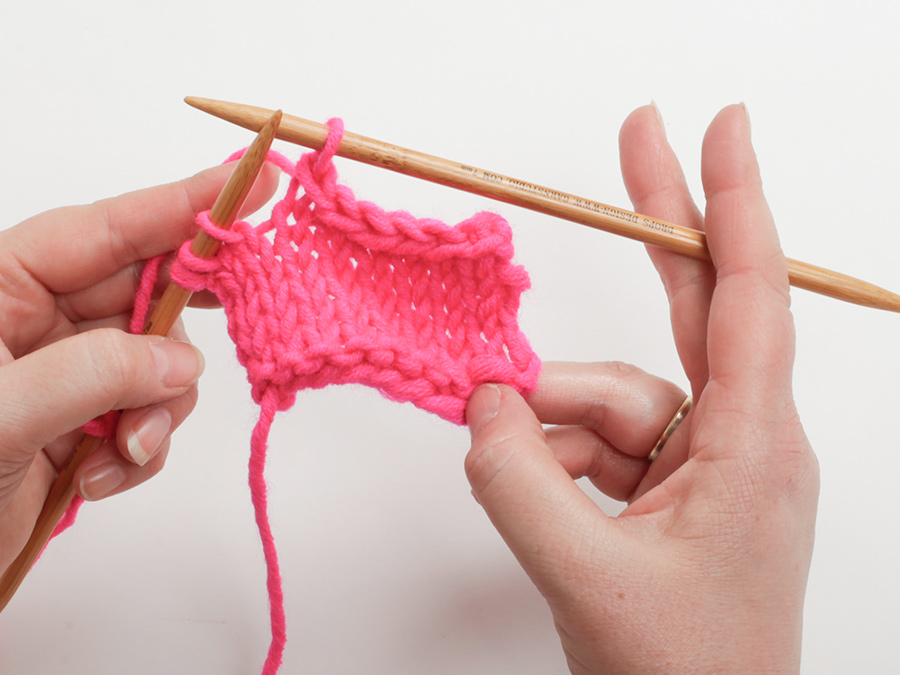
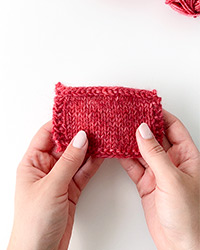
Dear Sadi, we only have a diagram to this pattern, but this lesson might help you understanding how to read diagram, and in this video shows how to work a similar (but not exactly the same) lace pattern. Hope it can help. Happy knitting!
09.05.2023 - 07:48
 Ruth OBrien ha scritto:
I do not understand the NOTE! Continue A.1 so that A.1 fits before the inc for sleeve. It seems to me that A1 is now part of the 10 stitches added for the sleeve. Please clarify what is meant under the NOTE
02.05.2021 - 22:50DROPS Design ha risposto:
Dear Ruth, it means, that for stitches you've knitted with pattern before, continue the pattern, and other stitches should be counted for the the pattern from the stitches already patterned, so it continue the existing pattern without a break. Happy Knitting!
03.05.2021 - 09:31
 Lagarde ha scritto:
Bonjour j'ai commencé l'ouvrage vs ecrivez à 11 cm monter 20 m pour les manches mais l'autre manche ? Merci de votre réponse et des modèles si beaux .tricotement votre myriam
26.03.2021 - 07:18DROPS Design ha risposto:
Bonjour Mme Lagarde, à 11 cm, vous montez 10 mailles à la fin des 2 rangs suivants: à la fin du rang suivant sur l'endroit, montez 10 mailles, tournez et tricotez le rang suivant sur l'envers en montant 10 mailles à la fin de ce rang = vous avez bien 10 mailles pour chaque manche. Bon tricot!
26.03.2021 - 08:01
 Jytte ha scritto:
Er færdig med at strikke denne model, men kan slet ikke finde ud af at sy den sammen . Skal jeg skal jeg sy de stiplede linjer foroven og sy dem sammen med dem forneden, eller skal de syes sammen Venstre side mod højre. På den anden tegning ser det ud som om sen er foldet på midten mvh. Jytte
21.10.2020 - 16:17
 Lindsay ha scritto:
For row 15, could you please write out the part B that is repeated? I understand that there is overlap but I'm still confused about the repeated stitches. Also for a size small, how long should my work be? I'm afraid it might he too small. That is again!
04.04.2020 - 15:35DROPS Design ha risposto:
Dear Lindsay, when working row 15, work the last 2 sts in A. together with the first stitch in B - the YO = the new first st in B. Work the last 2 sts in B with the first stitch next B (or then C at the end of the row), the 2nd YO is now the first st on next B/C. Hope this helps. Make sure to check your tension and check measurements here. Happy knitting!
09.04.2020 - 13:12
Susie Q ha scritto:
Why can't you just have written instructions.
26.03.2020 - 19:04DROPS Design ha risposto:
Dear Susie Q, The DROPS patterns are knitted and crocheted by thousands and thousands of people around the world. We understand however that in certain countries, with different knitting/crochet traditions than Scandinavia, our patterns might be written in a way that differs from what some are used to. But of course we want everyone to understand our patterns, so that’s why we have created an extensive library of tutorial videos as well as step by step lessons that explain how to follow the techniques we use and how to read the diagrams in our patterns. Give them a try!
27.03.2020 - 10:14
Lindsay ha scritto:
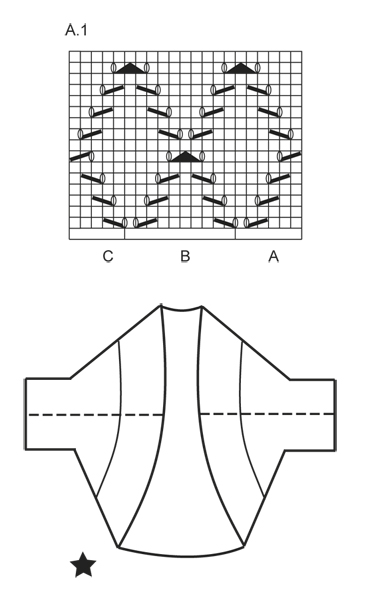
Am I reading this right? The first row of A1: k3, k2tog, yo, k1, yo, sl1, k1, psso, k5, k2tog, yo, k1 (repeat 9 times), yo, sl1, k1, psso, k3. 2nd row: purl. 3rd row: k2, k2tog, yo, k3, yo, sl1, k1, psso, k3, k2tog, yo, k2 (repeat 9 times), k1, yo, sl1, k1, psso, k2. Do I do the 16 rows in A1 and then it measures 11 cm? Then cast on new stitches and repeat A1 until it measures 45 cm?
04.03.2020 - 20:54DROPS Design ha risposto:
Dear Lindsay, just to make it somewhat more clear with the repetitions: on row 1 work first: k3, k2tog, yo, k1 (= A.1A) then repeat yo, sl1, k1, psso, k5, k2tog, yo, k1 a total of 9 times (= A.1B) and finish with , yo, sl1, k1, psso, k3 (= A.1C). From WS purl all stitches. On next to last row (= last row from RS) work the last 2 sts in A /B tog with the first st in B/next st in B/first st in C. The 2nd yarn over after the dec is now the first stitch in B/next B/C. Then yes, you work like this until piece measures 11 cm, then cast on new stitches and work in pattern as before - always with 3 sts in garter stitch on each side. Happy knitting!
05.03.2020 - 10:11
 Helen Morgan ha scritto:
Can you please tell me what ply Big Merino is. Is it an 8, 10, or 12 ply yarn. Thank you.
26.01.2020 - 08:20DROPS Design ha risposto:
Dear Mrs Morgan, you will find more info about DROPS Big Merino here - you DROPS store can also help you, even per mail. Happy knitting!
27.01.2020 - 08:58
 Ava Goei-Vujovich ha scritto:
Apologies but your explanation was not clear. The widest width across for a L size, with a cast on of 117 stitches should be 81cm (using the second number in the 4 number series)? But there are 2 sets of numbers for the length: 39cm and 61cm? The width of the garter stitch edges are 69cm? Length is 7+4 cm =11cm before the increases? Please clarify.
13.09.2019 - 08:00DROPS Design ha risposto:
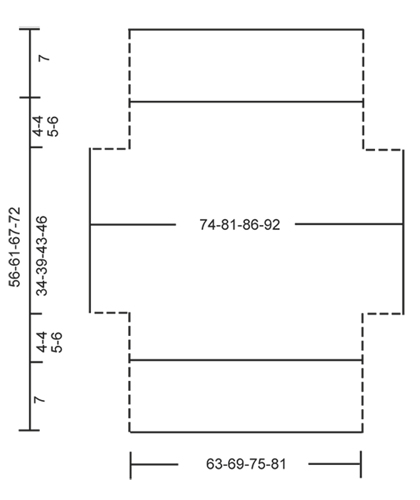
Dear Mrs Goei-Vujovich, with 17 sts = 10 cm, in size L (= 2nd size), you will have approx. 69 cm in width, then cast on 10 sts on each side = 137 sts = 81 cm. Piece will be 61cm total length with 39 cm for the sleeeves. And there are 7 cm garter stitch + 4 cm with pattern A.1 = 11 cm before and after the sleeves. Hope this helps! Happy knitting!
13.09.2019 - 08:11
Ava Goei-Vujovich ha scritto:
Can someone explain the numbers on the diagram for the finished bolero? I have finished the bolero but am not able to put it together. It has been frustrating!
10.09.2019 - 07:41DROPS Design ha risposto:
Dear Mrs Goei-Vujovich, The numbers in the measurement chart refer to the length/width in cm when piece is lying flat (in the knitting direction, ie bottom up). To sew the bolero together, sew each side with dotted line =the bottom part (= from the cast on edge towards the sleeve edge) together with the top part (from the cast off edge towards the sleeve edge) = one armhole. Repeat seam on the other side the same way. Happy knitting!
10.09.2019 - 09:27
|
|||||||||||||||||||
Cassie#cassiebolero |
|||||||||||||||||||
 |
 |
||||||||||||||||||
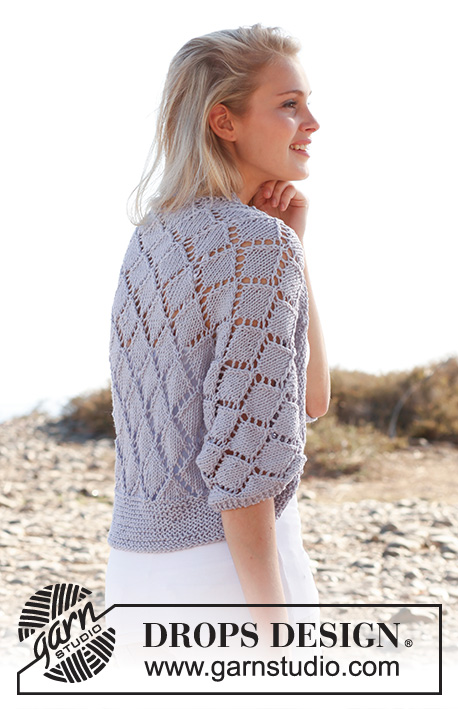
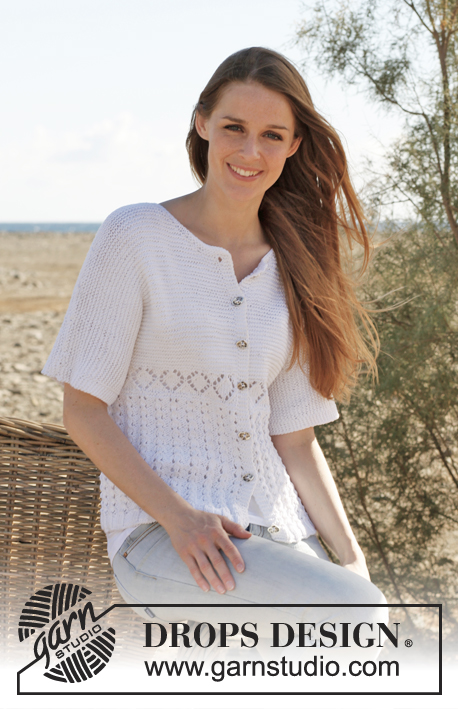
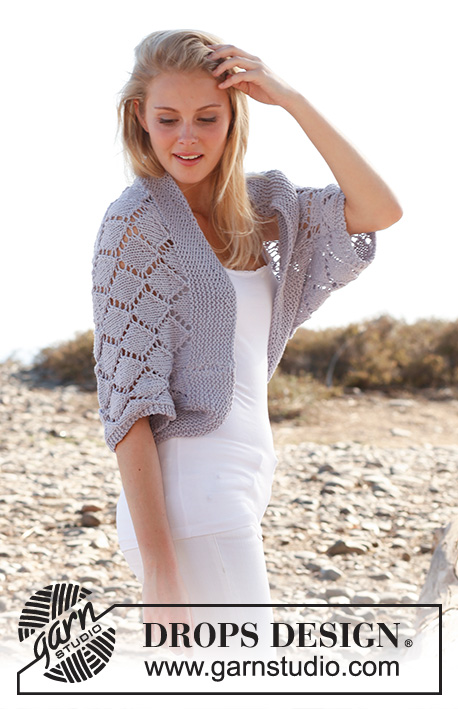
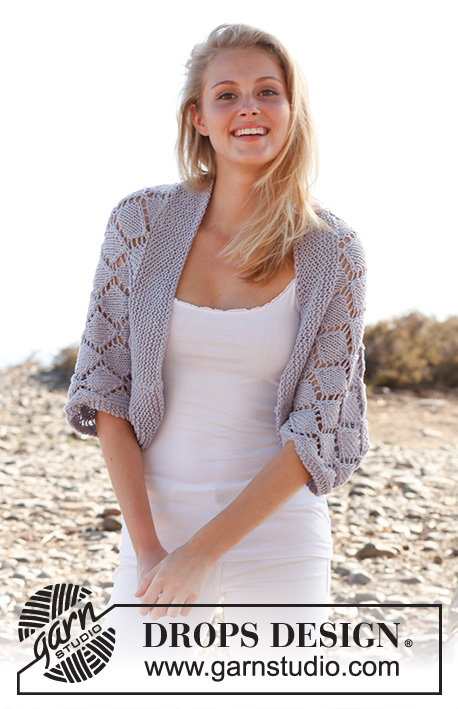
Bolero DROPS ai ferri, con motivo traforato, in "Big Merino". Taglie: Dalla S alla XXXL.
DROPS 146-16 |
|||||||||||||||||||
|
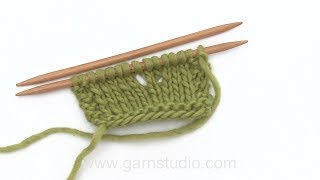
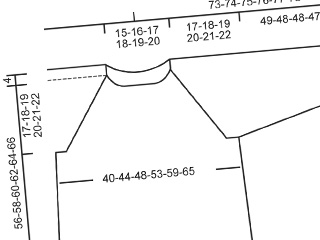
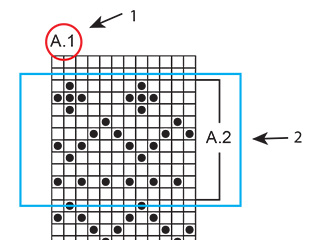
PUNTO LEGACCIO (avanti e indietro sui ferri): Lavorare tutti i ferri a dir. 1 “costa” a legaccio = 2 ferri a dir. MOTIVO: Vedere il diagramma A.1. Il diagramma mostra tutti i ferri del motivo, visti sul diritto del lavoro. --------------------------------------------------------- BOLERO: Si lavora avanti e indietro sui ferri circolari per avere sufficiente spazio per tutte le m. Avviare 107-117-127-137 m sui ferri circolari n° 5 con il filato Big Merino. Lavorare a punto legaccio finché il lavoro non misura 7 cm. Proseguire come segue, sul diritto del lavoro: 3 m a PUNTO LEGACCIO - vedere le spiegazioni sopra, diagramma A.1A (= 6 m), diagramma A.1 B sulle 90-100-110-120 m successive, finire con il diagramma A.1 C (= 5 m) e 3 m a PUNTO LEGACCIO. Proseguire con il diagramma A.1 e 3 m a punto legaccio da ciascun lato. RICORDARSI LA TENSIONE DEL LAVORO! Quando il lavoro misura 11-11-12-13 cm, avviare 10 nuove m alla fine dei 2 ferri successivi per le maniche = 127-137-147-157 m. Lavorare come segue: 3 m a punto legaccio, diagramma A.1A (= 6 m), diagramma A.1 B sulle 110-120-130-140 m successive, finire con il diagramma A.1 C (= 5 m) e 3 m a PUNTO LEGACCIO. ATTENZIONE! Lavorare il diagramma A.1 in modo che prosegua correttamente sulla parte del corpo e proseguirlo sulle maniche. Quando il lavoro misura 45-50-55-59 cm, intrecciare 10 m all’inizio dei 2 ferri successivi = 107-117-127-137 m. Lavorare come segue: 3 m a punto legaccio, diagramma A.1A (= 6 m), diagramma A.1 B sulle 90-100-110-120 m successive, finire con il diagramma A.1 C (= 5 m) e con 3 m a punto legaccio. Quando il lavoro misura 49-54-60-65 cm, lavorare a punto legaccio tutte le m. Intrecciare le m quando il lavoro misura 56-61-67-72 cm. CONFEZIONE: Cucire i lati delle maniche e del corpo all’interno della m vivagno - vedere la linea tratteggiata nel diagramma. |
|||||||||||||||||||
Spiegazioni del diagramma |
|||||||||||||||||||
|
|||||||||||||||||||
 |
|||||||||||||||||||
 |
|||||||||||||||||||
Avete terminato questo modello?Allora taggate le vostre foto con #dropspattern #cassiebolero o inviatele alla #dropsfan gallery. Avete bisogno di aiuto con questo modello?Troverete 8 video tutorial, una sezione per i commenti/domande e molto altro guardando il modello su www.garnstudio.com © 1982-2026 DROPS Design A/S. Ci riserviamo tutti i diritti. Questo documento, compreso tutte le sue sotto-sezioni, è protetto dalle leggi sul copyright. Potete leggere quello che potete fare con i nostri modelli alla fine di ogni modello sul nostro sito. |
|||||||||||||||||||

Con oltre 40 anni di esperienza nel design di modelli di maglia e uncinetto, DROPS Design offre la più estesa collezione di modelli gratuiti su internet - tradotti in 17 lingue. Ad oggi vi possiamo fornire 333 cataloghi e 12548 modelli - 9822 dei quali sono tradotti in Italiano.
Ci stiamo impegnando molto per darvi il meglio che vi possiamo offrire in termini di maglia e uncinetto, ispirazioni e consigli così come filati di grande qualità ad un prezzo incredibile! Volete utilizzare i nostri modelli per qualcosa d'altro oltre al vostro uso personale? Potete leggere tutto ciò che è consentito nel testo sul Copyright in basso su tutte le pagine dei nostri modelli. Buon lavoro!
Lasciare un commento sul modello DROPS 146-16
Noi saremmo felici di ricevere i tuoi commenti e opinioni su questo modello!
Se vuoi fare una domanda, fai per favore attenzione a selezionare la categoria corretta nella casella qui sotto per velocizzare il processo di risposta. I campi richiesti sono indicati da *.