
Categorie popolari
State cercando un filato?













Commenti / Domande (114)
 Alma ha scritto:
I'm new to knitting. This will be my first project. I did rows 1 and 2, but I'm lost for other. rows. Do I continue with rows 1 and 2 until I reach 3"? Also what does "start at center back" mean? Thank you
11.01.2014 - 01:21DROPS Design ha risposto:
Dear Alma, you are correct, repeat rows 1 and 2 until you reach 3" then inc as stated. Start at center back means first row from RS start on the left side of head when worn, ie end of rows from RS = towards face. Happy knitting!
11.01.2014 - 10:10
 Nicole ha scritto:
Very pretty headband!
06.01.2014 - 02:18
Patricia Hill ha scritto:
DROPS 86-10 headband - pattern for flower with button center (Toumaya). Where can I get pattern?
04.01.2014 - 21:23DROPS Design ha risposto:
Dear Mrs Hill, The flower you are talking about is an extra added by a customer, please contact her directly on Ravelry to get more informations. Happy knitting!
06.01.2014 - 09:25
Heidi ha scritto:
I fi ished this headband recently and LOVE it. I am a very new knitter and found the directions easy to follow. I experimented with making this slightly longer and added buttons and buttonholes (a first for me). I can't wait to make more.
13.12.2013 - 17:13
Tara Buffington ha scritto:
I got the increases/decreases, but am confused about how many rows of garter/stockinette stitch are between the increases, there's no information on that...does anyone know the answer?!!!
25.10.2013 - 14:51DROPS Design ha risposto:
Dear Mrs Buffington, inc are done when piece measures 3", 51/2", 7" and 8 1/4". When work measures 9 1/2", place a marker and measure then from this marker for the dec. Happy knitting!
29.10.2013 - 10:14
 Malin ha scritto:
Hej! I mönstret på svenska, står inget om hur fjärde varvet ska stickas. Fortsatte som i beskrivningen men det ger ju inga ränder. Men jag antar att man ska sticka "bakvänt", dvs det som var avig maska på förra varvet, blir nu rät maska, osv, för att bilda ränder. Det vore hjälpsamt om detta skrevs tydligt. För den som är hyfsat nybörjare är det inte så lätt att räkna ut. :)
25.04.2013 - 22:18DROPS Design ha risposto:
Om du stickar enligt beskrivningen så här: "1 rätst m, * 2 rm, 1 am * upprepa totalt 5 ggr – avsluta v med 2 rm och 1 rätst m" och fortsätter enligt beskrivningen får du ränderna som på bilden.
03.05.2013 - 10:16
Veniesta ha scritto:
I Crochet but know how to knit and purl , so I am going to take a shot at this head band and let you know how I did.
22.04.2013 - 18:21
Ann ha scritto:
Once I start the increase purl stitches... do I continue to follow the knit/purl sequence based on the stitches that I see. ie. after the purl increase row, turn and working back do I then do a "knit 1,purl 2,knit 1, purl 3 - or follow the pattern and do the purl 2, knit 1 repeat, as indicated for the WS. Hope this makes sense.
23.03.2013 - 17:43DROPS Design ha risposto:
Dear Ann, you will inc P1 in all P sections seen from RS, so that after 1st inc sequence, youll have K2, P2 with 1 edge st in garter st each side. Happy knitting!
25.03.2013 - 11:30
 Paola Rigon ha scritto:
Cara Marica, riesci sempre a stupirmi! Questo modello lo farò per mia figlia super critica,ma stavolta sarà contentissima! Grazie
13.02.2013 - 14:03
 Kordula ha scritto:
Habe das Stirnband gestrickt mit Alaska Wolle und Nadelstärke 4. Laut Anleitung hat alles prima geklappt und passt sehr gut. Werde noch ein Weiteres stricken und verschenken!
12.12.2012 - 19:32
|
|
Saturn Rings |
|
|
|
|
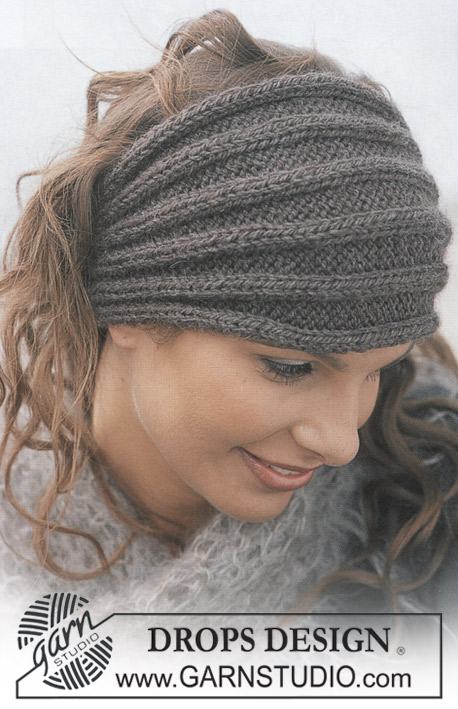
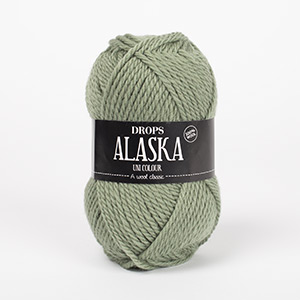
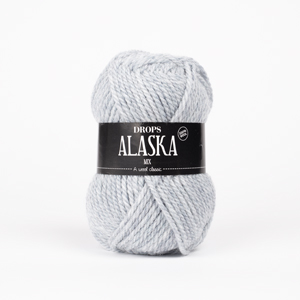
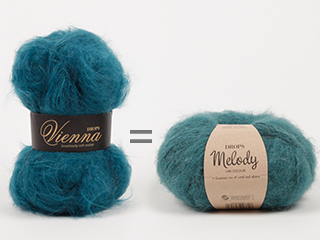
Fascia DROPS in "Alaska" e Scialle in "Vienna"
DROPS 86-10 |
|
|
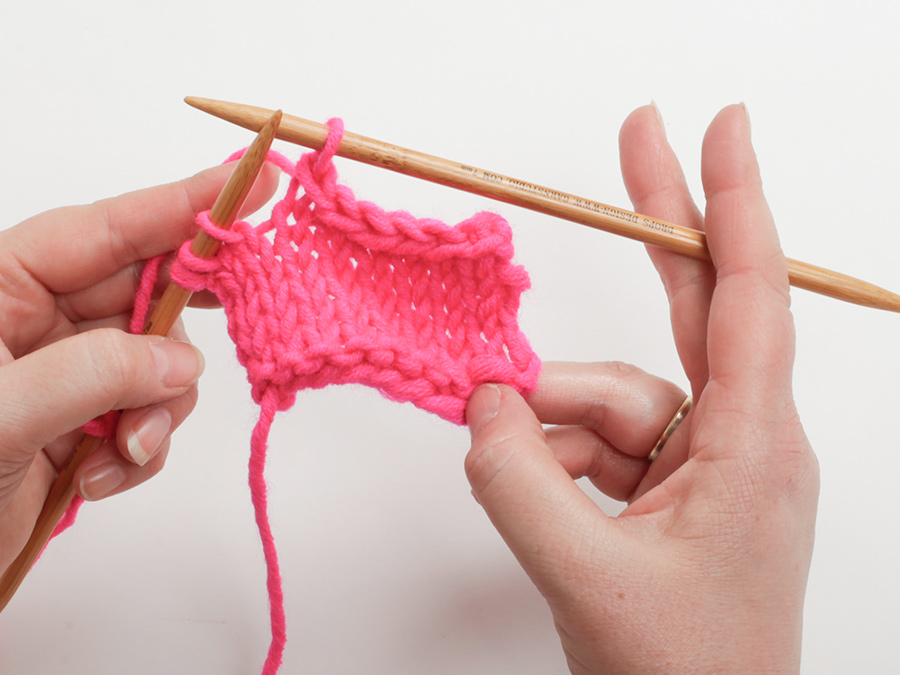
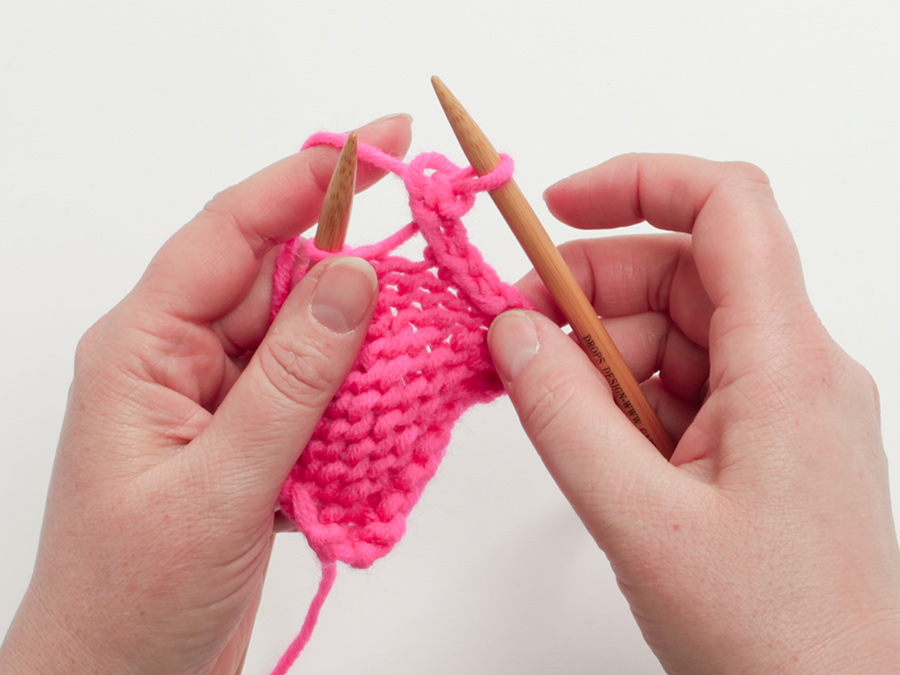
FASCIA: Si inizia sul dietro, al centro. Avviare 19 m. Lavorare a coste come segue: 1° ferro (diritto del lavoro): 1 m dir (m vivagno lavorata a legaccio), * 2 m dir, 1 m rov *, ripetere per 5 volte – finire il ferro con 2 m dir e 1 m dir (m vivagno lavorata a legaccio). 2° ferro (rovescio del lavoro): 1 m dir (m vivagno lavorata a legaccio), * 2 m rov, 1 m dir *, ripetere per 5 volte – finire il ferro con 2 m rov e 1 m dir (m vivagno lavorata a legaccio). Gli aumenti vanno fatti sul diritto del lavoro. Quando il lavoro misura 8 cm, aumentare 1 m a rov in tutti i gruppi di m lavorate a rov = 24 m. Quando il lavoro misura 14 cm, aumentare 1 m a rov in tutti i gruppi di 2 m lavorate a rov = 29 m. Quando il lavoro misura 18 cm, aumentare 1 m a rov in tutti i gruppi di 3 m lavorate a rov = 34 m. Quando il lavoro misura 21 cm, aumentare 1 m a rov in tutti i gruppi di 4 m lavorate a rov = 39 m. Quando il lavoro misura 24 cm, inserire un segno = è il centro della fascia. Invertire adesso la lavorazione – misurare il lavoro dal segno. Le diminuzioni vanno fatte sul diritto del lavoro. Quando il lavoro misura 3 cm dal segno, diminuire 1 m a rov in tutti i gruppi di 5 m lavorate a rov = 34 m. Quando il lavoro misura 6 cm dal segno, diminuire 1 m a rov in tutti i gruppi di 4 m lavorate a rov = 29 m. Quando il lavoro misura 10 cm dal segno, diminuire 1 m a rov in tutti i gruppi di 3 m lavorate a rov = 24 m. Quando il lavoro misura 16 cm dal segno, diminuire 1 m a rov in tutti i gruppi di 2 m lavorate a rov = 19 m. Quando il lavoro misura 48 cm (lunghezza totale), intrecciare e cucire il bordo di chiusura a quello di avvio. -------------------------------------------------------- SCIALLE: Misure: Lunghezza (al centro, sul dietro): ca. 100 cm Larghezza in alto: ca. 205 cm Materiali: Filato VIENNA di Garnstudio 200 g, colore n° 43 nocciola Ferri DROPS n° 15, o misura necessaria per ottenere il campione. Campione: 5 m x 9 f a punto legaccio = 10 x 10 cm (è un lavoro a maglie molto lente) SCIALLE: Avviare 4 m e lavorare a punto legaccio; aumentare 1 m da 1 solo lato ogni 2 ferri lavorando 2 volte la stessa m. Continuare ad aumentare fino ad ottenere 50 m; il lavoro misura ca. 102 cm. Diminuire ora dallo stesso lato degli aumenti – diminuire ogni 2 ferri lavorando insieme a dir le 2 m più esterne. Continuare le diminuzioni finché non rimangono 4 m ; il lavoro misura ca. 205 cm. Chiudere tutte le m. FRANGIA: Legare le frange lungo i due lati dello scialle, a ca. 4-5 cm l’una dall’altra – cominciare dalla punta. Tagliare 6 fili lunghi 35 cm, piegarli in due, passare l’anello ottenuto nella m sul bordo dello scialle e passare le estremità dei fili attraverso l’anello. |
|
Avete terminato questo modello?Allora taggate le vostre foto con #dropspattern o inviatele alla #dropsfan gallery. Avete bisogno di aiuto con questo modello?Troverete 8 video tutorial, una sezione per i commenti/domande e molto altro guardando il modello su www.garnstudio.com © 1982-2026 DROPS Design A/S. Ci riserviamo tutti i diritti. Questo documento, compreso tutte le sue sotto-sezioni, è protetto dalle leggi sul copyright. Potete leggere quello che potete fare con i nostri modelli alla fine di ogni modello sul nostro sito. |
Con oltre 40 anni di esperienza nel design di modelli di maglia e uncinetto, DROPS Design offre la più estesa collezione di modelli gratuiti su internet - tradotti in 17 lingue. Ad oggi vi possiamo fornire 333 cataloghi e 12548 modelli - 9822 dei quali sono tradotti in Italiano.
Ci stiamo impegnando molto per darvi il meglio che vi possiamo offrire in termini di maglia e uncinetto, ispirazioni e consigli così come filati di grande qualità ad un prezzo incredibile! Volete utilizzare i nostri modelli per qualcosa d'altro oltre al vostro uso personale? Potete leggere tutto ciò che è consentito nel testo sul Copyright in basso su tutte le pagine dei nostri modelli. Buon lavoro!
Lasciare un commento sul modello DROPS 86-10
Noi saremmo felici di ricevere i tuoi commenti e opinioni su questo modello!
Se vuoi fare una domanda, fai per favore attenzione a selezionare la categoria corretta nella casella qui sotto per velocizzare il processo di risposta. I campi richiesti sono indicati da *.